准备EPEL源
wget -O /etc/yum.repos.d/CentOS-Base.repo http://mirrors.cloud.tencent.com/repo/centos7_base.repo
wget -O /etc/yum.repos.d/epel.repo http://mirrors.cloud.tencent.com/repo/epel-7.repo
运行效果

安装noVNC,默认会自动安装python和websockify
yum install novnc
运行效果

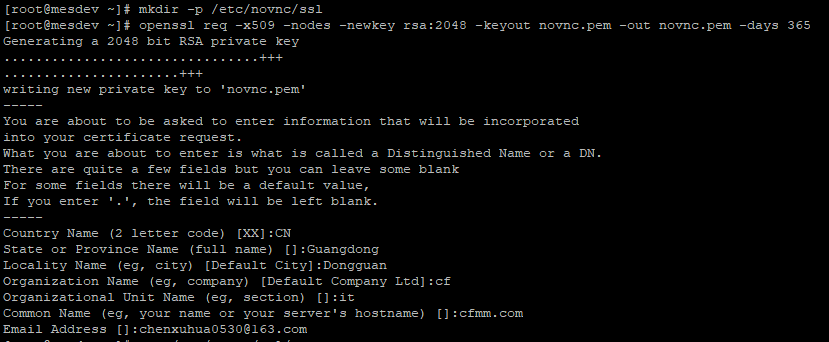
准备证书
#创建证书存放目录
mkdir -p /etc/novnc/ssl

#openssl命令生成证书
openssl req -x509 -nodes -newkey rsa:2048 -keyout novnc.pem -out novnc.pem -days 365

Country Name (2 letter code) [XX]:CN
State or Province Name (full name) []:Guangdong
Locality Name (eg, city) [Default City]:Dongguan
Organization Name (eg, company) [Default Company Ltd]:cf
Organizational Unit Name (eg, section) []:it
Common Name (eg, your name or your server's hostname) []:cfmm.com
Email Address []:chenxuhua0530@gmail.com
运行效果
运行websockify(单机版本)
websockify -D --web=/usr/share/novnc/ --cert=/etc/novnc/ssl/novnc.pem 6080 172.17.130.251:5900

#参数解析
websockify -D  #以后台的方式启动
--web=/usr/share/novnc/  #对应到novnc的文件(html等)
--cert=/etc/novnc/ssl/novnc.pem #证书位置
6080  #websockify监听端口
172.17.130.251:5900  #VNC Server地址及端口
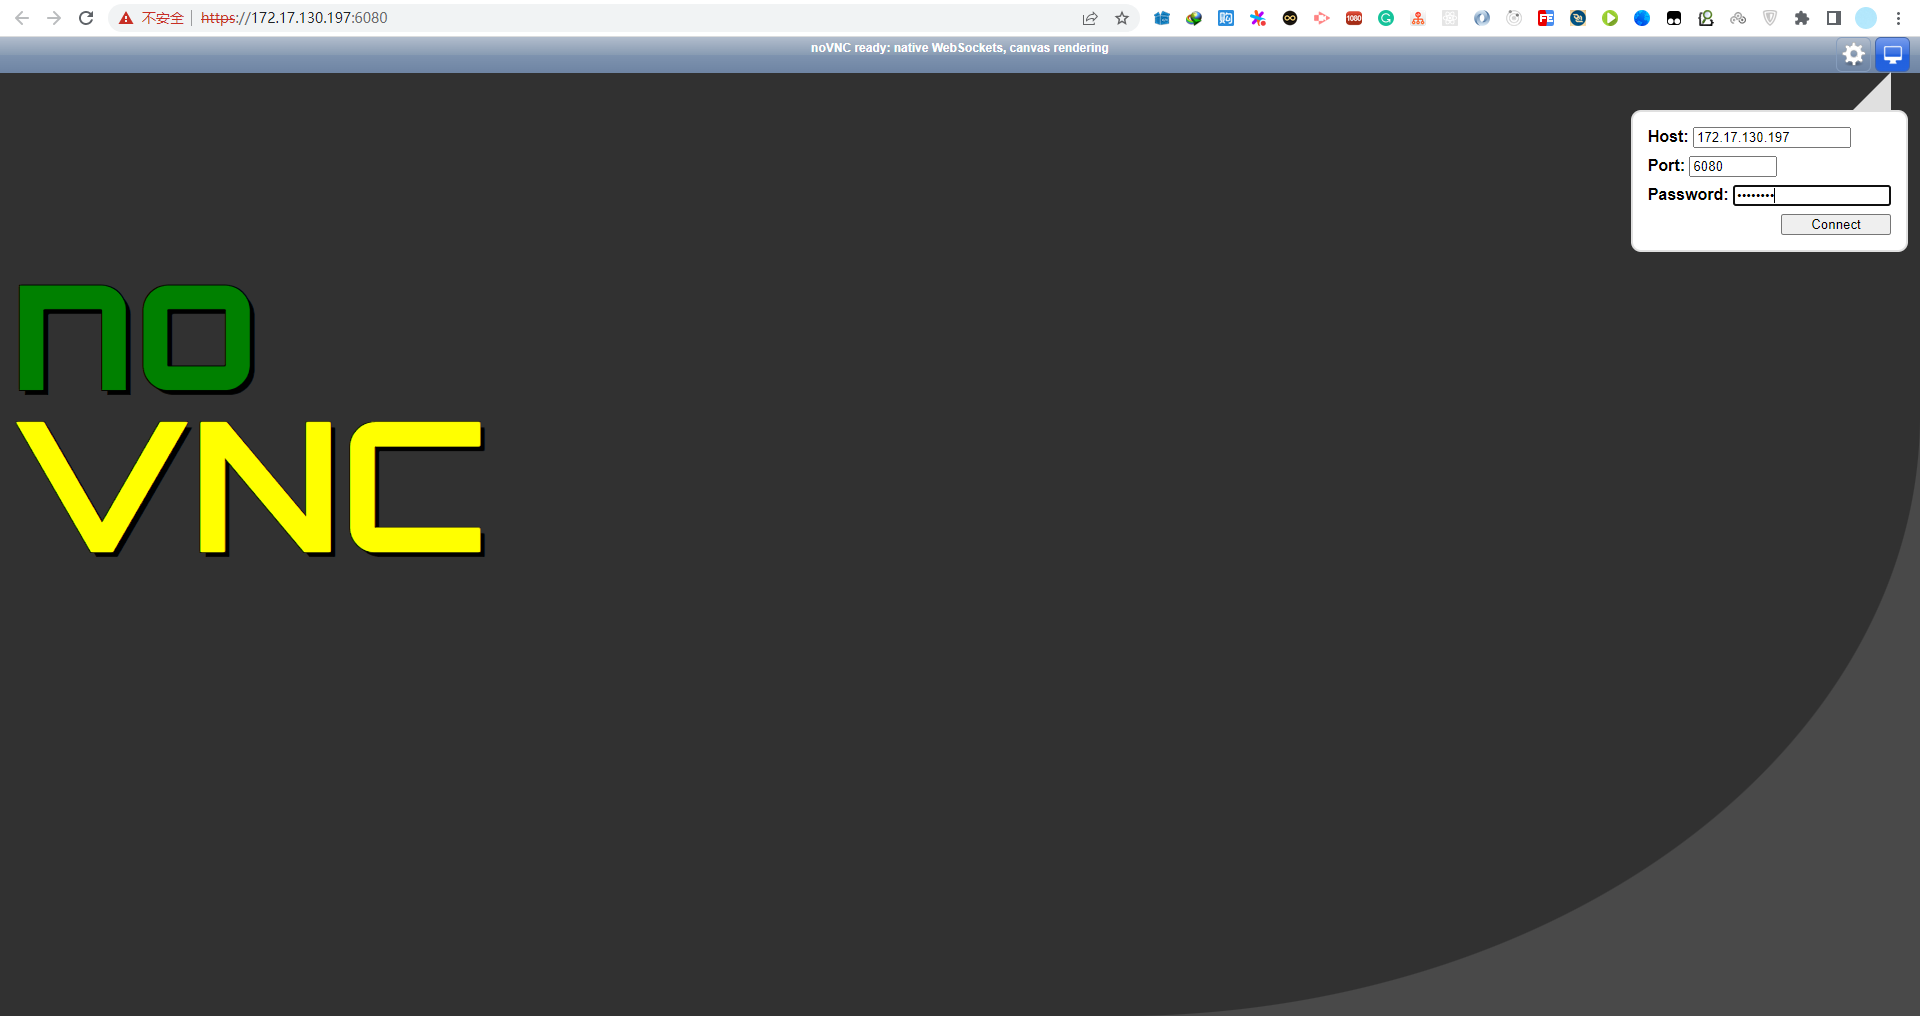
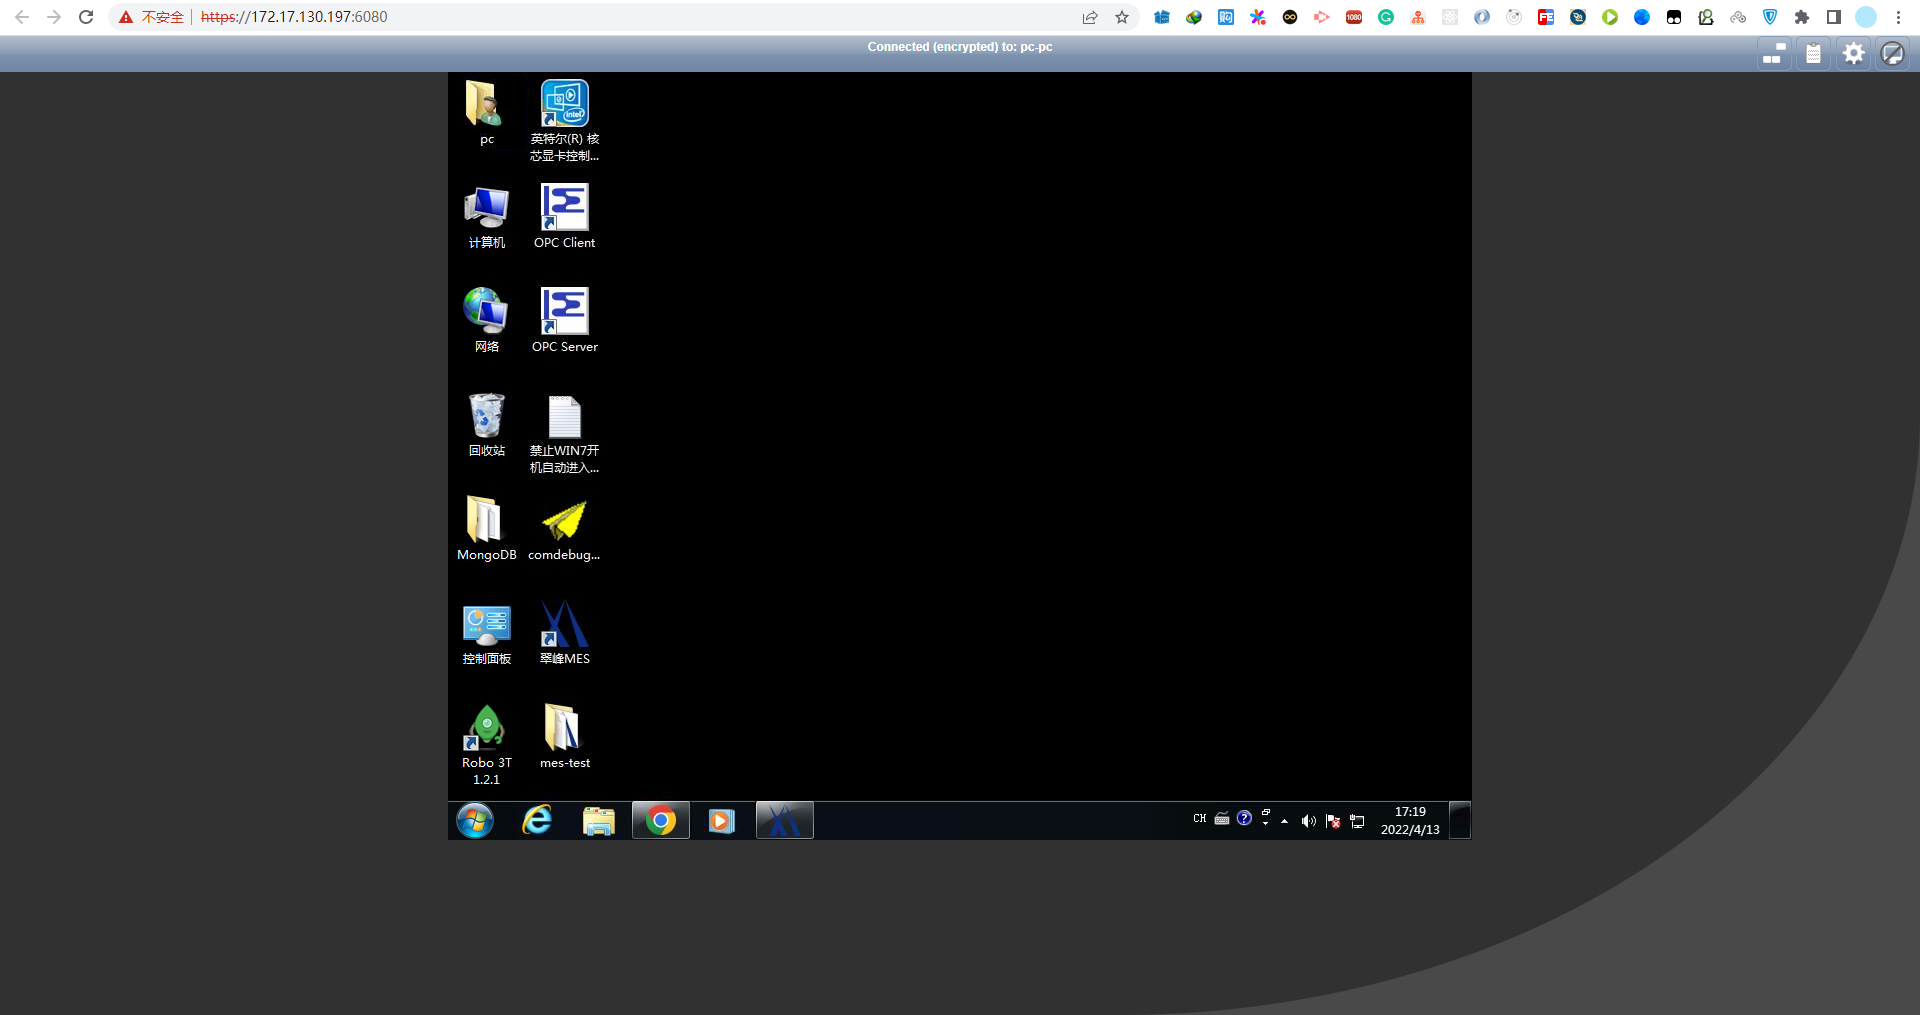
运行效果

创建多个机器
cd /usr/share/novnc/ && mkdir conf

echo 'j01: 172.17.130.251:5900' >> token.conf
运行Websockify
websockify -D --web=/usr/share/novnc/ --cert=/etc/novnc/ssl/novnc.pem 6081  --target-config=/usr/share/novnc/conf/token.conf
websockify -D --web=/usr/share/novnc/ --cert=/etc/novnc/ssl/novnc.pem 6080 172.17.130.251:5900

websockify -D
--web=/usr/share/novnc/
--cert=/etc/novnc/ssl/novnc.pem
6080
--target-config=/usr/share/novnc/conf/token.conf
浏览器,https://172.17.130.197:6081/vnc_auto.html?port=6081&path=/config&token=j01
https://172.17.130.197:6081/vnc.html?token=j01
https://172.16.30.78:6080/vnc_auto.html?port=6080&path=/conf?token=aliyun