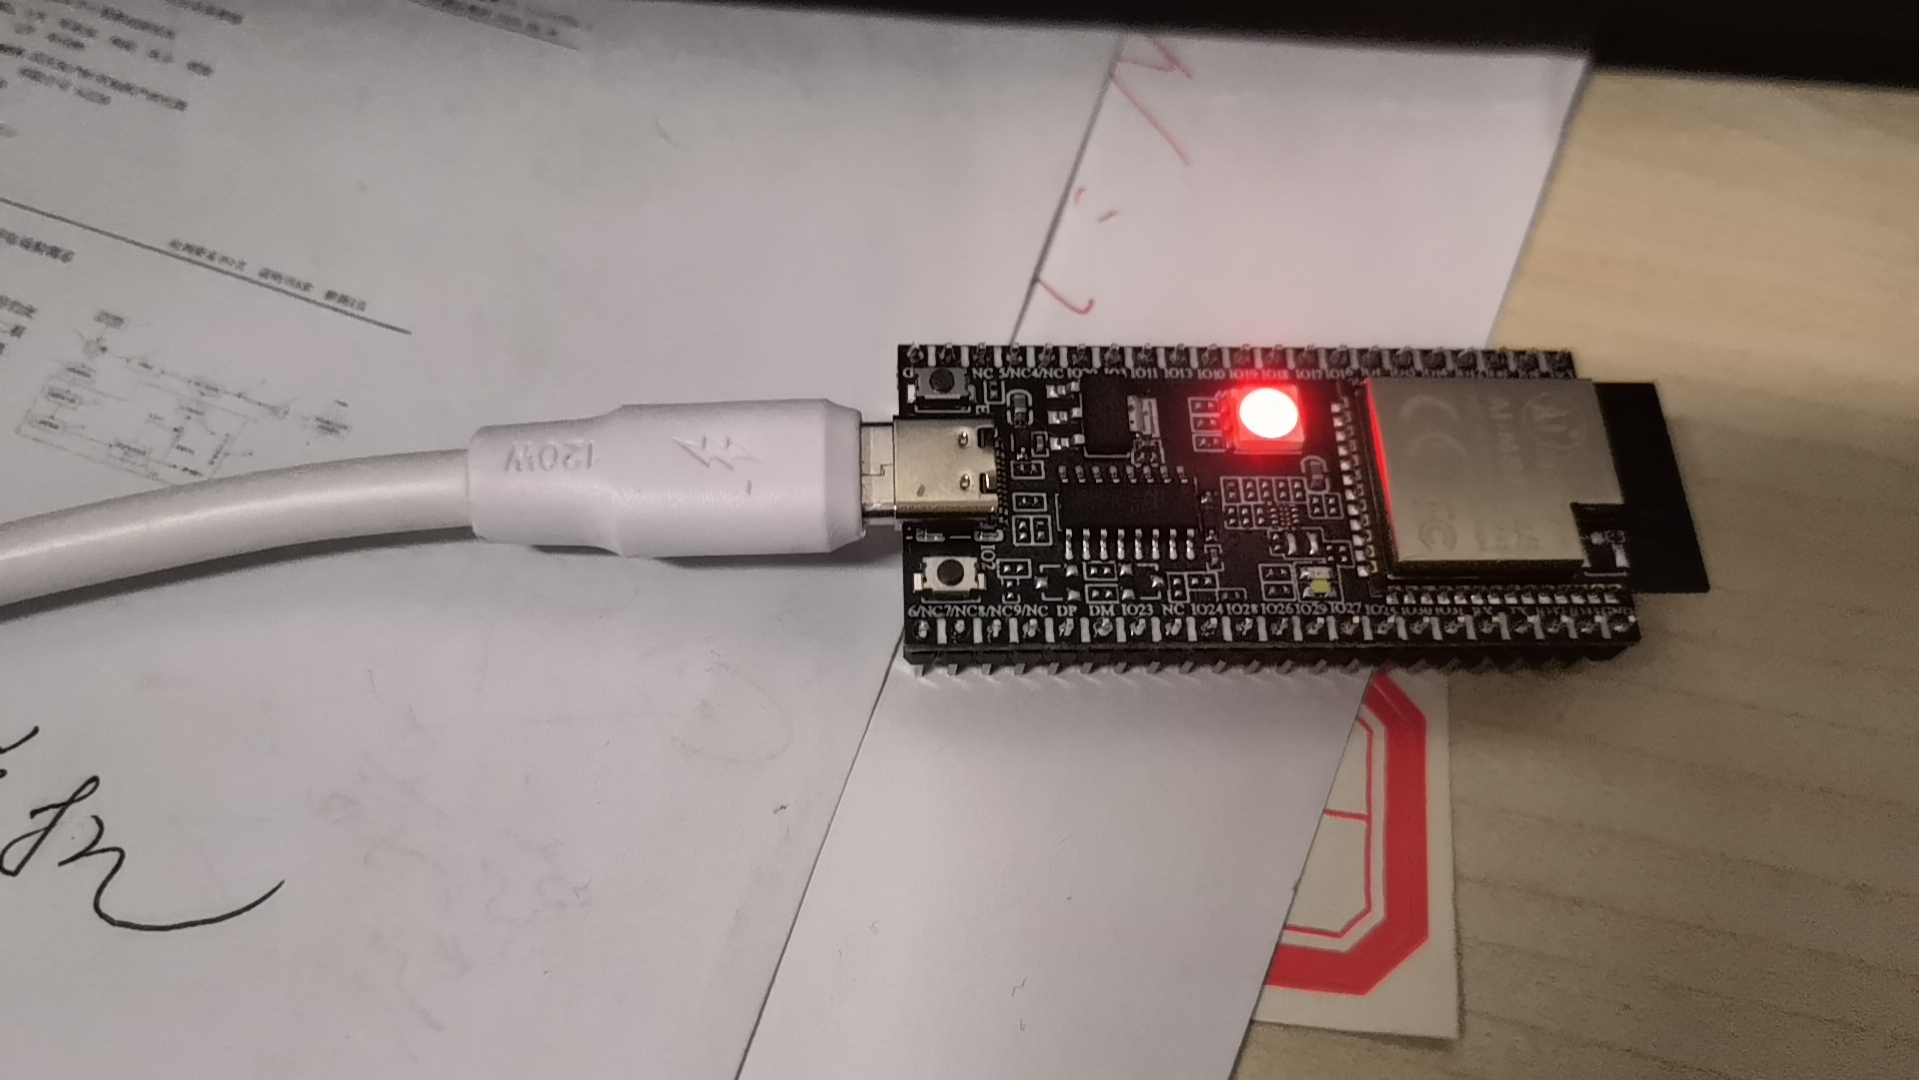
Ai-M61-32S(点灯)
博主环境:win10 vscode
设备:usb数据线+Ai-M61-32S
工厂配置
首先vscode打开文件夹AiPi-Open-Kits,就会下图,该文件夹其实就已经提供了一个模板工程Project_basic,用终端打开。
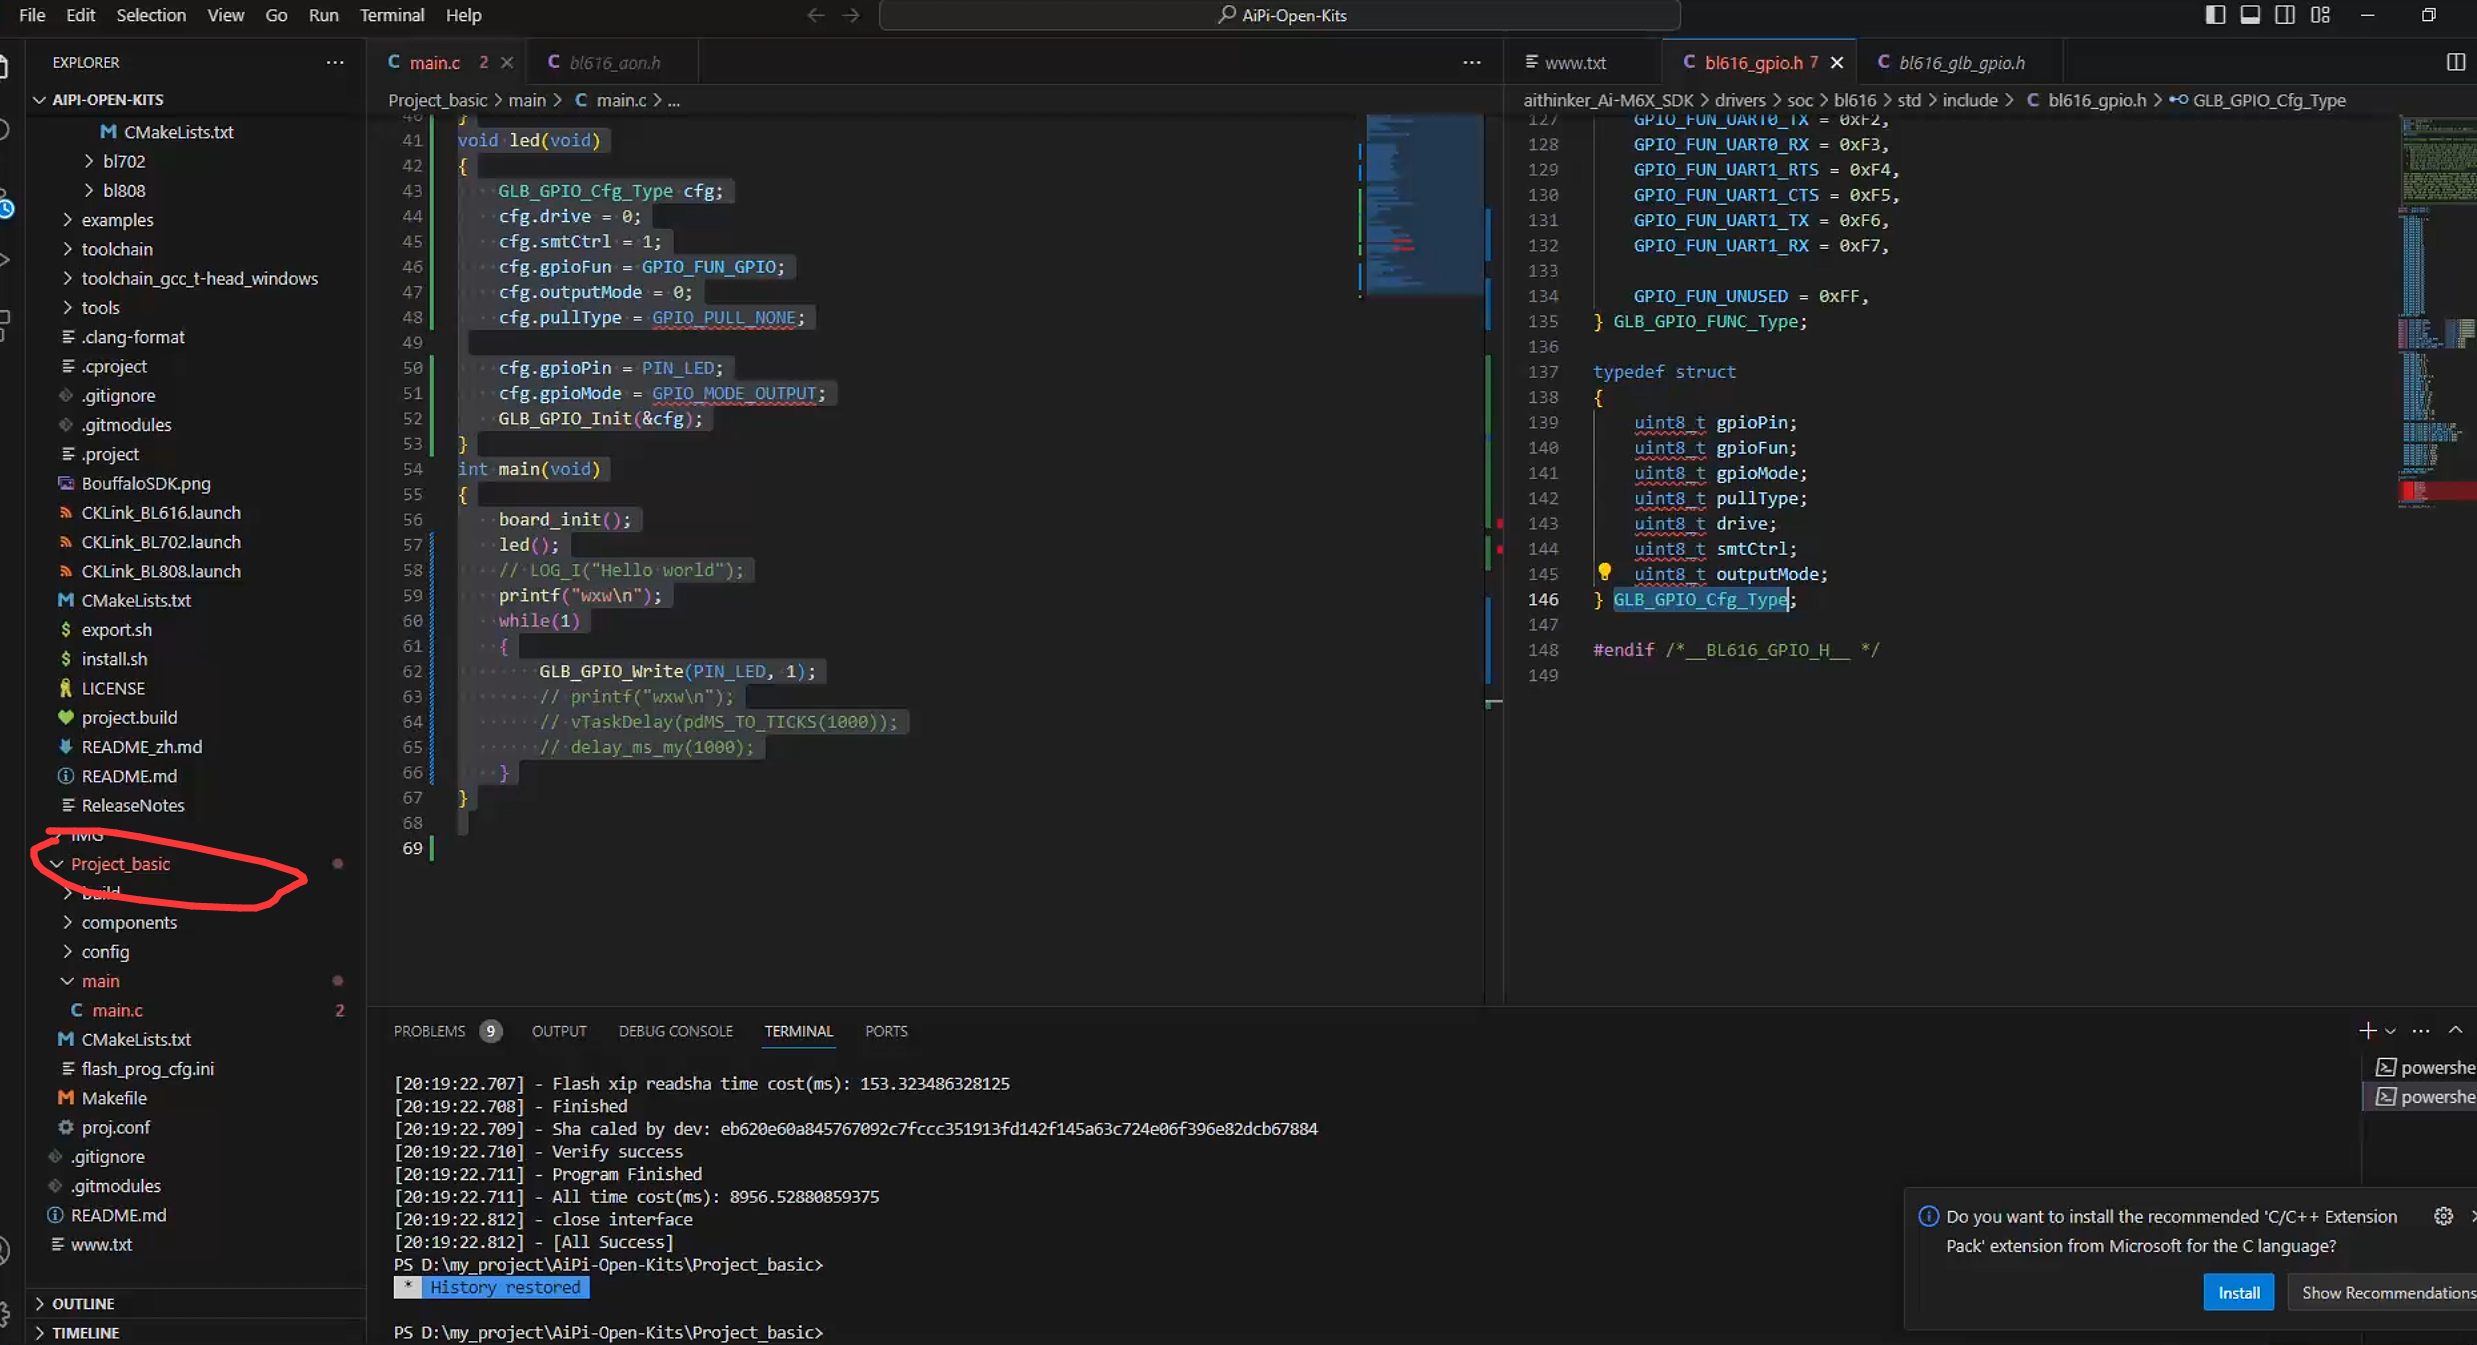
如何找到对应的api函数:
D:\my_project\AiPi-Open-Kits\aithinker_Ai-M6X_SDK\drivers\soc\bl616\std\include路径下有gpio操作有关的函数库:
include <bl616_glb.h>
include <bl616_gpio.h>(有关gpio的typedef)
include <bl616_glb_gpio.h>(有关gpio的操作函数,如读写)
main代码:
/**
* @file main.c
* @author your name (you@domain.com)
* @brief
* @version 0.1
* @date 2023-08-22
*
* @copyright Copyright (c) 2023
*
*/

#include "board.h"
#include <FreeRTOS.h>
#include <task.h>
#include <stdbool.h>
#include <stdio.h>
#include <bl616_glb.h>
#include <bl616_gpio.h>
#include <bl616_glb_gpio.h>
// #include "log.h"


#define DBG_TAG "MAIN"
#define PIN_LED (12)

void led(void)
{
    GLB_GPIO_Cfg_Type cfg;
    cfg.drive = 0;
    cfg.smtCtrl = 1;
    cfg.gpioFun = GPIO_FUN_GPIO;
    cfg.outputMode = 0;
    cfg.pullType = GPIO_PULL_NONE;

    cfg.gpioPin = PIN_LED;
    cfg.gpioMode = GPIO_MODE_OUTPUT;
    GLB_GPIO_Init(&cfg);
}
int main(void)
{
    board_init();
    led();
    // LOG_I("Hello world");
    while(1)
    {
        GLB_GPIO_Write(PIN_LED, 1);
    }
}
编译烧录命令:
make clean
make
make flash CHIP=bl616 COMX=COM4
实物现象:
工程文件附件:
链接:https://pan.baidu.com/s/1LL0VUuLO6uwelucCWRHNyA
提取码:h392