摘要
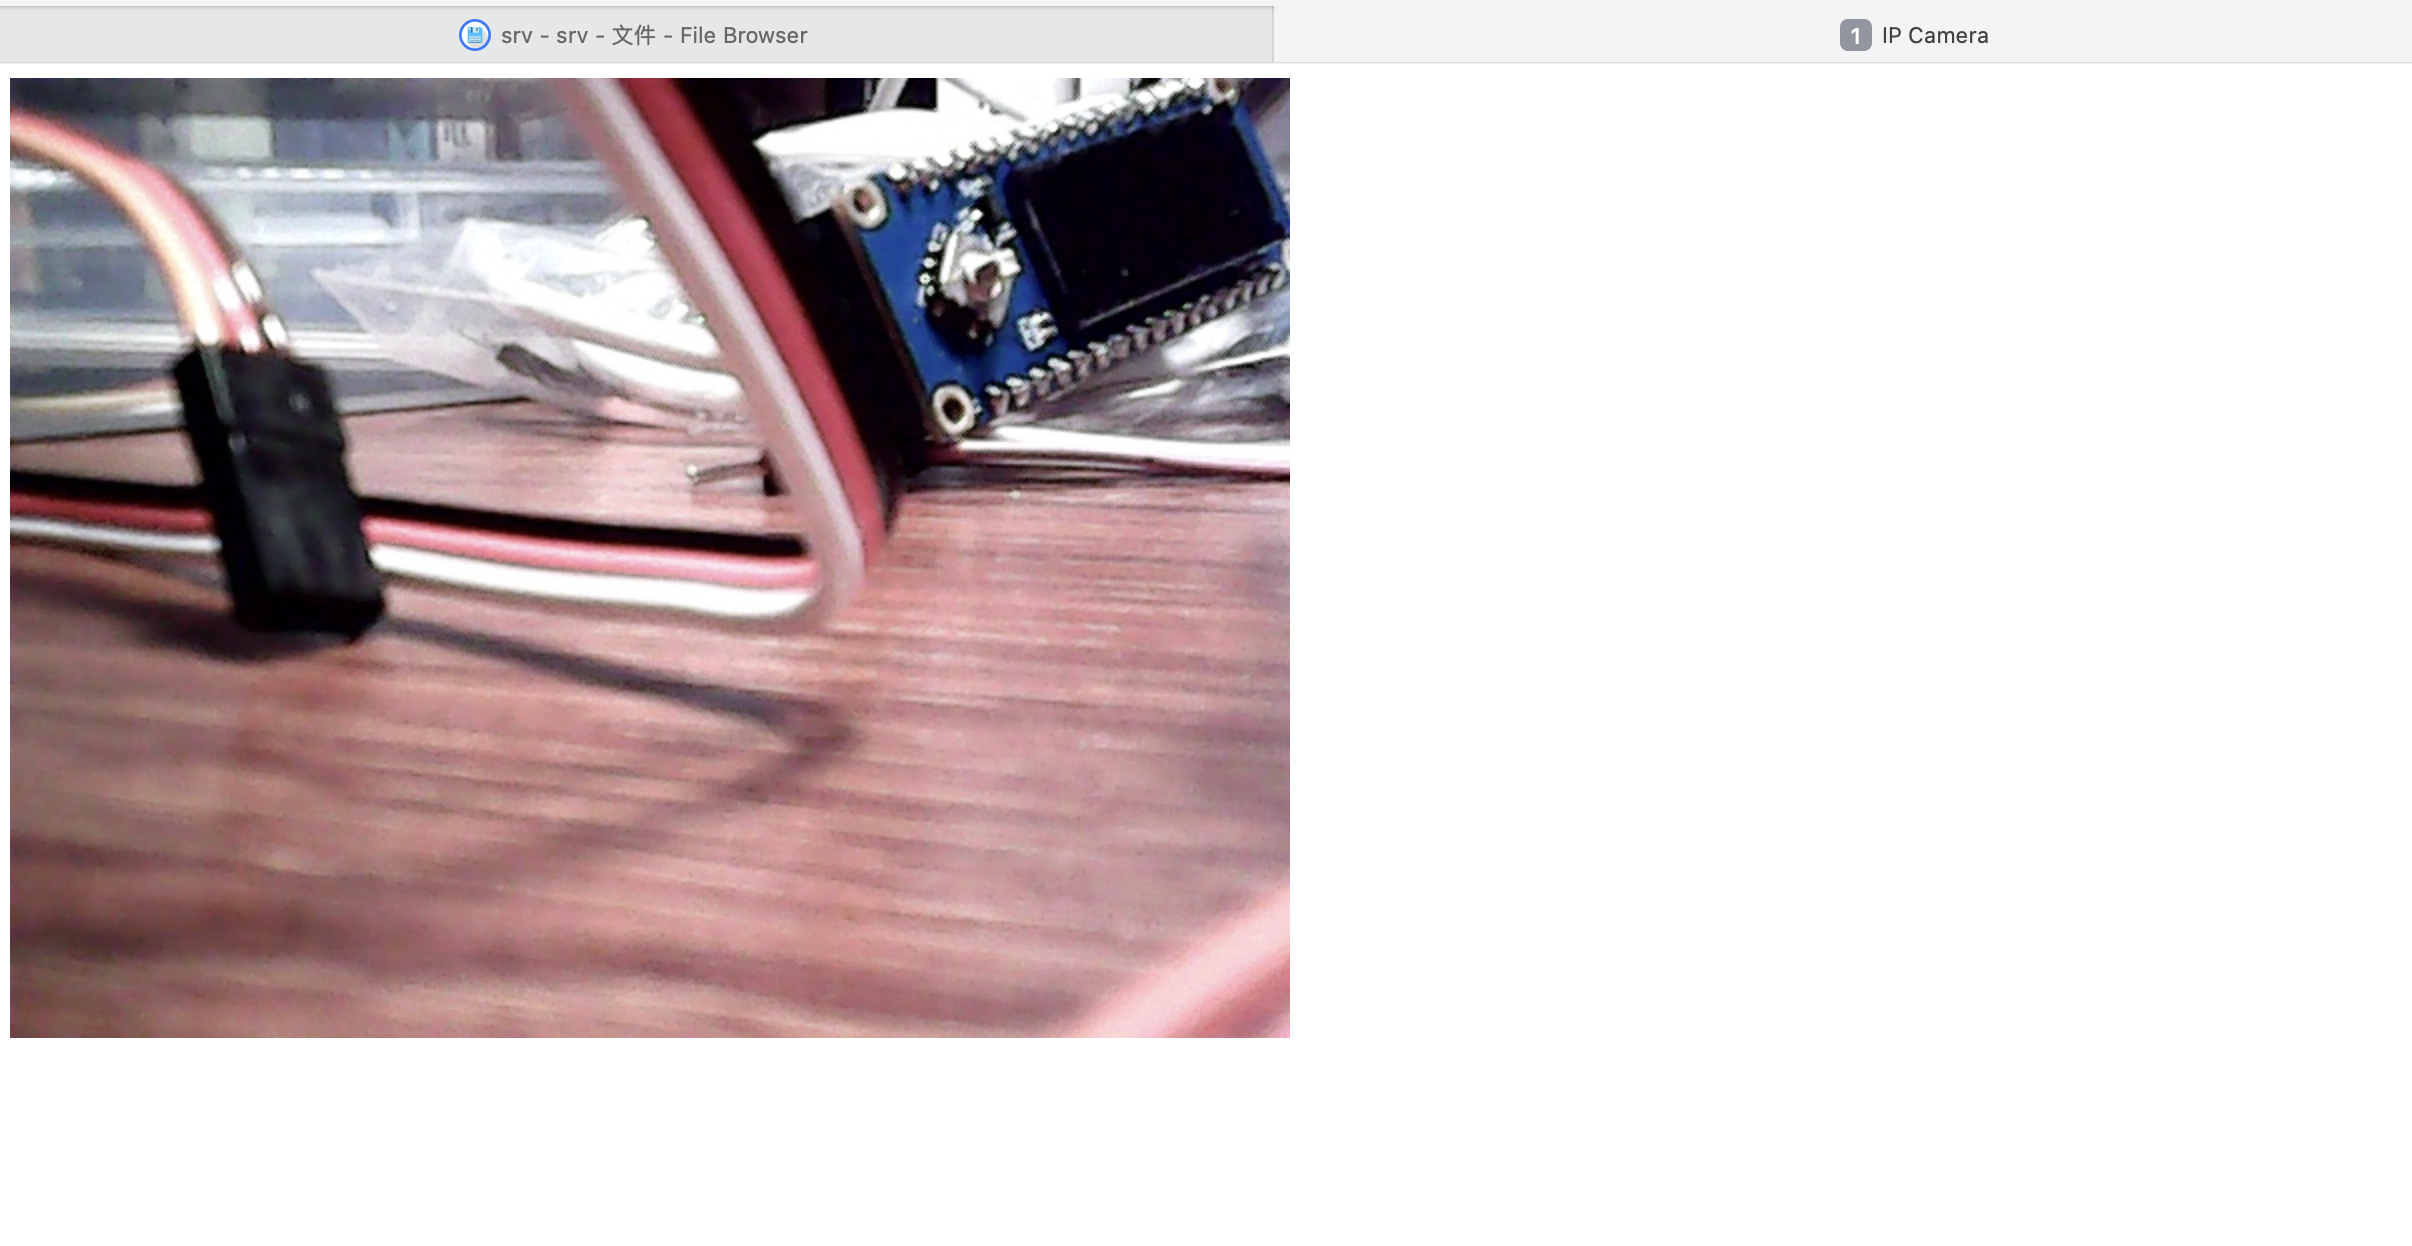
将树莓派用作网络摄像头服务器,将usb摄像头图像显示在网页上.
平台信息
硬件信息:
- RaspberryPi zero 2w
开发语言:
- Python
依赖库:
- opencv
- flask
树莓派的网络摄像头
[https://github.com/LowLevelOfLogic/RaspberryPi/blob/master/docs/0009_USB摄像头搭建IP网络摄像头.md]
[https://github.com/LowLevelOfLogic/RaspberryPi/tree/IP_Camera]
从USB摄像头获取视频帧(一张图片),将视频帧传输到客户端(浏览器),这里有很多成熟的传输技术,包括:HLS、RTSP、RTMP等。这些技术有一定的复杂性,各自有其适用场景,如果业务场景对实时性、性能没有太高要求,那显得有点牛刀杀鸡了。我们选择http的multipart类型,这是一个简单的方案.
- helloworld.py: flask基本示例
- stream.py: ip camera示例
- face.py: 带人脸识别的ip camera示例
- haarcascade_frontalface_alt.xml: opencv人脸识别模型
- simulation.py: 模拟图片的ip Camera示例
实现
项目目录
.
├── README.md
├── buttonMonitor.py
├── config.sh
├── face.py
├── haarcascade_frontalface_alt.xml
├── helloworld.py
├── ledMonitor.py
├── simulation.py
├── stream.py
├── templates
│   ├── button.html
│   ├── index.html
│   └── led.html
└── ws.py
代码
stream.py
#!/usr/bin/env python3

from flask import Flask, render_template, Response
import cv2

class VideoCamera(object):
    def __init__(self):
        # 通过opencv获取实时视频流
        self.video = cv2.VideoCapture(0)

    def __del__(self):
        self.video.release()

    def get_frame(self):
        success, image = self.video.read()
        # 因为opencv读取的图片并非jpeg格式,因此要用motion JPEG模式需要先将图片转码成jpg格式图片
        ret, jpeg = cv2.imencode('.jpg', image)
        return jpeg.tobytes()

app = Flask(__name__)

@app.route('/')  # 主页
def index():
    # jinja2模板,具体格式保存在index.html文件中
    return render_template('index.html')

def gen(camera):
    while True:
        frame = camera.get_frame()
        # 使用generator函数输出视频流, 每次请求输出的content类型是image/jpeg
        yield (b'--frame\r\n'
               b'Content-Type: image/jpeg\r\n\r\n' + frame + b'\r\n\r\n')

@app.route('/video_feed')  # 这个地址返回视频流响应
def video_feed():
    return Response(gen(VideoCamera()),
                    mimetype='multipart/x-mixed-replace; boundary=frame')

if __name__ == '__main__':
    app.run(host='0.0.0.0', debug=True, port=5000)
index.html
<html>
  <head>
    <title>IP Camera</title>
  </head>
  <body>
    <img src="{{ url_for('video_feed') }}">
  </body>
</html>
编译&运行
pip3 install flask -i https://pypi.tuna.tsinghua.edu.cn/simple
sudo apt install cmake
pip3 install opencv-python -i https://pypi.tuna.tsinghua.edu.cn/simple
sudo apt install libopencv-dev
scp -r software/RaspberryPi-IP_Camera qsbye@192.168.31.18:/home/qsbye
python3 /home/qsbye/RaspberryPi-IP_Camera/simulation.py
效果
访问:[192.168.31.18:5000]
