Kolla-ansible自动化部署openstack
一、准备工作(模拟all-in-one部署)
1、配置好网卡IP(至少2张网卡)
vm模拟环境(1张nat+1张桥接网卡)
nat网卡(ens32):192.168.108.10
桥接网卡(ens33):10.51.40.211
2、修改主机名
hostnamectl set-hostname+主机名
3、关闭防火墙、NM服务、selinux
systemctl stop firewalld && systemctl disable firewalld
systemctl stop NetworkManager && systemctl disable NetworkManager
setenforce 0
vi /etc/sysconfig/selinux

4、把节点IP写入hosts
vi /etc/hosts

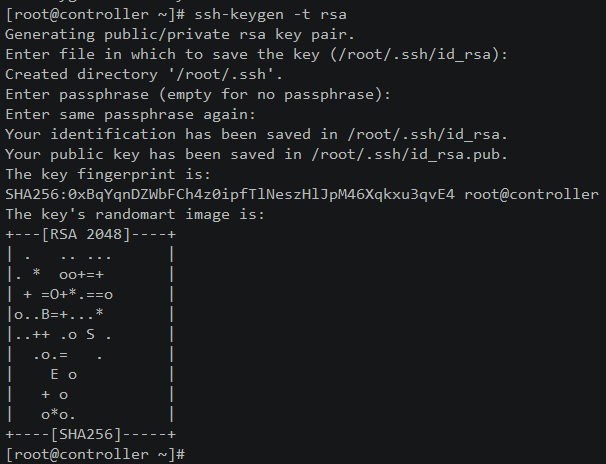
5、做主机信任
ssh-keygen -t rsa(一直按回车)
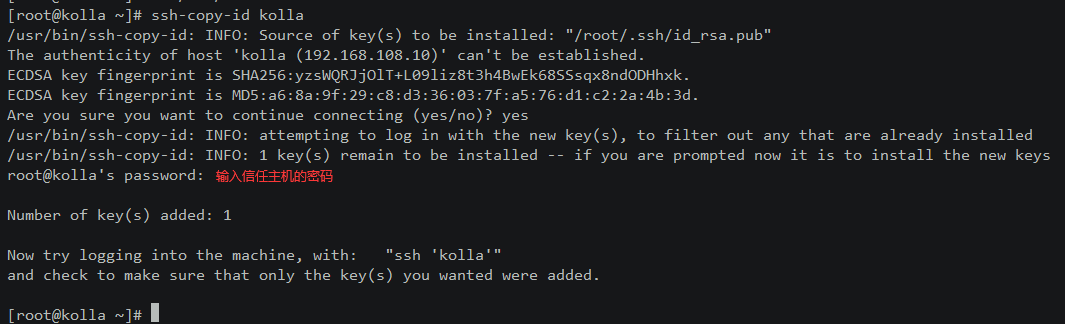
ssh-copy-id kolla(主机名controller和computer的)
6、修改DNS
vi /etc/resolv.conf
nameserver 114.114.114.114
二、环境准备
(1)部署节点
1、安装使用工具
yum -y install vim wget net-tools
2、更新base源和下载epel源
wget -O /etc/yum.repos.d/CentOS-Base.repo https://mirrors.aliyun.com/repo/Centos-7.repo
wget -O /etc/yum.repos.d/epel.repo http://mirrors.aliyun.com/repo/epel-7.repo
3、安装python环境相关依赖包
yum -y install python-devel libffi-devel gcc openssl-devel libselinux-python
4、安装python-pip
yum -y install python-pip
5、配置国内的pip源
mkdir ~/.pip
cat << EOF > ~/.pip/pip.conf
[global]
index-url = https://mirrors.aliyun.com/pypi/simple/
[install]
trusted-host=mirrors.aliyun.com
EOF
6、升级pip
pip install --upgrade pip==20.3.4
7、安装ansible
pip install ansible==2.9.0
8、修改ansible配置文件
mkdir /etc/ansible/
cat << EOF > /etc/ansible/ansible.cfg
[defaults]
host_key_checking=False
pipelining=True
forks=100
EOF
所有节点都做
1、安装python环境相关依赖包
yum -y install python-devel libffi-devel gcc openssl-devel libselinux-python
2、安装python-pip
yum -y install python-pip
3、配置国内的pip源
mkdir ~/.pip
cat << EOF > ~/.pip/pip.conf
[global]
index-url = https://mirrors.aliyun.com/pypi/simple/
[install]
trusted-host=mirrors.aliyun.com
EOF
4、升级pip
pip install --upgrade pip==20.3.4
5、安装必要的部署工具
yum install -y yum-utils device-mapper-persistent-data lvm2
yum -y install nfs-utils
6、添加软件源信息
yum-config-manager --add-repo https://mirrors.aliyun.com/docker-ce/linux/centos/docker-ce.repo
sudo sed -i 's+download.docker.com+mirrors.aliyun.com/docker-ce+' /etc/yum.repos.d/docker-ce.repo
7、更新并安装Docker-CE
yum makecache fast
yum -y install docker-ce-20.10.5
systemctl enable docker && systemctl restart docker && systemctl status docker
所谓共享挂载即同一个目录或设备可以挂载到多个不同的路径并且能够保持互相之间的共享可见性,类似于 mount --shared。在 OpenStack for Kolla 中,主要解决 Neutron 的 namespace 在不同 container 中得以保持实效性的问题。
mkdir -p /etc/systemd/system/docker.service.d
cat << EOF > /etc/systemd/system/docker.service.d/kolla.conf
[Service]
MountFlags=shared
EOF
systemctl daemon-reload && systemctl restart docker && systemctl status docker
mkdir -p /etc/docker
sudo tee /etc/docker/daemon.json <<-'EOF'
{
"registry-mirrors": ["https://6ijb8ubo.mirror.aliyuncs.com"],
"registry-mirrors": ["https://25ieqbb3.mirror.aliyuncs.com"]
}
EOF
systemctl daemon-reload && systemctl restart docker
三、部署openstack
部署节点
pip install kolla-ansible==9.3.0 --ignore-installed PyYAML
注:官方推荐部署环境使用 pip install kolla-ansible 方式来安装 kolla-ansible
https://docs.openstack.org/kolla-ansible/latest/user/quickstart.html #官方安装手册
以上安装出错解决方法
pip2 install --upgrade setuptools
如果还出错,就安装以下软件
pip2 install --upgrade pip
pip2 install django-import-export
cp -r /usr/share/kolla-ansible/etc_examples/kolla /etc/
cp /usr/share/kolla-ansible/ansible/inventory/multinode /etc/kolla/
ls /etc/kolla/
实现效果:
ls /etc/kolla
globals.yml multinode passwords.yml
kolla-genpwd
修改keystone和数据库的密码(163行)
vi /etc/kolla/passwords.yml
163 keystone_admin_password: HsPbEQHxTqmewKYNoRPpIOyQNdEYpHy36OX67TG3
164 keystone_database_password:7h1UDflKQmD1c6hQ9q7oyDdKfZTFlNAQYuXz148C
改为:
keystone_admin_password: 123456
keystone_database_password: 123456
注:这是登录 Dashboard,admin 使用的密码,你可以根据自己需要进行修改。密码前注意空格
vi /etc/kolla/globals.yml
kolla_base_distro: "centos"
kolla_install_type: "sourse"
openstack_release: "train"
node_custom_config: "/etc/kolla/config"
kolla_internal_vip_address: "10.51.13.140"--->同网段不存在主机IP地址
docker_namespace: "kolla"
network_interface: "eth0"--->管理网络出口网卡
api_interface: "{{ network_interface }}"
neutron_external_interface: "eth1"--->外部网络网卡
neutron_plugin_agent: "openvswitch"
enable_haproxy: "no"
enable_ceph: "no"
enable_chrony: "no"
enable_cinder: "yes"
enable_grafana: "yes"
enable_heat: "no"
enable_mariabackup: "yes"
enable_neutron_dvr: "yes"
enable_neutron_fwaas: "yes"
enable_neutron_qos: "yes"
enable_neutron_provider_networks: "yes"
glance_backend_ceph: "no"
glance_enable_rolling_upgrade: "no"
cinder_backend_ceph: "no"
cinder_backup_driver: "nfs"
nova_backend_ceph: "no"
prometheus_cmdline_extras: "-storage.local.retention 720h"
nova_console: "novnc"
nova_compute_virt_type: "kvm"
enable_cinder_backup: "yes"
enable_cinder_backend_nfs: "yes"
enable_ceilometer: "yes"
enable_gnocchi: "yes"
enable_grafana: "yes"
enable_ceilometer_ipmi: "yes"
enable_horizon_zun: "{{ enable_zun | bool }}"
enable_zun: "yes"
enable_opendaylight: "yes"
enable_opendaylight_qos: "yes"
enable_opendaylight_l3: "yes"
enable_horizon_fwaas: "{{ enable_neutron_fwaas | bool }}"
enable_kuryr: "yes"
#kolla_dev_mode: "yes"
#heat_dev_mode: "yes"
修改为所有节点的主机名或IP地址,根据hosts来
我的主机名为:kolla
# These initial groups are the only groups required to be modified. The
# additional groups are for more control of the environment.
[control]
# These hostname must be resolvable from your deployment host
kolla
# The above can also be specified as follows:
#control[01:03] ansible_user=kolla
# The network nodes are where your l3-agent and loadbalancers will run
# This can be the same as a host in the control group
[network]
kolla
[compute]
kolla
[monitoring]
kolla
# When compute nodes and control nodes use different interfaces,
# you need to comment out "api_interface" and other interfaces from the globals.yml
# and specify like below:
#compute01 neutron_external_interface=eth0 api_interface=em1 storage_interface=em1 tunnel_interface=em1
[storage]
kolla
[deployment]
localhost ansible_connection=local
[baremetal:children]
control
network
compute
storage
monitoring
........
注:如果主机数较多可以使用正则表达式;例如:
[openstack-controller]
controller[01:03]
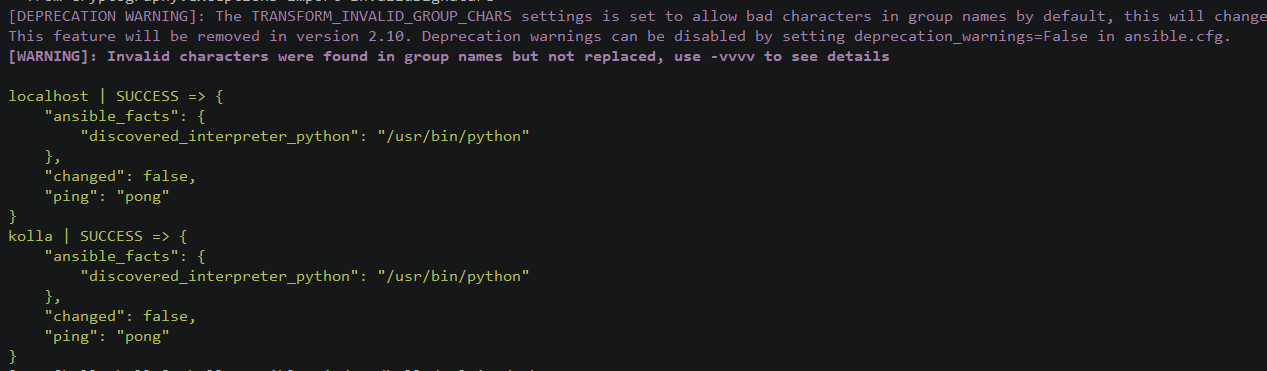
(1)检查multinode配置是否正确,实现ping通各个主机
ansible -i /etc/kolla/multinode all -m ping
无报错显示
(2)部署检查
kolla-ansible -i /etc/kolla/multinode bootstrap-servers
无报错显示结果

mkdir -p /etc/docker
sudo tee /etc/docker/daemon.json <<-'EOF'
{
"registry-mirrors": ["https://6ijb8ubo.mirror.aliyuncs.com"],
"registry-mirrors": ["https://25ieqbb3.mirror.aliyuncs.com"]
}
EOF
systemctl daemon-reload && systemctl restart docker
kolla-ansible -i /etc/kolla/multinode prechecks
无报错显示结果

7、做nfs与cinder-volumes的卷组对接
1、创建好磁盘挂载目录:mkdir -p /data/openstack/cinder
2、把磁盘挂载到目录上:mount /dev/sdb /data
3、创建对接cinder磁盘的文件:mkdir -p /etc/kolla/config
vi nfs_shares
192.168.108.10:/data/openstack_data/cinder
vi /etc/exports
/data/openstack *(rw,no_root_squash)
8、安装openstack客户端
先安装版本不匹配的组件
pip install -I ipaddress
安装openstack客户端
pip install python-openstackclient
9、执行部署
kolla-ansible -i /etc/kolla/multinode deploy
无报错显示结果
报错后修改两个配置
1. 修改globals.yml
enable_haproxy: "no"
kolla_internal_fqdn: "10.51.40.12"
#kolla_internal_fqdn: "{{ kolla_internal_vip_address }}"
2. 修改/usr/share/kolla-ansible/ansible/roles/mariadb/tasks/restart_services.yml
加入ignore_errors: True
---
- name: Restart MariaDB container
vars:
service_name: "mariadb"
service: "{{ mariadb_services[service_name] }}"
become: true
kolla_docker:
action: "recreate_or_restart_container"
common_options: "{{ docker_common_options }}"
name: "{{ service.container_name }}"
image: "{{ service.image }}"
volumes: "{{ service.volumes }}"
dimensions: "{{ service.dimensions }}"
# NOTE(yoctozepto): We have to loop this to avoid breaking on connection resets
- name: Wait for MariaDB service port liveness
wait_for:
host: "{{ api_interface_address }}"
port: "{{ mariadb_port }}"
connect_timeout: 1
timeout: 60
search_regex: "MariaDB"
register: check_mariadb_port
until: check_mariadb_port is success
retries: 10
delay: 6
- name: Wait for MariaDB service to sync WSREP
ignore_errors: True
become: true
command: >-
docker exec {{ mariadb_service.container_name }}
mysql -uroot -p{{ database_password }}
--silent --skip-column-names
-e 'SHOW STATUS LIKE "wsrep_local_state_comment"'
changed_when: false
register: result
until: result.stdout == "wsrep_local_state_comment\tSynced"
retries: 10
delay: 6
no_log: true
when:
# NOTE(yoctozepto): we don't want to wait for new nodes to fully sync
# with an existing cluster as this could take time
- not mariadb_cluster_exists or
(groups.mariadb_port_alive_True is defined and
inventory_hostname in groups.mariadb_port_alive_True)
10、生成openrc文件,该文件中设置了管理员用户的凭据
kolla-ansible post-deploy
cat /etc/kolla/admin-openrc.sh
11、访问openstack horizon需要使用vip地址,节点上可以看到由keepalived容器生成的vip

浏览器直接访问该地址即可登录到dashboard界面
http:vip地址

登录账号:admin
密码:123456(根据passwords.yml中的keystone_admin_password: 123456)
Openstack部署到这里就结束了
Openstack关于实例的网络、安全组未配置可以根据自己的个人需求通过web界面或命令行实现