版本问题很重要,为了这个版本,真的吐血版!!!
其他链接
1.cuda10.2+cudnn7.6安装和测试的方法
2.彻底卸载 Anaconda
3.新建的虚拟环境总是在c盘怎么解决
1.安装Anaconda3
在Anaconda安装的过程中,比较容易出错的环节是环境变量的配置,所以大家在配置环境变量的时候,要细心一些
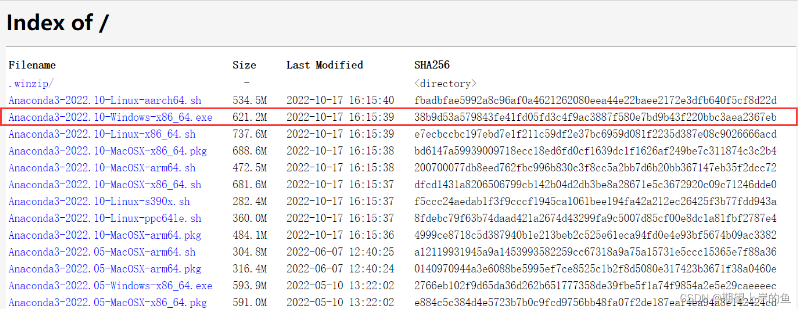
① 安装地址
官网下载太慢了,推荐下载地址 清华镜像
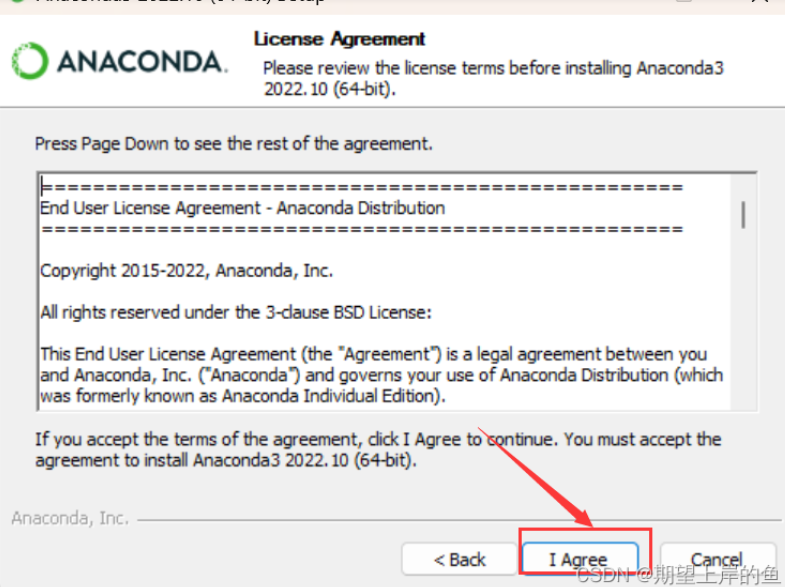
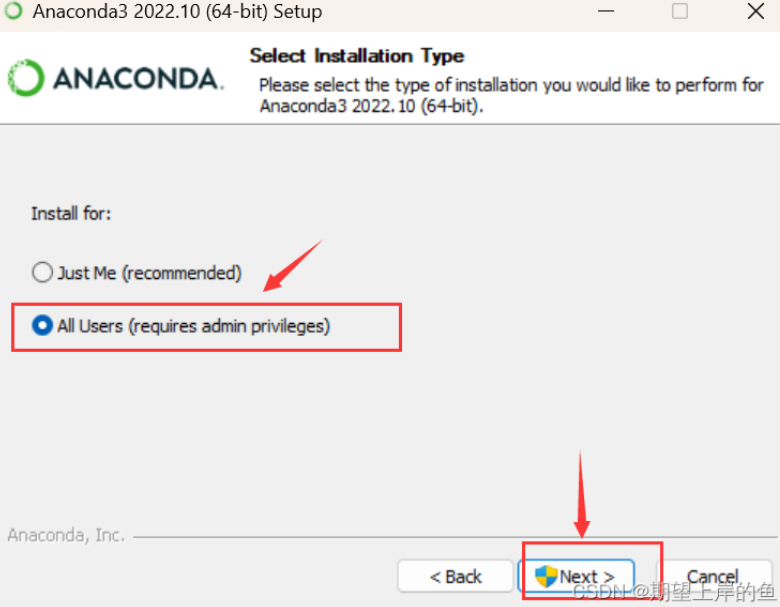
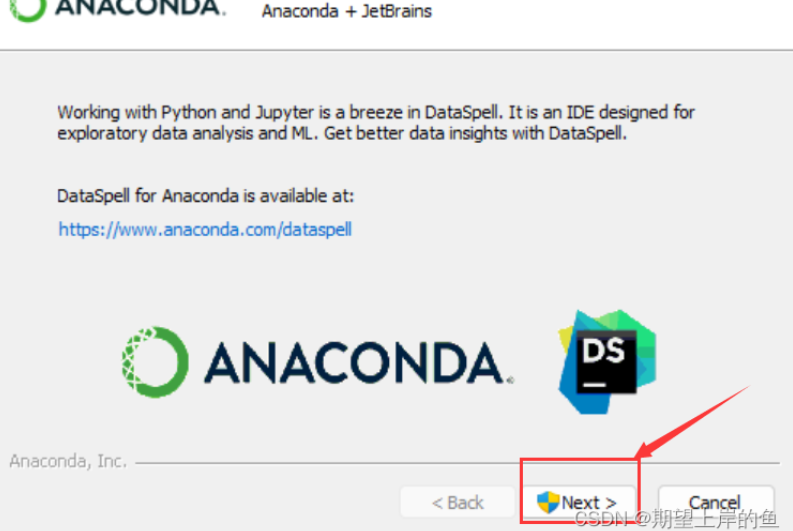
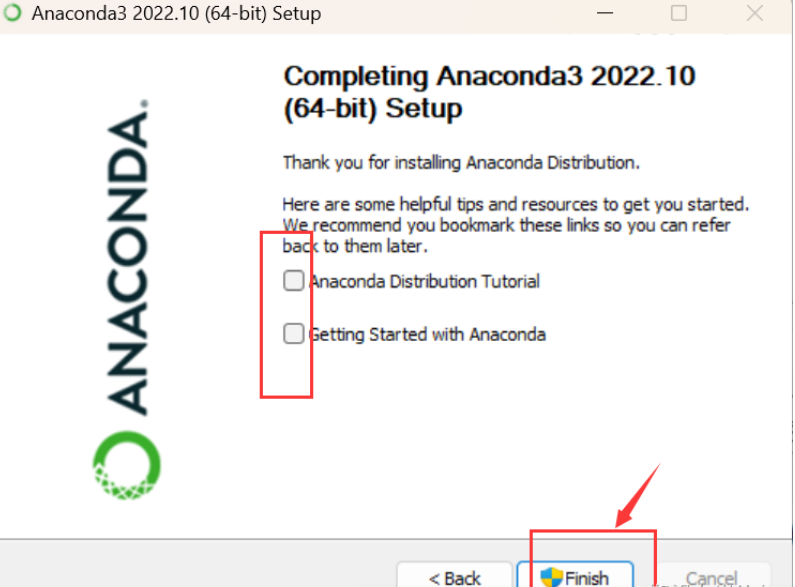
② 步骤


③ 配置环境变量
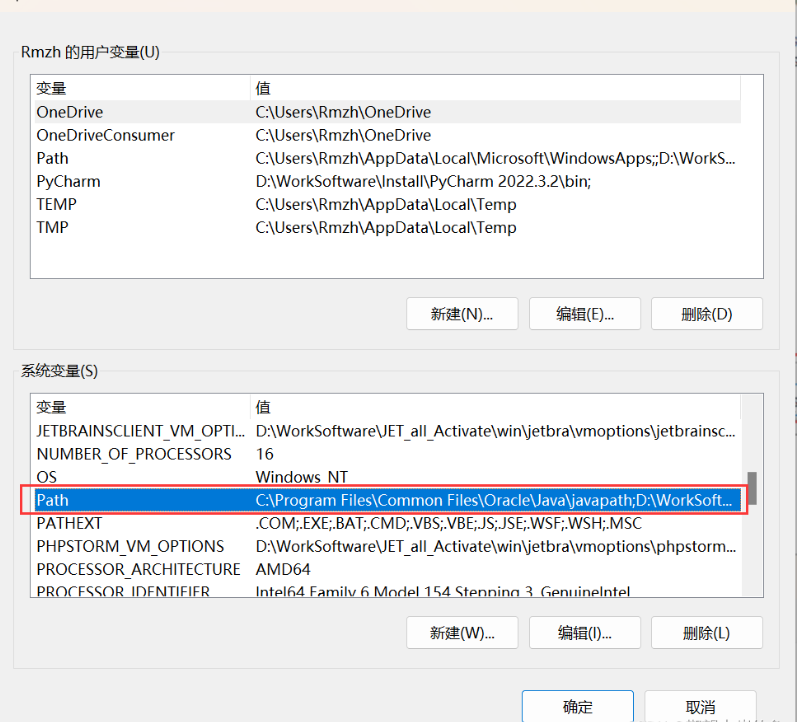
在path里面增加
简要说明五条路径的用途:这五个环境变量中,1是Python需要,2是conda自带脚本,3是jupyter notebook动态库, 4是使用C with python的时候
D:\WorkSoftware\Install\Anaconda3
D:\WorkSoftware\Install\Anaconda3\Scripts
D:\WorkSoftware\Install\Anaconda3\Library\bin
D:\WorkSoftware\Install\Anaconda3\Library\mingw-w64\bin(可以不装)
D:\WorkSoftware\Install\Anaconda3\Library\usr\bin
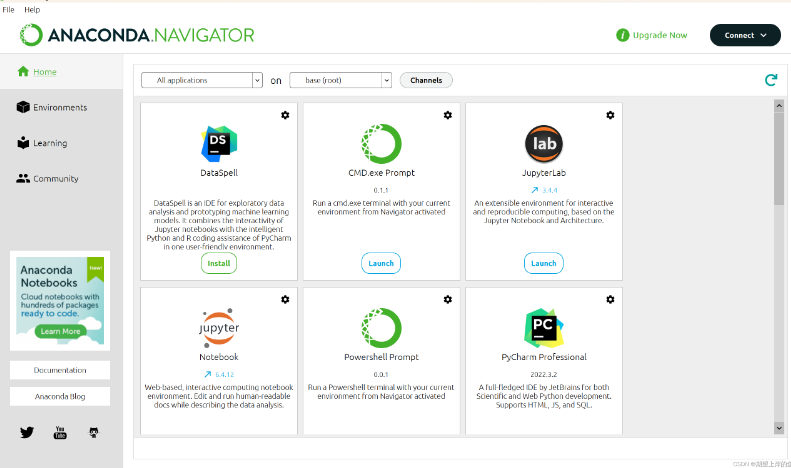
④ 检验
打开

出现此界面即为安装成功:
⑤ 更改conda源
(后续安装第三方库可以加快速度)

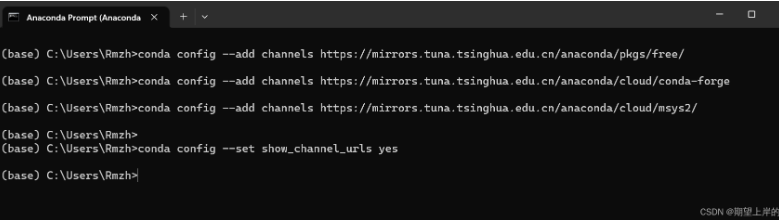
conda config --add channels https://mirrors.tuna.tsinghua.edu.cn/anaconda/pkgs/free/
conda config --add channels https://mirrors.tuna.tsinghua.edu.cn/anaconda/cloud/conda-forge
conda config --add channels https://mirrors.tuna.tsinghua.edu.cn/anaconda/cloud/msys2/

//设置搜索时显示通道地址
conda config --set show_channel_urls yes
查看是否修改好通道:
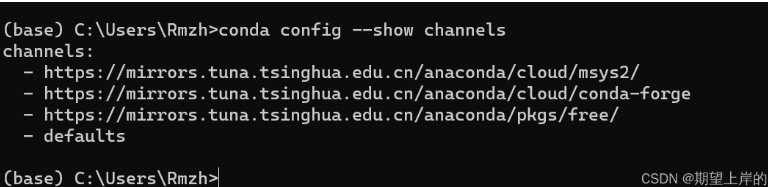
conda config --show channels
恢复默认源
conda config --remove-key channels
删除旧镜像源
conda config --remove channels https://mirrors.tuna.tsinghua.edu.cn/tensorflow/linux/cpu/
添加新镜像源
conda config --add channels https://mirrors.tuna.tsinghua.edu.cn/tensorflow/linux/cpu/
2.安装pytorch
很重要!!!不要把pytorch下载base环境里,最好新建一个虚拟环境
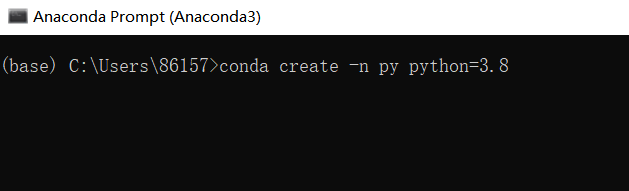
① 创建虚拟环境
打开

输入指令
conda create -n py python=3.8
(conda会自己下载python=3.8里的最新版),对应的包在anaconda包中的envs路径下。
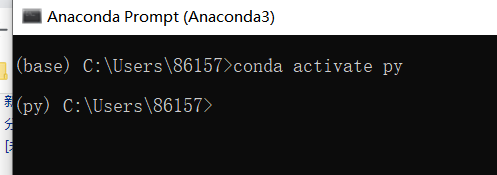
进入py虚拟环境
conda activate py
② 下载torch版本
conda install torch==1.9.0+cu102 torchvision==0.10.0+cu102 torchaudio===0.9.0 -f https://download.pytorch.org/whl/torch_stable.html

也可以根据自己的版本自己去官网下载
查看该虚拟环境已经安装好的包
conda list
查看已有的虚拟环境
conda info -e
③ 校验
在py的环境下输入

improt torch
torch.cuda.is_available()
出现“True”即为成功
- Anaconda3 Anaconda python3 pytorch 教程anaconda3 anaconda python3 pytorch anaconda3 anaconda pytorch服务器 anaconda3 anaconda教程2024.1 anaconda3 pip-script pip anaconda3 anaconda importerror anaconda3 anaconda glibcxx packages fastjsonschema site-packages anaconda3 anaconda3 anaconda ubuntu 23.04 anaconda3 anaconda anaconda3 anaconda centos7 centos