目录
一、Moco框架基本介绍
1. 什么是Moco
moco是一个简单搭建模拟服务器的程序库/工具,是一个简单单间stub的框架,主要用于测试和集成。
Mock可以提供以下协议和类型的mock服务:
- HTTP APIs
- Socket APIs
- REST API
2. Moco原理简介
- Moco会根据一些配置启动一个真正的HTTP服务(监听本地的某个端口)。当发起请求满足一个条件时,它就回复一个应答。Moco的底层没有依赖于像Servlet这样的重型框架,而是基于一个叫Netty网络应用框架,这样就绕过了复杂的应用服务器。
- Moco本身支持API和独立运行两种方式,通过使用API,测试开发人员可以在JUnit、JBehave等测试框架中使用Moco。也可以世界通过Json脚本使用。
3. Moco的配置和运行
java运行环境+moco-runner.0.11.0-standalone.jar
jar包的下载地址:
https://repo1.maven.org/maven2/com/github/dreamhead/moco-runner/0.11.0/
可以下载jar包:

4. Moco启动以及第一个demo
启动命令:
java -jar ./moco-runner-0.11.0-standalone.jar 服务类型 -p 端口号 -c json配置文件
例如:
java -jar ./moco-runner-0.11.0-standalone.jar http -p 8809 -c startup.json
如果要带路径:
java -jar "D:/moco-runner-0.11.0-standalone.jar" http -p 8809 -c "D:\startup.json"
说明:
本地启动了一个http Server,其中监听端口是8809,配置文件是 startup.json。用户可以在本机发起一个请求,如 http://localhost:8809,json不支持注释。description 字段中可以写注释。
二、mock 的启动及第一个demo
1. 创建startup.json文件
[
  {
    "description": "这是我们的第一个mock例子",
    "request": {
      "uri": "/demo"
    },
    "response": {
      "text": "Hello world"
    }
  }
]
2. 启动moco
java -jar ./moco-runner-0.11.0-standalone.jar http -p 8809 -c startup.json
3. 浏览器输入本地网址127.0.0.1:8809/demo
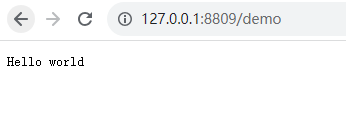
这个是一个不带参数的get方法
注意:修改json文件不用重新部署,服务热部署,会自动重启
三、不带参数的get方法:Method(GET)
[
{
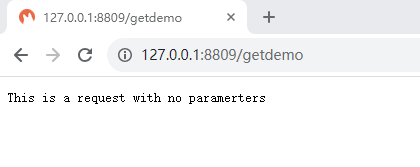
"description": "模拟一个没有参数的get请求",
"request": {
"uri": "/getdemo",
"method": "get"
},
"response": {
"text": "This is a request with no paramerters"
}
}
]
请求结果:
四、带参数的get方法:queries
[
{
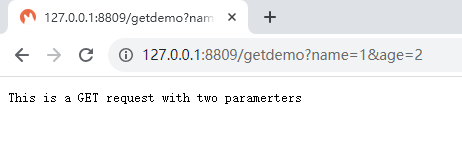
"description": "模拟一个有参数的get请求",
"request": {
"uri": "/getdemo",
"method": "get",
"queries": {
"name": "1",
"age": "2"
}
},
"response": {
"text": "This is a GET request with two paramerters"
}
}
]
请求结果:
五、不带参数的post方法:Method(Post)
- json内容:
[
{
"description": "模拟一个没有参数的post请求",
"request": {
"uri": "/postdemo",
"method": "post"
},
"response": {
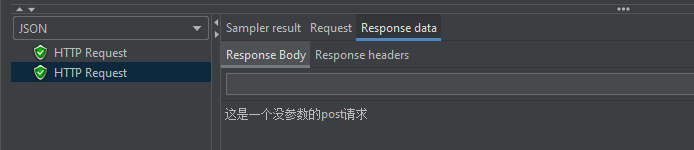
"text": "这是一个没参数的post请求",
"headers":{
"Content-Type":"text/html;charset=gbk"
}
}
}
]
- 启动:
java -jar ./moco-runner-0.11.0-standalone.jar http -p 8899 -c startupPost.json
- 使用jemeter做接口测试:
1)添加线程组
2)添加Sampler-HTTP请求
3)添加监听器-查看结果树
4)HTTP请求添加参数
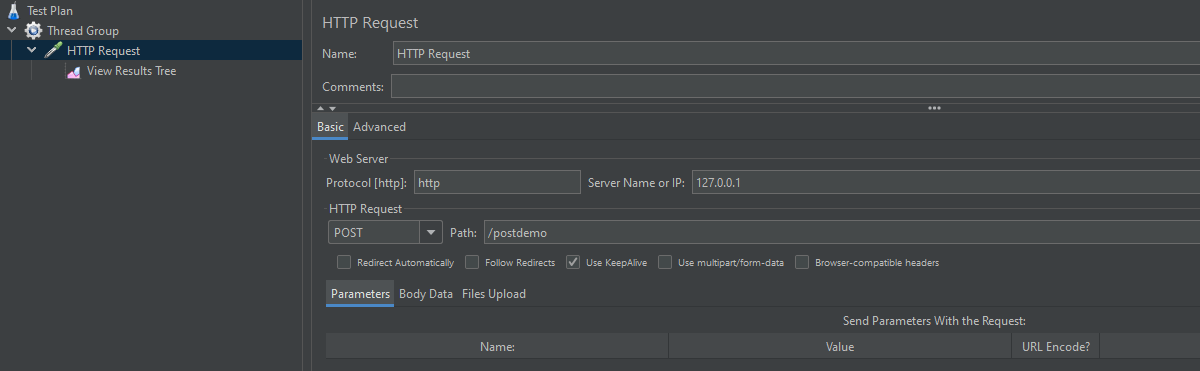
5)查看结果:

六、带参数的post方法:Forms
- json内容:
[
{
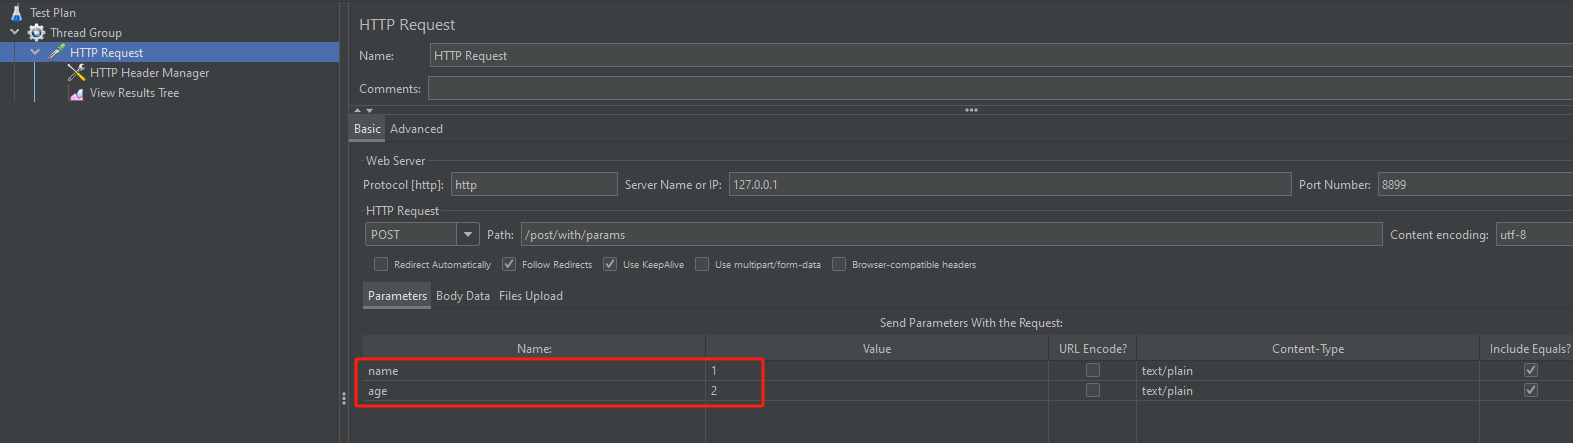
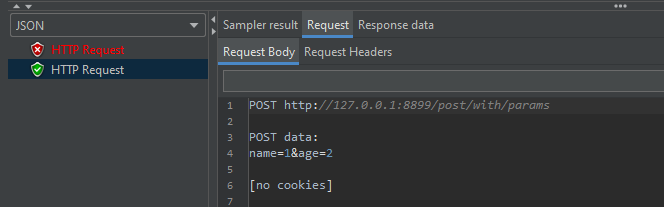
"description": "模拟一个有参数的post请求",
"request": {
"uri": "/with/params/postdemo",
"method": "post",
"forms": {
"name": "1",
"age": "2"
}
},
"response": {
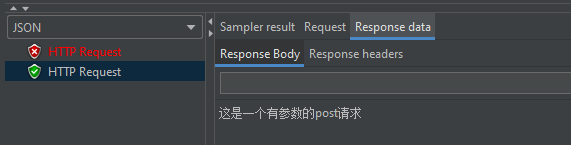
"text": "这是一个有参数的post请求",
"headers":{
"Content-Type":"text/html;charset=gbk"
}
}
}
]
- 启动:
java -jar ./moco-runner-0.11.0-standalone.jar http -p 8899 -c startupPost.json
- 使用jemeter做接口测试:
1)添加线程组
2)添加Sampler-HTTP请求和参数
3)添加监听器-查看结果树
七、Moco框架中如何加入Cookies
1. 请求中带cookies信息的get请求
- json内容:
[
 {
    "description":"这是一个request请求中带cookies信息的get请求",
    "request":{
      "uri":"/get/with/cookies",
      "method":"get",
      "cookies":{
        "login":"true"
      }
    },
    "response":{
      "text":"返回这是一个request请求中带cookies信息的get请求"
    }
  }
]
- 启动服务:
java -jar ./moco-runner-0.11.0-standalone.jar http -p 8899 -c startupPost.json
- 使用jmeter做接口测试:
1)添加线程组
2)添加Sampler-HTTP请求和参数

3)添加HTTP cookie管理器:

4)添加监听器-查看结果树

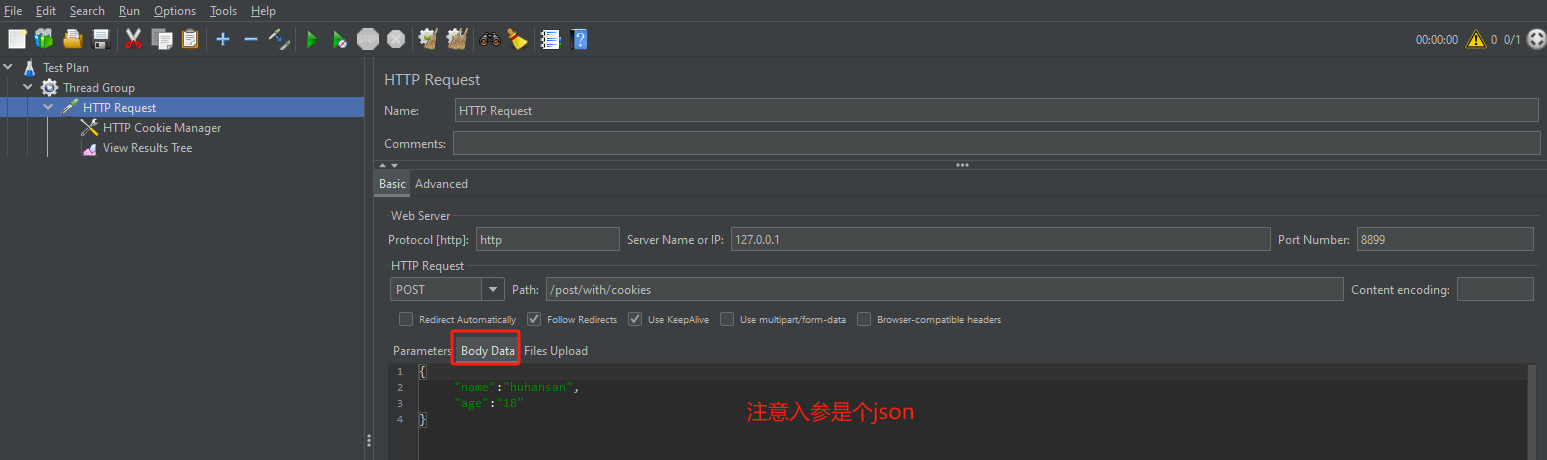
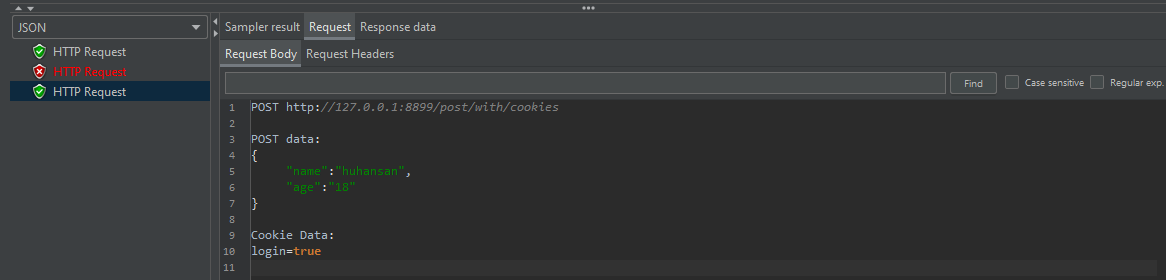
2. 请求中带cookies的post请求
- json内容:
[
{
  "description":"这是一个带cookies信息的post请求",
  "request":{
    "uri":"/post/with/cookies",
    "method":"post",
    "cookies":{
      "login":"true"
    },
    "json":{
      "name":"huhansan",
      "age":"18"
    }
  },
  "response":{
    "status":200,
    "json":{
      "huhansan":"success",
      "status":"1"
    },
    "headers":{
      "Content-Type":"text/html;charset=gbk"
    }
  }
}
]
- 使用jmeter做接口测试:
1)添加线程组
2)添加Sampler-HTTP请求和参数
3)添加HTTP cookie管理器:同上
4)添加监听器-查看结果树


3. response返回中带有cookies信息的get请求
- json内容:
[
{
  "description":"模拟response返回中带有cookies信息的get请求",
  "request":{
    "uri":"/resopnse/with/cookies",
    "method":"get"
  },
  "response":{
    "cookies":{
      "login":"true",
      "token":"1234567890"

    },
    "json":{
      "name":"zhoujielun",
      "age":"38"
    }
  }
}
]
- 使用jmeter做接口测试:
1)添加线程组
2)添加Sampler-HTTP请求和参数

3)添加监听器-查看结果树


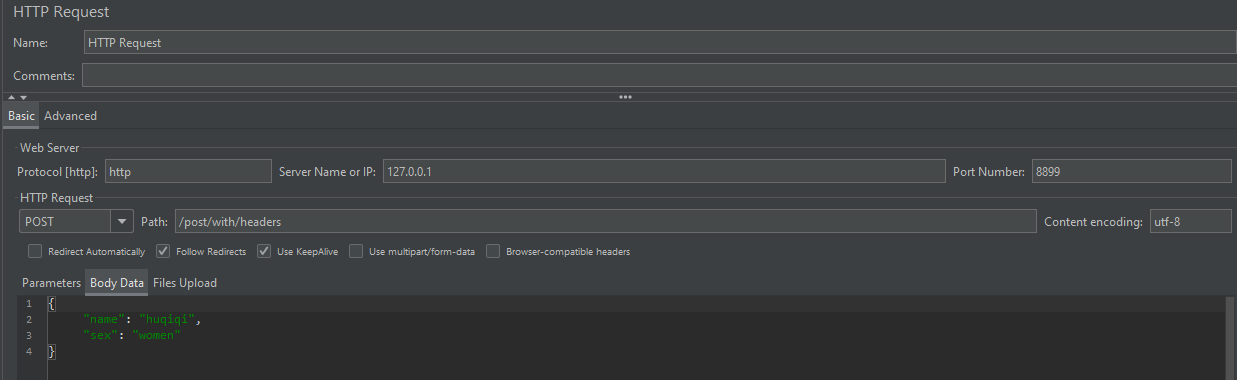
4. 带header信息的post请求
- json内容:
[
{
"description":"这是一个带header信息的post请求",
"request":{
"uri":"/post/with/headers",
"method":"post",
"headers":{
"content-type":"application/json"
},
"json":{
"name":"huqiqi",
"sex":"women"
}
},
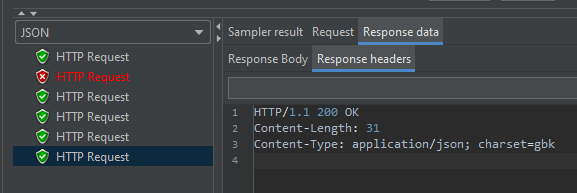
"response":{
"json":{
"huqiqi":"success",
"status":1
}
}
]
- 使用jmeter做接口测试:
1)添加线程组
2)添加Sampler-HTTP请求和参数
- jemeter添加HTTP信息头管理器:


4)添加监听器-查看结果树


八、Moco框架中如何进行重定向
1. 有重定向的接口(redirectTo)
- json内容:
[
{
"description":"模拟重定向接口",
"request":{
"uri":"/redirectto"
},
"redirectTo":"/redirectedpath"
},
{
"description":"模拟被重定向的接口",
"request":{
"uri":"/redirectedpath"
},
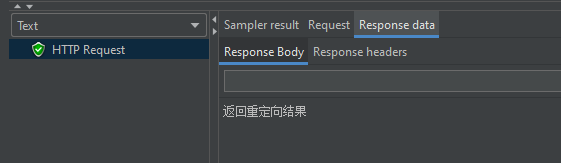
"response":{
"text":"返回重定向结果",
"headers":{
"Content-Type":"text/html;charset=gbk"
}
}
}
]
- 使用jmeter做接口测试:
1)添加线程组
2)添加Sampler-HTTP请求和参数:HTTP请求勾选Follow Redirects(跟随重定向):
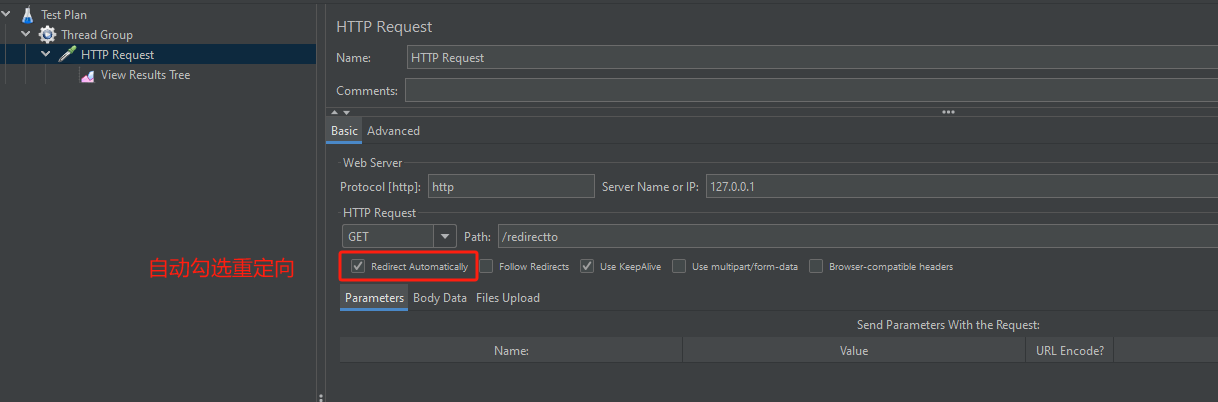
3)添加监听器-查看结果树

九、Moco框架响应
1. 约定以指定json作为响应
[
  {
    "request":{
      "uri":"/responseJson"
    },
    "response":{
      "json":{
        "username":"mocor"
      }
    }
  }
]
2. 约定Status:模拟各种状态码以达到我们测试需要的结果
[
  {
    "request":{
      "uri":"/responseStatus"
    },
    "response":{
      "status":200
    }
  }
]
3. 约定响应Headers
[
  {
    "request":{
      "uri":"/responseHeaders"
    },
    "response":{
      "headers":{
        "content-type":"application/json"
      }
    }
  }
]
4. 约定响应Cookies
[
  {
    "request":{
      "uri":"/responseCookies"
    },
    "response":{
      "cookies":{
        "username":"chenlei"
      }
    }
  }
]