问题
前端使用了ffmpeg压缩组件,在运行项目出现 SharedArrayBuffer is not defined的问题,使项目不能正常运行,经过网上查询,需要在response加入以下的head:
Cross-Origin-Opener-Policy: same-origin

Cross-Origin-Embedder-Policy: require-corp
尝试在后端系统中,在拦截器的prehandler给reponse加入者两个头,加入后项目可正常运行。又将项目挂到测试服务器上,却发现又报了 SharedArrayBuffer is not defined的问题。经过查证,这个东西跑在线上的服务器,需要https才能正常使用,于是尝试给服务器安装https证书以及申请证书。由于服务器没有域名,这里为服务器申请纯ip的证书,使用zeroSSL网站进行申请,申请完毕后拿到以下证书文件:
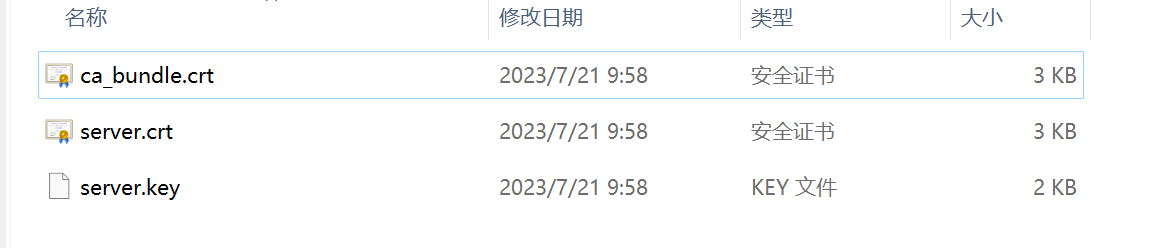
需要在springBoot中启用https,并且将上面的crt文件改成p12。
openSSL 的bin目录下 cmd,输入
openssl pkcs12 -export -clcerts -in server.crt -inkey servery.key -out server.p12
- server.crt 替换为你的 crt 文件
- server.key 替换为你的 key 文件
- 记住输入的密码,后面会用到application里面
- 执行此命令,生成了我们需要的 p12 文件,将其复制到 spring boot 项目下,和 application.properties 平级。
springboot项目配置
1 server
2   ssl:
3     key-store: server.p12
4     key-store-password: xxxx
5     key-store-type: PKCS12
6     enabled: true
然后再启动类中配置如下代码,实现全部Http请求转Https
 1  @Bean
 2     public ServletWebServerFactory servletContainer() {
 3         TomcatServletWebServerFactory tomcat = new TomcatServletWebServerFactory(){
 4             protected void postProcessContext(Context context) {
 5                 SecurityConstraint securityConstraint = new SecurityConstraint();
 6                 securityConstraint.setUserConstraint("CONFIDENTIAL");
 7                 SecurityCollection collection = new SecurityCollection();
 8                 collection.addPattern("/*");
 9                 securityConstraint.addCollection(collection);
10                 context.addConstraint(securityConstraint);
11             }
12         };
13         tomcat.addAdditionalTomcatConnectors(httpConnector());
14         return tomcat;
15     }
16
17     @Bean
18     public Connector httpConnector() {
19         Connector connector = new Connector("org.apache.coyote.http11.Http11NioProtocol");
20         connector.setScheme("http");
21         connector.setPort(80);  //Connector监听的http的端口号
22         connector.setSecure(false);
23         connector.setRedirectPort(8181); //监听到http的端口号后转向到的https的端口号
24         return connector;
25     }
将证书放到nginx的config目录下,配置443端口转发到应用端口8181:
server {
        listen       443 ssl;
        ssl_certificate "/etc/nginx/server.crt";
        ssl_certificate_key "/etc/nginx/server.key";
    ##下面信息要根据实际去配
        ssl_session_cache    shared:SSL:1m;
        ssl_session_timeout  5m;
		ssl_ciphers  HIGH:!aNULL:!MD5;
   		ssl_prefer_server_ciphers  on;

    location / {
     proxy_set_header X-Real-IP $remote_addr;
    ##下面信息要根据实际需求去配用
        proxy_set_header X-Forwarded-For $proxy_add_x_forwarded_for;
        proxy_set_header Host  $http_host;
        proxy_set_header X-Nginx-Proxy true;
        proxy_set_header Connection "";
        add_header Content-Security-Policy "upgrade-insecure-requests";
        proxy_pass https://127.0.0.1:8181;
        proxy_redirect default;
    }

}
其中add_header Content-Security-Policy "upgrade-insecure-requests"这一行是为了解决以下的错误
chunk-libs.8b3cc80f.js:70 Mixed Content: The page at 'https://xx' was loaded over HTTPS, but requested an insecure XMLHttpRequest endpoint 'http://xxx'. This request has been blocked; the content must be served over HTTPS.
配置成功后用https+服务器ip+服务Url,访问项目,压缩功能可以正常使用,不再报错。