在 Android Studio 中,Fragment 是一种可重用的 UI 组件,它代表了 Activity 中的一部分界面。它类似于 Activity,但是可以被添加、删除和替换,同时可以与其他 Fragment 组合在一起形成更复杂的 UI 界面。通常情况下,Activity 由多个 Fragment 组成,每个 Fragment 都有自己的布局和功能,可以通过代码进行添加、删除和替换。
Fragment 可以看作是 Activity 中的子页面,每个 Fragment 都有自己的布局和逻辑代码,可以单独进行管理和维护。同时,Fragment 可以灵活地适应不同的屏幕尺寸和设备类型,使得应用程序在各种设备上都能够自适应。例如,可以在平板电脑上同时显示两个 Fragment,而在手机上只显示一个。
使用 Fragment 的好处有很多。其中最重要的是,它可以使应用程序的代码更加模块化和可重用,减少代码的复杂度和维护成本。另外,使用 Fragment 还可以提高应用程序的性能,因为它可以使应用程序更加灵活和高效地管理 UI 界面。
在 Android Studio 中,可以通过向项目中添加一个 Fragment 来创建一个新的 Fragment。然后,可以使用 FragmentTransaction 类来管理 Fragment 的添加、删除和替换。同时,也可以使用 FragmentManager 来管理 Fragment 的生命周期,例如创建、启动、暂停、恢复、停止和销毁等。在使用 Fragment 的过程中,还需要了解 Fragment 的一些基本概念和技术,例如 Fragment 的生命周期、Fragment 之间的通信、Fragment 的回退栈等。
创建一个新的 Fragment:
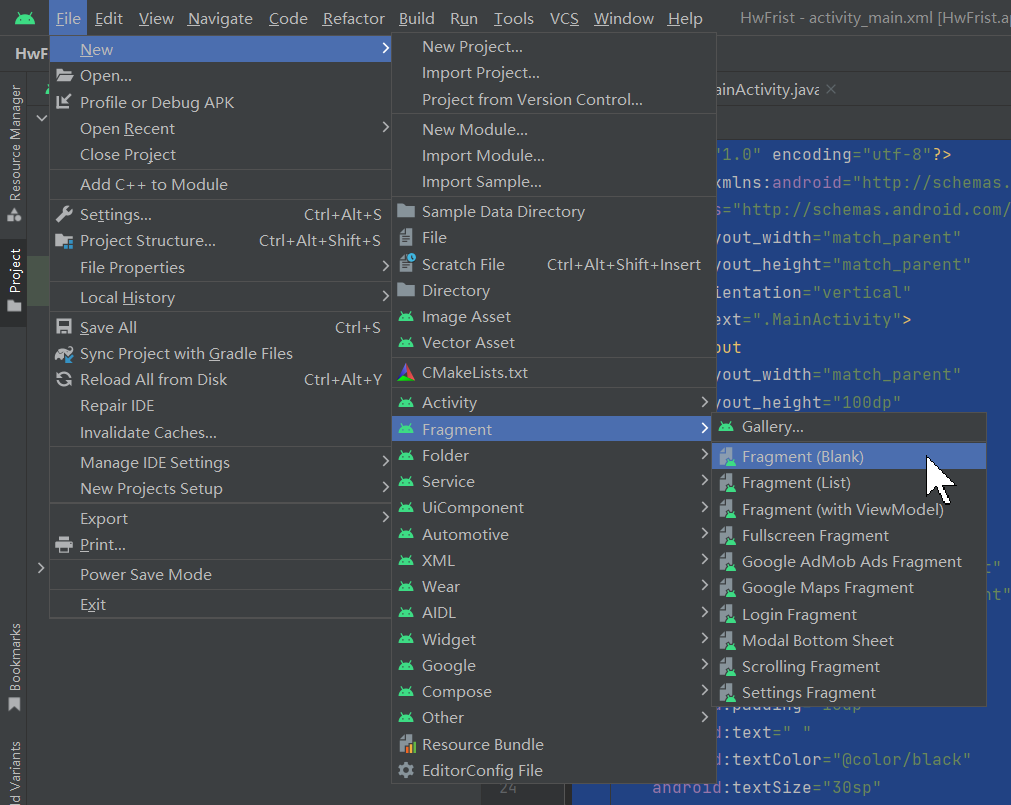
在 Android Studio 中,可以使用模板来创建一个新的 Fragment。选择 File -> New -> Fragment -> Fragment (Blank)。这将创建一个新的 Fragment 类,其中包含了一些基本的代码。
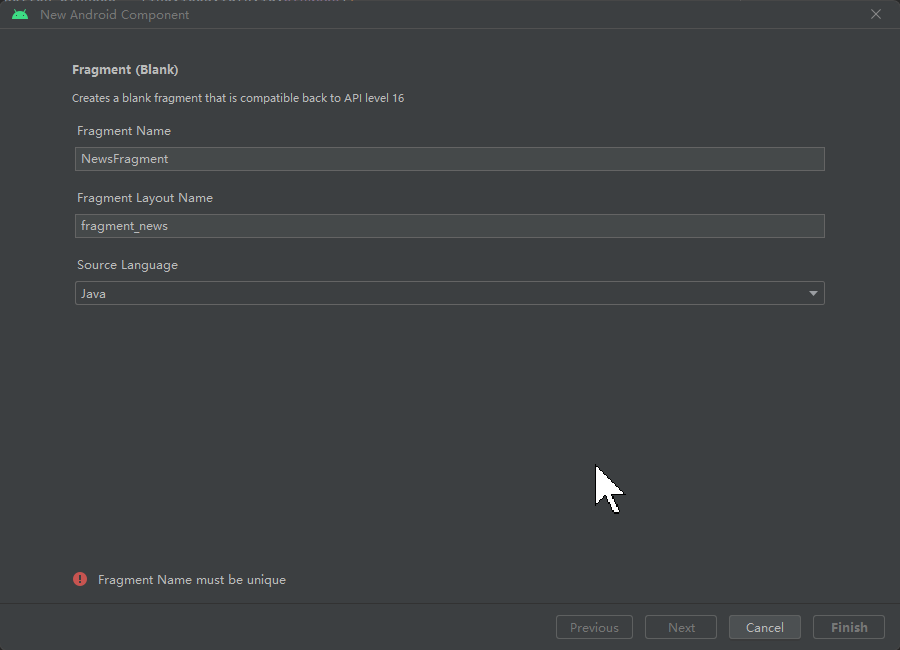
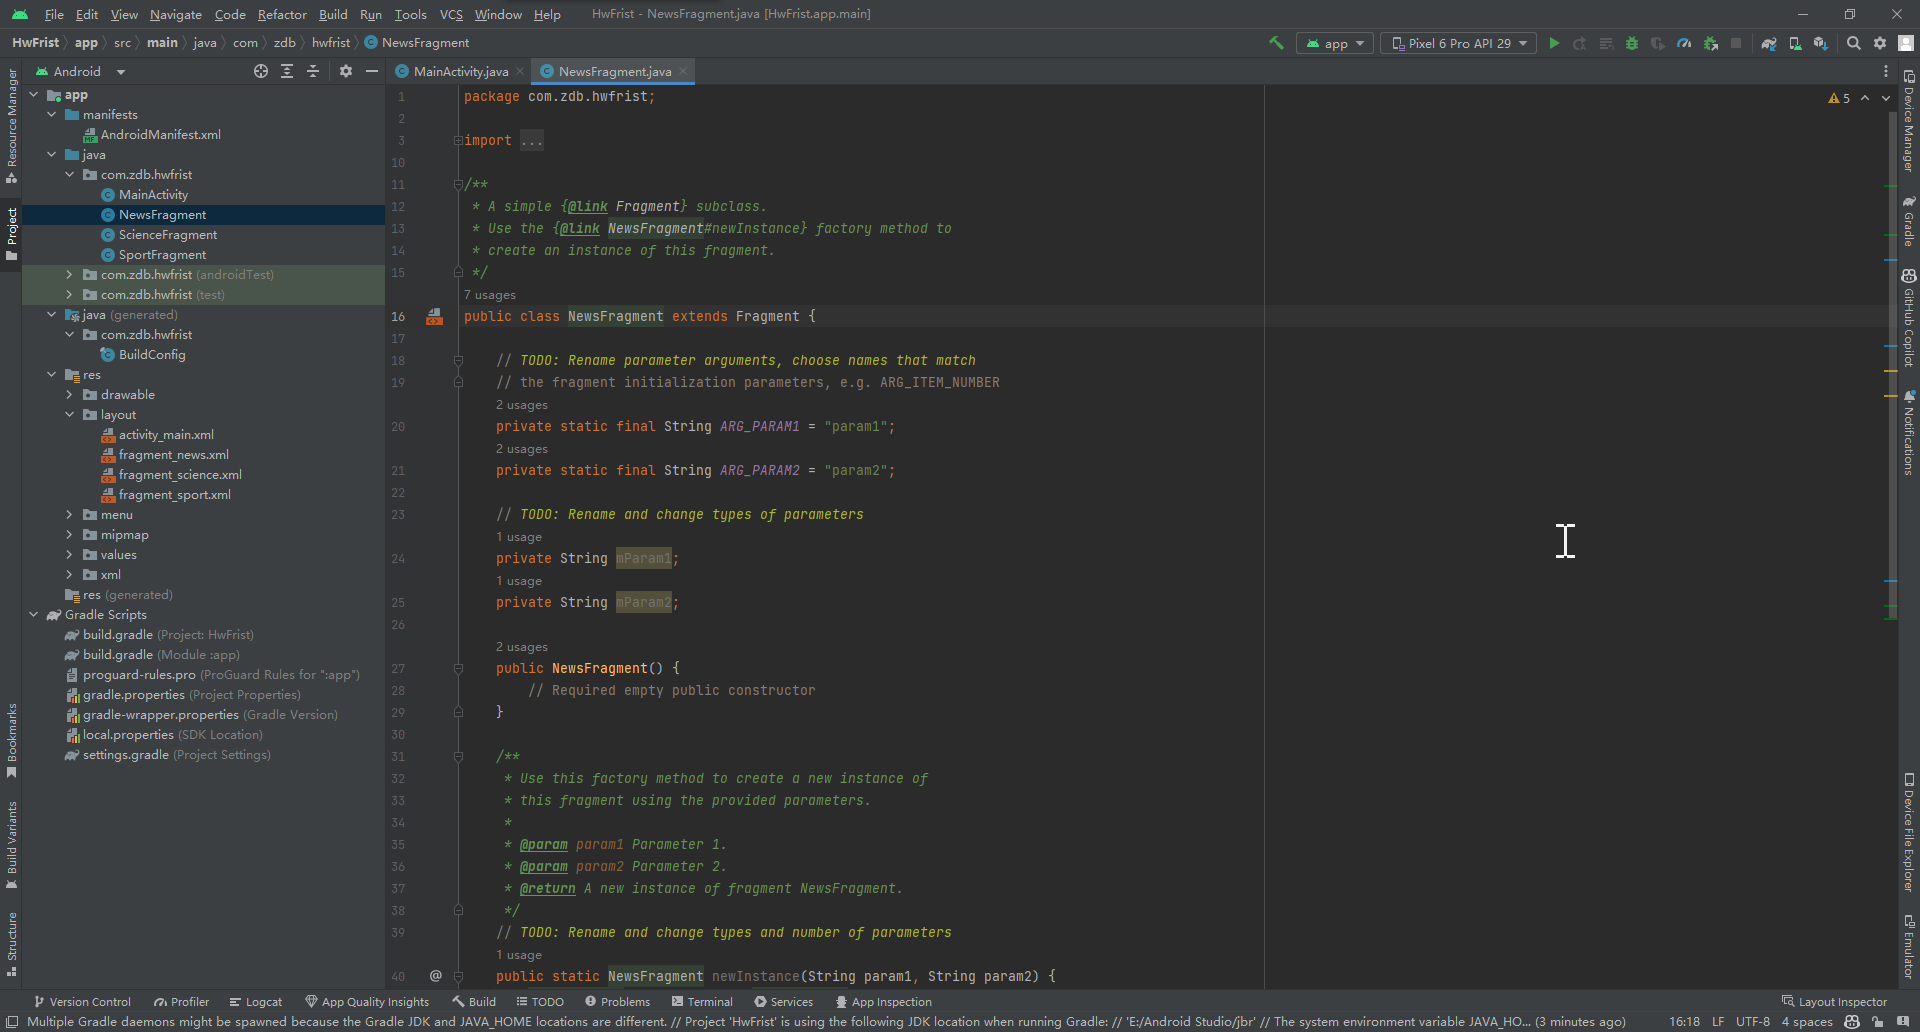
不仅会生成NewsFragment.java还有fragment_news.xml
接着再生成两个,SportsFrgment和SportsFrgment
然后会生成相应的文件和基本代码
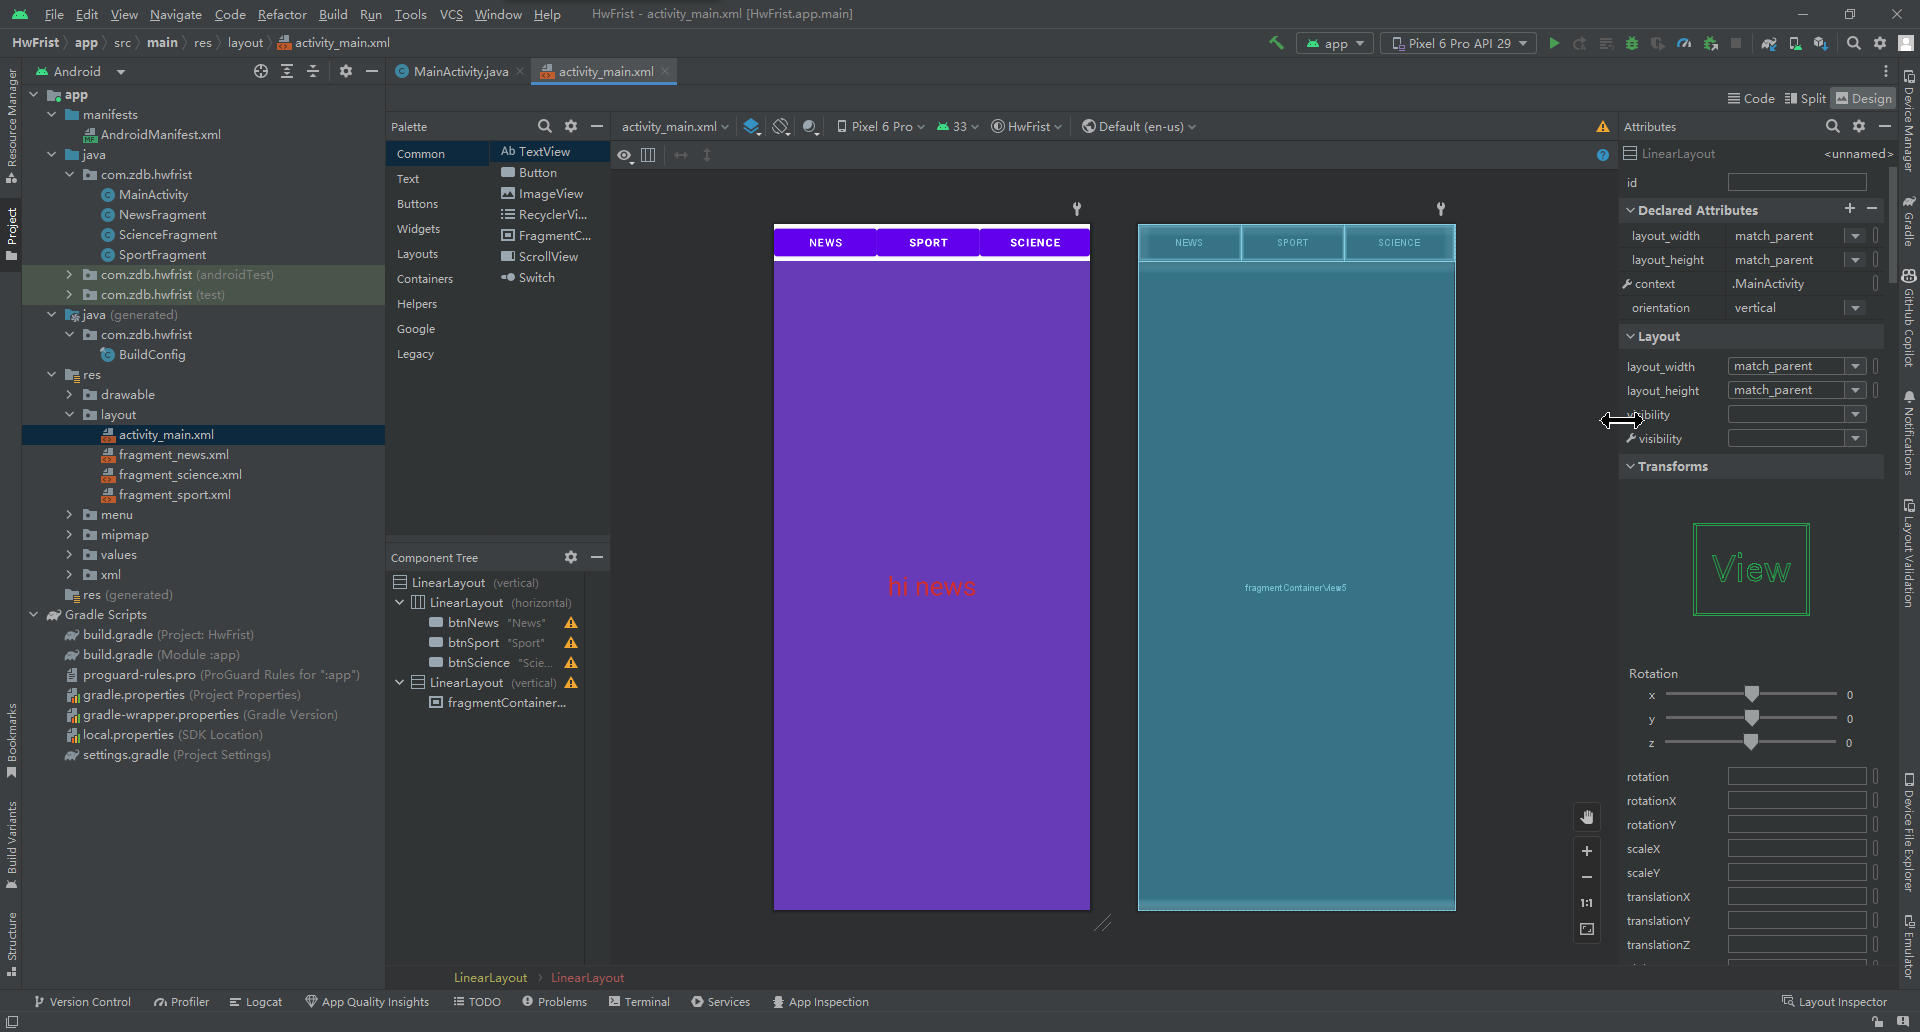
编辑activity_main.xml和fragment_news.xml
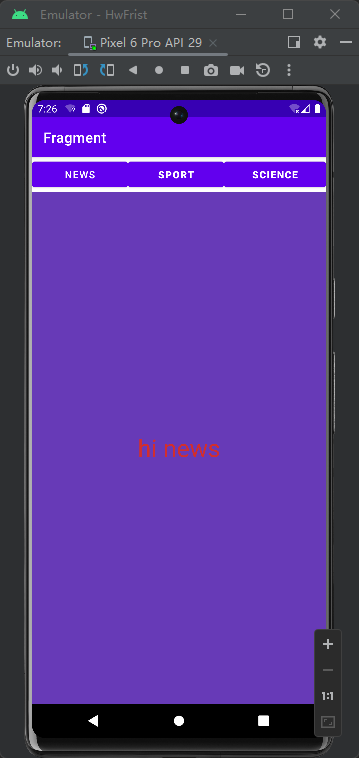
activity_main.xml中创建了一个TextView显示主页,下面有三个按键
<?xml version="1.0" encoding="utf-8"?>

<LinearLayout xmlns:android="http://schemas.android.com/apk/res/android"
    xmlns:tools="http://schemas.android.com/tools"
    android:layout_width="match_parent"
    android:layout_height="match_parent"
    android:orientation="vertical"
    tools:context=".MainActivity">


    <LinearLayout
        android:layout_width="match_parent"
        android:layout_height="wrap_content">

        <Button
            android:id="@+id/btnNews"
            android:layout_width="wrap_content"
            android:layout_height="wrap_content"
            android:layout_weight="1"
            android:text="News" />

        <Button
            android:id="@+id/btnSport"
            android:layout_width="wrap_content"
            android:layout_height="wrap_content"
            android:layout_weight="1"
            android:text="Sport"
            android:textStyle="bold" />

        <Button
            android:id="@+id/btnScience"
            android:layout_width="wrap_content"
            android:layout_height="wrap_content"
            android:layout_weight="1"
            android:text="Science"
            android:textStyle="bold" />

    </LinearLayout>

    <LinearLayout
        android:layout_width="match_parent"
        android:layout_height="wrap_content"
        android:layout_weight="1"
        android:orientation="vertical">

        <androidx.fragment.app.FragmentContainerView
            android:id="@+id/fragmentContainerView5"
            android:name="com.zdb.hwfrist.NewsFragment"
            android:layout_width="match_parent"
            android:layout_height="match_parent"
            android:tag="mytag"
            tools:layout="@layout/fragment_news" />
    </LinearLayout>

</LinearLayout>
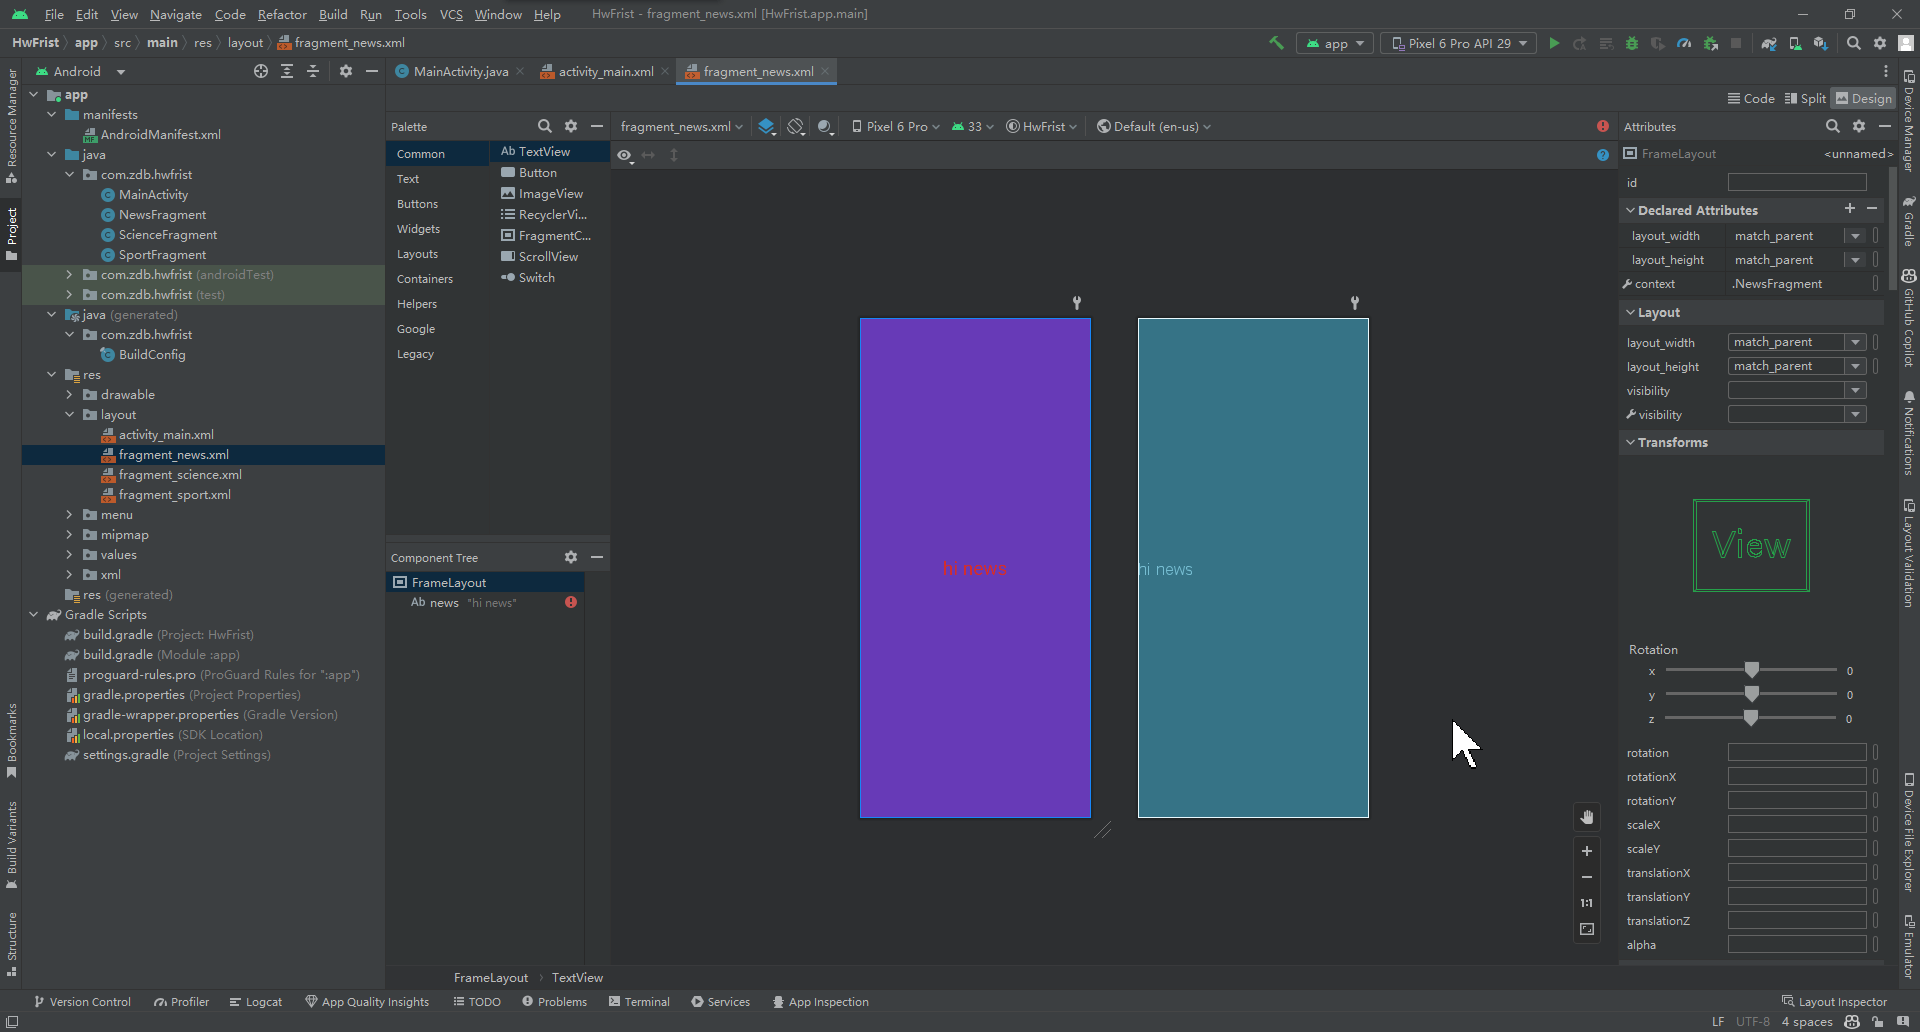
fragment_main.xml只是创建了一个TextView,用来覆盖activity_main.xml中第二个LinearLayout。
<?xml version="1.0" encoding="utf-8"?>
<FrameLayout xmlns:android="http://schemas.android.com/apk/res/android"
    xmlns:tools="http://schemas.android.com/tools"
    android:layout_width="match_parent"
    android:layout_height="match_parent"
    tools:context=".NewsFragment">

    <!-- TODO: Update blank fragment layout -->
    <TextView
        android:id="@+id/news"
        android:layout_width="match_parent"
        android:layout_height="match_parent"
        android:background="#673AB7"
        android:gravity="center"
        android:text="hi news"
        android:textColor="#D12E2E"
        android:textSize="34sp" />

</FrameLayout>
将另外两个xml也修改完成
<?xml version="1.0" encoding="utf-8"?>
<FrameLayout xmlns:android="http://schemas.android.com/apk/res/android"
    xmlns:tools="http://schemas.android.com/tools"
    android:layout_width="match_parent"
    android:layout_height="match_parent"
    tools:context=".ScienceFragment">

    <!-- TODO: Update blank fragment layout -->

    <TextView
        android:id="@+id/science"
        android:layout_width="match_parent"
        android:layout_height="match_parent"
        android:background="#1E99D1"
        android:gravity="center"
        android:text="hi Science"
        android:textColor="#D12E2E"
        android:textSize="34sp" />

</FrameLayout>
<?xml version="1.0" encoding="utf-8"?>
<FrameLayout xmlns:android="http://schemas.android.com/apk/res/android"
    xmlns:tools="http://schemas.android.com/tools"
    android:layout_width="match_parent"
    android:layout_height="match_parent"
    tools:context=".SportFragment">

    <!-- TODO: Update blank fragment layout -->
    <TextView
        android:id="@+id/sport"
        android:layout_width="match_parent"
        android:layout_height="match_parent"
        android:background="#D58613"
        android:gravity="center"
        android:text="hi Sport"
        android:textColor="#D12E2E"
        android:textSize="34sp" />


</FrameLayout>
编辑MainActivity.java
导入基本包,包括Fragment的包
package com.zdb.hwfrist;

import androidx.appcompat.app.AppCompatActivity;

import androidx.fragment.app.FragmentManager;
import androidx.fragment.app.FragmentTransaction;

import android.os.Bundle;
import android.view.View;
import android.widget.Button;
在主函数写入点击事件
Button btnnews = findViewById(R.id.btnNews);
        btnnews.setOnClickListener(new View.OnClickListener() {
            @Override
            public void onClick(View view) {
                FragmentManager fm = getSupportFragmentManager();
                fm.beginTransaction()
                        .replace(R.id.fragmentContainerView5,  new NewsFragment(), null)
                        .setReorderingAllowed(true)
                        .addToBackStack("name")
                        .commit();
            }
        });
这段代码主要用于设置一个按钮(btnnews),并为该按钮设置一个点击事件监听器。点击按钮时,将执行以下操作:
1.从视图中获取 FragmentManager
2.开始一个新的 Fragment 事务,并替换一个指定的 fragment(R.id.fragmentContainerView5) 为一个新的 NewsFragment。
3.设置重新排序的标志,以确保操作是正确的。
4.添加事务到回退栈中,并指定回退栈的名称为 "name"。
5.提交事务以完成操作。
这段代码主要用于在按钮点击时启动一个新的 Fragment 来显示新闻内容。通过将事务添加到回退栈中,用户可以通过按下“返回”按钮返回之前的 Fragment。
完整代码
package com.zdb.hwfrist;

import androidx.appcompat.app.AppCompatActivity;

import androidx.fragment.app.FragmentManager;
import androidx.fragment.app.FragmentTransaction;

import android.os.Bundle;
import android.view.View;
import android.widget.Button;


public class MainActivity extends AppCompatActivity {

    @Override
    protected void onCreate(Bundle savedInstanceState) {
        super.onCreate(savedInstanceState);
        setContentView(R.layout.activity_main);

        Button btnnews = findViewById(R.id.btnNews);
        btnnews.setOnClickListener(new View.OnClickListener() {
            @Override
            public void onClick(View view) {
                FragmentManager fm = getSupportFragmentManager();
                fm.beginTransaction()
                        .replace(R.id.fragmentContainerView5,  new NewsFragment(), null)
                        .setReorderingAllowed(true)
                        .addToBackStack("name")
                        .commit();
            }
        });
        Button btnsport = findViewById(R.id.btnSport);
        btnsport.setOnClickListener(new View.OnClickListener() {
            @Override
            public void onClick(View view) {
                FragmentManager fm = getSupportFragmentManager();
                FragmentTransaction ft = fm.beginTransaction();
                ft.replace(R.id.fragmentContainerView5, new SportFragment(), null);
                ft.commit();
            }
        });
        Button btnscience = findViewById(R.id.btnScience);
        btnscience.setOnClickListener(new View.OnClickListener() {
            @Override
            public void onClick(View view) {
                FragmentManager fm = getSupportFragmentManager();
                fm.beginTransaction()
                        .replace(R.id.fragmentContainerView5, new ScienceFragment(), null)
                        .setReorderingAllowed(true)
                        .addToBackStack("name")
                        .commit();
            }
        });
    }
}
演示