一、修改Program.cs代码,注册为 Windows Service
如果不注册builder.Host.UseWindowsService(); 安装为window服务会启动报错
安装NuGet包
Microsoft.Extensions.Hosting.WindowsServices
Program.cs代码
var builder = WebApplication.CreateBuilder(args);
// Add services to the container.
builder.Services.AddControllersWithViews();
builder.Host.UseWindowsService();
builder.WebHost.UseUrls("http://*:5010");
var app = builder.Build();
// Configure the HTTP request pipeline.
if (!app.Environment.IsDevelopment())
{
app.UseExceptionHandler("/Home/Error");
// The default HSTS value is 30 days. You may want to change this for production scenarios, see https://aka.ms/aspnetcore-hsts.
app.UseHsts();
}
app.UseHttpsRedirection();
app.UseStaticFiles();
app.UseRouting();
app.UseAuthorization();
app.MapControllerRoute(
name: "default",
pattern: "{controller=Home}/{action=Index}/{id?}");
app.Run();
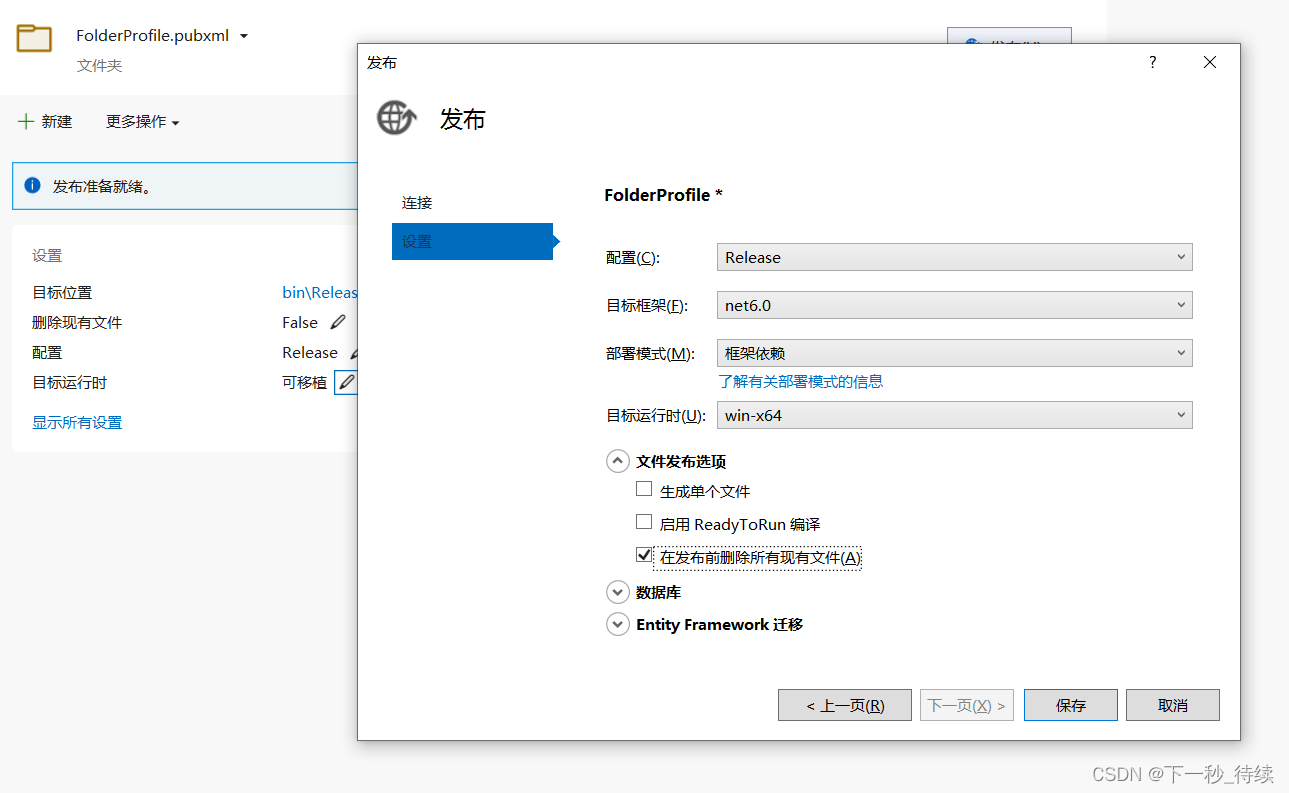
二、发布项目
1、以文件夹形式
2、目标运行时选对应的平台(本Coder是:winx-64)
3、文件夹选项:在发布前删除所有现有文件

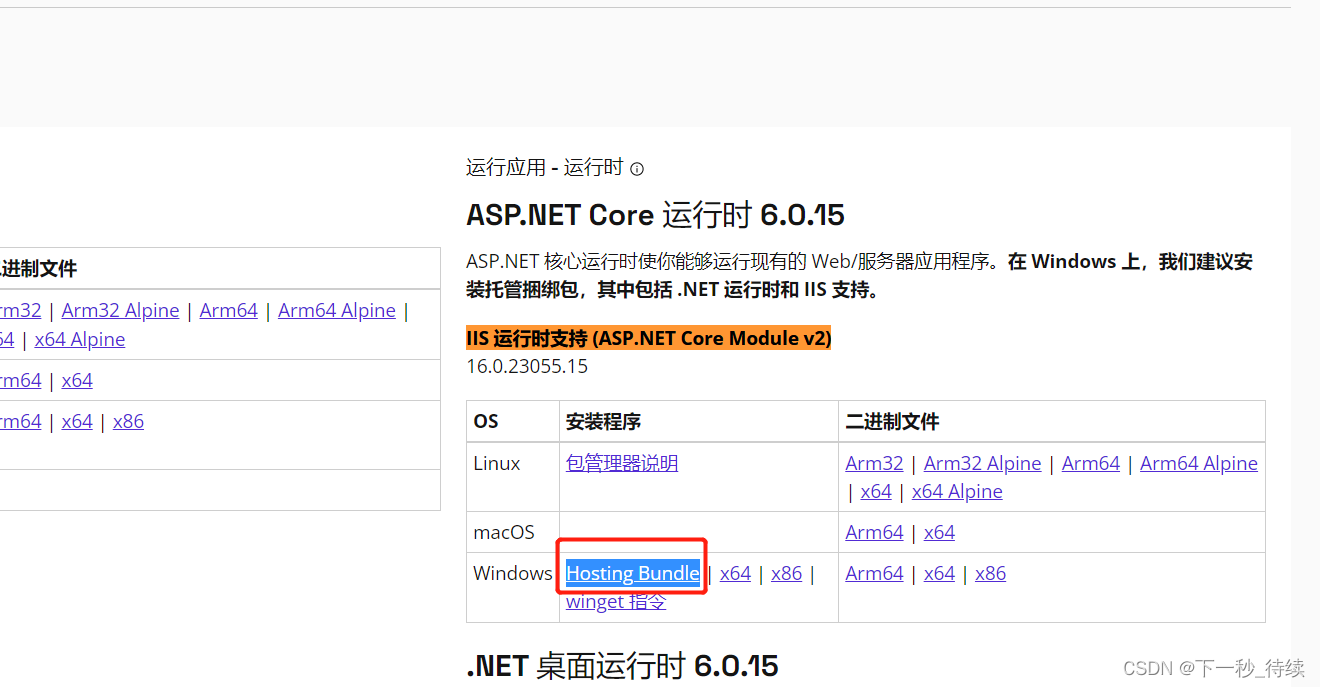
三、部署到IIS
1、需要安装 Hosting Bundle IIS 运行时支持 (ASP.NET Core Module v2)
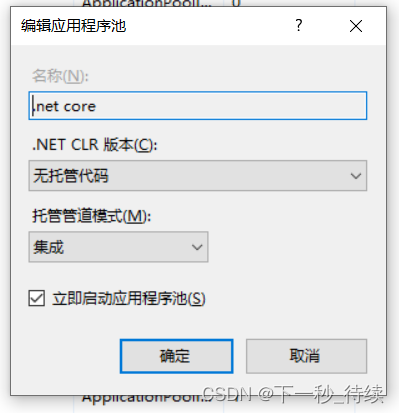
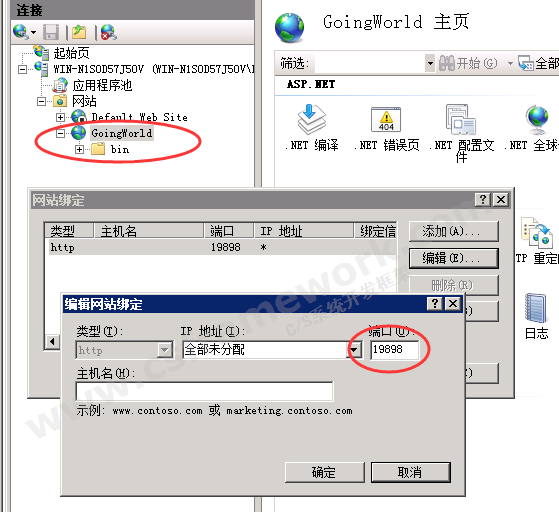
2、IIS部署项目
官方版本地址:https://dotnet.microsoft.com/download/dotnet
.NET 6.0地址:https://dotnet.microsoft.com/zh-cn/download/dotnet/6.0

端口与自己API里的一致,正常布置在服务器上时IIS的80应该给网站用,WebApi需要用其它端口
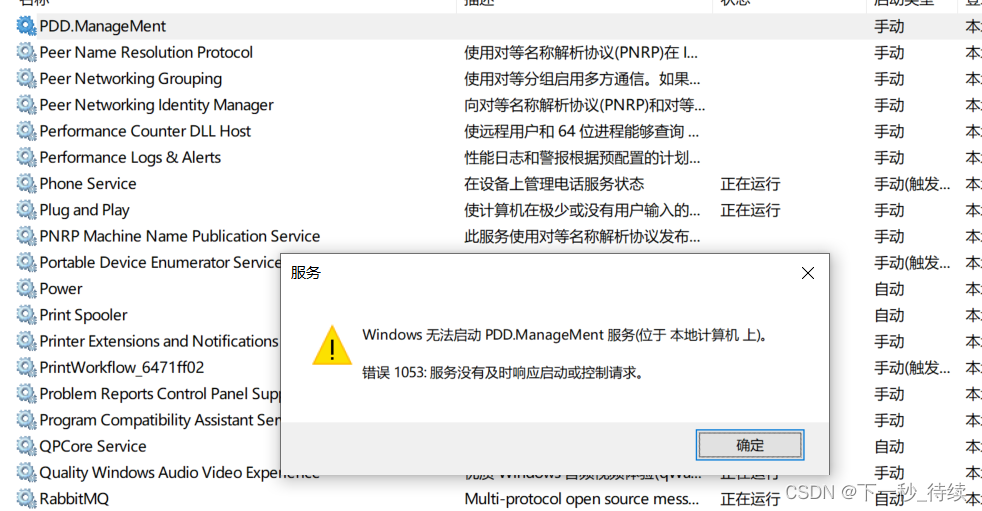
四、以windows部署,安装windows服务
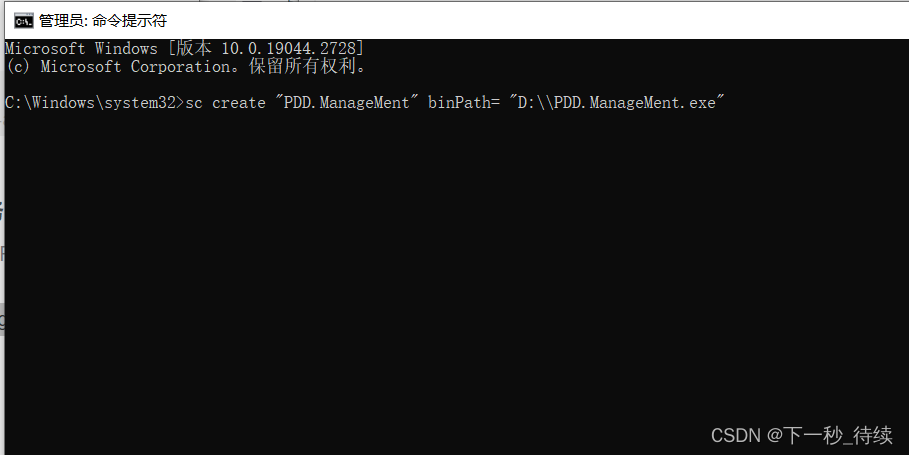
1、安装win服务:sc create “windows服务名称” binPath=(空格)“发布的项目路径.exe“
例如:sc create ”PDD.ManageMent” binPath= “D:\PDD.ManageMent.exe”
2、卸载win服务:sc delete ”PDD.ManageMent"
命令提示符,以管理员身份运行
启动win服务

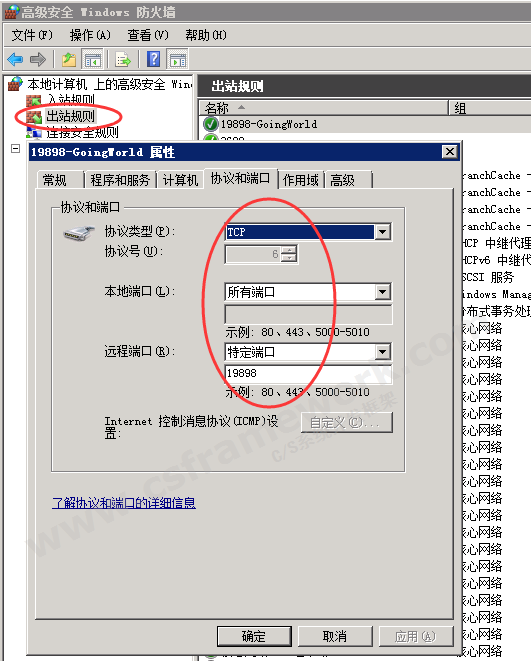
五、浏览器打开端口,看成果,如果出不来,防火墙里要加入的端口

版权声明:本文为CSDN博主「下一秒_待续」的原创文章,遵循CC 4.0 BY-SA版权协议,转载请附上原文出处链接及本声明。
原文链接:https://blog.csdn.net/chinaplan/article/details/129767623