地址:https://www.codewithharry.com/blogpost/install-phpmyadmin-ubuntu/
Installing phpMyAdmin and adding password authentication to MySQL on Ubuntu
In this video, we will see how to install and secure phpMyAdmin on Ubuntu 20.04. phpMyAdmin was created to easily interact with MySQL databases using a web-based interface. I will assume that you have configured a non-root user on your ubuntu machine and installed the lamp stack.
We will also see how to enable password authentication on MySQL which supports socket-based authentication by default.
Step 1 - Installing PHPMyAdmin
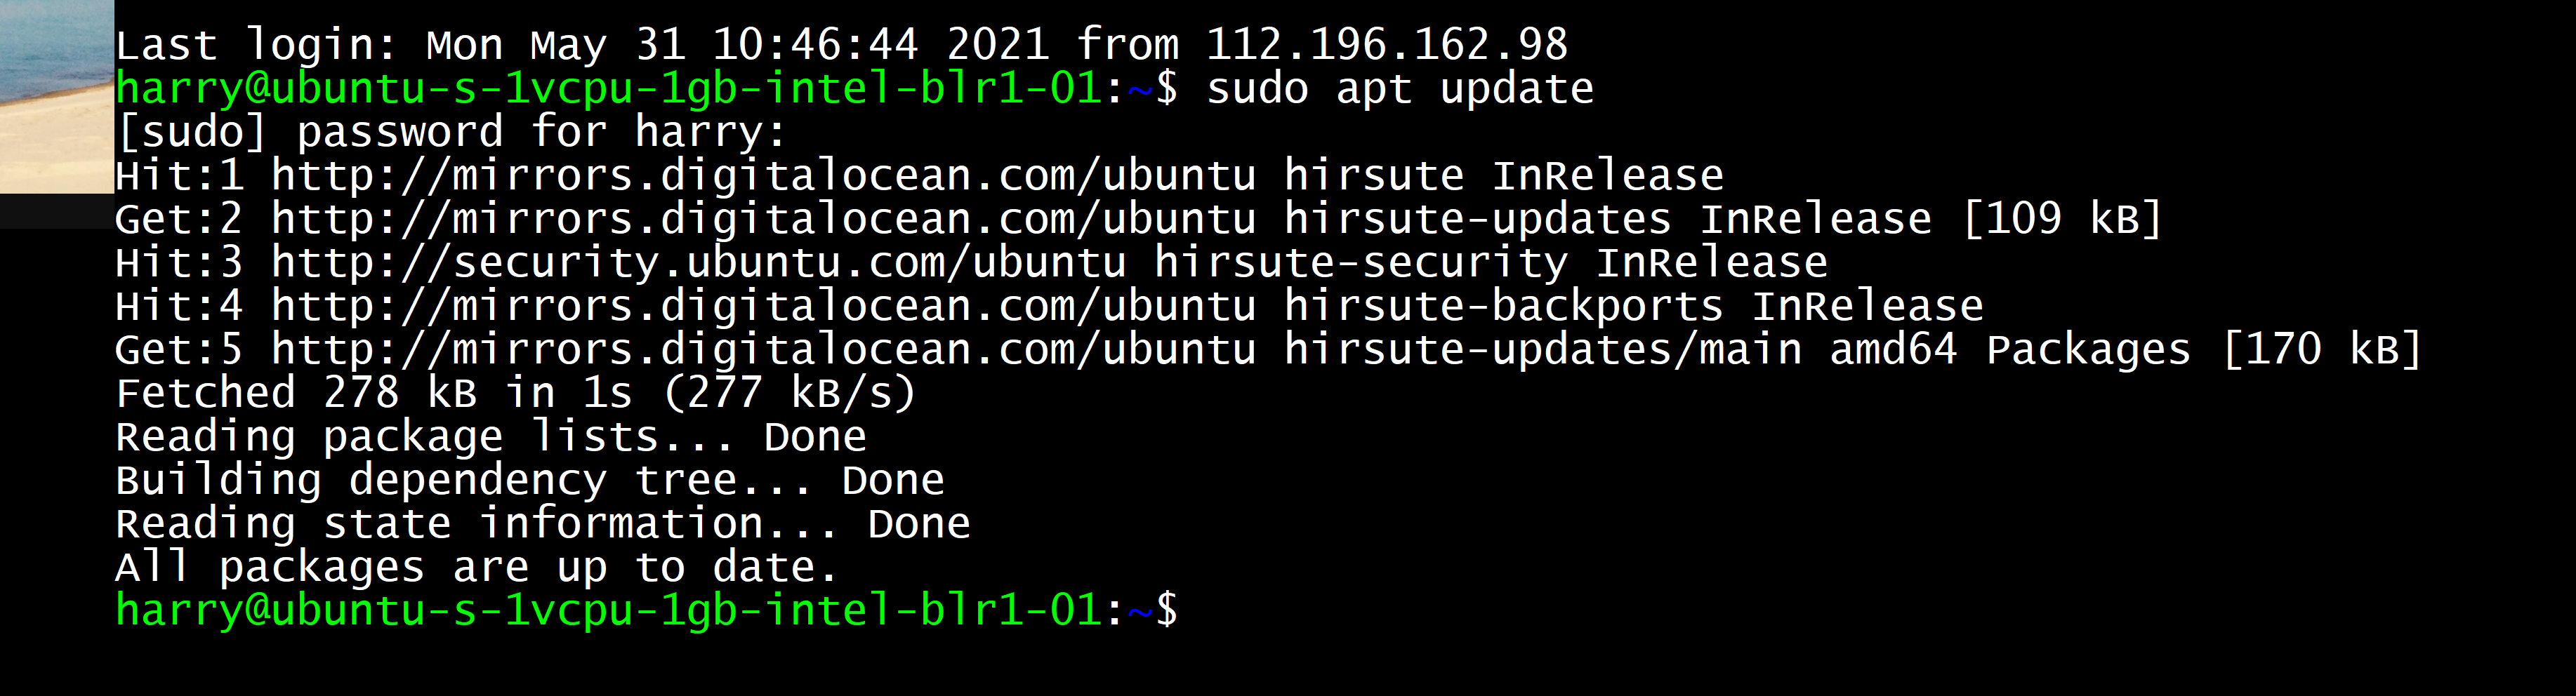
Let's update our server's package index
Run the following command to install phpMyAdmin and related packages
Using this command we installed the following packages:
- php-mbstring: A module for managing non-ASCII strings with different encodings
- php-zip: An extension that facilitates uploading .zip files to phpMyAdmin
- php-gd: Enables support for GD graphics library
- php-json: Provides support for JSON serialization
- php-curl: Allows PHP to communicate with other servers
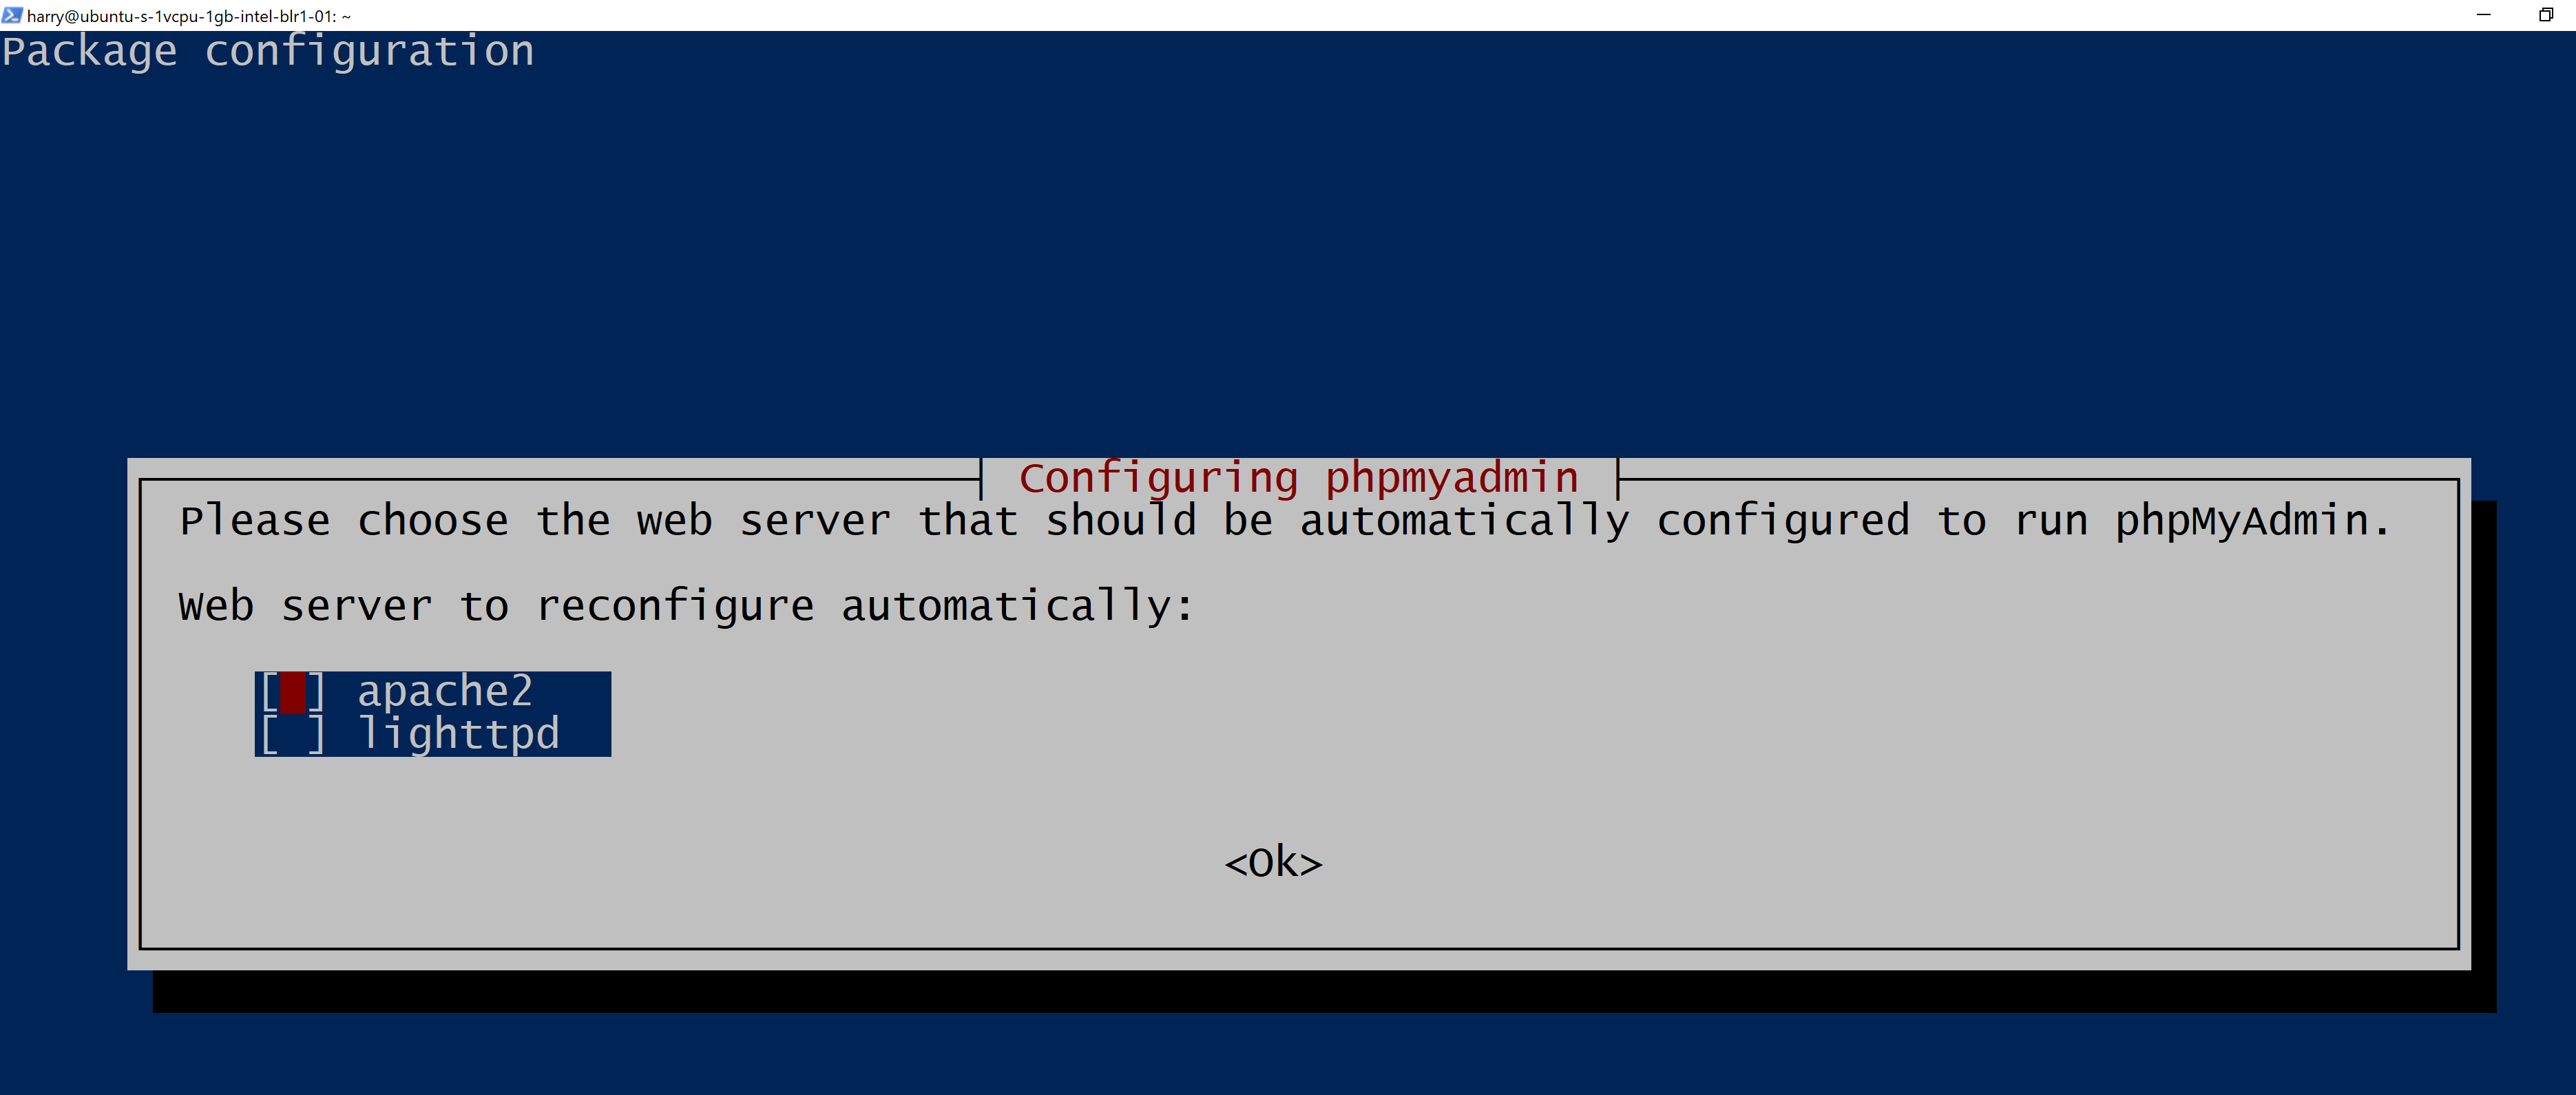
While installing PHPMyAdmin you will see a prompt that will ask you to select the webserver. Press <Spacebar> <Tab> and then enter key to continue the installation.
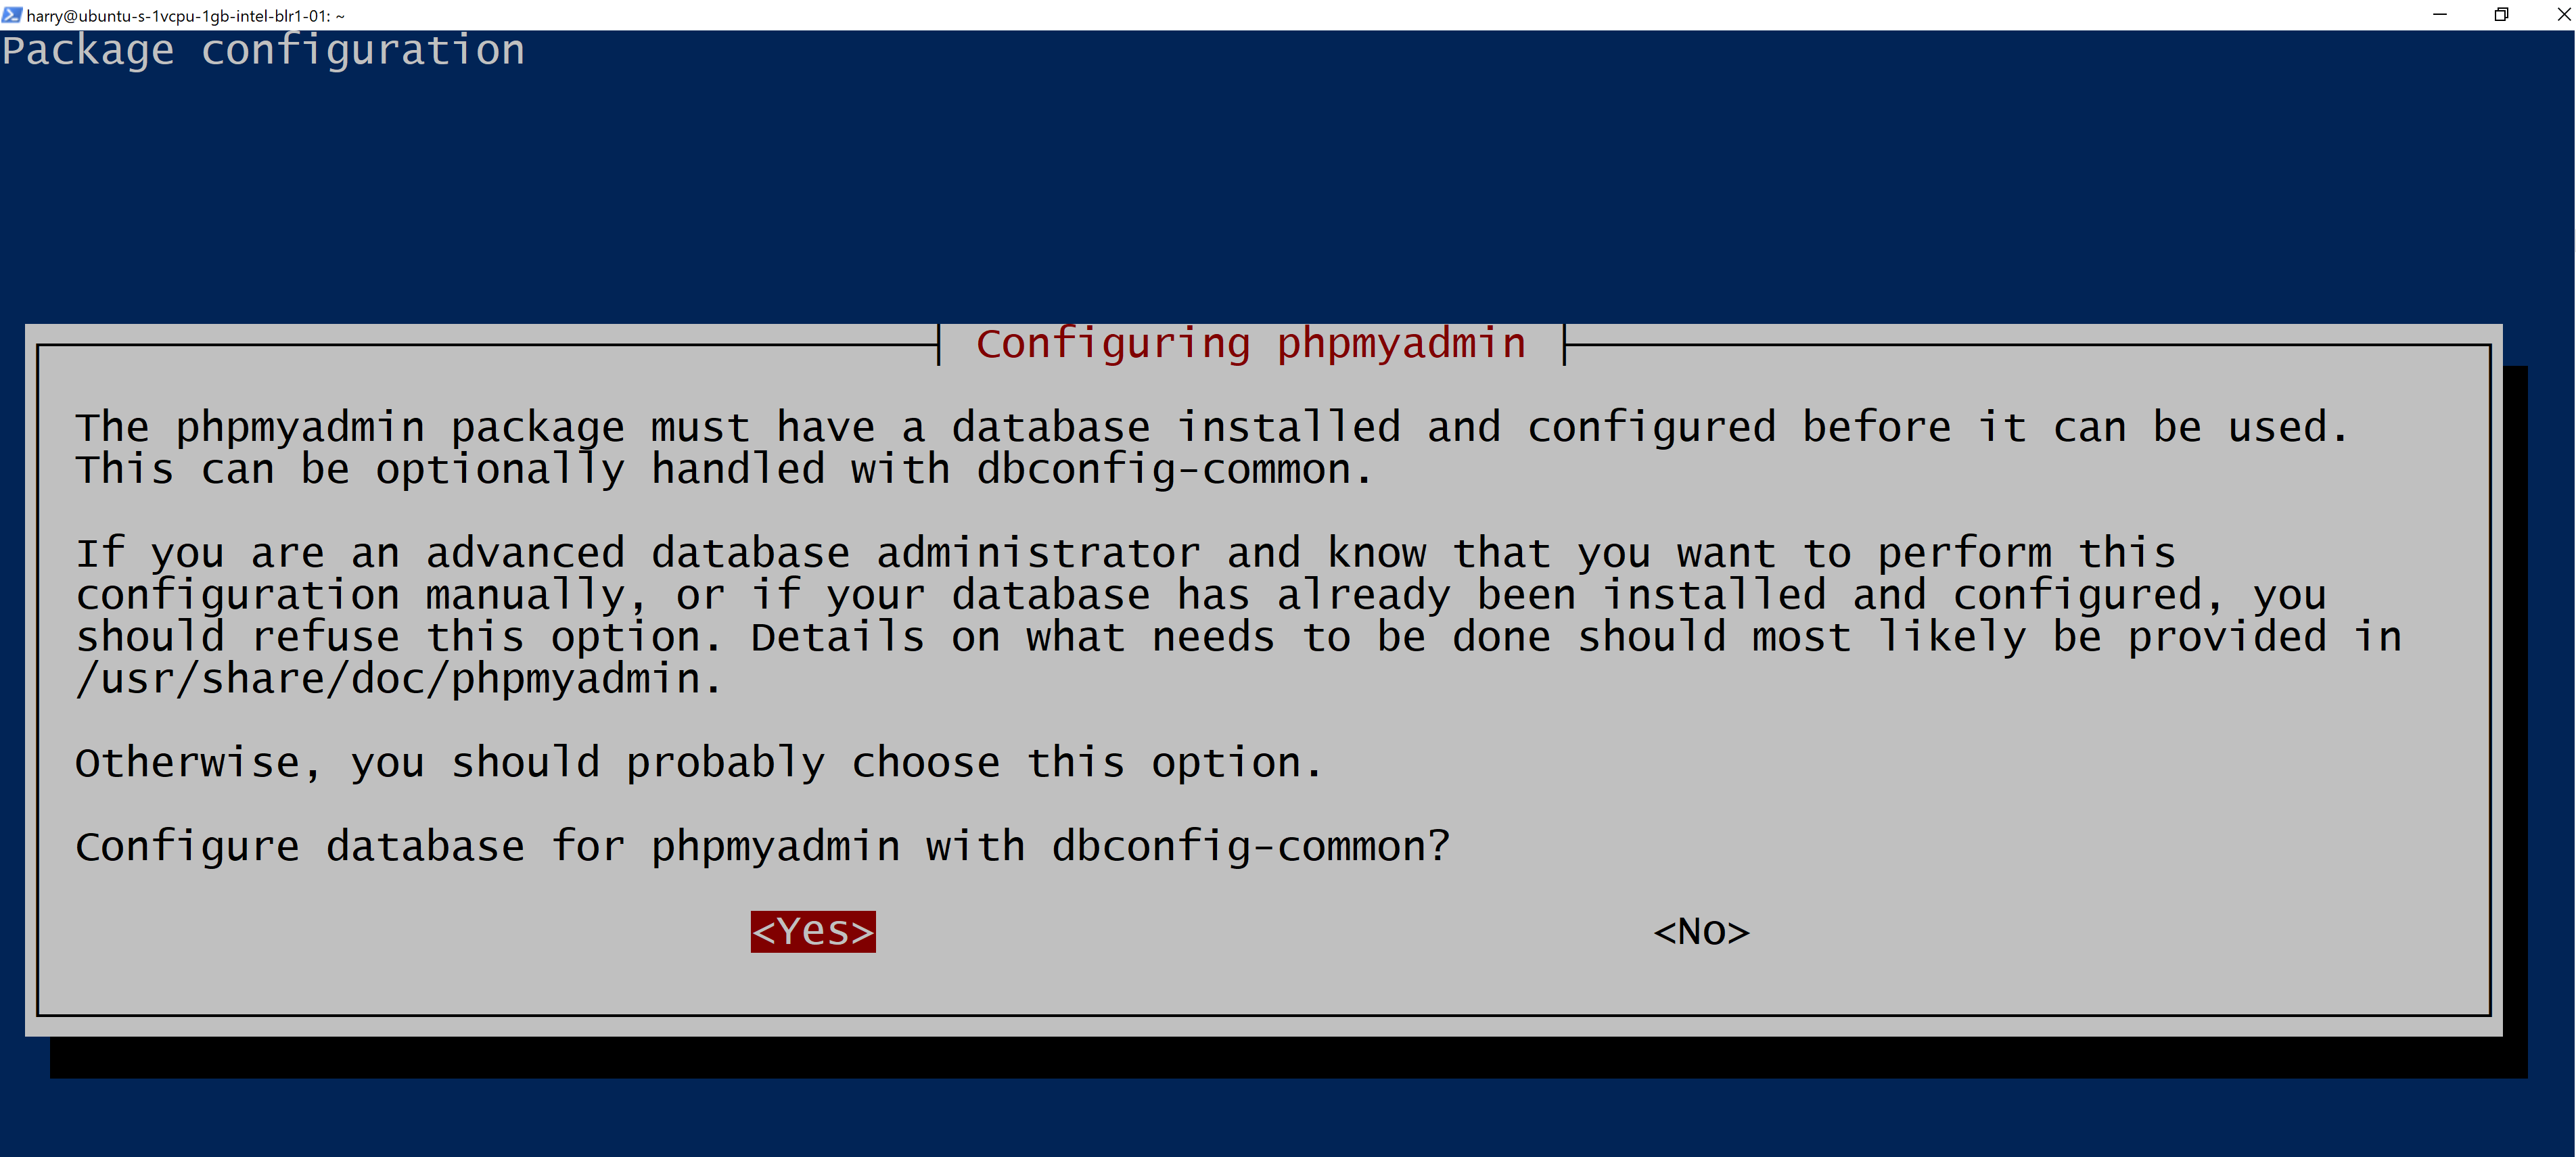
You will also be asked to continue with dbconfig-common setup. Press enter to confirm.
Finally, choose and confirm a strong password for PHPMyAdmin. If you get a prompt asking for the services which need to be restarted, simply press the "tab" and then "enter" key to continue. Phpmyadmin is now installed on your Ubuntu server
Step 2 - Configuring password access in MySQL
to use MySQL we need to enable password login in MySQL. enter the following command to launch the MySQL console:

Now enter the following query to enable password authentication in MySQL
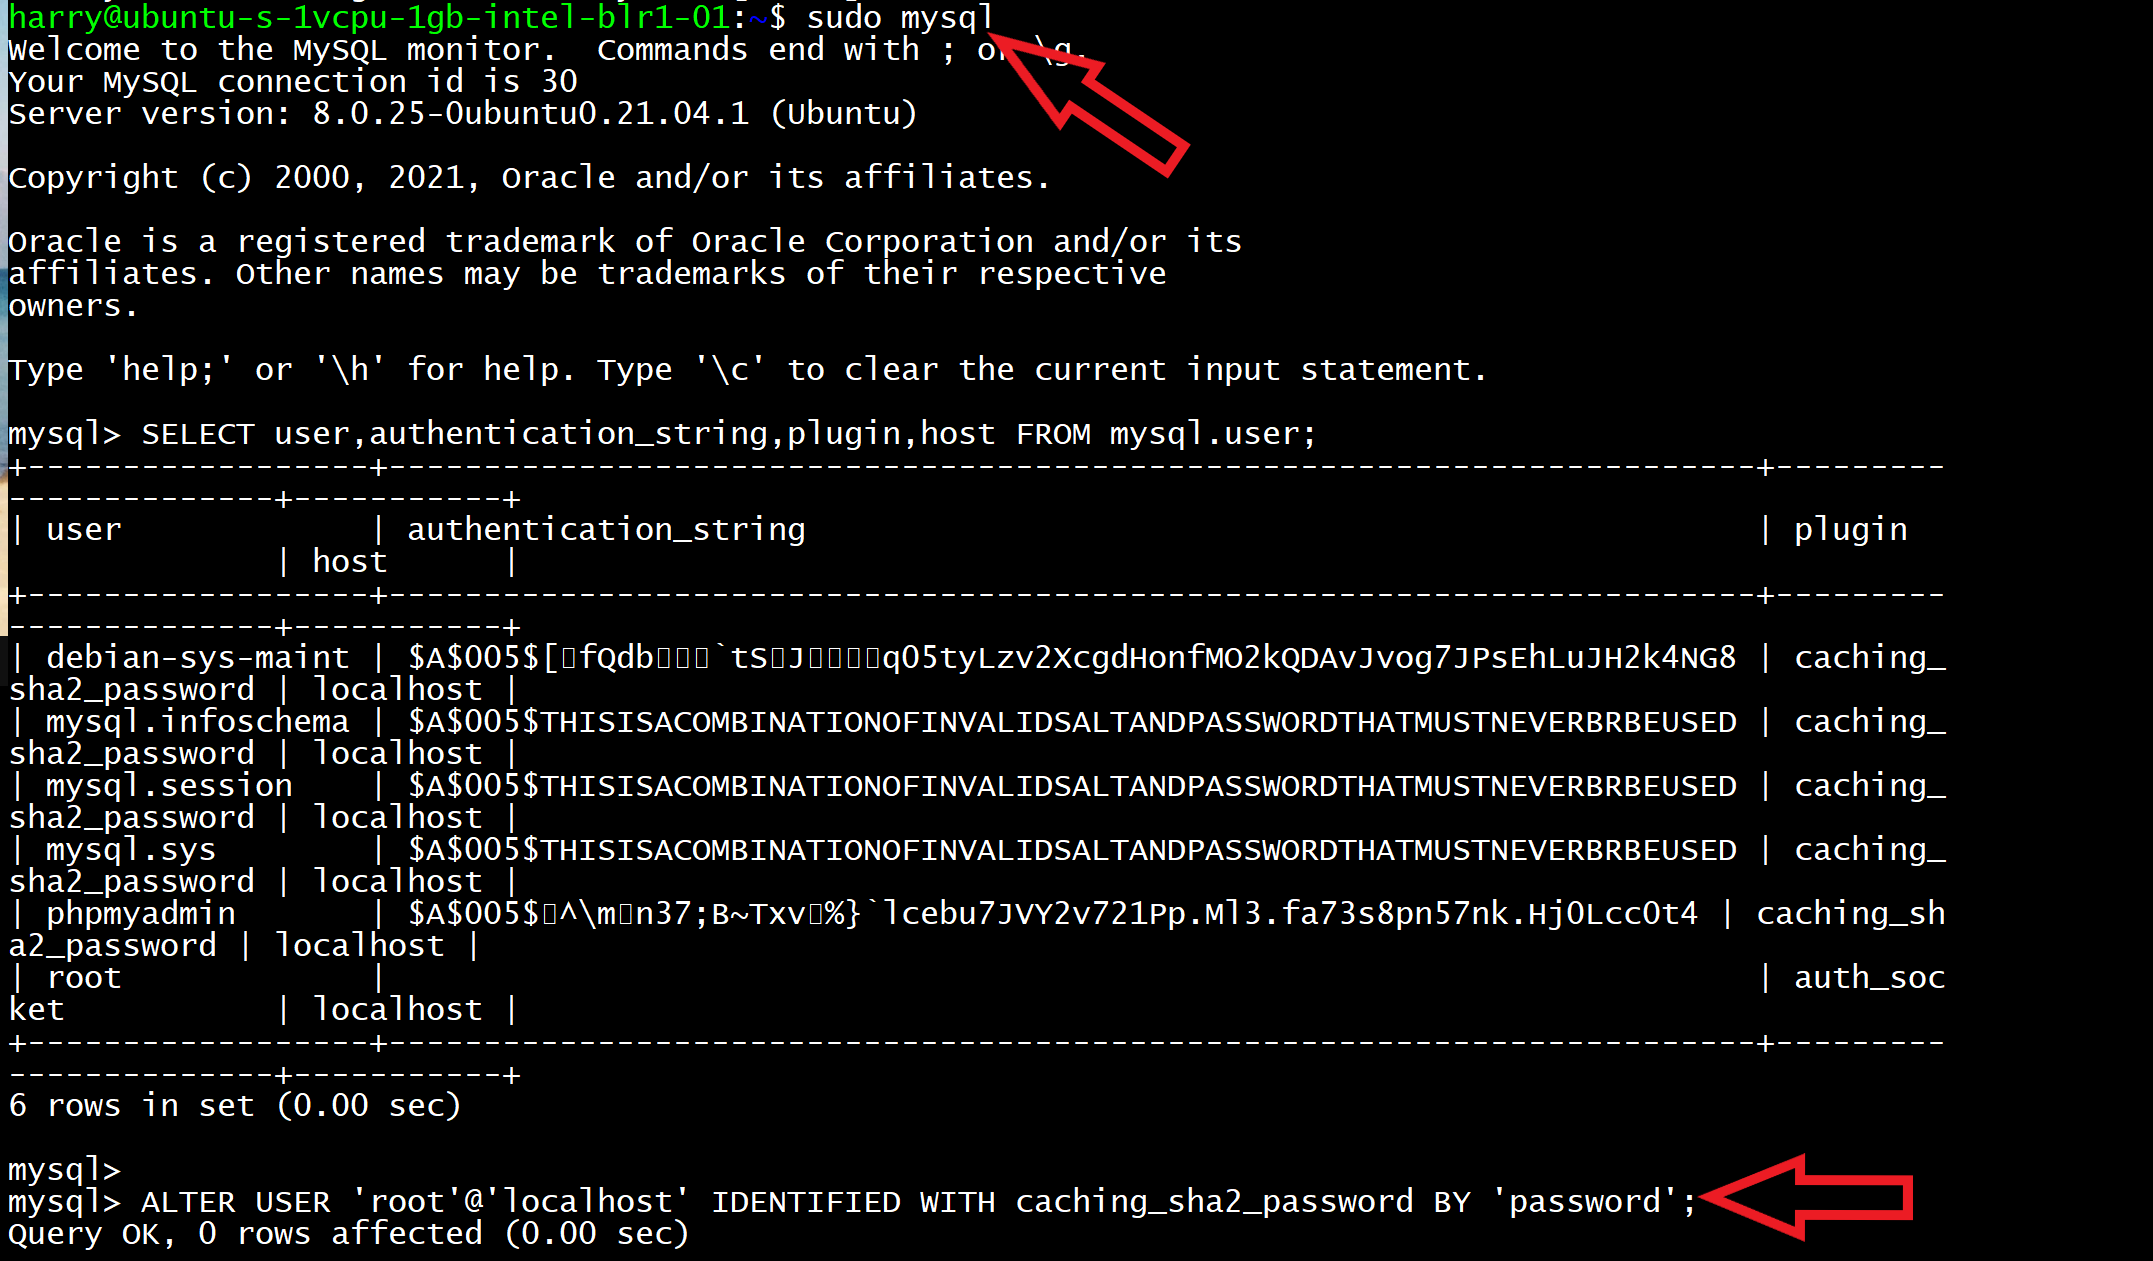
Please make sure you choose your own password and not the one which I chose ('MyStrongPassword1234$')
You can always check the authentication method used by using the following MySQL query:
Exit from the MySQL console by typing exit.
Now you can log in using your MySQL password by entering the following command to the MySQL console
Step 3 - Configuring a non-root user in MySQL
Since its not a good idea to use root as your login user, we will create another MySQL user named harry to login to the PHPMyAdmin console:
Execute the following query:
This creates a user named harry with the password - 'MyStrongPassword1234$'
Let's provide this user all the privileges so that we can use it to access the PHPMyAdmin console. Execute the query below
You can now exit the MySQL shell:
Step 4 - Accessing phpMyAdmin
Go to the browser and type 'http://your_domain_or_IP/phpmyadmin' in your URL bar. You will see an option to log into your PHPMyAdmin console. Enter the username (harry in my case) and password you chose for this user.
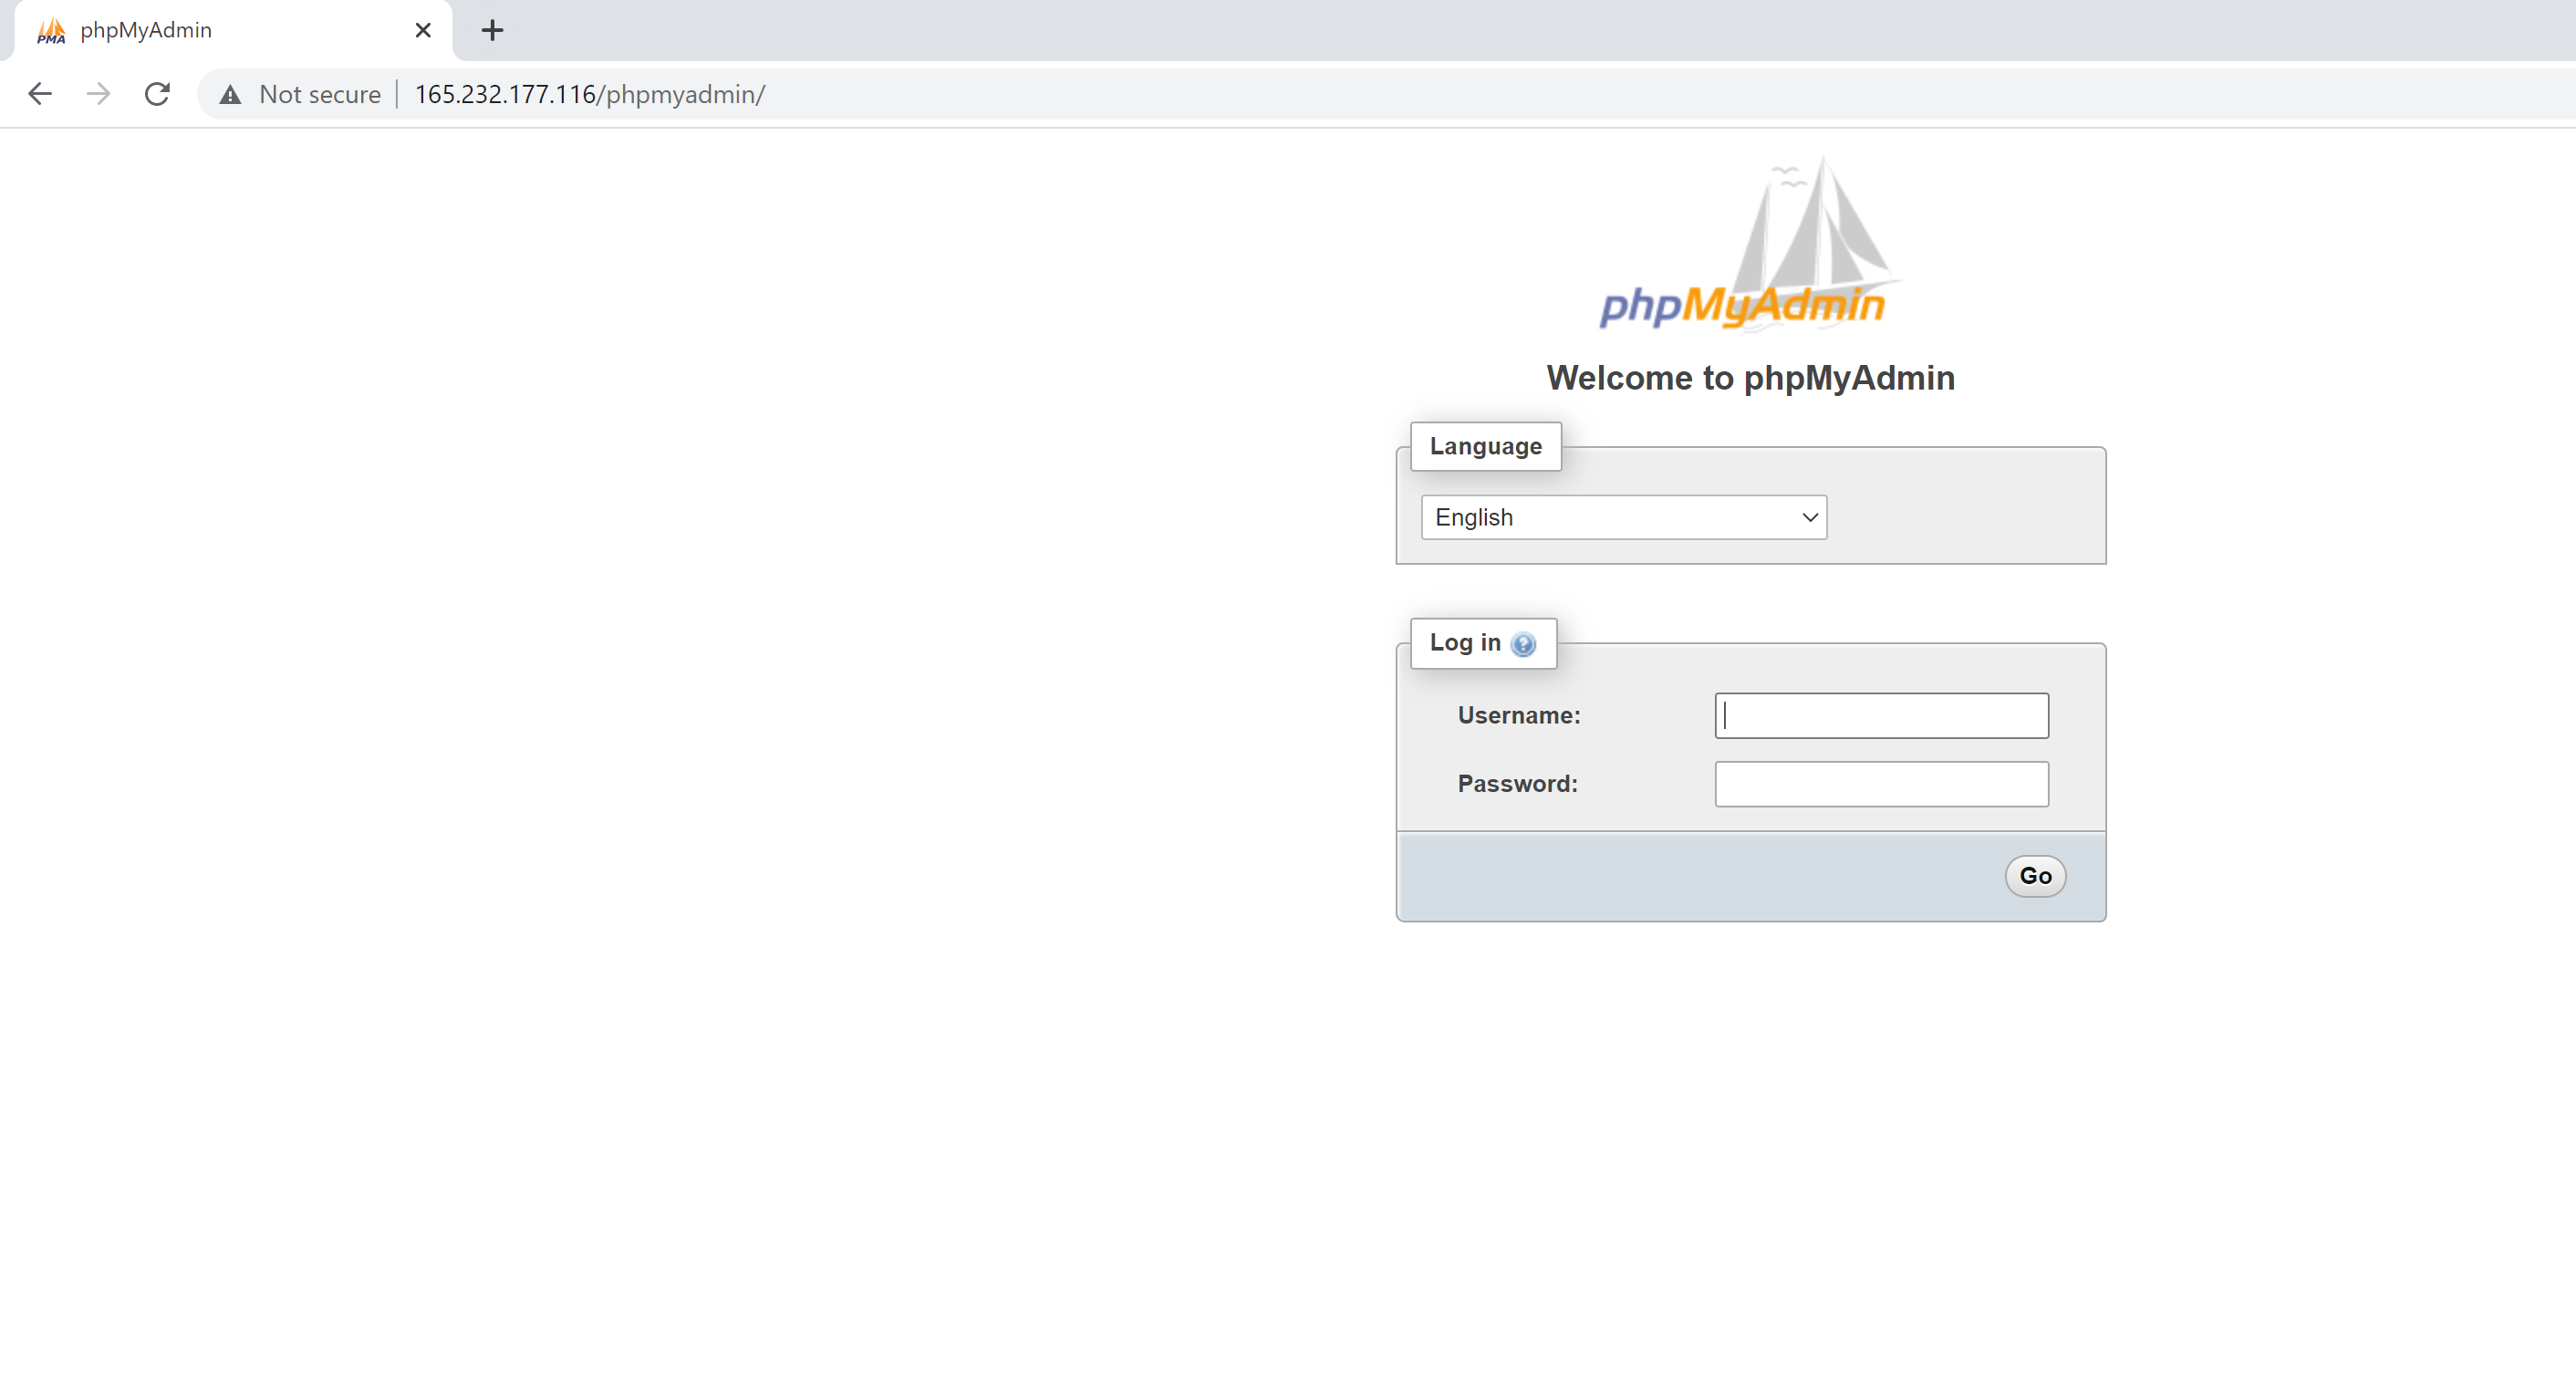
You will be logged in to PHPMyAdmin.
Enjoy managing your MySQL databases with ease and security. Happy coding!
- phpMyAdmin install Ubuntu_ Ubuntu Howphpmyadmin install ubuntu_ how install zammad ubuntu how ubuntu_ ubuntu install desktop full install ubuntu 22.04 cudnn install ubuntu failed问题 python-opengl apt-get install ubuntu installing binaries generic ubuntu install ubuntu stack lemp installing apache ubuntu 20.04