既然是在研究WiFi,那就不能仅分析仿真器给出的pcap文件结果,还要去研究在实际环境中的WiFi设备之间的数据交换。利用WiFi网卡直接抓取空中的802.11信标帧是研究实际数据交互的方案之一。
一般网卡都会有一个monitor模式(monitor mode),在该模式下网卡无法连接到AP,但是可以将空中的所有能抓到的WiFi包都发送到用户层,以供用户浏览,总之就是起到了一个管中窥豹的作用。但在Windows环境下设置WiFi网卡工作在monitor模式下很难,所以本次在Linux下进行数据包的抓取。
monitor模式
关于有哪些网卡和芯片组支持monitor模式并没有一个全面而准确的表格,在npcap的wiki中有一个不是很全面的表格记录了部分网卡的工作模式:
网页存档:https://web.archive.org/web/20240102091715/https://secwiki.org/w/Npcap/WiFi_adapters
在wireshark的wiki中也对支持monitor模式的网卡驱动进行了介绍,注意这是驱动 https://gitlab.com/wireshark/wireshark/-/wikis/CaptureSetup/WLAN#linux 在这一段中提到了一个包含是否支持monitor mode的网卡驱动的列表,该列表如下:https://wireless.wiki.kernel.org/en/users/drivers ;在这个列表中仅有一个支持WiFi 7(物理层802.11be)的驱动,另外还有一些驱动是支持WiFi 7的网卡的,但是并没有在phy modes中添加be字段
| Driver | Manufacturer | cfg80211 | AP | IBSS | mesh | monitor | PHY modes | buses |
|---|---|---|---|---|---|---|---|---|
| ath12k https://wireless.wiki.kernel.org/en/users/drivers/ath12k | Qualcomm Atheros | yes | yes | no | yes (6) | yes (6) | A/B/G/N/AC/AX/BE | PCI-E |
| iwlwifi | Intel | yes | yes (6) | yes | no | yes | A/B/G/N/AC | PCI-E |
该驱动支持高通qcn9274和wcn7850芯片组,但是我并没有看到安装有相应芯片组的主板在售。
另外可以看到有人提交过一个联发科mt7996芯片的驱动,也写明了支持monitor模式,但是并没有找到相应的在售硬件 https://lwn.net/Articles/914380/
主板和网卡
| 名称 | WiFi 7 芯片 | 消息来源 | 图片 |
|---|---|---|---|
| 高通QCN9274 | 高通QCN9274网卡 | 淘宝 https://www.taobao.com/list/item/722237452185.htm | 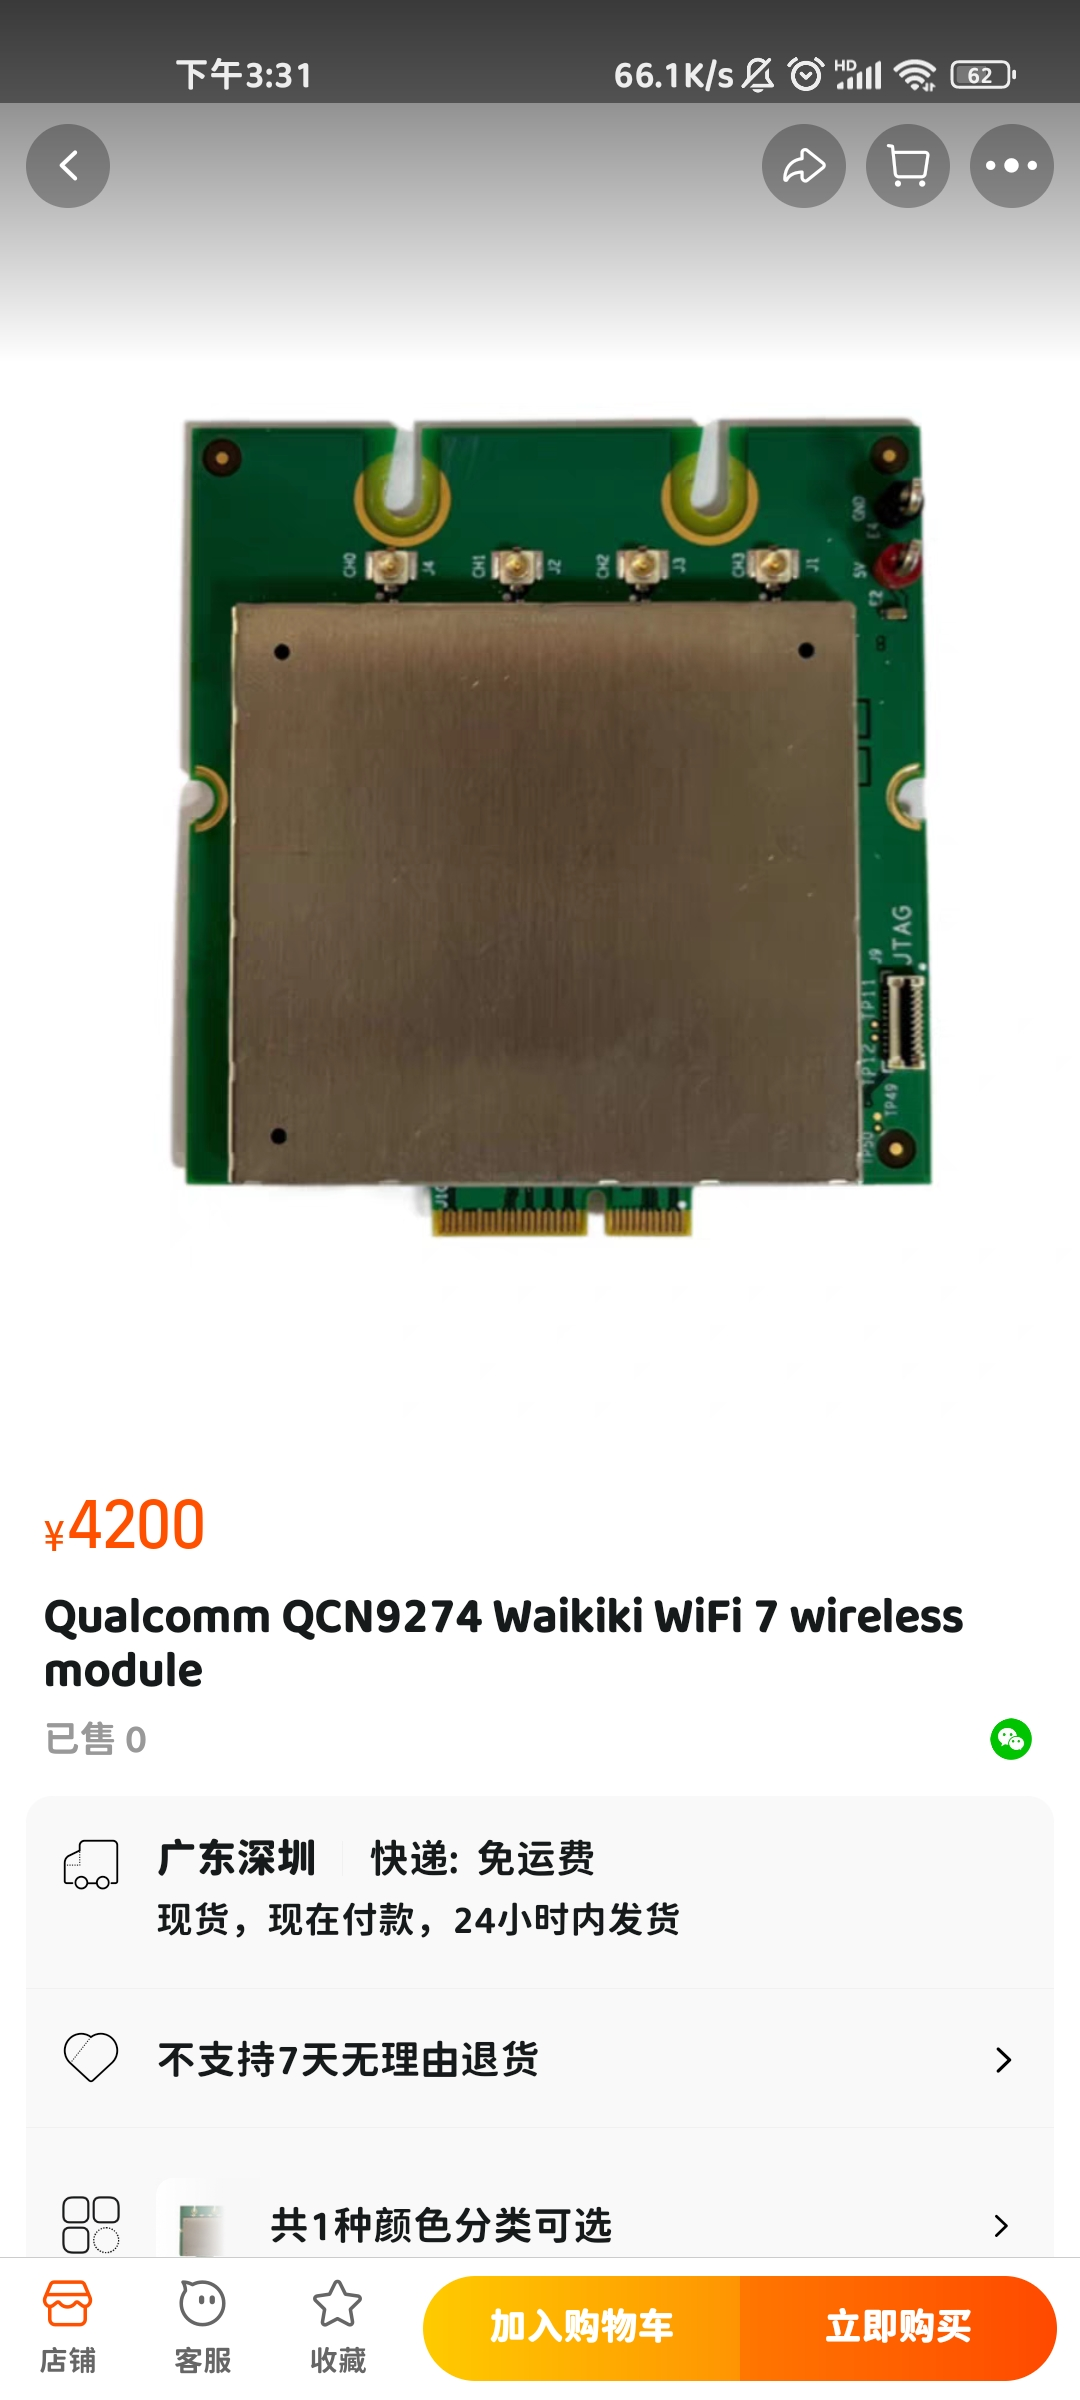 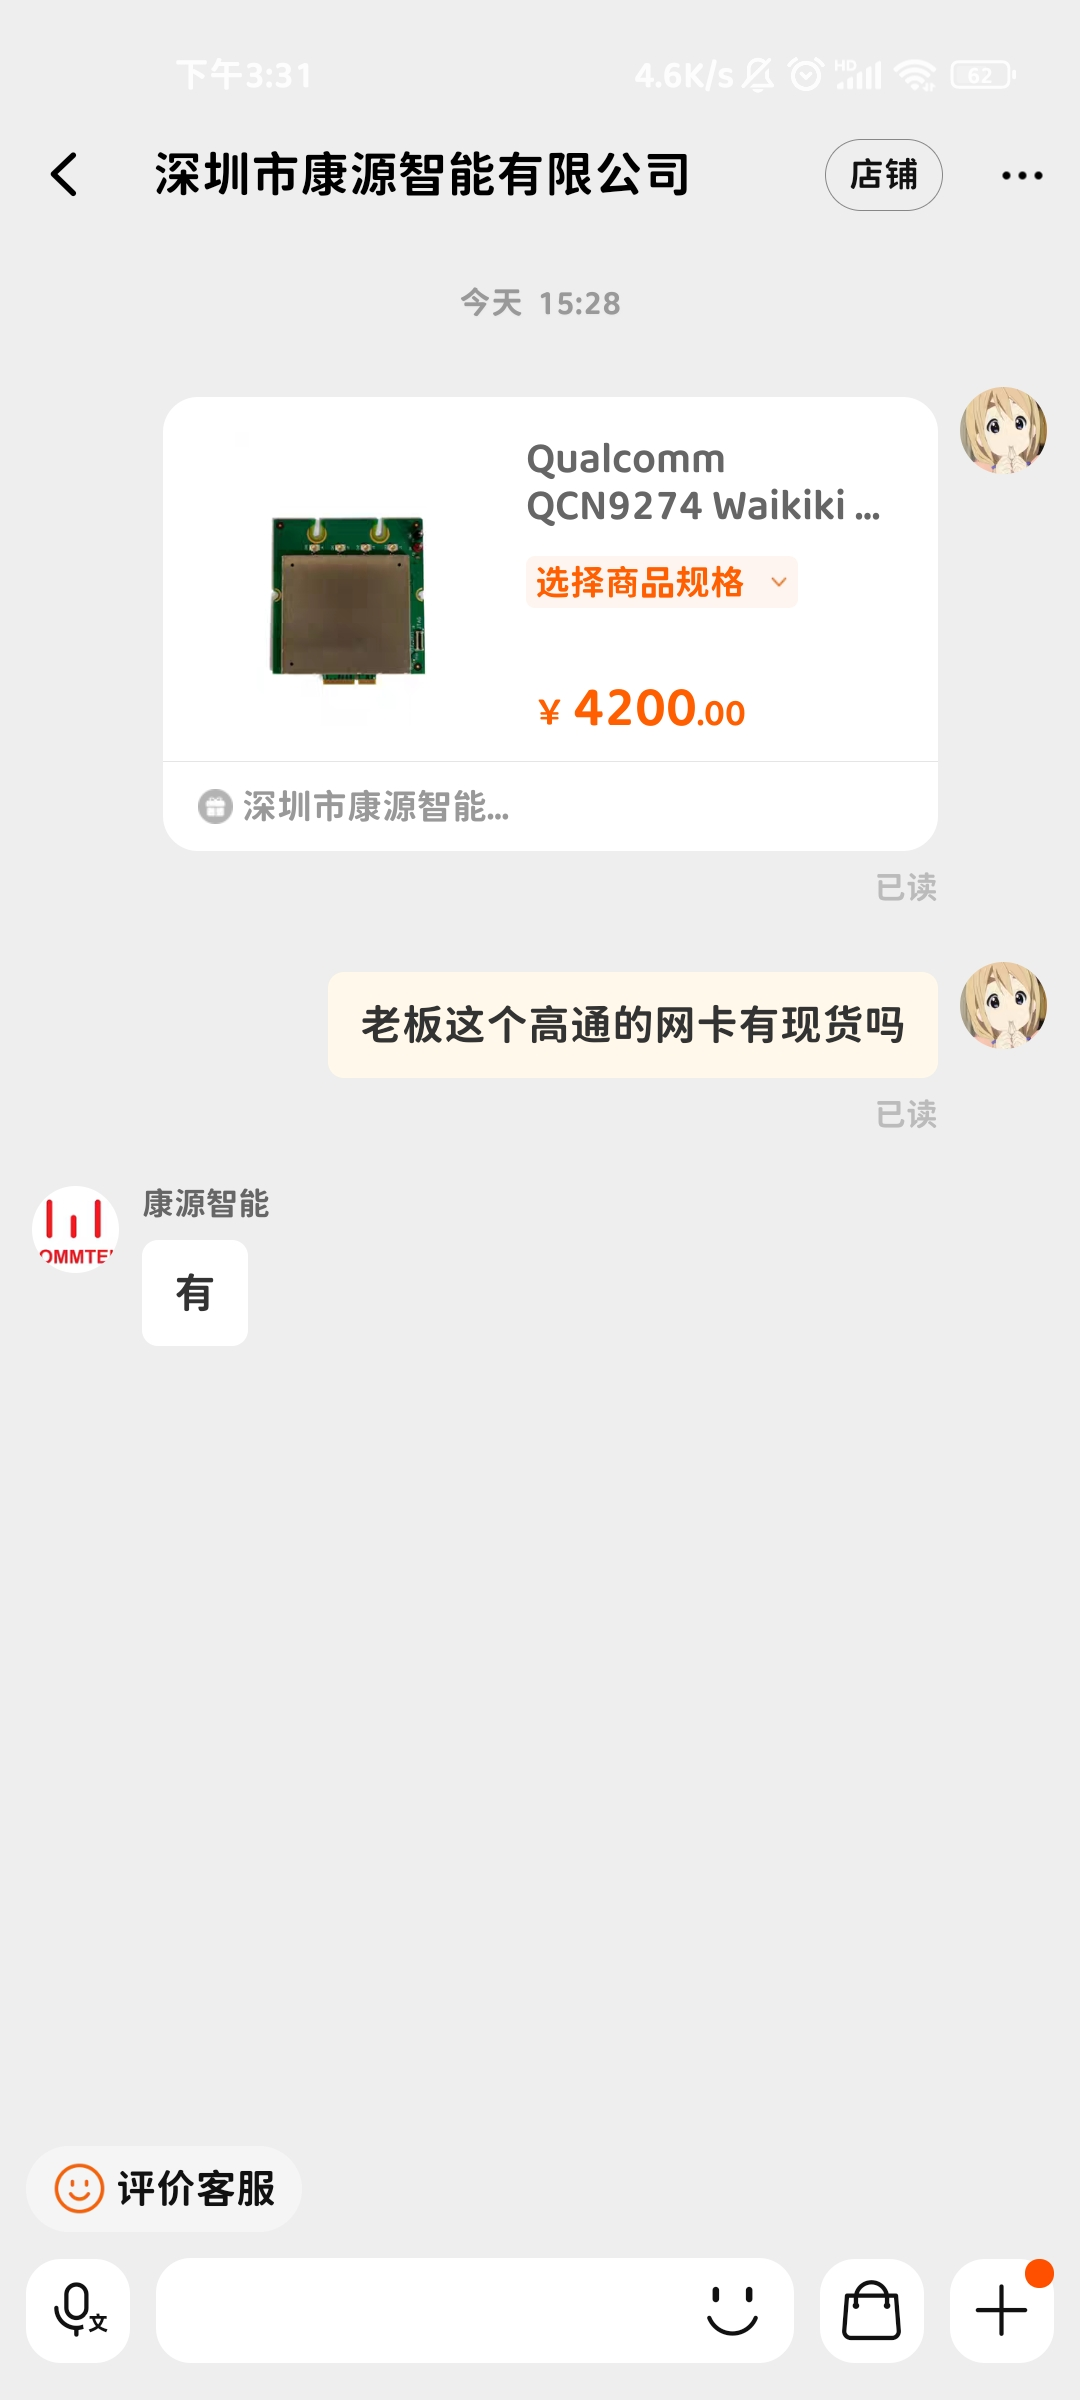 |
| Intel的BE200 | BE200 | 有很多硬件厂商是使用的Intel的这个芯片. 但是有一点需要标明,在Linux的驱动中并没有说该驱动物理层支持be,只说了其是支持驱动be200 | |
| 微星Z790 AORUS ELITE X WIFI7 | 高通的QCNCM865 | https://www.bilibili.com/video/BV1nw411v7G2/ | 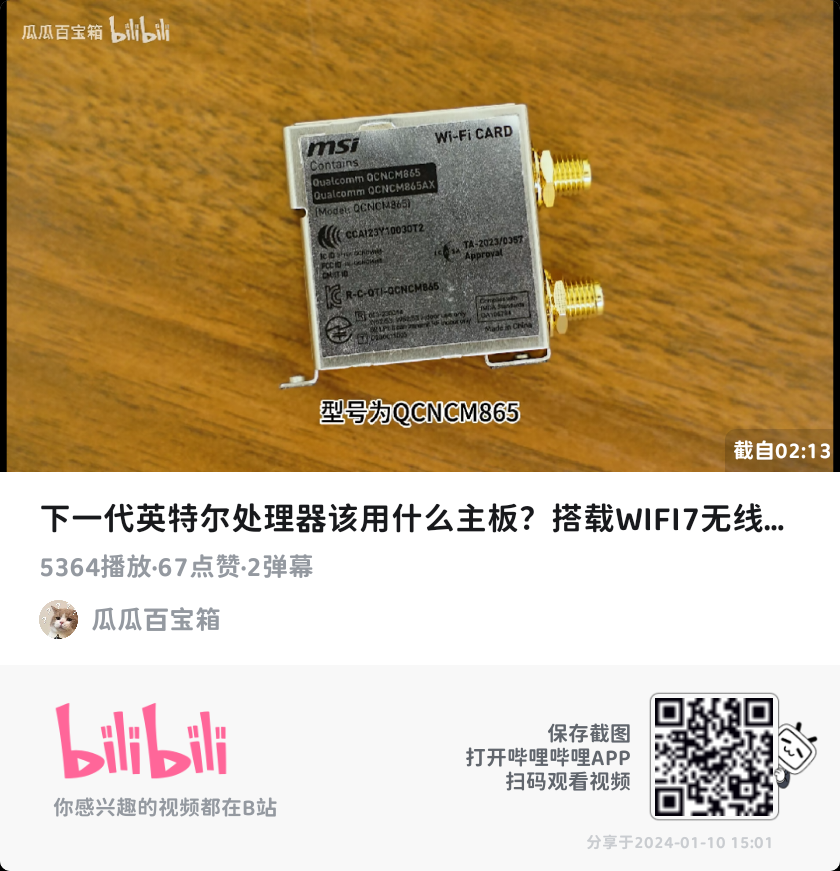 |
| ROG MAXIMUS Z790 DARK HERO | Intel的BE200 | https://www.coolpc.com.tw/tw/shop/motherboard/rog-maximus-z790-dark-hero/#1 | 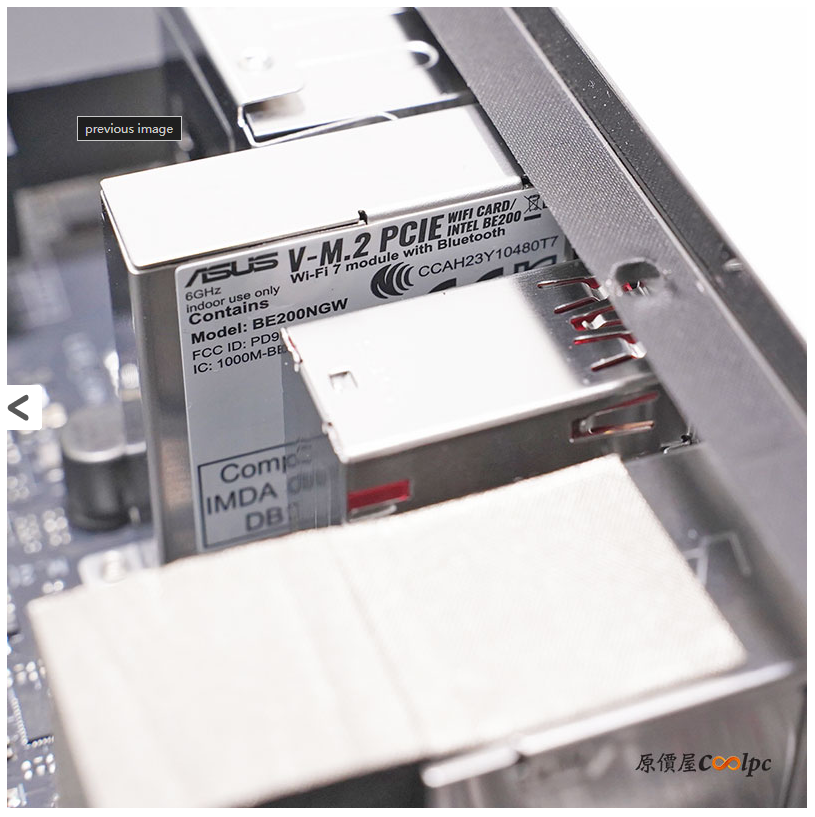 |
| 华擎Z790 Nova WiFi 7 | Intel的BE200 | https://news.xfastest.com/review/review-03/132926/asrock-phantom-gaming-z790-nova-wifi/ | 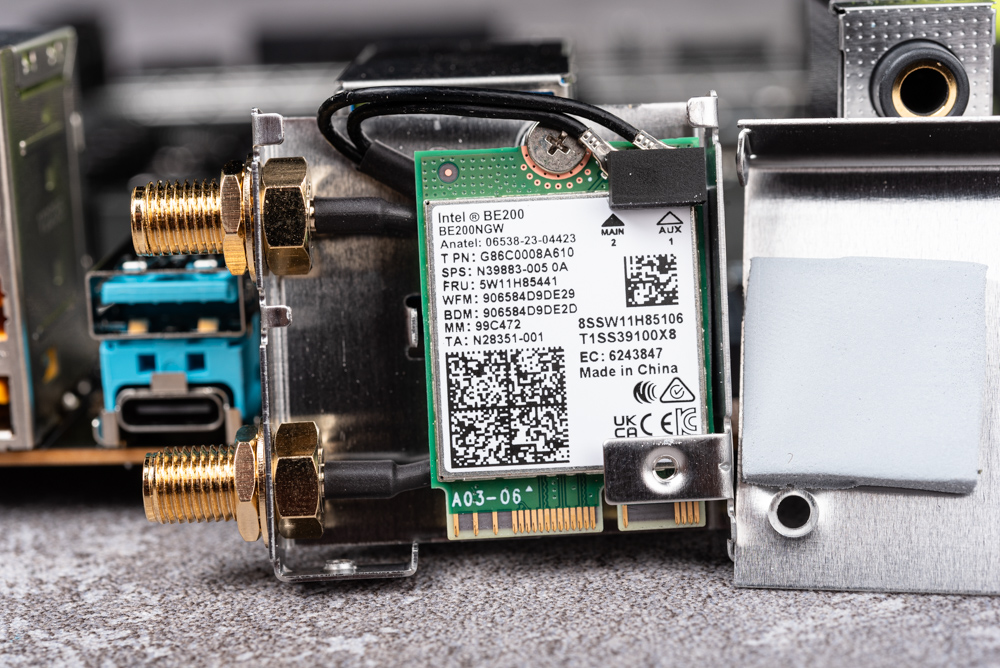 |
| 剩余Z790主板 | 暂时能看到的主板,大多采用高通NCM865方案、联发科MT7927,RZ738方案和Intel BS200方案 | https://www.ithome.com/0/723/299.htm | 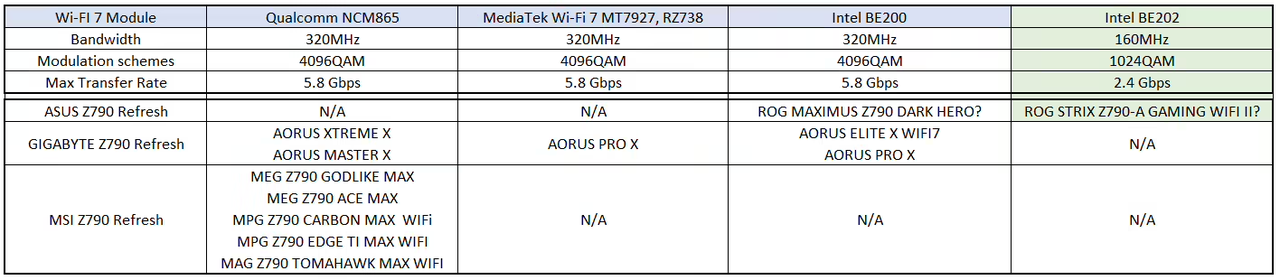 |
Android
手机厂商现在都在卷WiFi 7,如果说最容易到手的,全套带系统的WiFi 7设备,那肯定是手机。我在自己手机上查看了一下其网卡支持的模式:
-
我使用的设备是小米的Mi 11,其仅支持wifi 6也就是802.11ax。
-
手机必须要root,否则不能运行相应的指令,一是查看网卡模式的iw list二是安装用于抓包的tcpdump
-
tcpdump:下载 https://www.androidtcpdump.com/android-tcpdump/downloads64bit ,安装的话可以参考这个教程:https://blog.csdn.net/iamcxl369/article/details/77720857
-
adb,这样就能执行Linux指令
具体的流程如下:
-
使用usb线连接手机和电脑,启动adb调试,运行下述命令,应该能看到相应的设备号
C:\tools\adb>adb devices * daemon not running; starting now at tcp:5037 * daemon started successfully List of devices attached f5396e83 device -
进入root用户。这一步指令输入后,如果android端是使用magisk管理root的话,需要在Android端授权root(会弹出一个窗口),这之后adb界面应该是没有任何提示的。
C:\tools\adb>adb shell su -
查看网卡工作模式,因为返回值太多所以这里仅展示了有用的部分:可以看到phy和interface中都有monitor mode的字样。
iw list
Wiphy phy0
        wiphy index: 0
        max # scan SSIDs: 10
        Supported interface modes:
                * managed
                * AP
                * monitor
                * P2P-client
                * P2P-GO
                * NAN
        software interface modes (can always be added):
        valid interface combinations:
                * #{ managed } <= 3,
                total <= 3, #channels <= 2
                * #{ AP } <= 3,
                total <= 3, #channels <= 2
                * #{ P2P-client } <= 1, #{ P2P-GO } <= 1,
                total <= 2, #channels <= 2
                * #{ managed } <= 2, #{ AP } <= 2,
                total <= 4, #channels <= 2, STA/AP BI must match
                * #{ managed } <= 2, #{ P2P-client, P2P-GO } <= 2,
                total <= 4, #channels <= 2, STA/AP BI must match
                * #{ managed } <= 2, #{ P2P-GO } <= 1, #{ AP } <= 1,
                total <= 4, #channels <= 2, STA/AP BI must match
                * #{ managed } <= 1, #{ P2P-client, P2P-GO } <= 1, #{ AP } <= 1,
                total <= 3, #channels <= 2, STA/AP BI must match
                * #{ managed } <= 1, #{ P2P-client, P2P-GO } <= 2,
                total <= 3, #channels <= 2, STA/AP BI must match
                * #{ monitor } <= 3,
                total <= 3, #channels <= 2
        Device has client inactivity timer.
总结
不记成本的话就都买回来安装Linux系统使用命令测试一遍即可。不过如果单纯是为了抓取数据包的话,可能并不需要WiFi 7的芯片。
敝人拙见为,为抓取空中的802.11数据帧,只需要能够正确的区分数据帧和噪声即可,网卡也仅仅是一个将电磁波信号转化为数据的中介,在monitor模式下其并不分析处理数据的内容。
换句话说,低级别的网卡仅仅是不能参与到高等级的数据传输信道之中,但是其是能够全面的抓取到自身所在层级的802.11数据帧的。只要不使用6GHz,320MHz和4K QAM这样的WiFi 7独占的物理层特色,WiFi 6网卡一样能够抓取到WiFi 7的数据交换。
至于MLO,我可以使用多个WiFi 6网卡进行探测嘛。
不过更低等级的网卡或许就不太能用,因为OFDMA已经成熟,低等级的网卡由于无法区分RU,可能会将OFDMA的数据帧认为是噪声而被丢弃。
实验环境
因为没有WiFi 6的网卡,所以这里使用的是实验室的802.11n(WiFi 4)网卡进行环境的抓包。
因为没有干净的电磁环境,所以抓到的包略有混乱(十分混乱)
本次搭建的实验环境如下:
软件
-
操作系统:Ubuntu 22.04.3 LTS
yukikaze@aq:~/qiCode/ns-allinone-3.40/ns-3.40$ lsb_release -a No LSB modules are available. Distributor ID: Ubuntu Description: Ubuntu 22.04.3 LTS Release: 22.04 Codename: jammy -
Wireshark
本次实验中,利用wireshark在Ubuntu系统内抓包,考虑到操作的方便,这里安装的是带有图形界面的wireshark
yukikaze@aq:~/qiCode/ns-allinone-3.40/ns-3.40$ wireshark -version
Wireshark 3.6.2 (Git v3.6.2 packaged as 3.6.2-2)

Copyright 1998-2022 Gerald Combs <gerald@wireshark.org> and contributors.
License GPLv2+: GNU GPL version 2 or later <https://www.gnu.org/licenses/gpl-2.0.html>
This is free software; see the source for copying conditions. There is NO
warranty; not even for MERCHANTABILITY or FITNESS FOR A PARTICULAR PURPOSE.

Compiled (64-bit) using GCC 11.2.0, with Qt 5.15.2, with libpcap, with POSIX
capabilities (Linux), with libnl 3, with GLib 2.71.2, with zlib 1.2.11, with Lua
5.2.4, with GnuTLS 3.7.3 and PKCS #11 support, with Gcrypt 1.9.4, with MIT
Kerberos, with MaxMind DB resolver, with nghttp2 1.43.0, with brotli, with LZ4,
with Zstandard, with Snappy, with libxml2 2.9.12, with libsmi 0.4.8, with
QtMultimedia, without automatic updates, with SpeexDSP (using system library),
with Minizip.

Running on Linux 6.2.0-39-generic, with Intel(R) Core(TM) i7-8700 CPU @ 3.20GHz
(with SSE4.2), with 15818 MB of physical memory, with GLib 2.72.4, with zlib
1.2.11, with Qt 5.15.3, with libpcap 1.10.1 (with TPACKET_V3), with c-ares
1.18.1, with GnuTLS 3.7.3, with Gcrypt 1.9.4, with nghttp2 1.43.0, with brotli
1.0.9, with LZ4 1.9.3, with Zstandard 1.4.8, with libsmi 0.4.8, with
LC_TYPE=en_US.UTF-8, binary plugins supported (0 loaded).
在wireshark的网站上有相应的安装教程,对于Ubuntu来说安装较为方便:
apt install wireshark然后使用root用户启动图形界面即可
sudo wireshark -
airmon-ng
在一些教程中,是使用该软件切换网卡的工作模式(Managed 与 Monitor),但是我并不怎么会用这个软件,我切换模式也不是使用这个软件做到的。安装:
sudo apt install aircrack-ng -
iw
可以使用其查看网卡的工作模式和切换网卡的工作模式。
-
安装:
sudo apt install iw -
使用命令查看网卡的工作模式,这个命令的返回值很多,可以看到该网卡的物理层是支持monitor mode的:
yukikaze@aq:~/qiCode/ns-allinone-3.40/ns-3.40$ iw list
Wiphy phy0
        wiphy index: 0
        Supported interface modes:
                * IBSS
                * managed
                * AP
                * AP/VLAN
                * monitor
                * mesh point
                * P2P-client
                * P2P-GO
        software interface modes (can always be added):
                * AP/VLAN
                * monitor
-
硬件
硬件上需要一个WiFi网卡,上面也提到了,对于WiFi 7环境的探测,考虑到OFDMA,最好是使用支持WiFi 6及以上工作模式的网卡。但是我这里因为成本原因,参照上面的iw list的输出,使用的是仅支持802.11n的网卡。
对于开启monitor模式的网卡,实际上是无法连接到任何一个wifi的,我这里认为是如果连接到了WiFi上,可能需要发送一些帧以持续,而这样会污染到采集到的信息,因此禁用了连接。
实验步骤
-
打开phy层的monitor模式(这一步骤不知道是否有做的必要,但是确实是修改了一些物理层的模式):
-
使用airmon查看网卡名称
yukikaze@aq:~$ sudo airmon-ng PHY Interface Driver Chipset phy0 wlx08beac17f5f1 rtl8192cu Edimax Technology Co., Ltd EW-7612UAn V2 802.11n [Realtek RTL8192CU] -
根据WiFi名称,在物理层打开monitor模式
yukikaze@aq:~$ sudo airmon-ng start wlx08beac17f5f1

Found 4 processes that could cause trouble.
Kill them using 'airmon-ng check kill' before putting
the card in monitor mode, they will interfere by changing channels
and sometimes putting the interface back in managed mode

    PID Name
    701 avahi-daemon
    703 NetworkManager
    735 wpa_supplicant
    764 avahi-daemon

PHY        Interface        Driver                Chipset

phy0        wlx08beac17f5f1        rtl8192cu        Edimax Technology Co., Ltd EW-7612UAn V2 802.11n [Realtek RTL8192CU]
        (monitor mode enabled)
-
-
确定使用哪块网卡,确定网卡名称。我这里使用的网卡名称为wlx08beac17f5f1,此时它还在Managed模式:
yukikaze@aq:~$ sudo iwconfig lo no wireless extensions. eno1 no wireless extensions. wlx08beac17f5f1 IEEE 802.11 ESSID:"BUPT-portal" Mode:Managed Frequency:2.437 GHz Access Point: B0:B8:67:69:90:00 Bit Rate=72.2 Mb/s Tx-Power=20 dBm Retry short limit:7 RTS thr=2347 B Fragment thr:off Encryption key:off Power Management:off Link Quality=66/70 Signal level=-44 dBm Rx invalid nwid:0 Rx invalid crypt:0 Rx invalid frag:0 Tx excessive retries:0 Invalid misc:0 Missed beacon:0 docker0 no wireless extensions. veth2f5676f no wireless extensions. veth3a61880 no wireless extensions. phy0.mon IEEE 802.11 Mode:Monitor Tx-Power=20 dBm Retry short limit:7 RTS thr=2347 B Fragment thr:off Power Management:on -
然后使用if命令down掉网卡,使用iw命令修改其工作模式,然后使用if命令up,这里使用了两类指令。如果不down而是直接修改模式的话,会报错busy:
# 错误示例 yukikaze@aq:~$ sudo iwconfig wlx08beac17f5f1 mode monitor Error for wireless request "Set Mode" (8B06) : SET failed on device wlx08beac17f5f1 ; Device or resource busy. # 正确示范 yukikaze@aq:~$ sudo ifconfig wlx08beac17f5f1 down yukikaze@aq:~$ sudo iwconfig wlx08beac17f5f1 mode monitor yukikaze@aq:~$ sudo ifconfig wlx08beac17f5f1 up -
此时再去查看网卡信息,就能看到网卡工作在monitor模式
yukikaze@aq:~$ sudo iwconfig lo no wireless extensions. eno1 no wireless extensions. wlx08beac17f5f1 IEEE 802.11 Mode:Monitor Frequency:2.437 GHz Tx-Power=20 dBm Retry short limit:7 RTS thr=2347 B Fragment thr:off Power Management:off docker0 no wireless extensions. veth2f5676f no wireless extensions. veth3a61880 no wireless extensions. phy0.mon IEEE 802.11 Mode:Monitor Frequency:2.437 GHz Tx-Power=20 dBm Retry short limit:7 RTS thr=2347 B Fragment thr:off Power Management:on -
此时电脑是无法联网的,打开wireshark后选择相应的网卡,即可拿到网卡抓取的空中数据包
yukikaze@aq:~$ sudo wireshark可以看到,即使是一个仅支持802.11n的网卡,也能抓取到空中的802.11ax(即WiFi 6)的信标帧,并且解析出与he相对应的字段:

后续
实验室刚到手一块Intel的BE200网卡和一个Huawei BE3 Pro无线路由器,但是实验室没有有线网络接入,这个实验环境搭建ing。。。