1.SSH登录服务器后,先安装cockpit,方便管理存储
xzd@xzd:~$ sudo -i
[sudo] password for xzd:
root@xzd:~# apt-get install cockpit

#安装完成后使用ip:9090打开web界面管理,用系统用户名密码登录
2.安装Samba
root@xzd:~# apt-get install samba
3. 在cockpit中的帐户管理界面新建一个用户,用于登录Samba共享目录
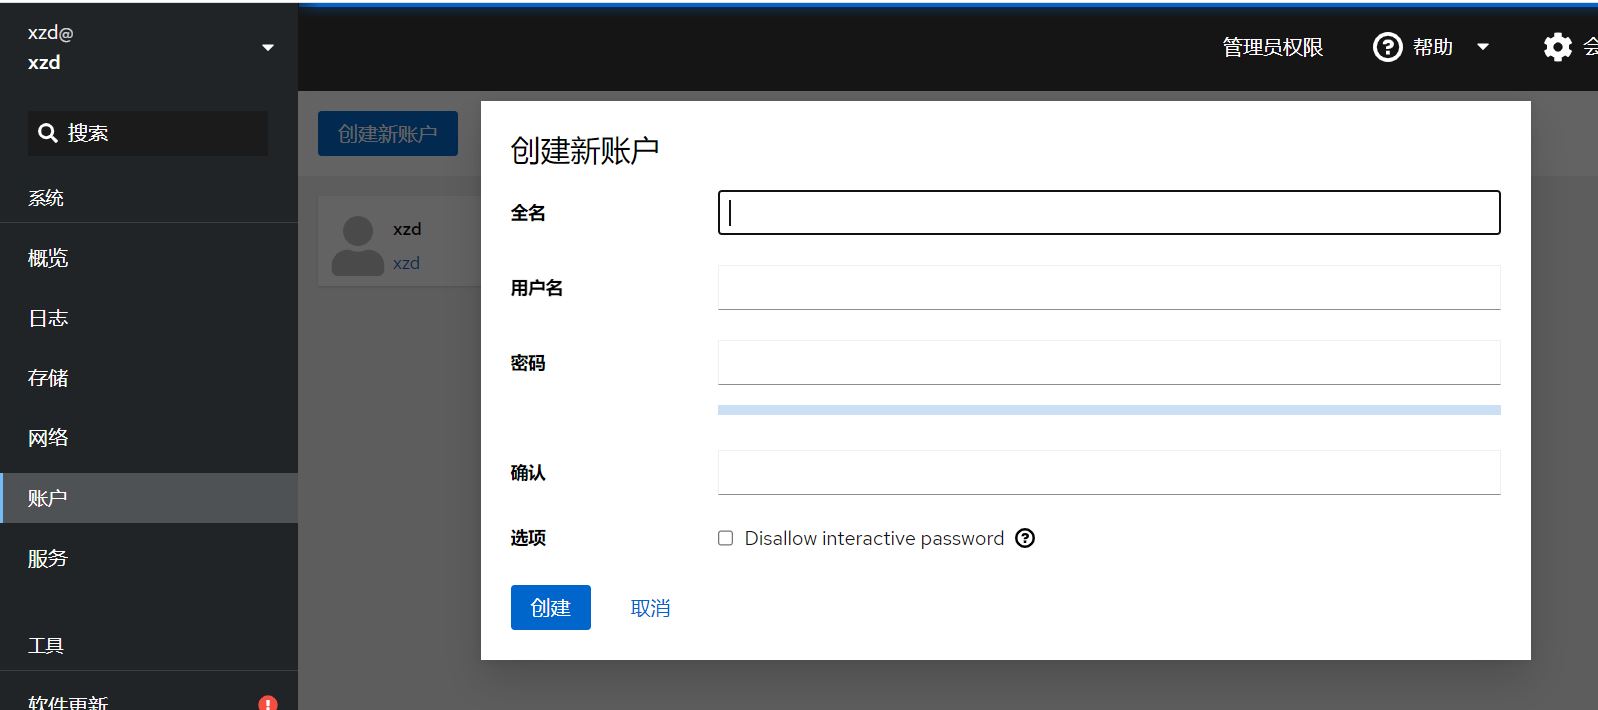
4.由于Samba创建用户时只能使用现有的系统账户,所以这里就用刚才新建的系统用户来作为Samba的登录账户
root@xzd:~# sudo smbpasswd -a smbuser    #smbuser就是刚才新建的系统账户,然后连续输入2次密码来创建Samba用户
New SMB password:
Retype new SMB password:
5.设置和创建共享文件夹
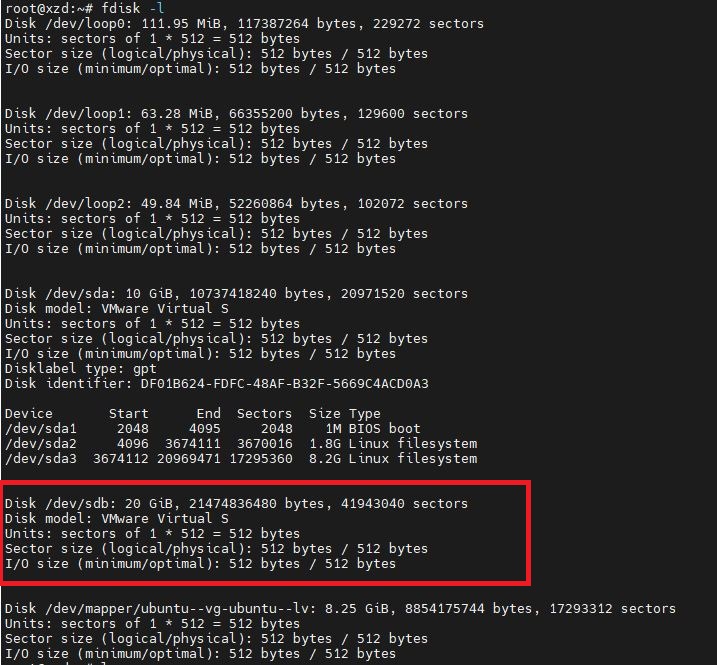
图中的20G盘为我要共享的磁盘空间
root@xzd:/# fdisk /dev/sdb1

Welcome to fdisk (util-linux 2.37.2).
Changes will remain in memory only, until you decide to write them.
Be careful before using the write command.

fdisk: cannot open /dev/sdb1: No such file or directory
root@xzd:/# fdisk /dev/sdb

Welcome to fdisk (util-linux 2.37.2).
Changes will remain in memory only, until you decide to write them.
Be careful before using the write command.


Command (m for help): n
Partition number (1-128, default 1):
First sector (34-41943006, default 2048):
Last sector, +/-sectors or +/-size{K,M,G,T,P} (2048-41943006, default 41943006):

Created a new partition 1 of type 'Linux filesystem' and of size 20 GiB.
Partition #1 contains a ext4 signature.

Do you want to remove the signature? [Y]es/[N]o: yes

The signature will be removed by a write command.

之后输入w写入更改
新建一个目录将刚才的分区挂载上去
root@xzd:~$ mkdir /mnt/mapdisk      #创建用于挂载分区的目录

root@xzd:/mnt# mkfs /dev/sdb1        #把分区随便格式化一下方便挂载
mke2fs 1.46.5 (30-Dec-2021)
Creating filesystem with 5242619 4k blocks and 1310720 inodes
Filesystem UUID: 783d66af-1641-4ad3-99b6-27465805d550
Superblock backups stored on blocks:
        32768, 98304, 163840, 229376, 294912, 819200, 884736, 1605632, 2654208,
        4096000

Allocating group tables: done
Writing inode tables: done
Writing superblocks and filesystem accounting information: done

root@xzd:/# mount /dev/sdb1 /mnt/mapdisk    #把分区挂载到创建的目录
6.修改Samba配置文件,设置共享目录
root@xzd:~# vi /etc/samba/smb.conf
#在最后添加

[Storage]                                            #共享目录名
        comment = Pacs NAS Server        #备注
        path = /mnt/mapdisk                  #共享目录的路径,就是刚才的挂载目录
        public = yes
        writable = yes
        directory mask = 0777                #设置权限
        create mask = 0777                    #设置权限
        valid users = smbuser,root           #目录的用户
        write list = smbuser,root              #目录的用户
        browseable = yes
        available = yes

#设置完成后保存退出

root@xzd:~# chmod 777 /mnt/mapdisk
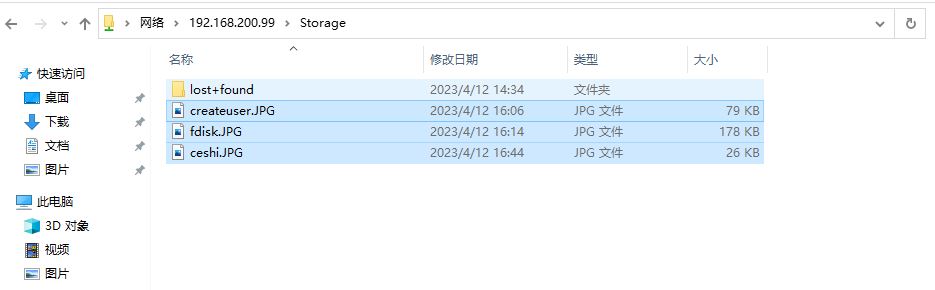
7.在window中用\\ip打开共享目录并使用创建的用户名密码登录测试一下,可以打开拷贝文件就OK了