一、Druid Github地址:https://github.com/alibaba/druid/
二、配置数据源
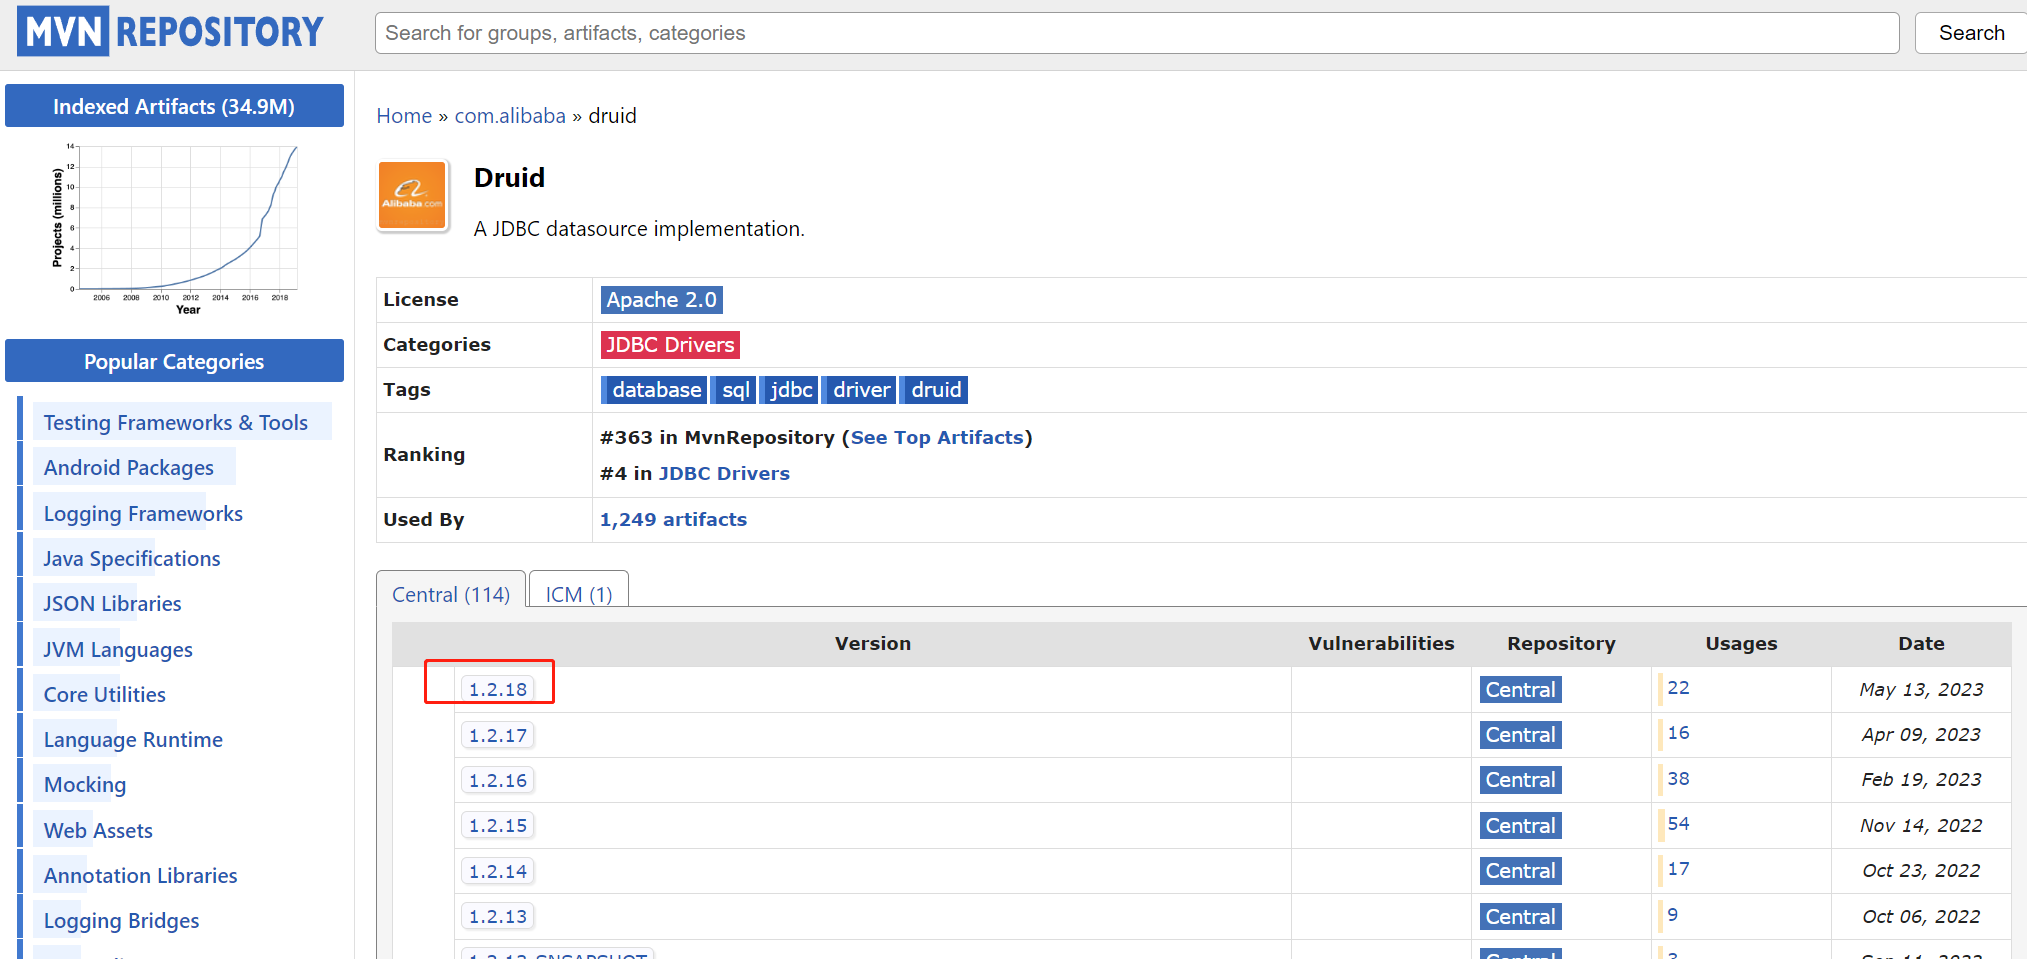
1、在https://mvnrepository.com/artifact/com.alibaba/druid 上找最新的版本
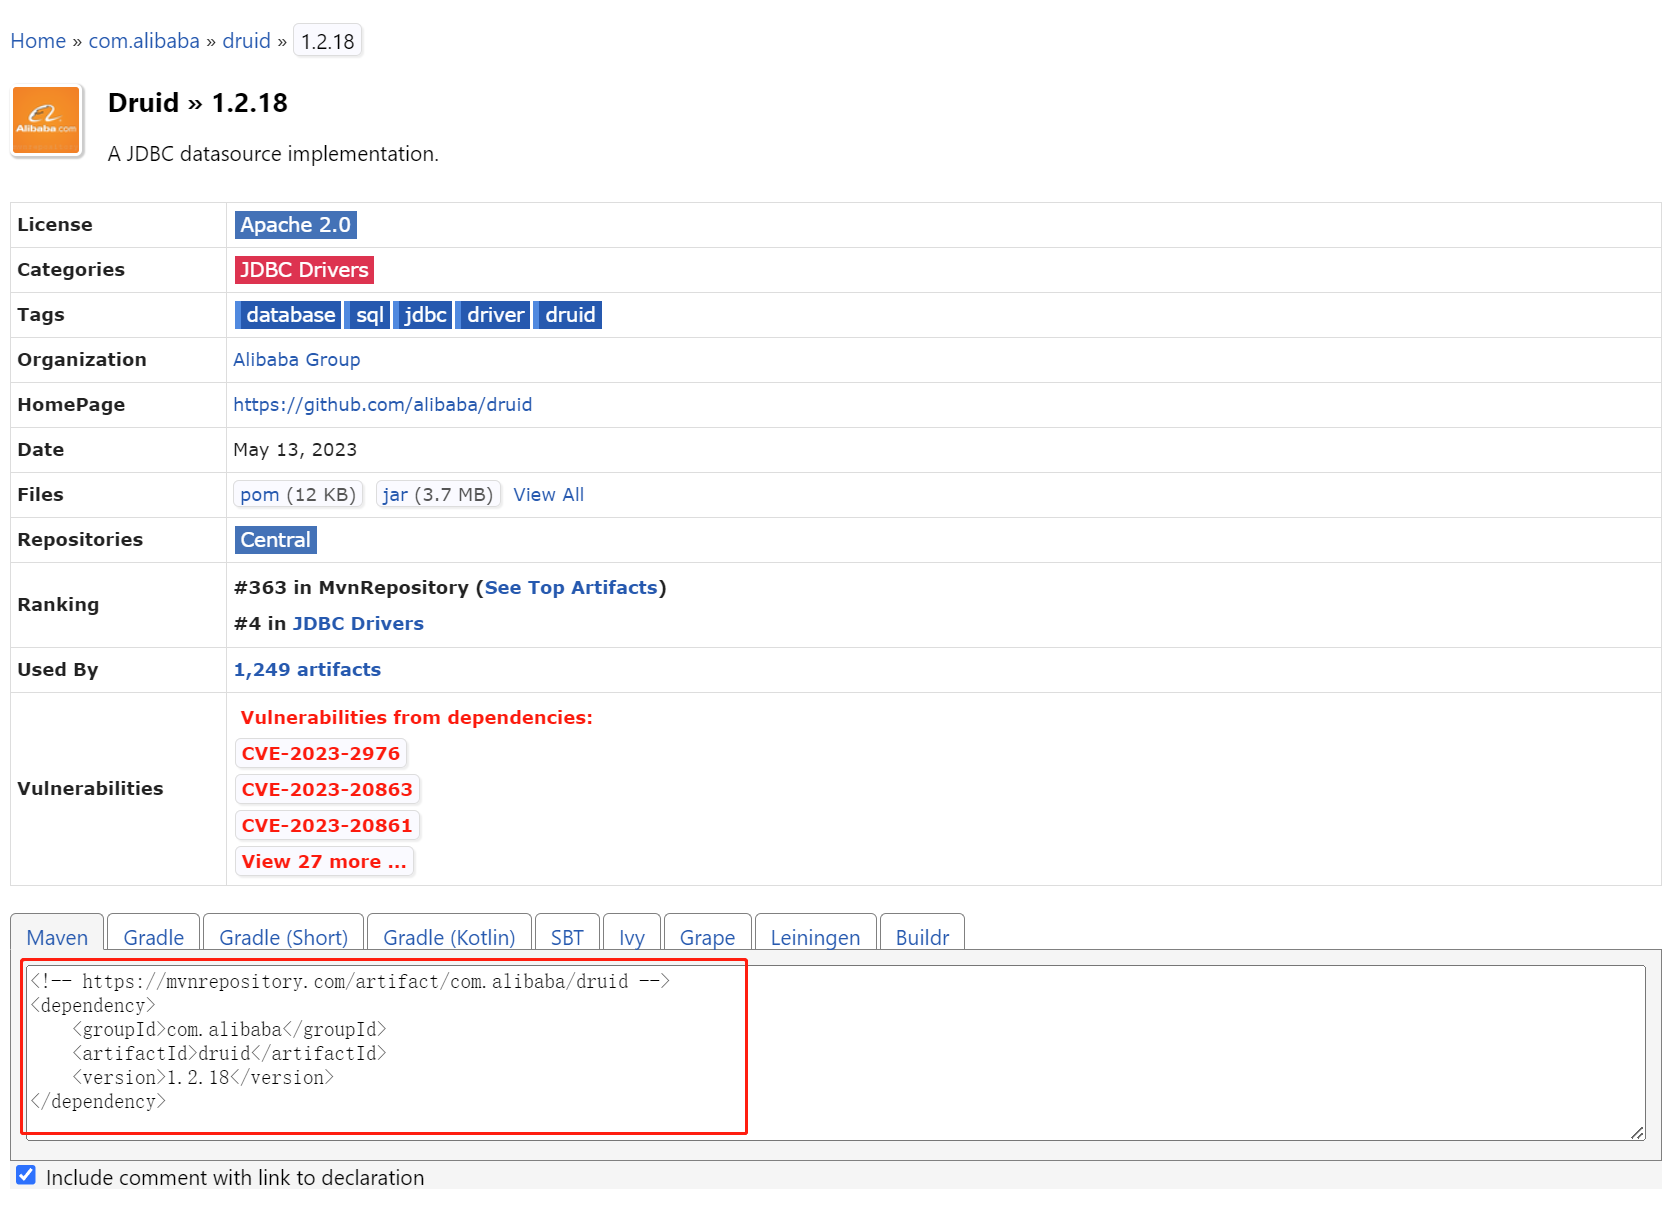
2、在pom.xml中添加上Druid数据源依赖
<!-- https://mvnrepository.com/artifact/com.alibaba/druid -->
<dependency>
    <groupId>com.alibaba</groupId>
    <artifactId>druid</artifactId>
    <version>1.2.18</version>
</dependency>
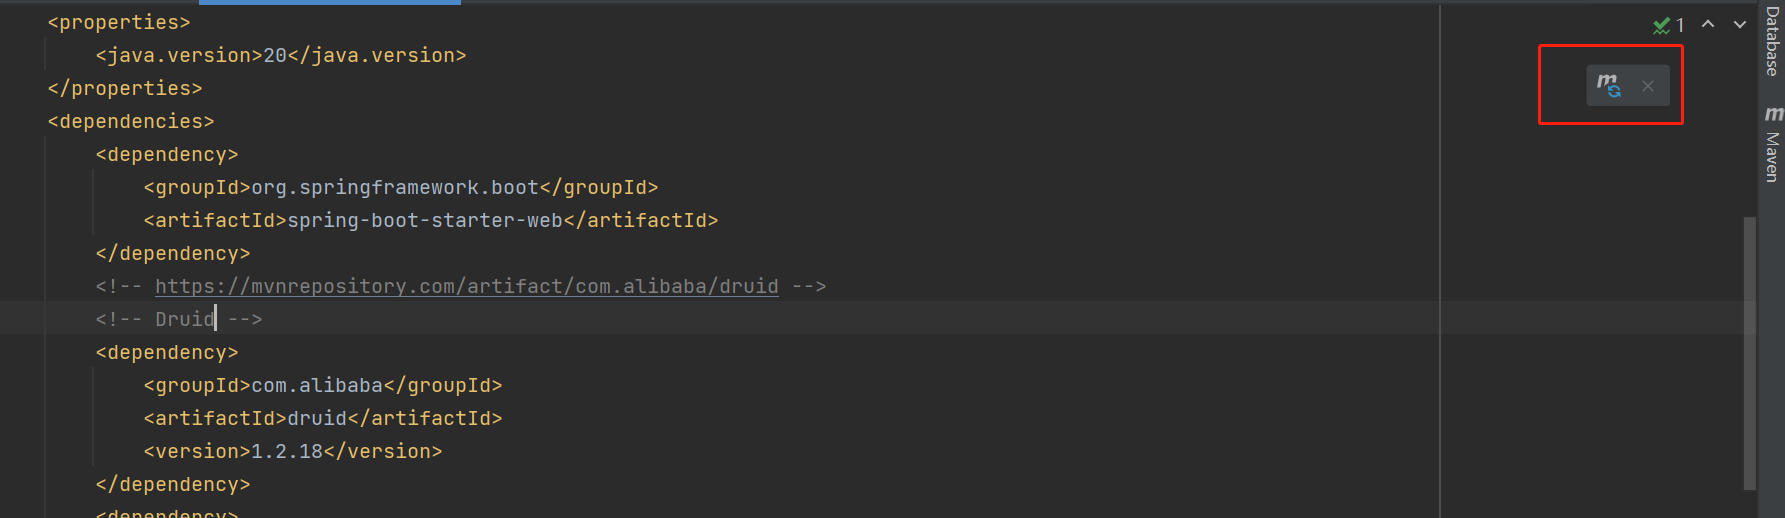
点击更新Maven
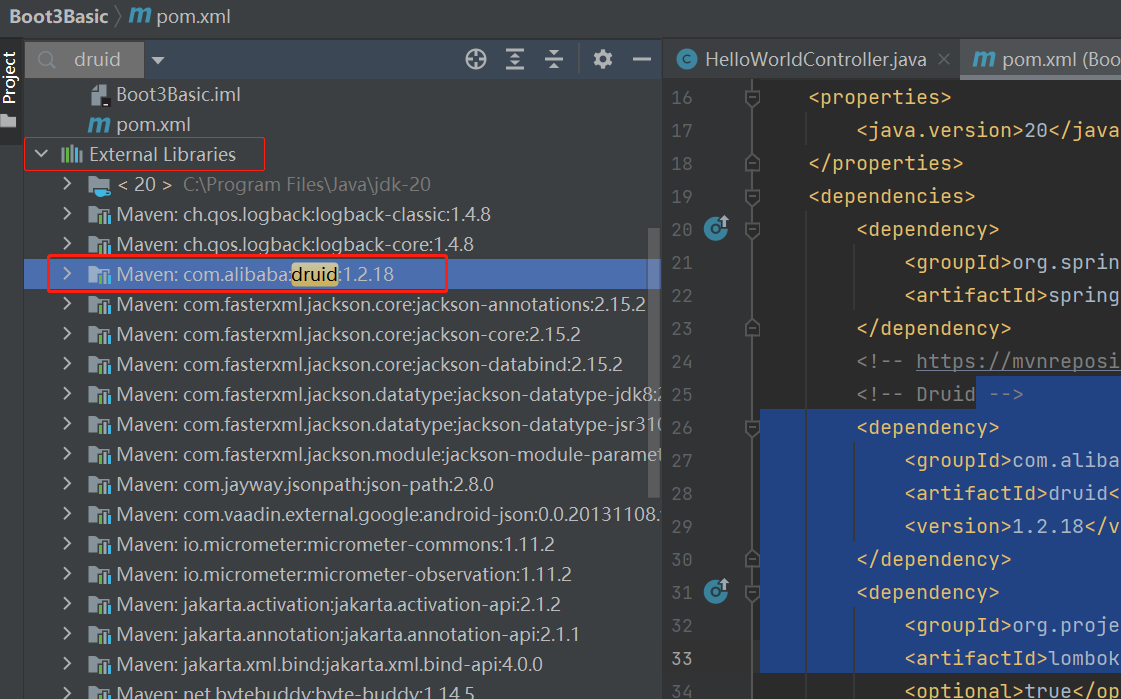
更新完毕后,在Extermal Libraries下可以搜得到Druid,并核对版本号
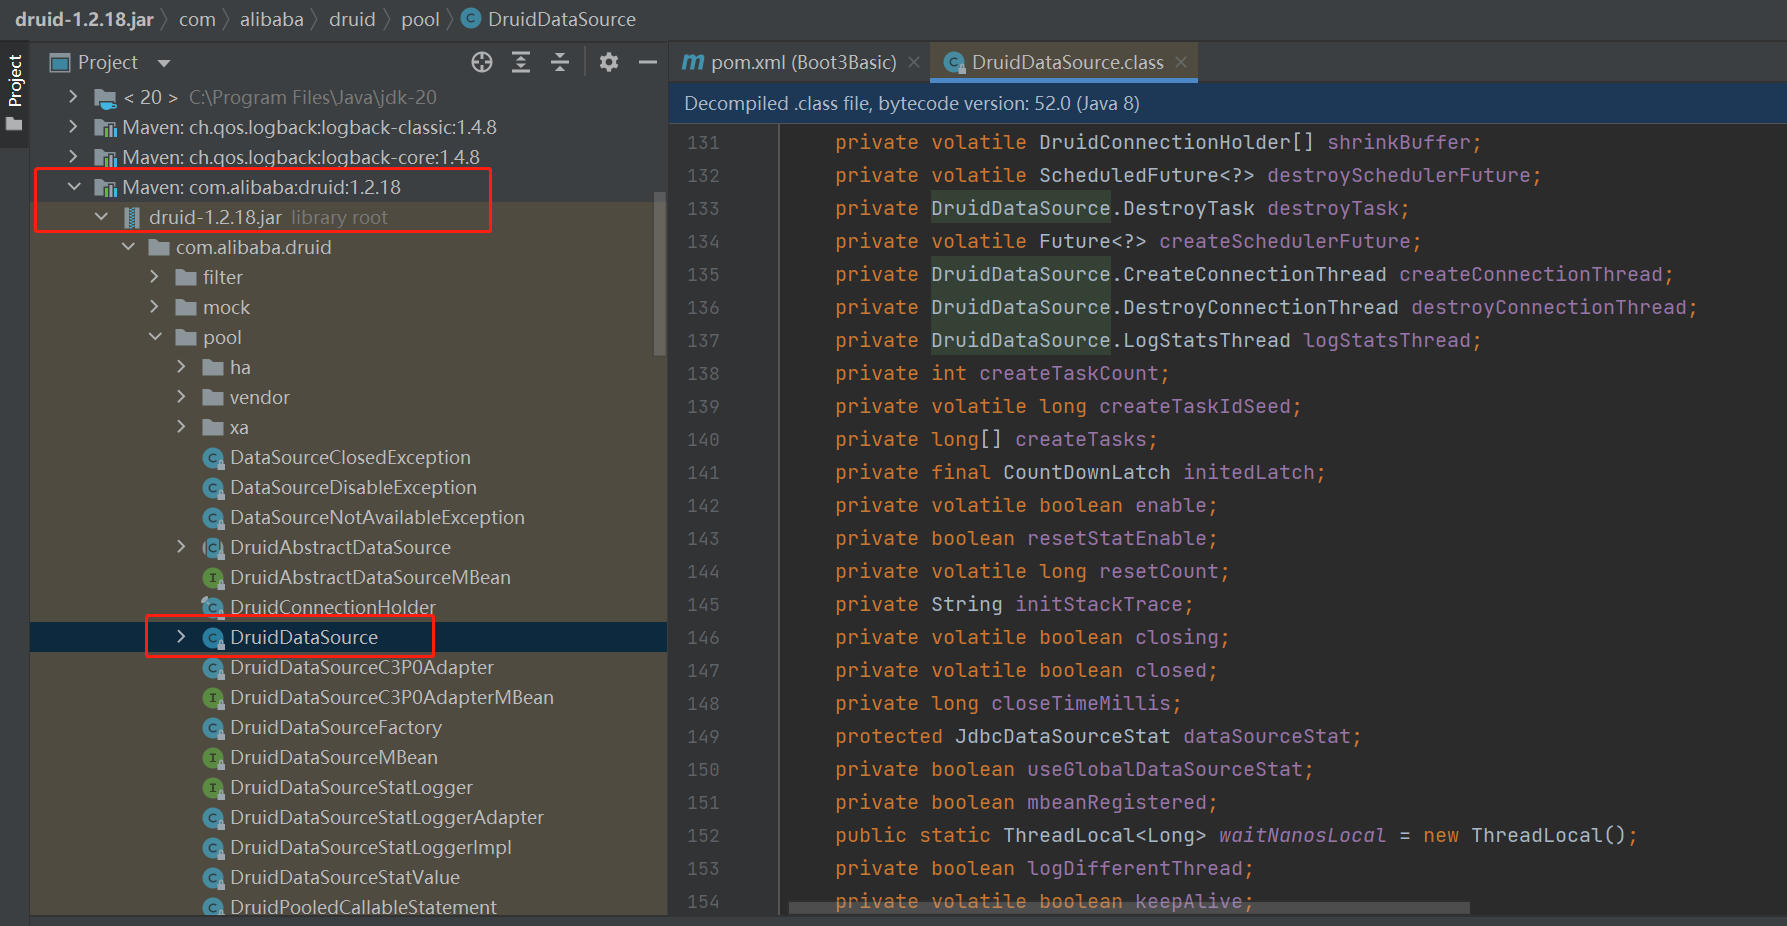
点开可以看Druid的源码,可以看里面的配置项
3、切换数据源,Spring Boot 2.0 以上默认使用 com.zaxxer.hikari.HikariDataSource 数据源,通过 spring.datasource.type 指定数据源。
spring:
  datasource:
    username: root
    password: 123456
    url: jdbc:mysql://localhost:3306/springboot?serverTimezone=UTC&useUnicode=true&characterEncoding=utf-8
    driver-class-name: com.mysql.cj.jdbc.Driver
    type: com.alibaba.druid.pool.DruidDataSource # 自定义数据源
4、编写测试类
    @Resource
    DataSource dataSource;
    @Test
    void contextLoads() throws Exception {
        System.out.println(dataSource.getClass());
        System.out.println(dataSource.getConnection());
    }
输出结果为
