登录 Apple 开发者账号。
我们需要获得具有 Sign In with Apple 功能的 App Id。
• 进入 Certificates, Identifiers & Profiles > Identifiers,然后单击 Identifiers 旁边左上角的 + 号;
• 选择 App IDs 并点击继续;
在此处输入任意 Description 和 Bundle ID(Apple建议使用反向域名样式字符串,如:com.domainname.appname)。向下滚动 Capabilities 项,并确保勾选 Sign In with Apple。 最后,单击“继续”,在下一页中验证详细信息,然后单击 Register。
现在我们需要获取一个 Services ID。当您调用 API 来验证用户身份时,这个值也将充当 cliend_id。
• 再次进到 Certificates, Identifiers & Profiles > Identifiers,然后单击 Identifiers 旁边左上角的 + 号。
• 这次选择 Services IDs 并点击继续。
让我们来获取 client_secret。
设置 Ruby 后运行命令 sudo gem install jwt 来设置 ruby-jwt。
添加必要的详细信息并将以下内容保存为 secret_gen.rb
require "jwt"

key_file = "Path to the private key"
team_id = "Your Team ID"
client_id = "The Service ID of the service you created"
key_id = "The Key ID of the private key"
validity_period = 180 # In days. Max 180 (6 months) according to Apple docs.

private_key = OpenSSL::PKey::EC.new IO.read key_file

token = JWT.encode(
    {
        iss: team_id,
        iat: Time.now.to_i,
        exp: Time.now.to_i + 86400 * validity_period,
        aud: "https://appleid.apple.com",
        sub: client_id
    },
    private_key,
    "ES256",
    header_fields=
    {
        kid: key_id
    }
)
puts token
修改这四个参数
key_file = "P8文件本地路径"
team_id = "Your Team ID"
client_id = "Your App Bundle ID"
key_id = "The Key ID of the private key"
获取team_id: https://developer.apple.com/account
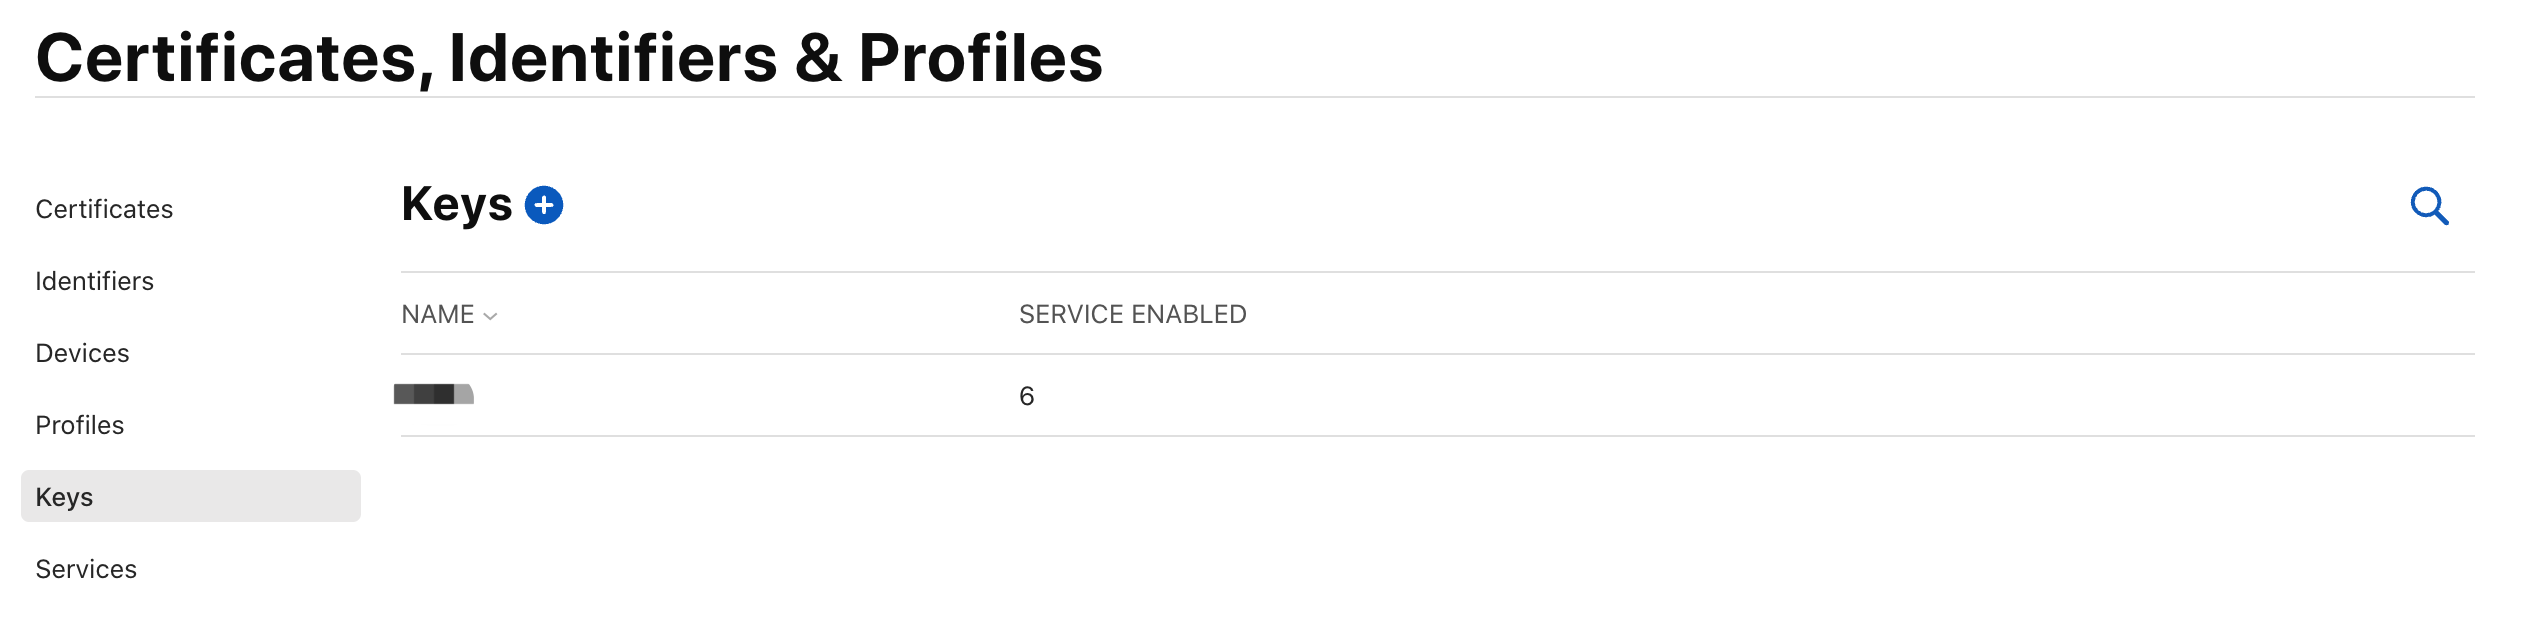
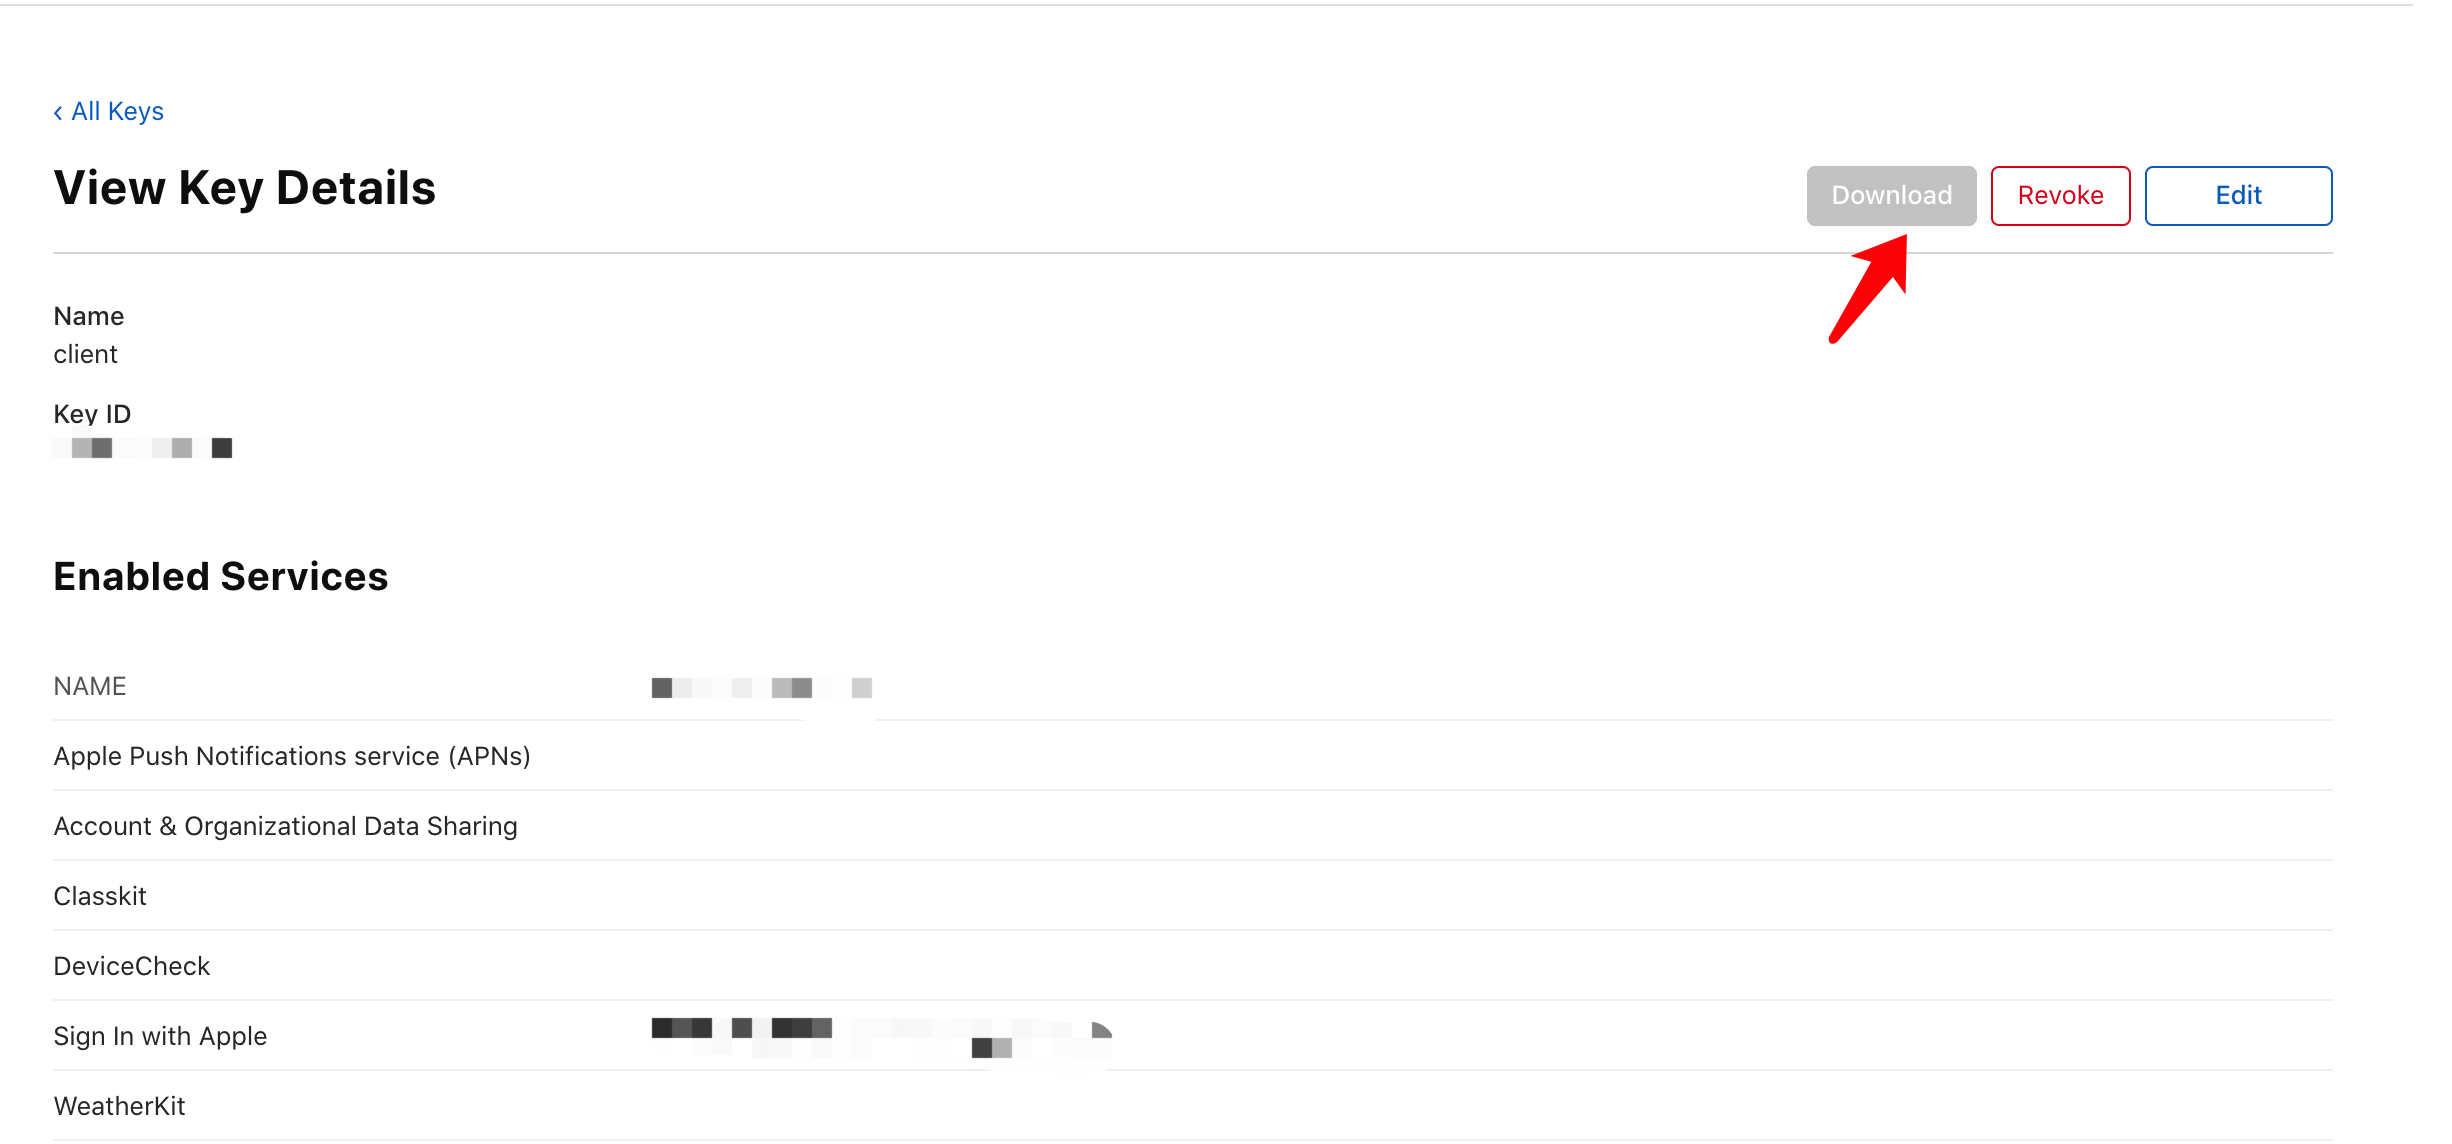
配置key_id和key_file:https://developer.apple.com/account/resources/authkeys/list
注意:key_file 只能下载一次