STM32-标准库实现中断方式的串口通信
实验任务
使用标准库方式,设置USART1 波特率为115200,1位停止位,无校验位,采用中断方式完成下列任务:
- STM32系统给上位机(win10)连续发送“hello windows!”;
- 当上位机给stm32发送字符串“stop”后,stm32暂停发送“hello windows!”;
- 发送一个字符串“start”后,stm32继续发送。
实验过程
-
创建好工程后,在Hardware文件夹下新建两个文件:Serial.h 和 Serial.c,用来编写串口收发数据的相关代码。

-
串口通信相关变量和函数介绍:
char Serial_RxPacket[]:缓存数组,当单片机接收到的上位机的数据后,存放在这个数组里。uint8_t Serial_RxFlag:判断数据是否全部接收完成,如果上位机发送过来的数据,单片机全部接收完毕,就把这个变量置为1,否则为0。void Serial_Init(void):串口初始化函数,进行一些串口、引脚和模式的配置。void Serial_SendByte(uint8_t Byte):单片机给上位机发送一个字节。void Serial_SendString(char *String):单片机给上位机发送一个字符串。
-
在Serial.h中编写如下代码:
#ifndef __SERIAL_H #define __SERIAL_H #include <stdio.h> extern char Serial_RxPacket[]; // 单片机接收到的上位机的数据,存放在这里 extern uint8_t Serial_RxFlag; // 判断数据是否全部接收完成 void Serial_Init(void); // 串口初始化函数 void Serial_SendByte(uint8_t Byte); // 单片机给上位机发送一个字节 void Serial_SendString(char *String); // 单片机给上位机发送一个字符串 #endif在Serial.c中对相应变量进行初始化,对相应函数进行实现,代码如下:
#include "stm32f10x.h" // Device header #include <stdio.h> #include <stdarg.h> char Serial_RxPacket[100]; uint8_t Serial_RxFlag; void Serial_Init(void) { // 使能USART1和GPIOA的时钟 RCC_APB2PeriphClockCmd(RCC_APB2Periph_USART1, ENABLE); RCC_APB2PeriphClockCmd(RCC_APB2Periph_GPIOA, ENABLE); // 配置USART1的引脚 GPIO_InitTypeDef GPIO_InitStructure; GPIO_InitStructure.GPIO_Mode = GPIO_Mode_AF_PP; // 复用推挽输出 GPIO_InitStructure.GPIO_Pin = GPIO_Pin_9; // USART1的TX引脚 GPIO_InitStructure.GPIO_Speed = GPIO_Speed_50MHz; // GPIO速度 GPIO_Init(GPIOA, &GPIO_InitStructure); // 配置USART1的引脚 GPIO_InitStructure.GPIO_Mode = GPIO_Mode_IPU; // 输入上拉 GPIO_InitStructure.GPIO_Pin = GPIO_Pin_10; // USART1的RX引脚 GPIO_InitStructure.GPIO_Speed = GPIO_Speed_50MHz; // GPIO速度 GPIO_Init(GPIOA, &GPIO_InitStructure); // 配置USART1 USART_InitTypeDef USART_InitStructure; USART_InitStructure.USART_BaudRate = 115200; // 波特率 USART_InitStructure.USART_HardwareFlowControl = USART_HardwareFlowControl_None; // 无硬件流控 USART_InitStructure.USART_Mode = USART_Mode_Tx | USART_Mode_Rx; // 发送和接收模式 USART_InitStructure.USART_Parity = USART_Parity_No; // 无校验 USART_InitStructure.USART_StopBits = USART_StopBits_1; // 1个停止位 USART_InitStructure.USART_WordLength = USART_WordLength_8b; // 数据位长度为8位 USART_Init(USART1, &USART_InitStructure); // 使能USART1的接收中断 USART_ITConfig(USART1, USART_IT_RXNE, ENABLE); // 配置中断分组为第2组 NVIC_PriorityGroupConfig(NVIC_PriorityGroup_2); // 配置USART1接收中断的中断处理函数的优先级 NVIC_InitTypeDef NVIC_InitStructure; NVIC_InitStructure.NVIC_IRQChannel = USART1_IRQn; // USART1的中断通道 NVIC_InitStructure.NVIC_IRQChannelCmd = ENABLE; // 使能中断通道 NVIC_InitStructure.NVIC_IRQChannelPreemptionPriority = 1; // 抢占优先级为1 NVIC_InitStructure.NVIC_IRQChannelSubPriority = 1; // 子优先级为1 NVIC_Init(&NVIC_InitStructure); // 使能USART1 USART_Cmd(USART1, ENABLE); } void Serial_SendByte(uint8_t Byte) { USART_SendData(USART1, Byte); while (USART_GetFlagStatus(USART1, USART_FLAG_TXE) == RESET); } void Serial_SendString(char *String) { uint8_t i; for (i = 0; String[i] != '\0'; i ++) { Serial_SendByte(String[i]); } } -
中断函数实现:
本实验选择在中断函数内去接收上位机的数据,并且规定:上位机发送的数据,必须以@为开头,并且结尾要带有换行。
在Serial.c中继续添加中断函数代码:
void USART1_IRQHandler(void)
{
	static uint8_t RxState = 0;
	static uint8_t pRxPacket = 0;
	if (USART_GetITStatus(USART1, USART_IT_RXNE) == SET)
	{
		uint8_t RxData = USART_ReceiveData(USART1);

		if (RxState == 0)
		{
			if (RxData == '@' && Serial_RxFlag == 0)
			{
				RxState = 1;
				pRxPacket = 0;
			}
		}
		else if (RxState == 1)
		{
			if (RxData == '\r')
			{
				RxState = 2;
			}
			else
			{
				Serial_RxPacket[pRxPacket] = RxData;
				pRxPacket ++;
			}
		}
		else if (RxState == 2)
		{
			if (RxData == '\n')
			{
				RxState = 0;
				Serial_RxPacket[pRxPacket] = '\0';
				Serial_RxFlag = 1;
			}
		}
		USART_ClearITPendingBit(USART1, USART_IT_RXNE);
	}
}
至此,串口部分的代码就完成了。
-
在main.c中输入以下代码:
#include "stm32f10x.h" // Device header #include "Delay.h" #include "Serial.h" #include "string.h" // 如果为0,就持续发送“Hello Windows!”,为1,就停止发送 static uint8_t sendFlag = 0; int main(void) { Serial_Init(); while (1) { if (sendFlag == 0) { Serial_SendString("Hello Windows!\r\n"); // 给上位机发送信息 Delay_ms(1000); // 延时1秒 } if (Serial_RxFlag == 1) // 单片机接收完毕 { if (strcmp(Serial_RxPacket, "start") == 0) // 上位机发送的数据为“start” { sendFlag = 0; } else if (strcmp(Serial_RxPacket, "stop") == 0) // 上位机发送的数据为“stop” { sendFlag = 1; } Serial_RxFlag = 0; // 重新等待接收 } } } -
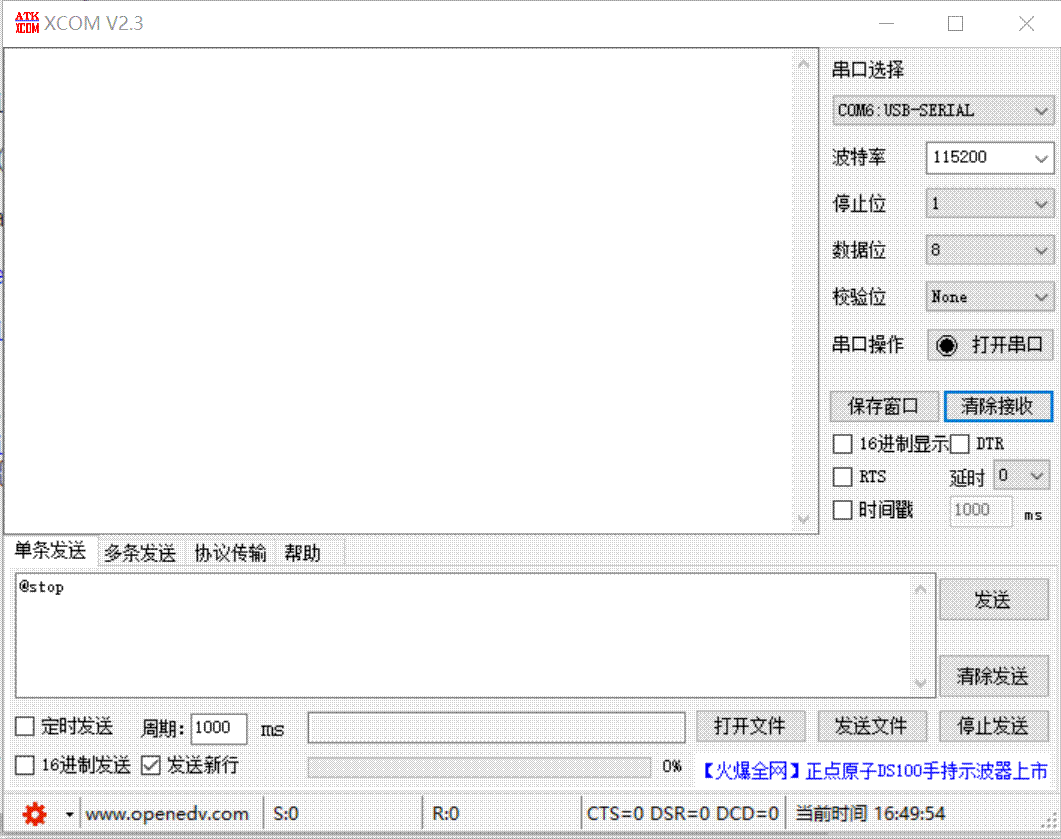
实验效果
总结体会
通过本次实验,能够实现STM32的串口通信,并能够通过上位机来简单控制单片机的行为。
遇到的困难:起初尝试用HAL库来写,但折腾了一个晚上,改不出来,所以无奈选择了标准库实现。