37款传感器与模块的提法,在网络上广泛流传,其实Arduino能够兼容的传感器模块肯定是不止37种的。鉴于本人手头积累了一些传感器和模块,依照实践出真知(一定要动手做)的理念,以学习和交流为目的,这里准备逐一动手试试做实验,不管成功与否,都会记录下来---小小的进步或是搞不定的问题,希望能够抛砖引玉。
【Arduino】108种传感器模块系列实验(资料+代码+图形+仿真)
实验二十二:MAX7219点阵显示模块(8X8 LED共阴屏幕)

【Arduino】168种传感器模块系列实验(资料代码+仿真编程+图形编程)
实验二十二:MAX7219点阵显示模块(8X8 LED共阴屏幕)
Arduino实验开源代码
/*
【Arduino】168种传感器模块系列实验(资料代码+仿真编程+图形编程)
实验二十二:MAX7219点阵显示模块(8X8 LED共阴)
1、下载安装库:
GitHub | riyas-org/max7219 https://github.com/riyas-org/max7219
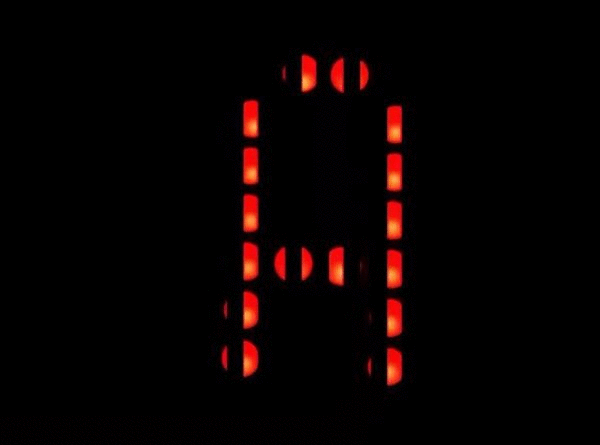
2、项目:应用多种函数,显示字母,笑脸等图案以及左向移动
3、连线:
VCC → 5V
GND → GND
DIN → D11
CS → D12
CLK → D13
*/
#include <MaxMatrix.h>
int DIN = 11; // DIN pin of MAX7219 module
int CLK = 13; // CLK pin of MAX7219 module
int CS = 12; // CS pin of MAX7219 module
int maxInUse = 1;
MaxMatrix m(DIN, CS, CLK, maxInUse);
char A[] = {4, 8,
B01111110,
B00010001,
B00010001,
B01111110,
};
char B[] = {4, 8,
B01111111,
B01001001,
B01001001,
B00110110,
};
char smile01[] = {8, 8,
B00111100,
B01000010,
B10010101,
B10100001,
B10100001,
B10010101,
B01000010,
B00111100
};
char smile02[] = {8, 8,
B00111100,
B01000010,
B10010101,
B10010001,
B10010001,
B10010101,
B01000010,
B00111100
};
char smile03[] = {8, 8,
B00111100,
B01000010,
B10100101,
B10010001,
B10010001,
B10100101,
B01000010,
B00111100
};
void setup() {
m.init(); // MAX7219 initialization
m.setIntensity(8); // initial led matrix intensity, 0-15
}
void loop() {
// Seting the LEDs On or Off at x,y or row,column position
m.setDot(6,2,true);
delay(1000);
m.setDot(6,3,true);
delay(1000);
m.clear(); // Clears the display
for (int i=0; i<8; i++){
m.setDot(i,i,true);
delay(300);
}
m.clear();
// Displaying the character at x,y (upper left corner of the character)
m.writeSprite(2, 0, A);
delay(1000);
m.writeSprite(2, 0, B);
delay(1000);
m.writeSprite(0, 0, smile01);
delay(1000);
m.writeSprite(0, 0, smile02);
delay(1000);
m.writeSprite(0, 0, smile03);
delay(1000);
for (int i=0; i<8; i++){
m.shiftLeft(false,false);
delay(300);
}
m.clear();
}
/*

【Arduino】168种传感器模块系列实验(资料代码+仿真编程+图形编程)

实验二十二:MAX7219点阵显示模块(8X8 LED共阴)

1、下载库 https://www.pjrc.com/teensy/arduino_libraries/Matrix_Sprite.zip

2、项目:快速扫描所有64个点(国外网站上的示例)

3、连线:

VCC  →  5V

GND  →  GND

DIN 接 D11 (MOSI)

CS  接 D10 (SS)

CLK 接 D13 (SCK)

*/


#include <Sprite.h>  // Sprite before Matrix

#include <Matrix.h>

const int numChips = 1;

//DIN, CLK, CS, #chips

Matrix myLeds = Matrix(11, 13, 10, numChips);


void setup() {

  myLeds.clear();

}


void loop() {

  byte x, y;

  // light one LED at a time, scanning left to right

  // and top to bottom... useful for testing the matrix

  for (y=0; y<8; y++) {

  for (x=0; x<(numChips * 8); x++) {

    myLeds.write(x, y, HIGH);

    delay(20);

    myLeds.write(x, y, LOW);

  }

  }

}
实验开源图形编程(Mind+、编玩边学)
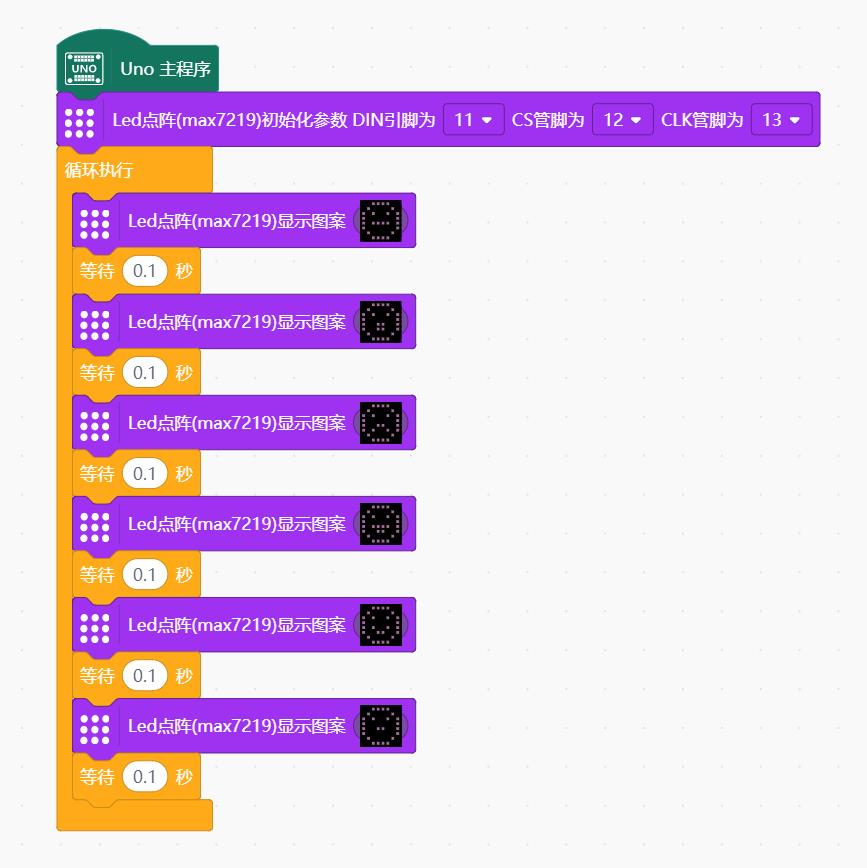

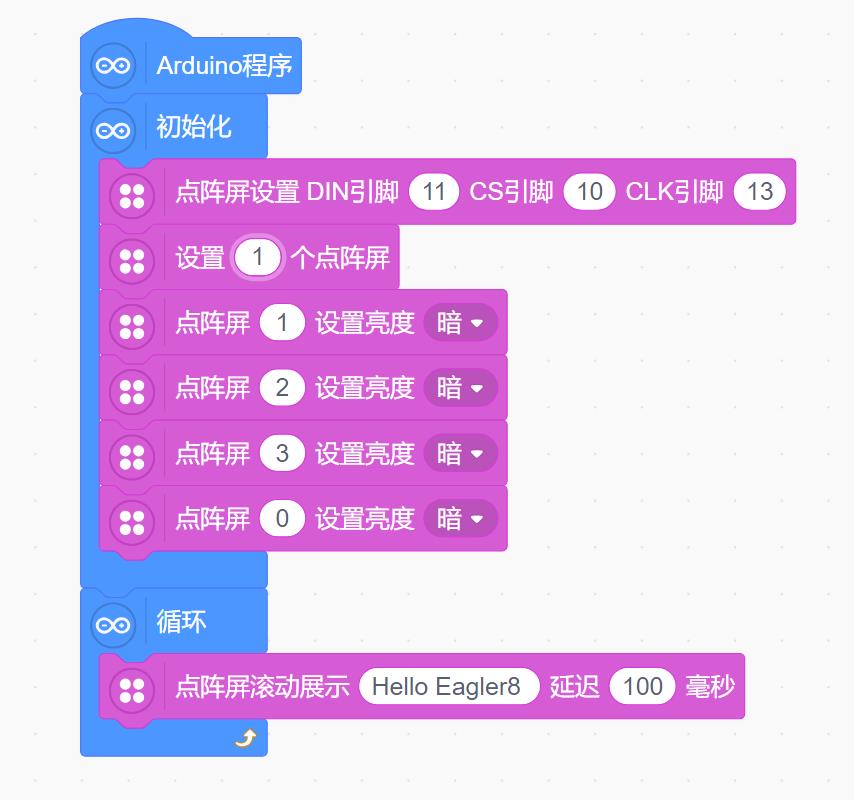
实验开源图形编程(Mind+、编玩边学)
编玩边学平台
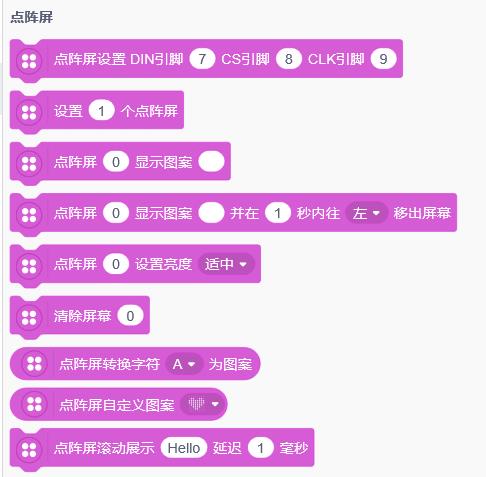
【Arduino】168种传感器模块系列实验(资料代码+仿真编程+图形编程)
实验二十二:MAX7219点阵显示模块(8X8 LED共阴)
1、下载库 https://www.pjrc.com/teensy/arduino_libraries/Matrix_Sprite.zip
2、项目之一:快速扫描所有64个点阵(对于测试矩阵很有用)
/*

 【Arduino】168种传感器模块系列实验(资料代码+仿真编程+图形编程)

 实验二十二:MAX7219点阵显示模块(8X8 LED共阴)

 1、下载库 https://www.pjrc.com/teensy/arduino_libraries/Matrix_Sprite.zip

 2、项目之一:快速扫描所有64个点阵(对于测试矩阵很有用)

 3、连线:

 MAX7219    UNO

 VCC →→→→→ 5V

 GND →→→→→ GND

 DIN →→→→→ D12 (MOSI)

 CS  →→→→→ D11 (SS)

 CLK →→→→→ D10 (SCK)

*/

#include <Sprite.h> // Sprite before Matrix

#include <Matrix.h>

const int numChips = 1;

//DIN, CLK, CS, #chips

Matrix myLeds = Matrix(12, 10, 11, numChips);

void setup() {

 myLeds.clear();

}

void loop() {

 byte x, y;

 // 一次点亮一个 LED,从左到右扫描

 // 从上到下......对于测试矩阵很有用

 for (y = 0; y < 8; y++) {

  for (x = 0; x < (numChips * 8); x++) {

   myLeds.write(x, y, HIGH);

   delay(40);

   myLeds.write(x, y, LOW);

  }

 }

}
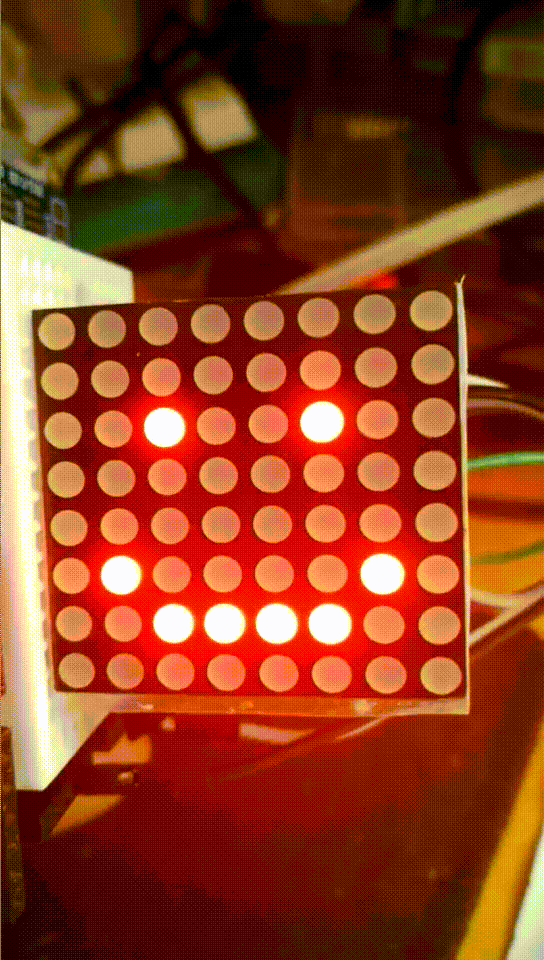
Arduino实验场景图
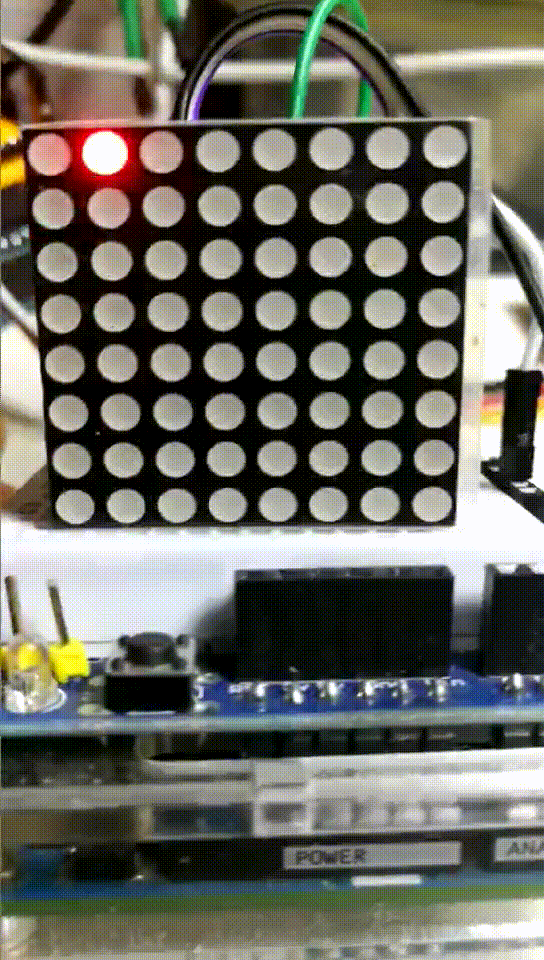
最简单的8*8点阵屏的程序
【Arduino】168种传感器模块系列实验(资料代码+仿真编程+图形编程)
实验二十二:MAX7219点阵显示模块(8X8 LED共阴)
项目之二:在屏幕上闪烁欢迎面孔(间隔1秒)
/*
  【Arduino】168种传感器模块系列实验(资料代码+仿真编程+图形编程)
  实验二十二:MAX7219点阵显示模块(8X8 LED共阴)
  项目之二:在屏幕上闪烁欢迎面孔(间隔1秒)
  接脚连线:
  MAX7219       UNO
  VCC  →→→→→ 5V
  GND  →→→→→ GND
  DIN  →→→→→ D12(数据)
  CS   →→→→→ D11(负载)
  CLK  →→→→→ D10(时钟)
*/

#include <Sprite.h>
#include <Matrix.h>
Matrix myMatrix = Matrix(12, 10, 11);// Matrix(DIN, CLK, CS)

void setup(){
}

void loop(){
  myMatrix.clear(); // 显示清屏
  delay(1000);
  myMatrix.write(2, 5, HIGH); // 打开相关位置的像素(点阵)
  myMatrix.write(3, 2, HIGH);
  myMatrix.write(3, 6, HIGH);
  myMatrix.write(4, 6, HIGH);
  myMatrix.write(5, 6, HIGH);
  myMatrix.write(6, 2, HIGH);
  myMatrix.write(6, 6, HIGH);
  myMatrix.write(7, 5, HIGH);
  delay(1000);
}