地址:https://www.codewithharry.com/blogpost/install-phpmyadmin-ubuntu-nginx/
How to install PhpMyAdmin on Ubuntu running Nginx (LEMP stack)
In this post, we will see how to install phpMyAdmin on servers running Nginx. Follow the steps below:
Step 1 - Installing phpMyAdmin
Enter the following command to install PHPMyAdmin

Step 2 - Configuring MySQL to use a password
Now we will configure password login to MySQL for logging into PHPMyAdmin
Open MySQL console
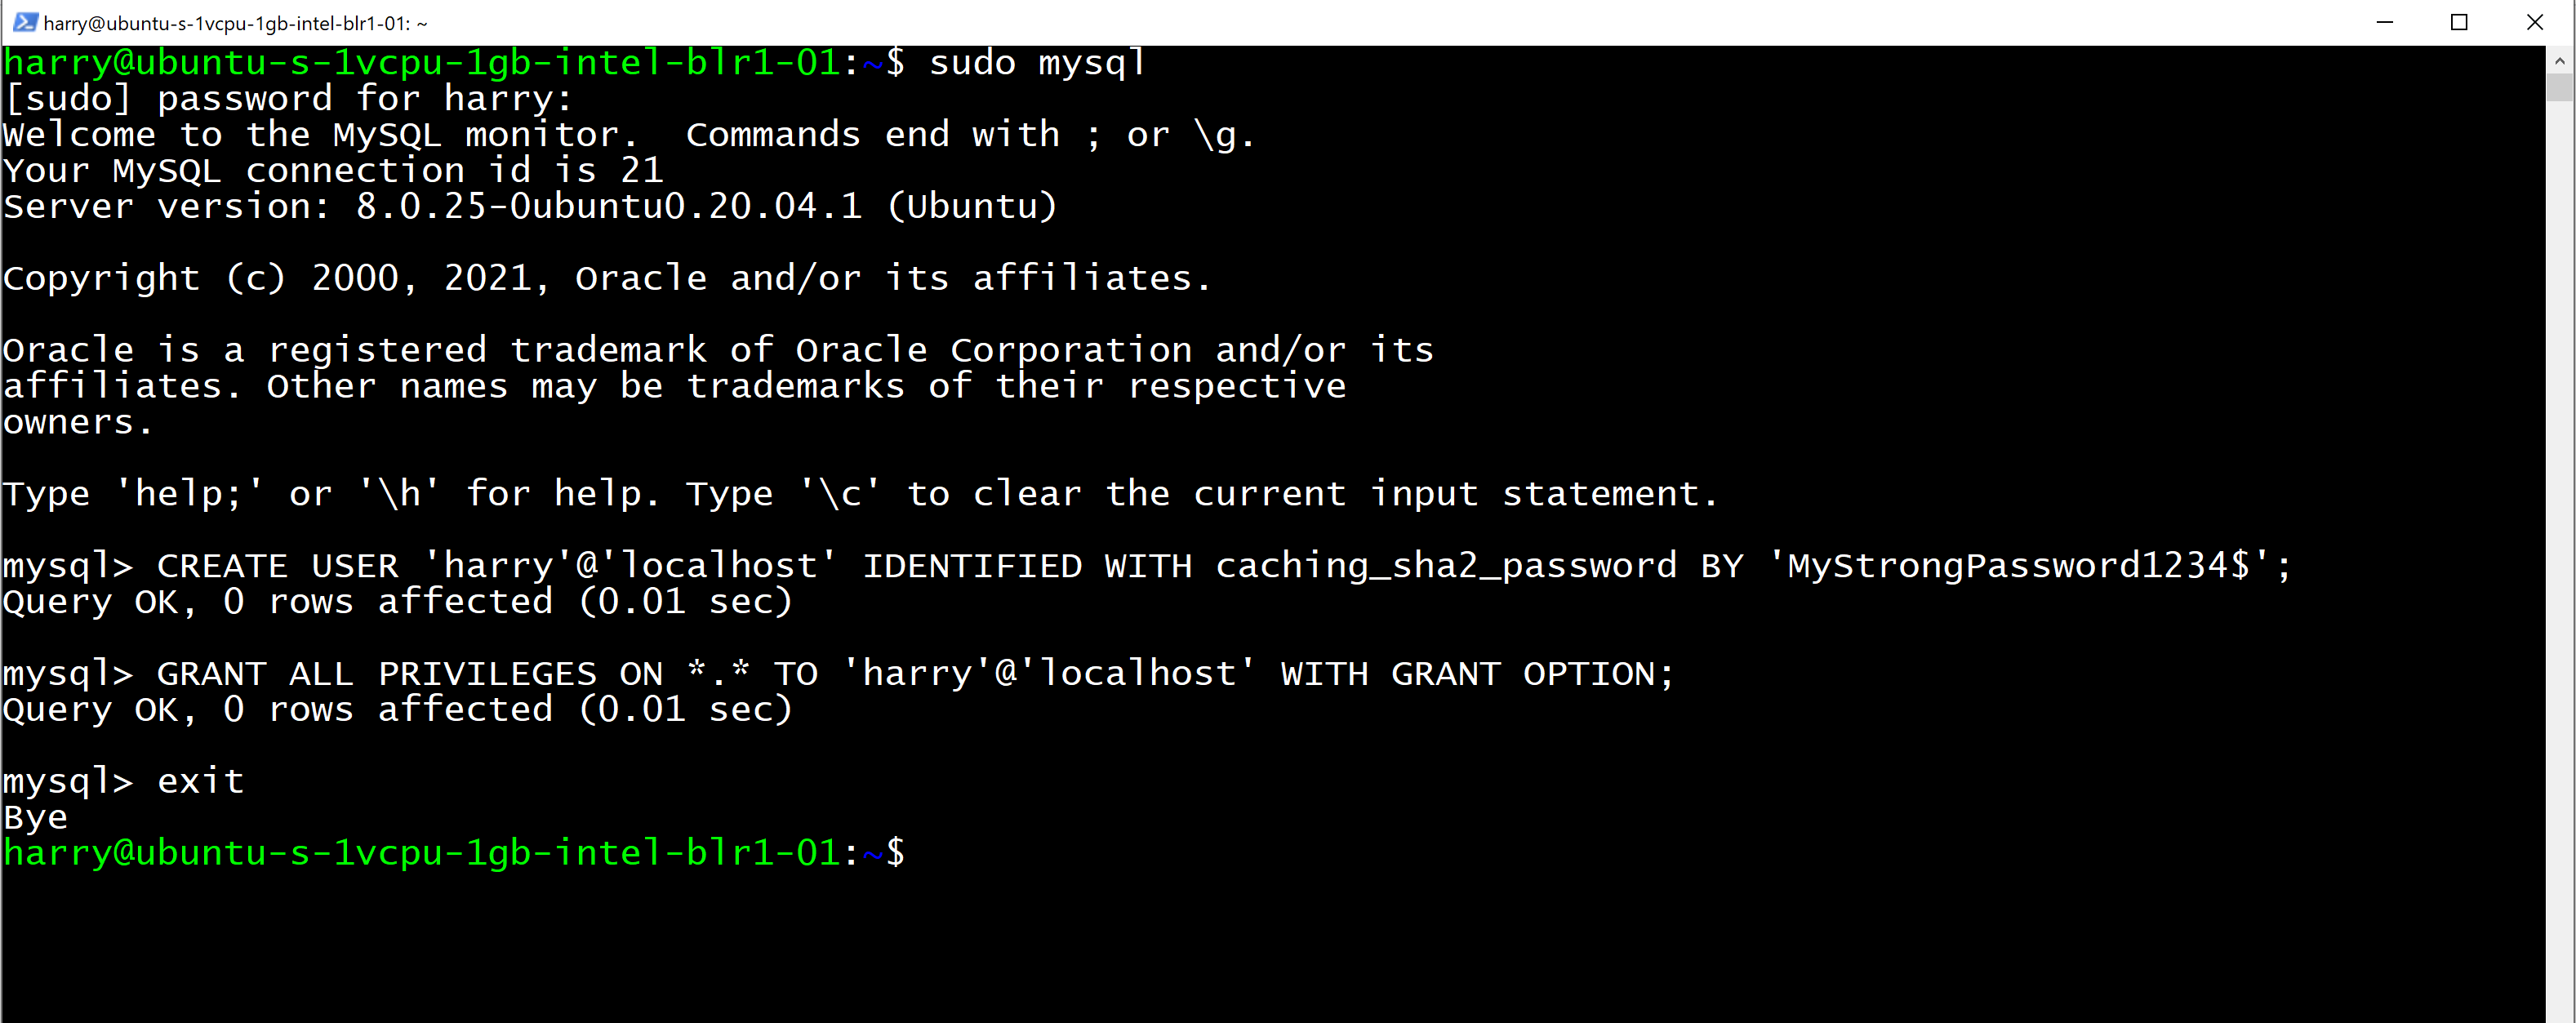
and execute the following query to create a new user to be used for PHPMyAdmin.
This creates a new MySQL user named harry with the password - 'MyStrongPassword1234$'
Let's provide this user all the privileges so that we can use it to access the PHPMyAdmin console. Execute the query below
Let's exit the MySQL console now
Step 3 - Create a symlink
You’ll now need to create a symbolic link from the PHPMyAdmin files to Nginx’s document root directory. This will tell Nginx where PhpMyAdmin files are and how to serve them!
Step 4 - Check the installation
Restart Nginx using the command below:
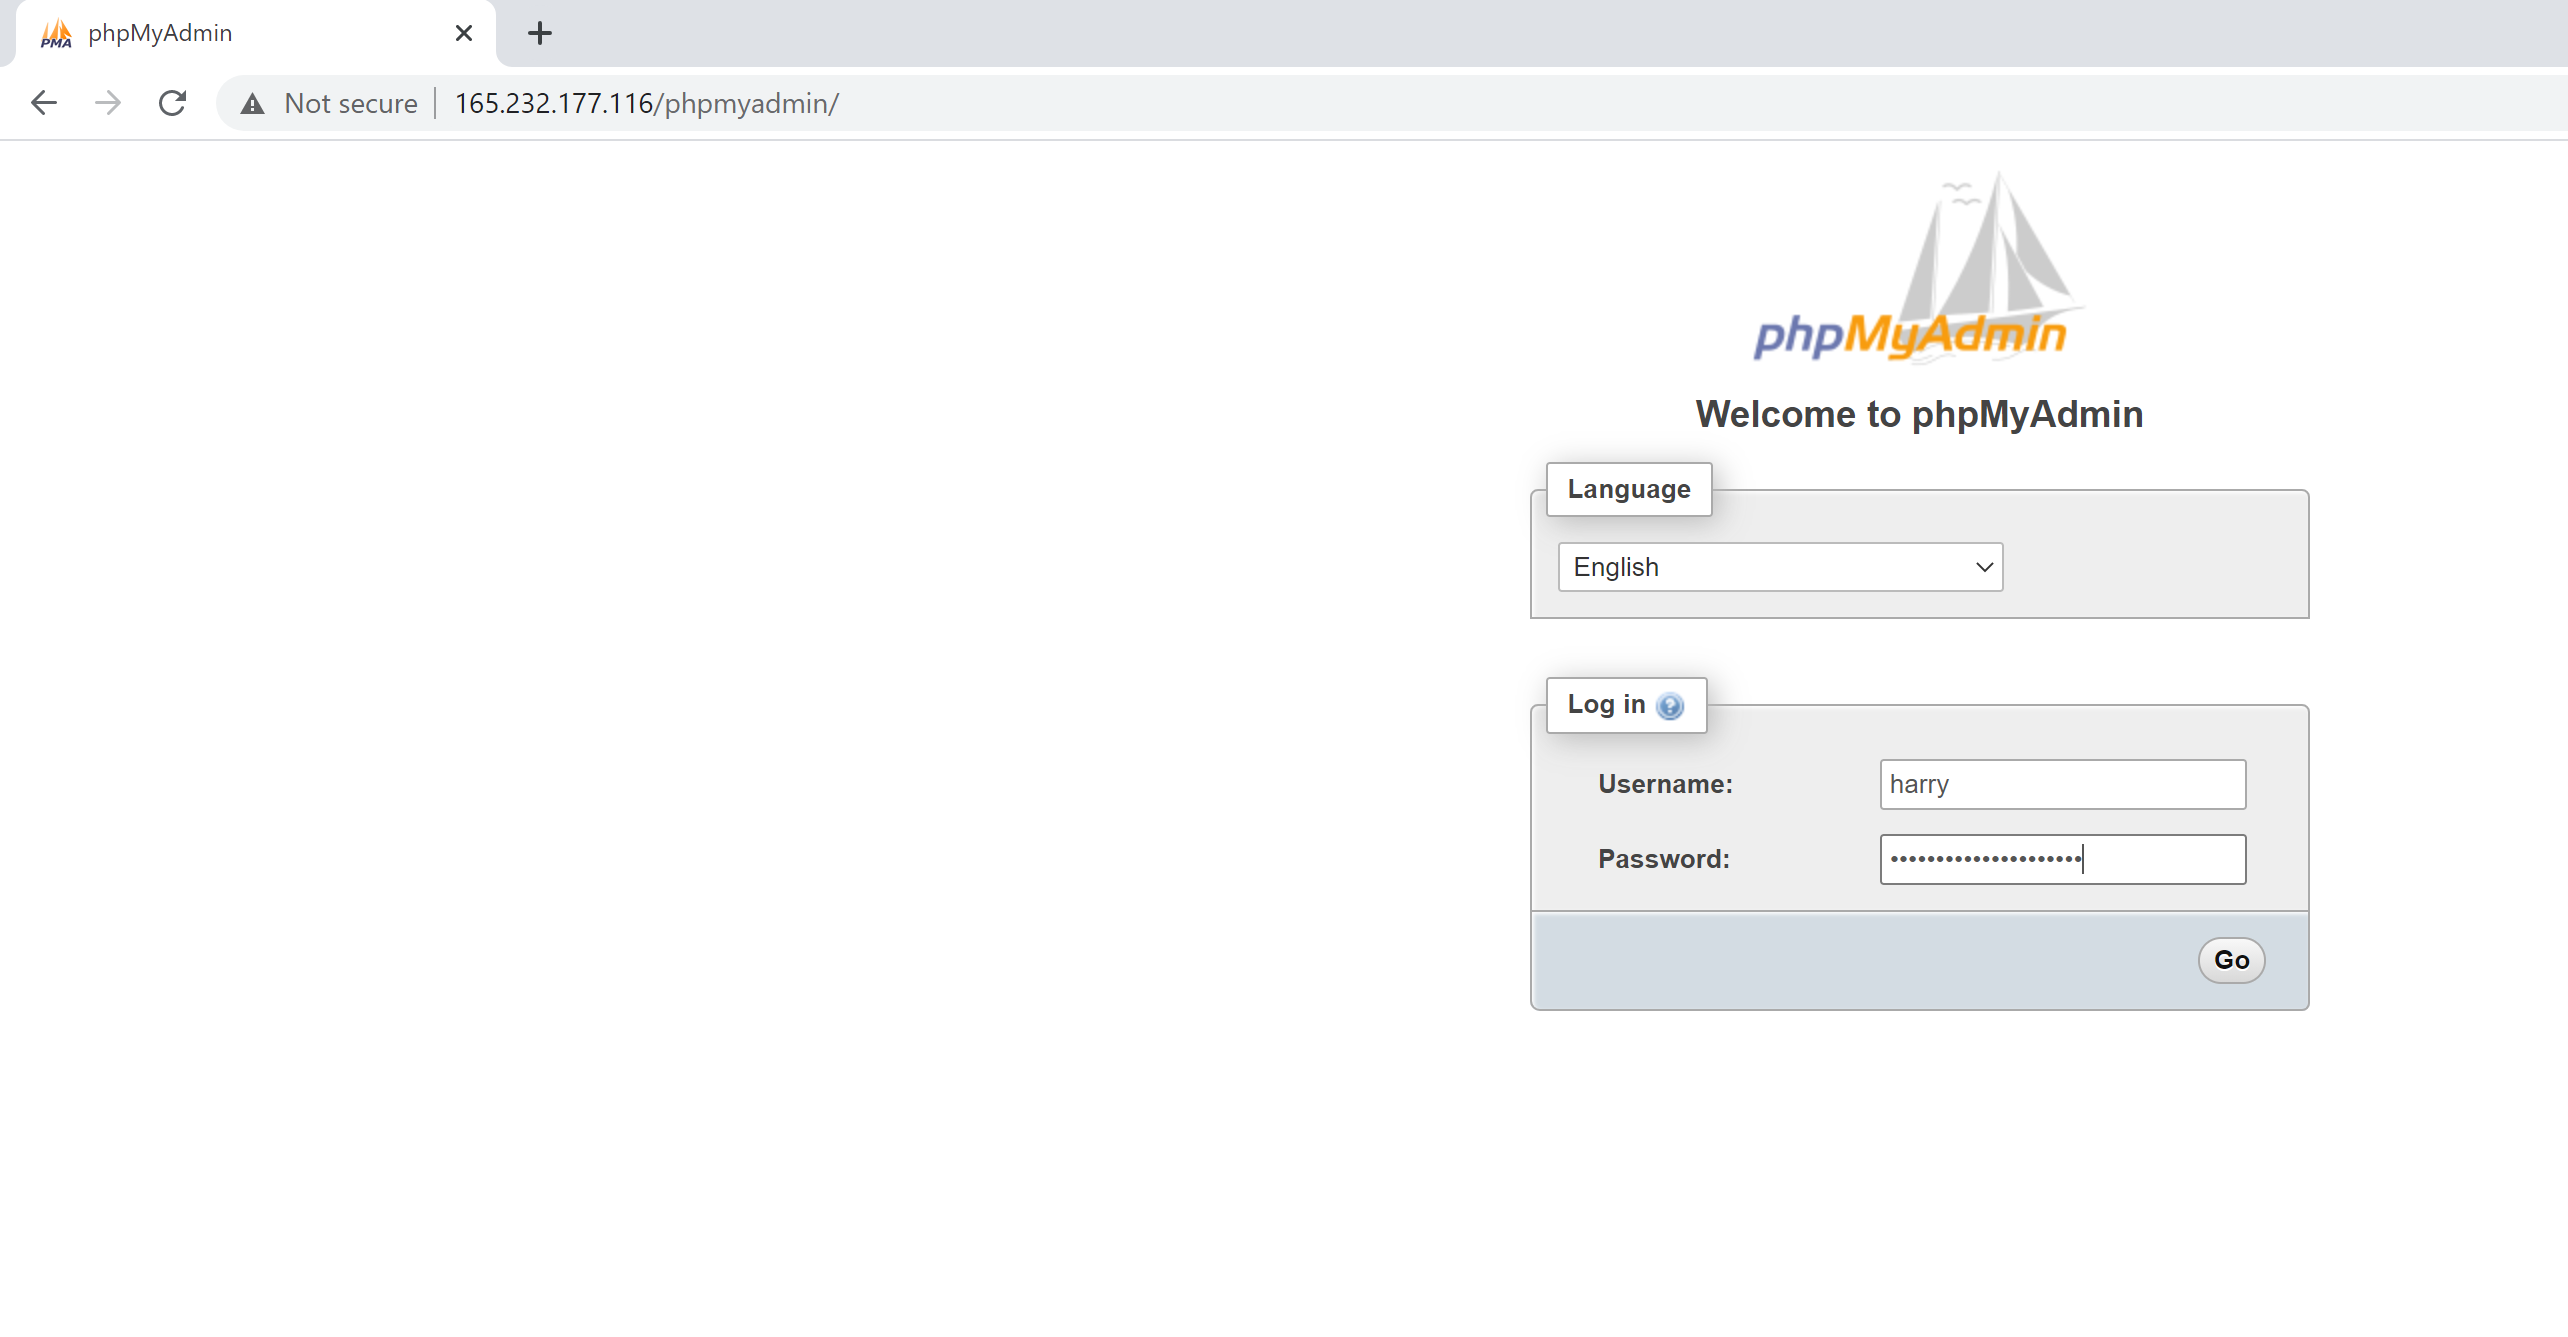
Now go to the http://<your-server-ip>/phpmyadmin from your browser and login using the username and password you used in step 2.
You should be able to see the PHPMyAdmin interface.
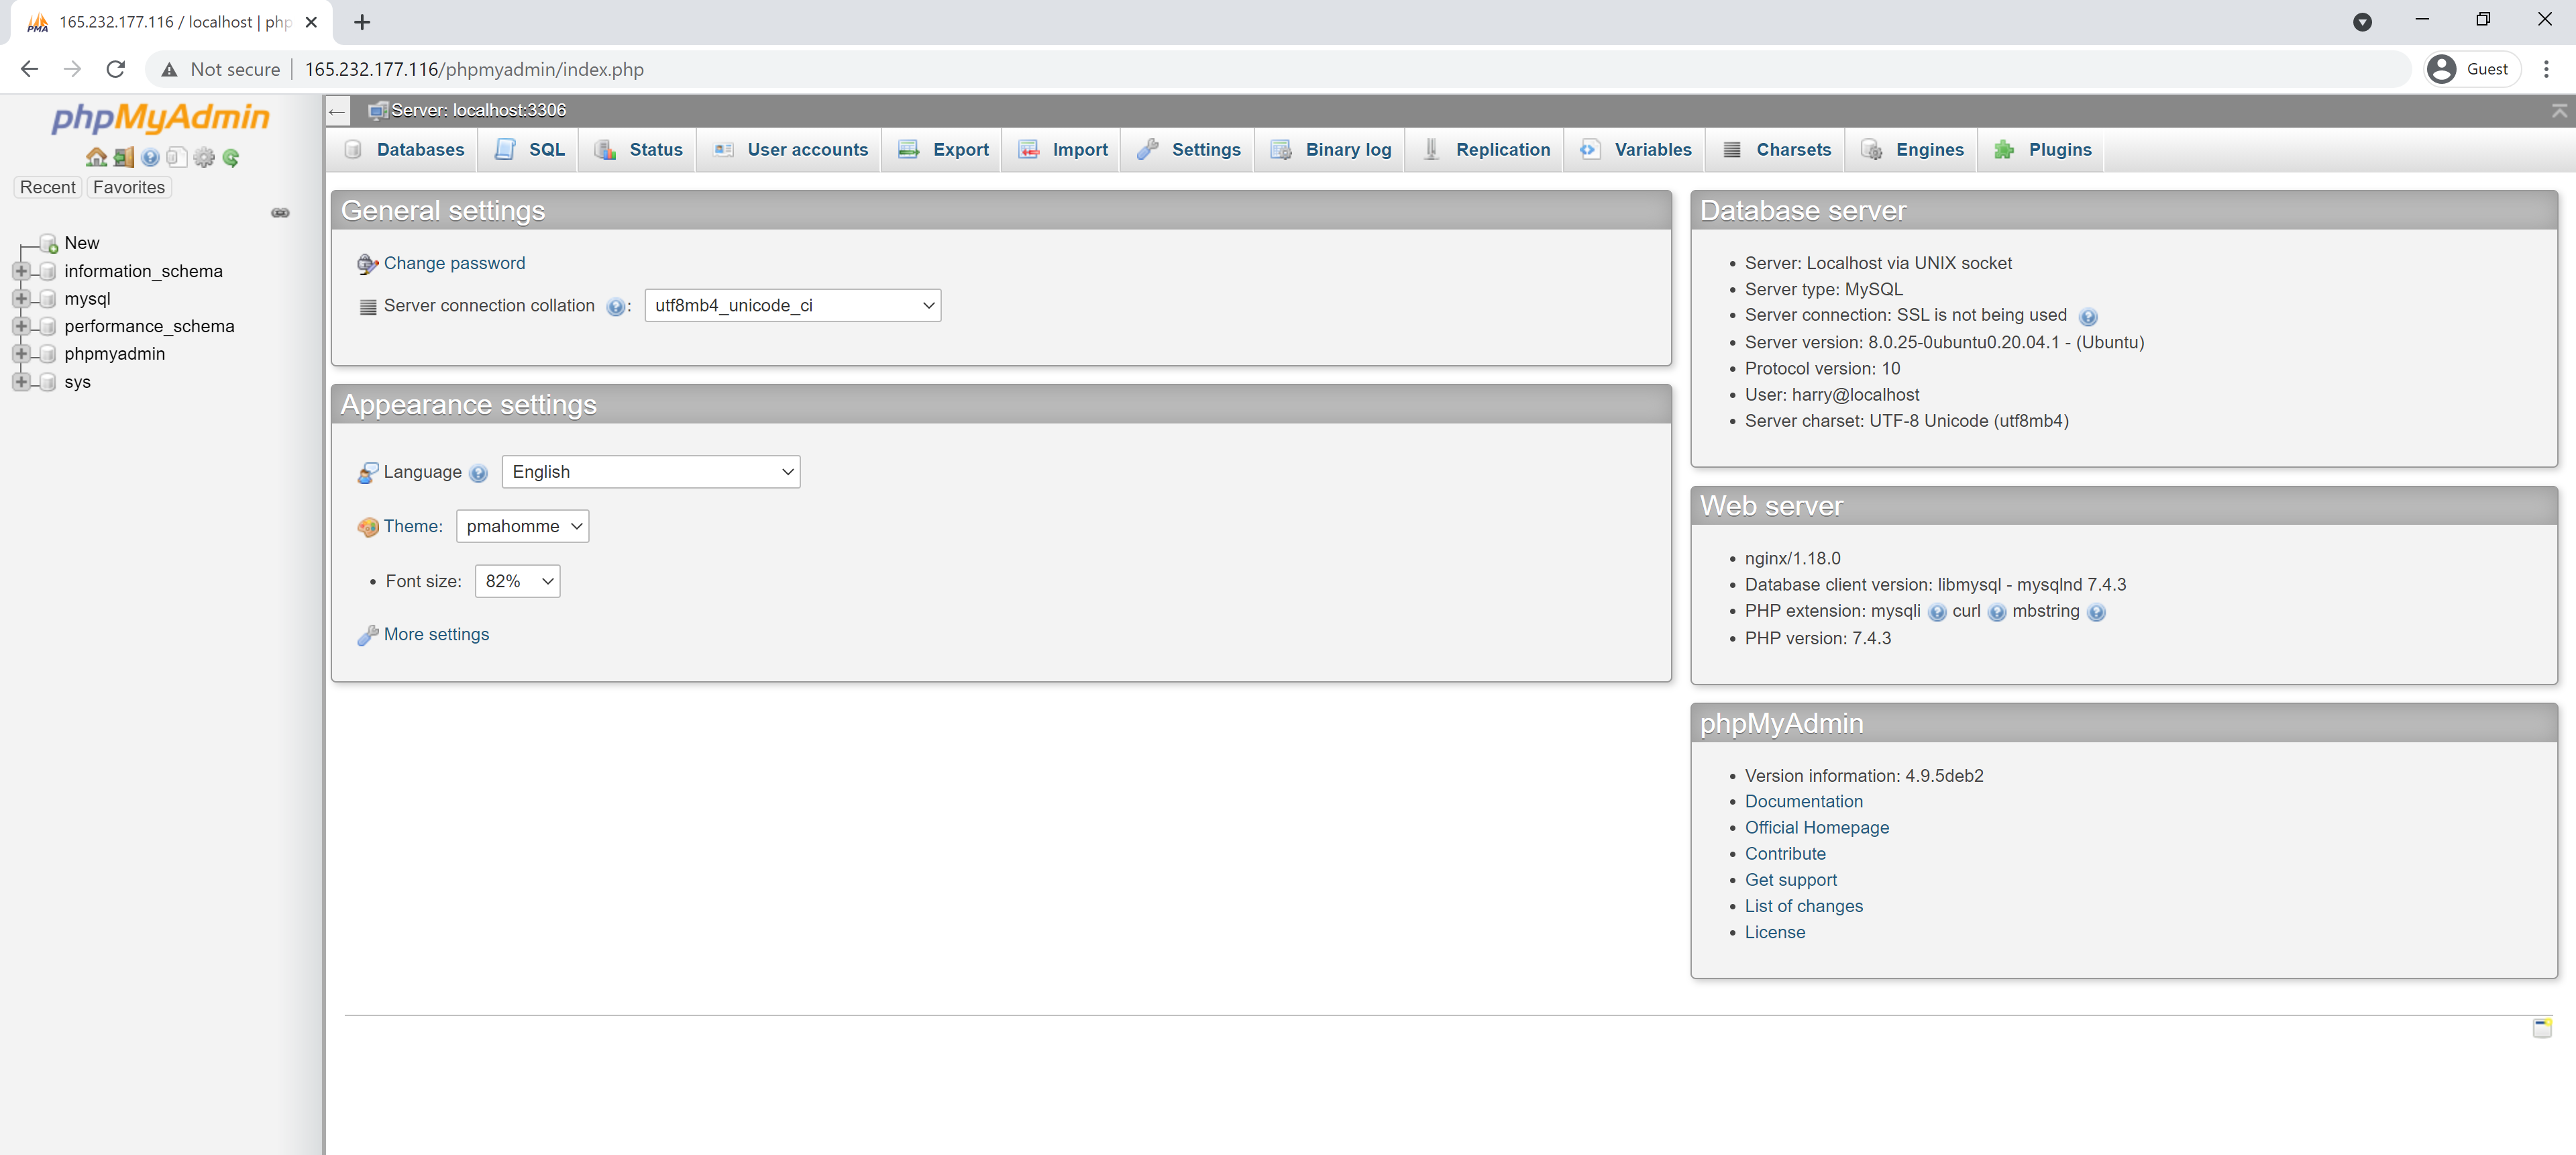
You should now have phpmyadmin configured on your server. You can use this interface to easily create, manage and update your databases. Happy coding!