
Apache SeaTunnel是一个非常易于使用的、超高性能的分布式数据集成平台,支持海量数据的实时同步。每天可稳定高效同步数百亿数据,已被近百家企业投入生产使用。
现在的版本不支持通过jtds的方式链接sqlserver,我们来自己写代码来实现它,并把代码提交给apache seatunnel。
1. 下载源代码
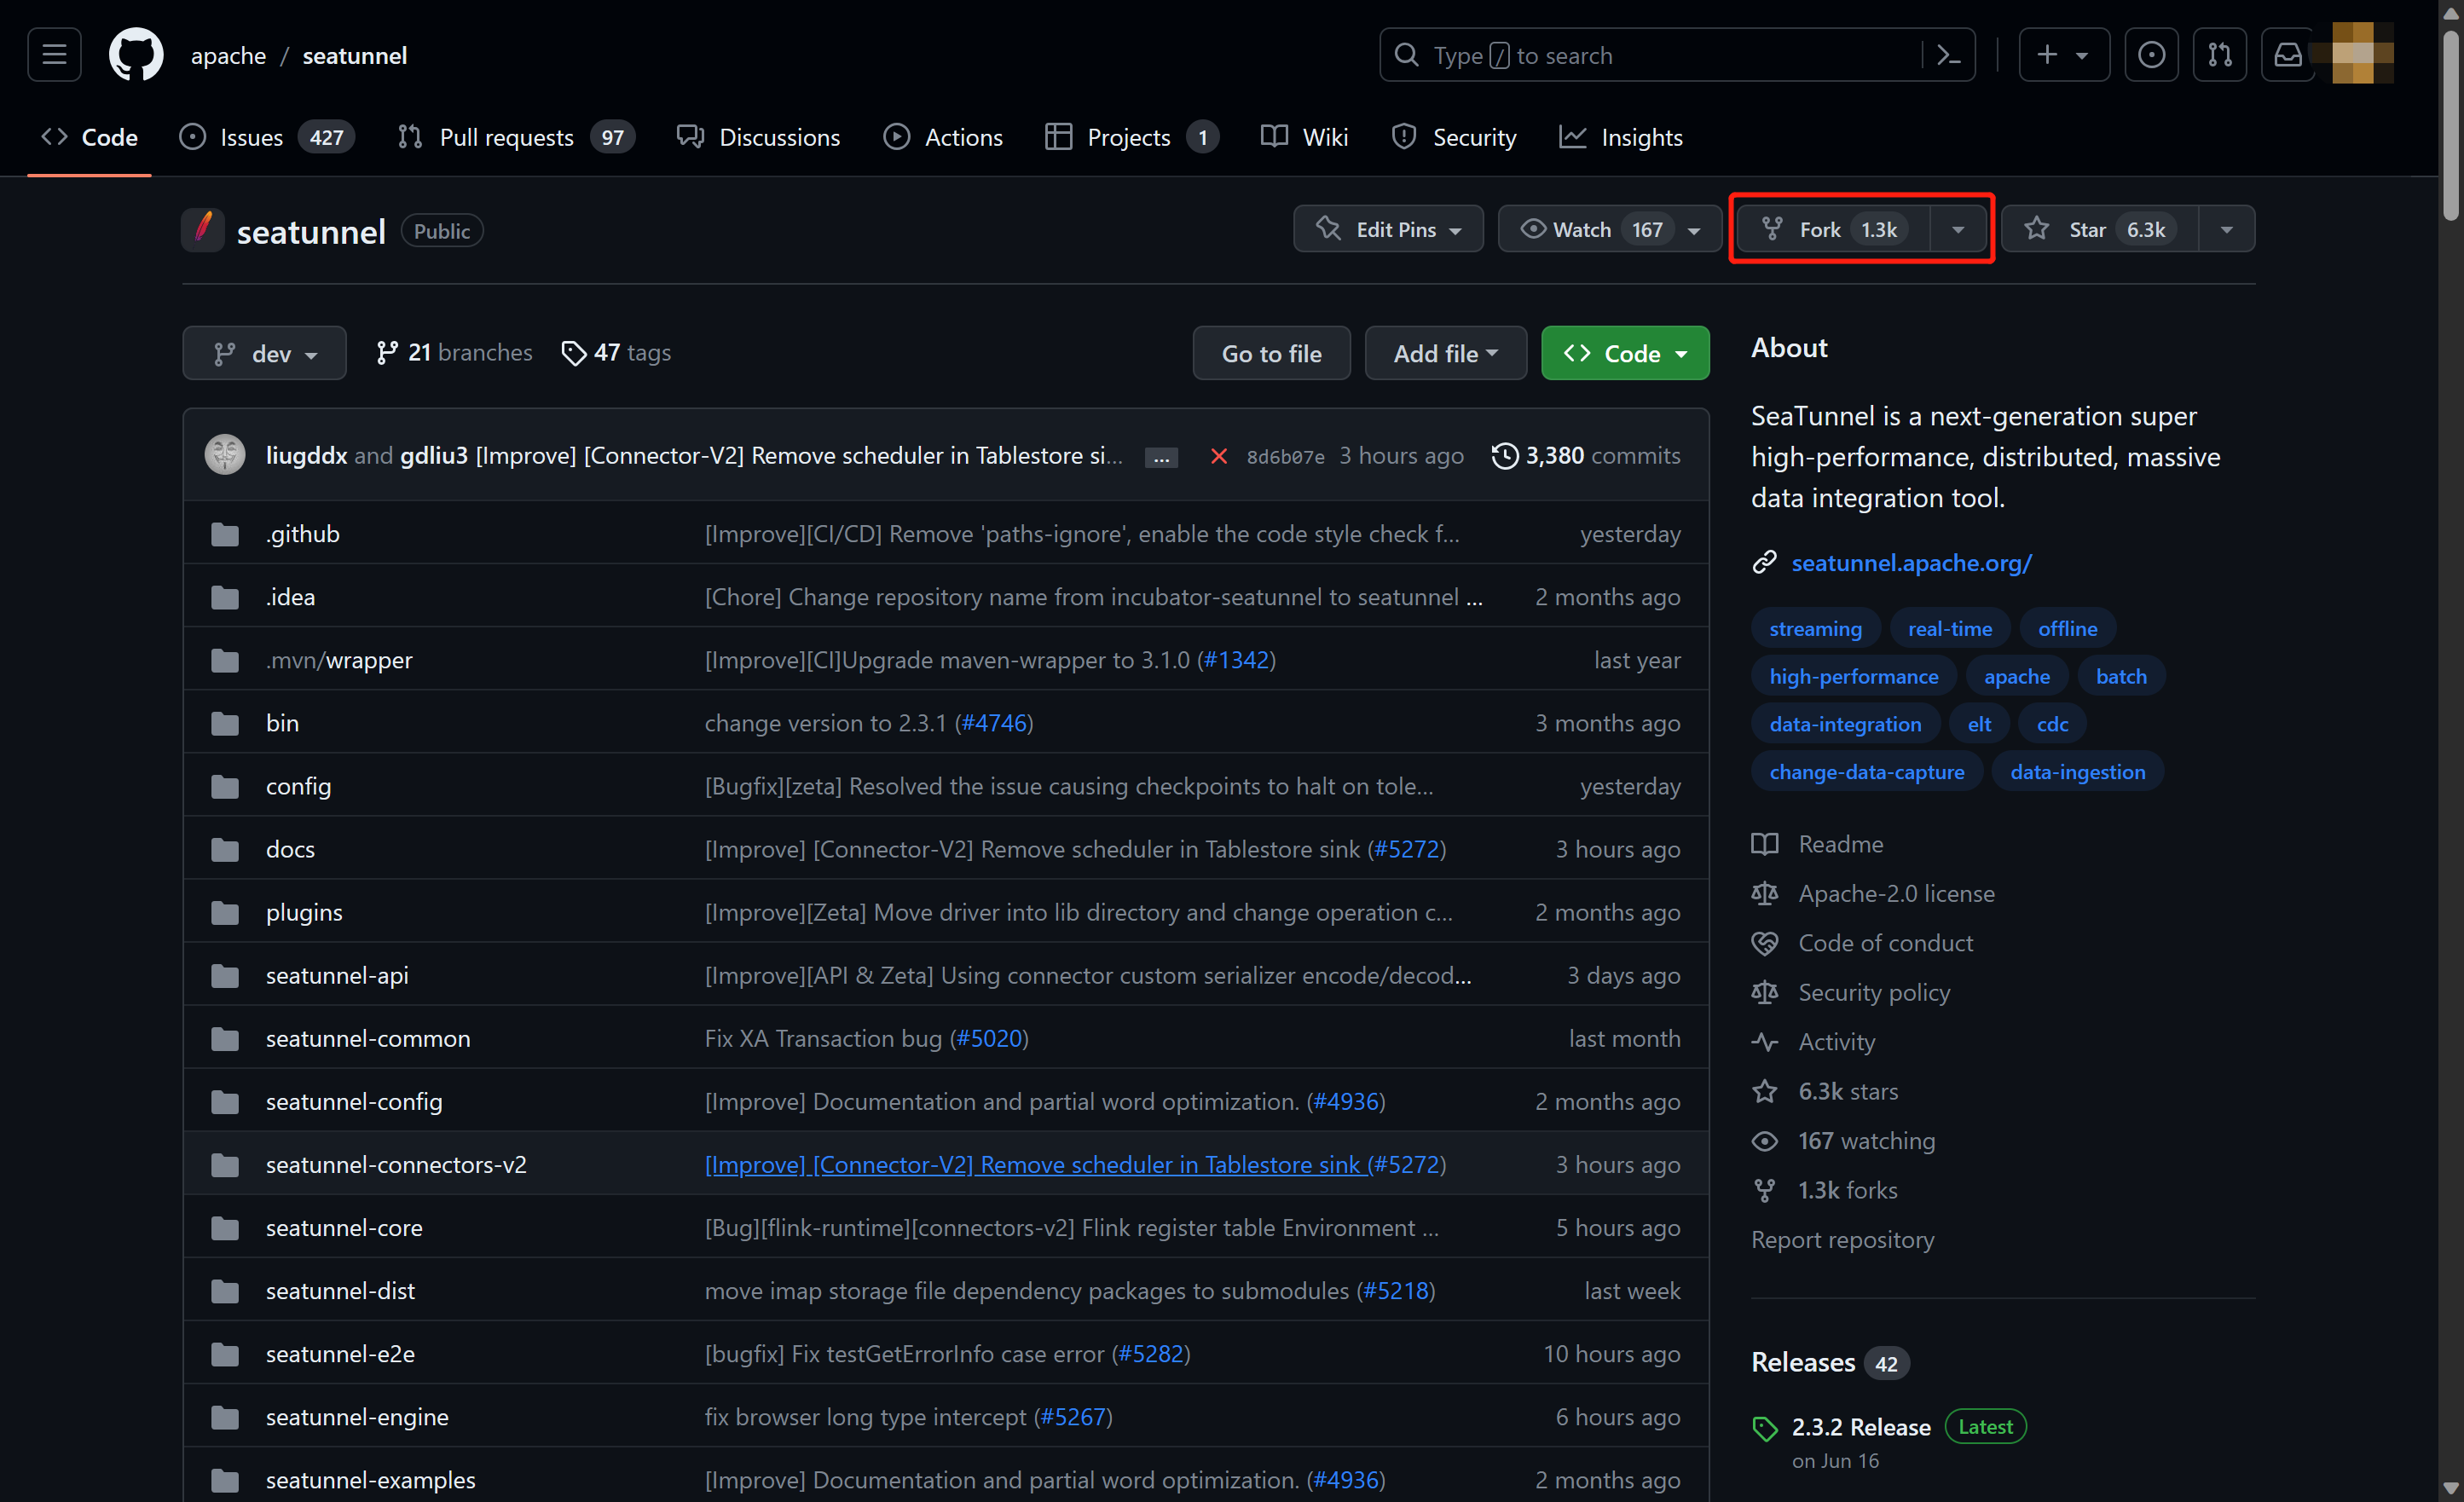
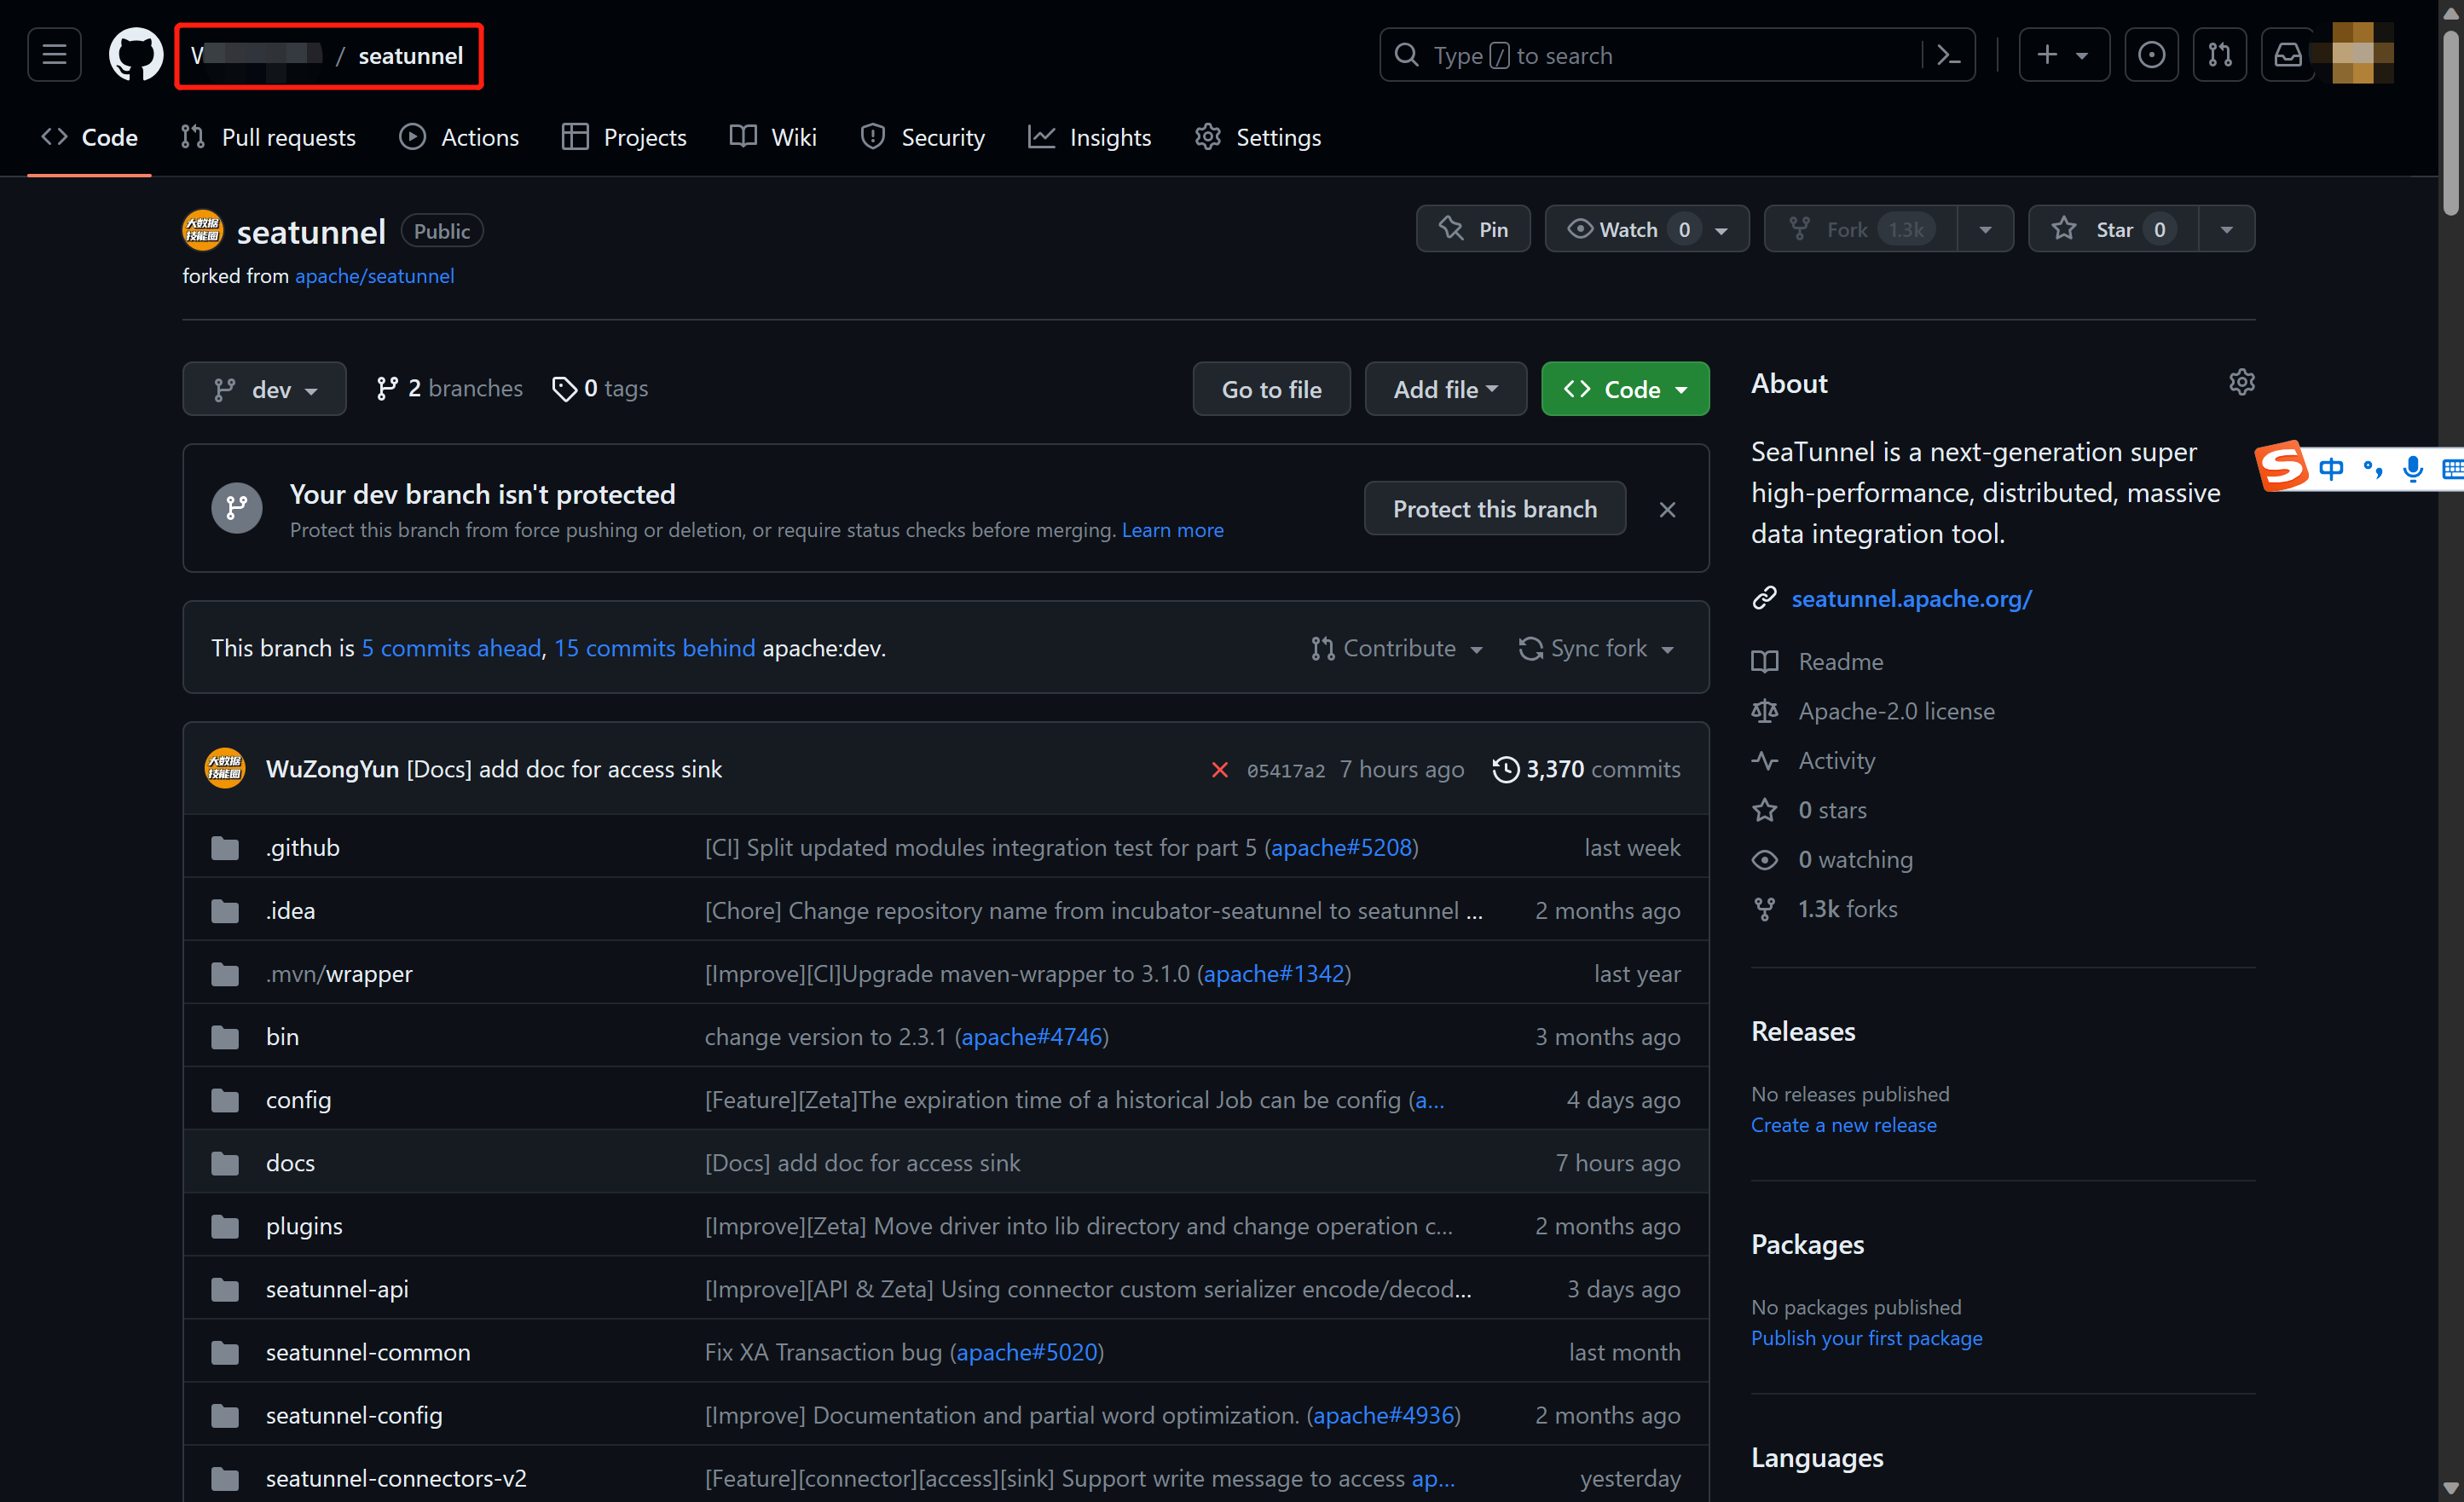
1.首先从远端仓库 https://github.com/apache/seatunnel fork一份代码到自己的仓库中
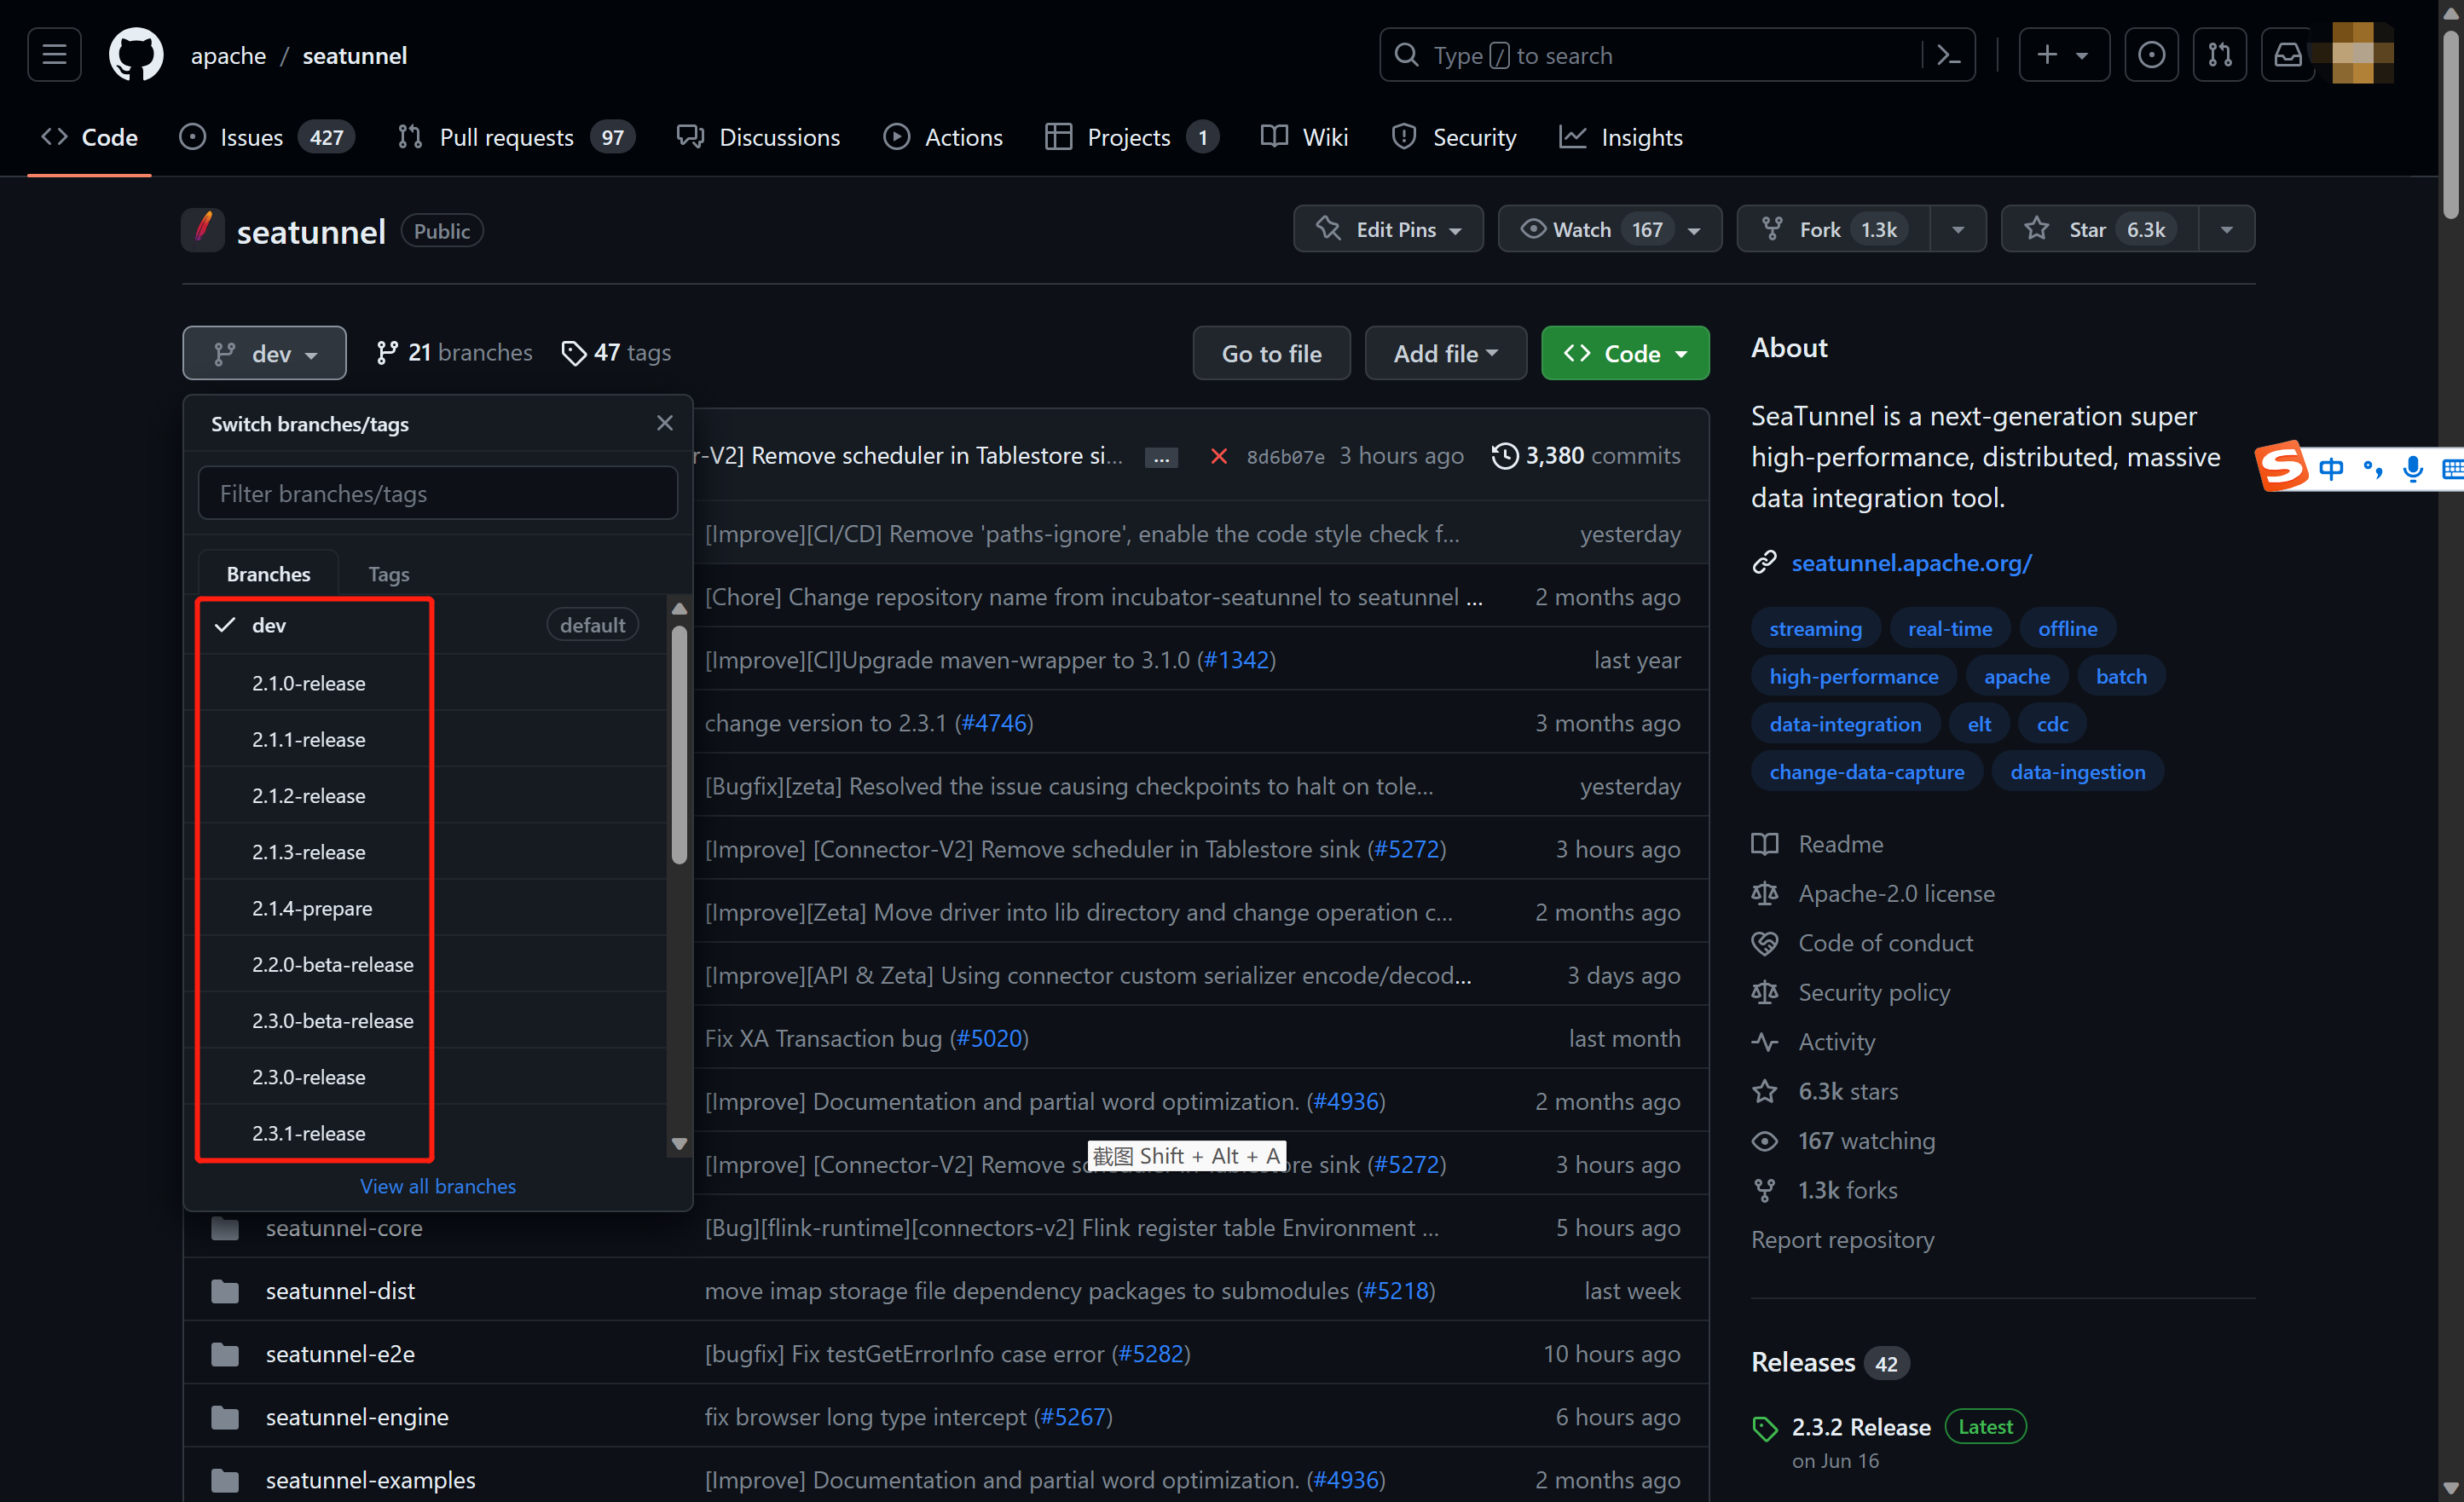
2.远端仓库中目前有超过30个分支:
-
dev :日常开发分支
-
其他分支 :发布版本分支
3.把自己仓库clone到本地
git clone git@github.com:yougithubID/seatunnel.git

- 添加远端仓库地址,命名为upstream
这一步是为了让本地代码知道他的上游是apache/seatunnel
git remote add upstream git@github.com:apache/seatunnel.git

5.查看仓库:
git remote -v

此时会有两个仓库:origin(自己的仓库)和upstream(远端仓库)
6.获取/更新远端仓库代码(已经是最新代码,就跳过)
git fetch upstream

2. 编写代码
1.加载拉取到本地的代码到IDEA中
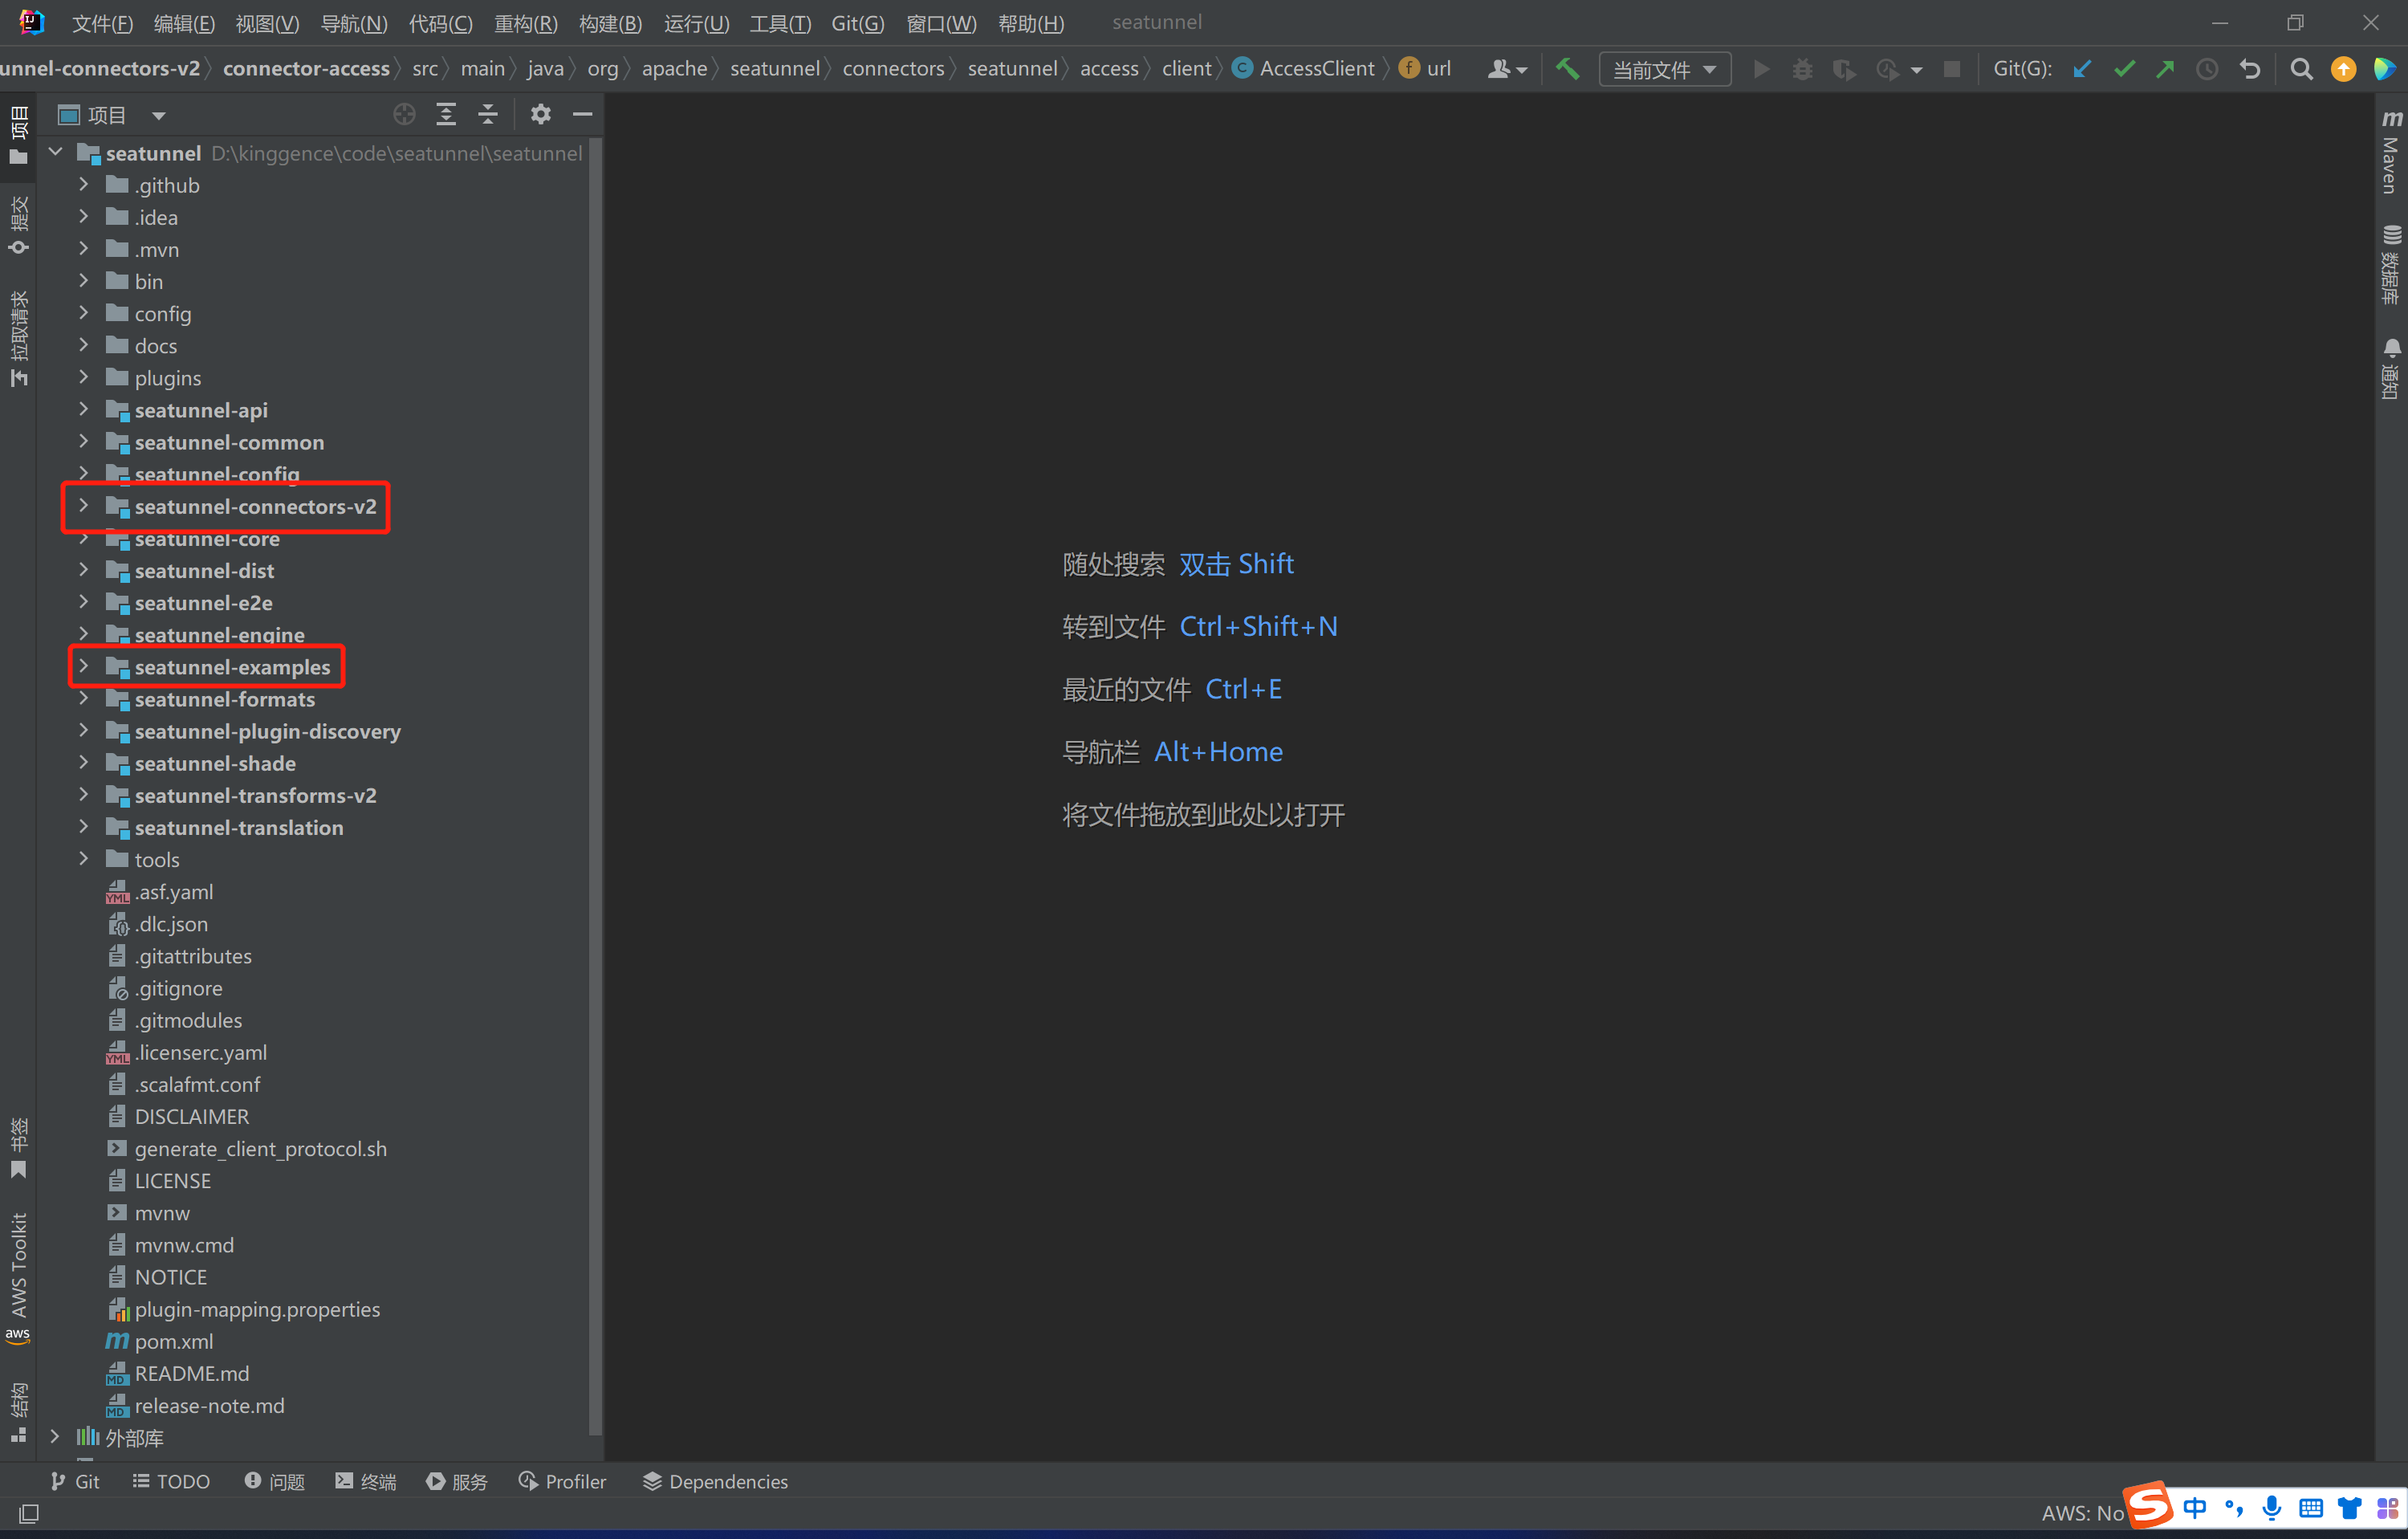
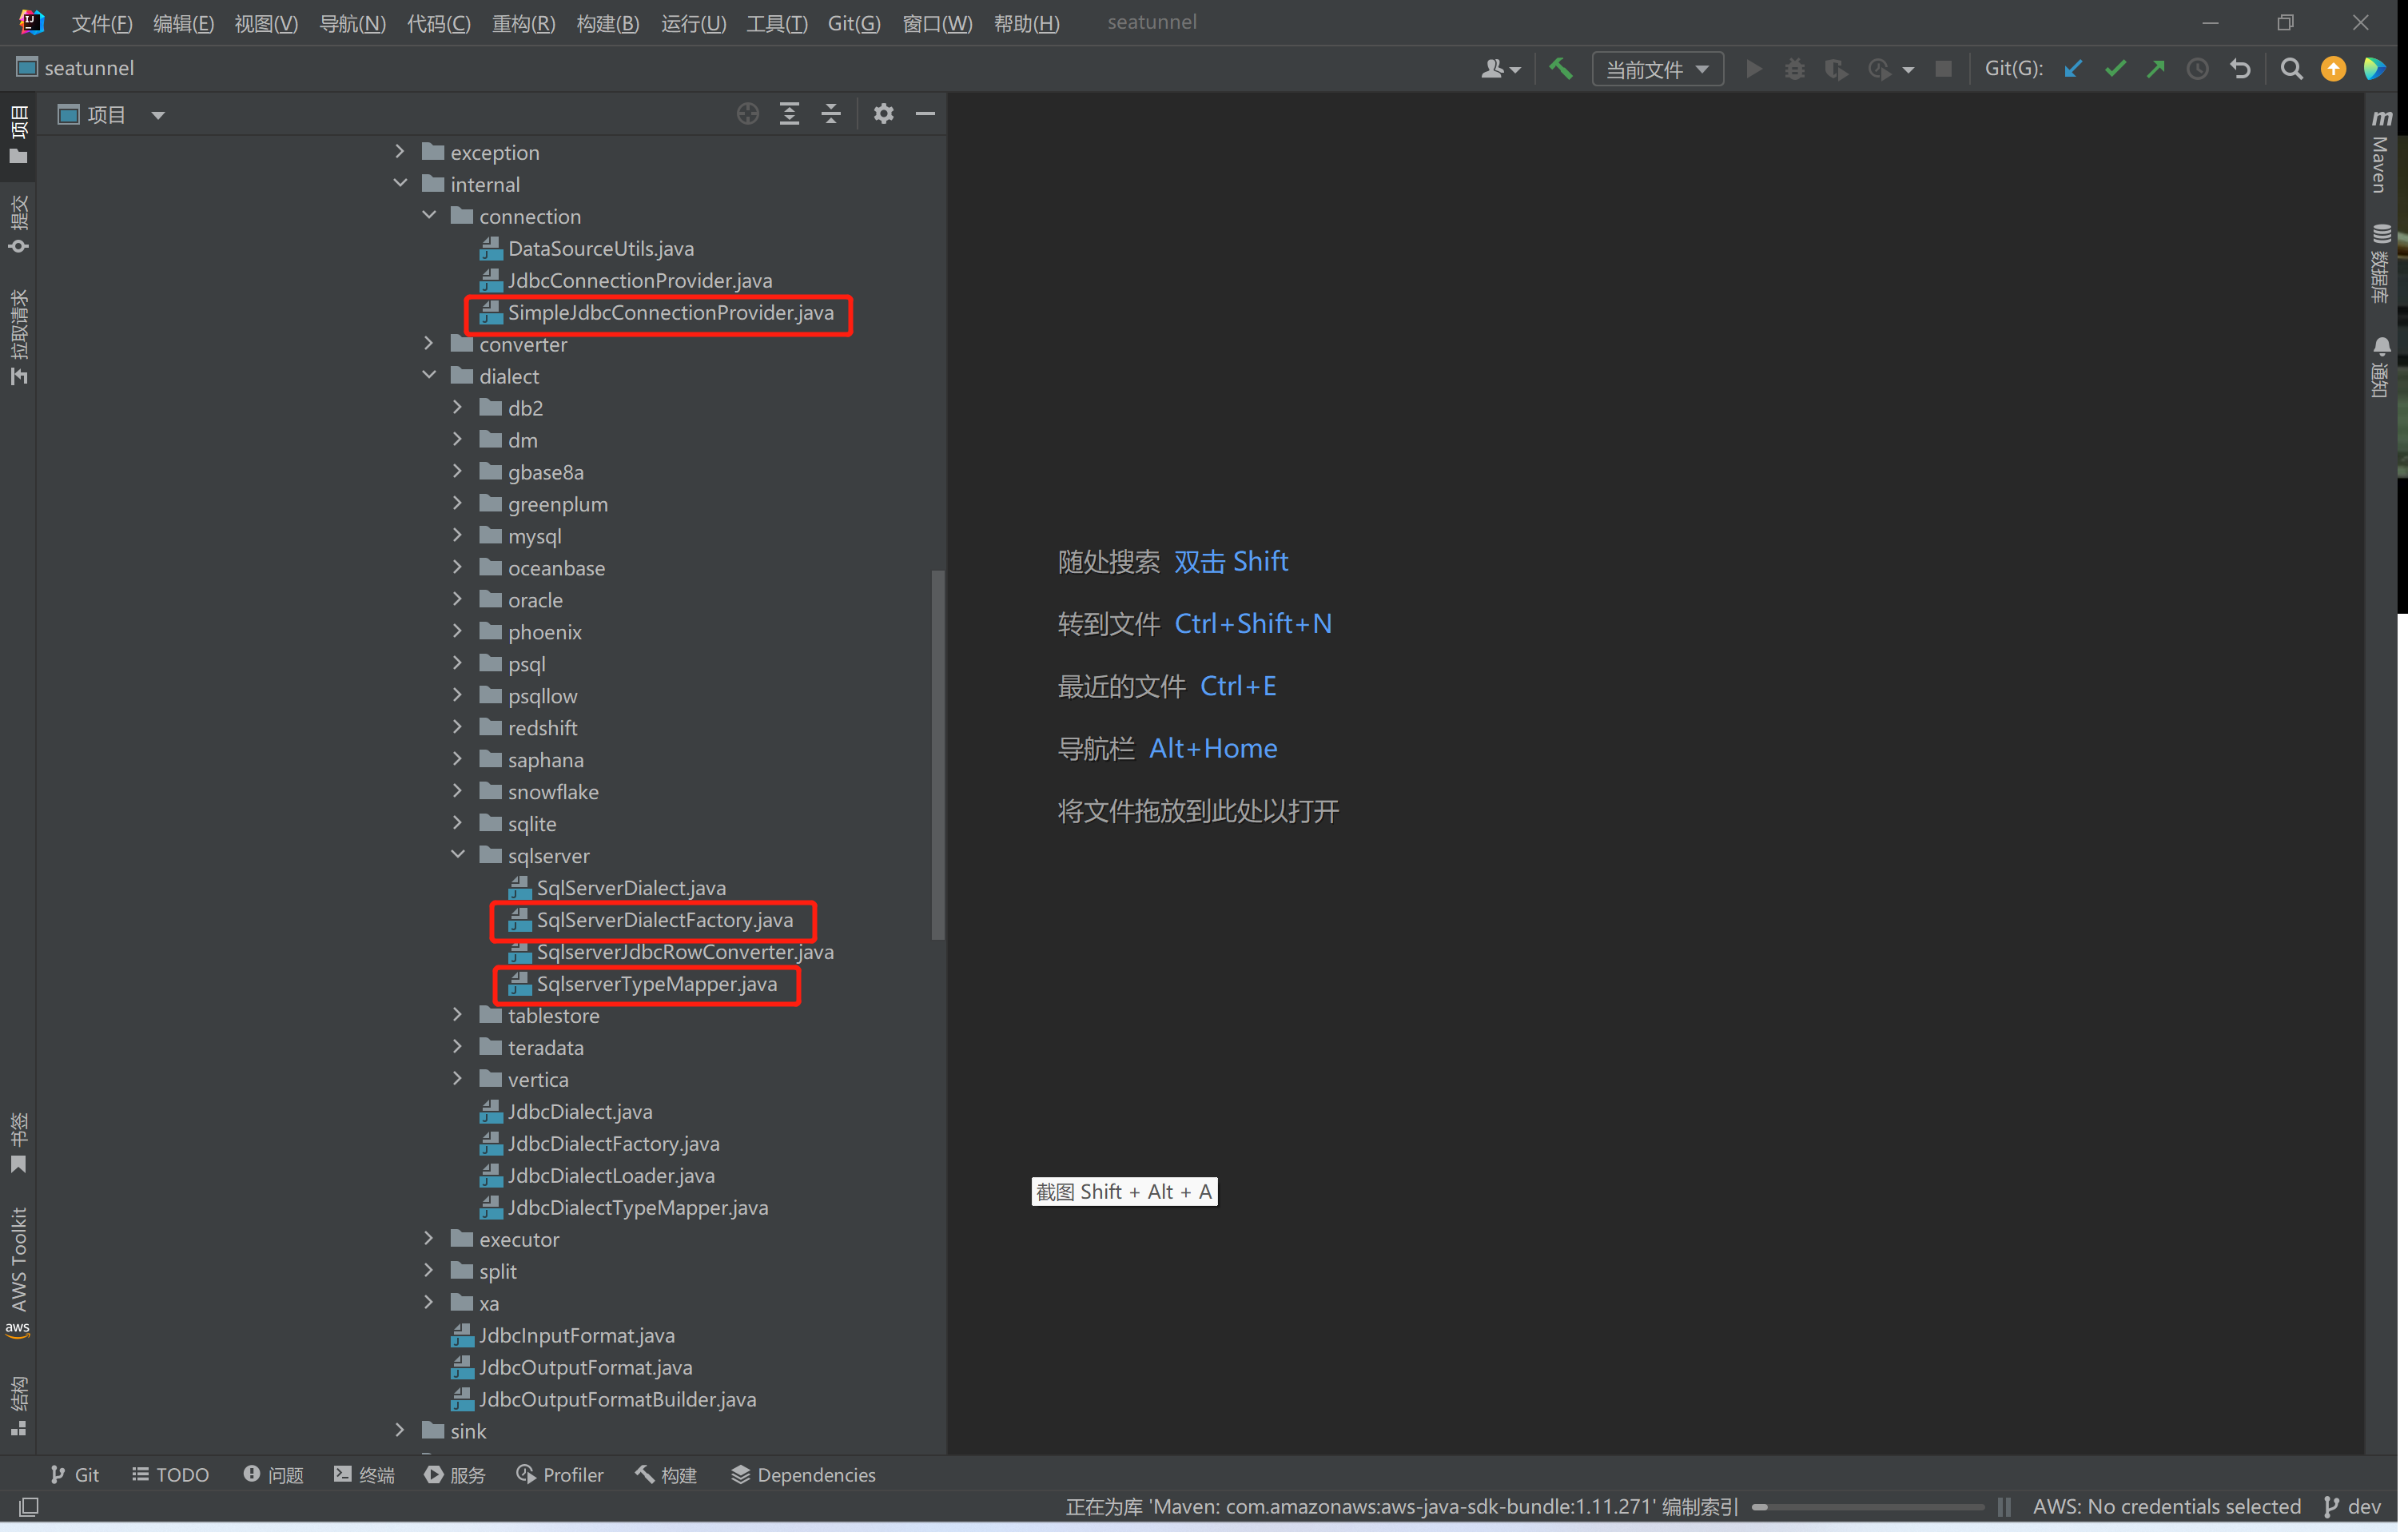
这里我们需要注意两个module:seatunnel-connectors-v2和seatunnel-examples,其中seatunnel-connectors-v2是我们来写代码的module,seatunnel-examples是我们用来测试代码的module。
2.编写代码
目前代码中已经实现了基于JDBC的方式取链接SqlServer。我们只需要在它的基础之上去做一定的修改即可,经过debug来阅读源码,并了解了需要改的地方如下图:
代码实现如下:
SqlServerDialectFactory.java
return (url.startsWith("jdbc:jtds:sqlserver:") || url.startsWith("jdbc:sqlserver:"));
SqlserverTypeMapper.java
private static final String SQLSERVER_SYSNAME = "SYSNAME";
case SQLSERVER_SYSNAME:
                return BasicType.STRING_TYPE;
SimpleJdbcConnectionProvider.java
public boolean isConnectionValid() throws SQLException {
        if (connection != null && connection.toString().startsWith("net.sourceforge.jtds")){
            return connection != null
                    && !connection.isClosed();
        }else {
            return connection != null
                    && connection.isValid(jdbcConfig.getConnectionCheckTimeoutSeconds());
        }
    }
pom.xml
<jtds.version>1.3.1</jtds.version>
<dependency>
                <groupId>net.sourceforge.jtds</groupId>
                <artifactId>jtds</artifactId>
                <version>${jtds.version}</version>
                <scope>provided</scope>
            </dependency>
<dependency>
            <groupId>net.sourceforge.jtds</groupId>
            <artifactId>jtds</artifactId>
            <version>${jtds.version}</version>
        </dependency>
3. 测试代码
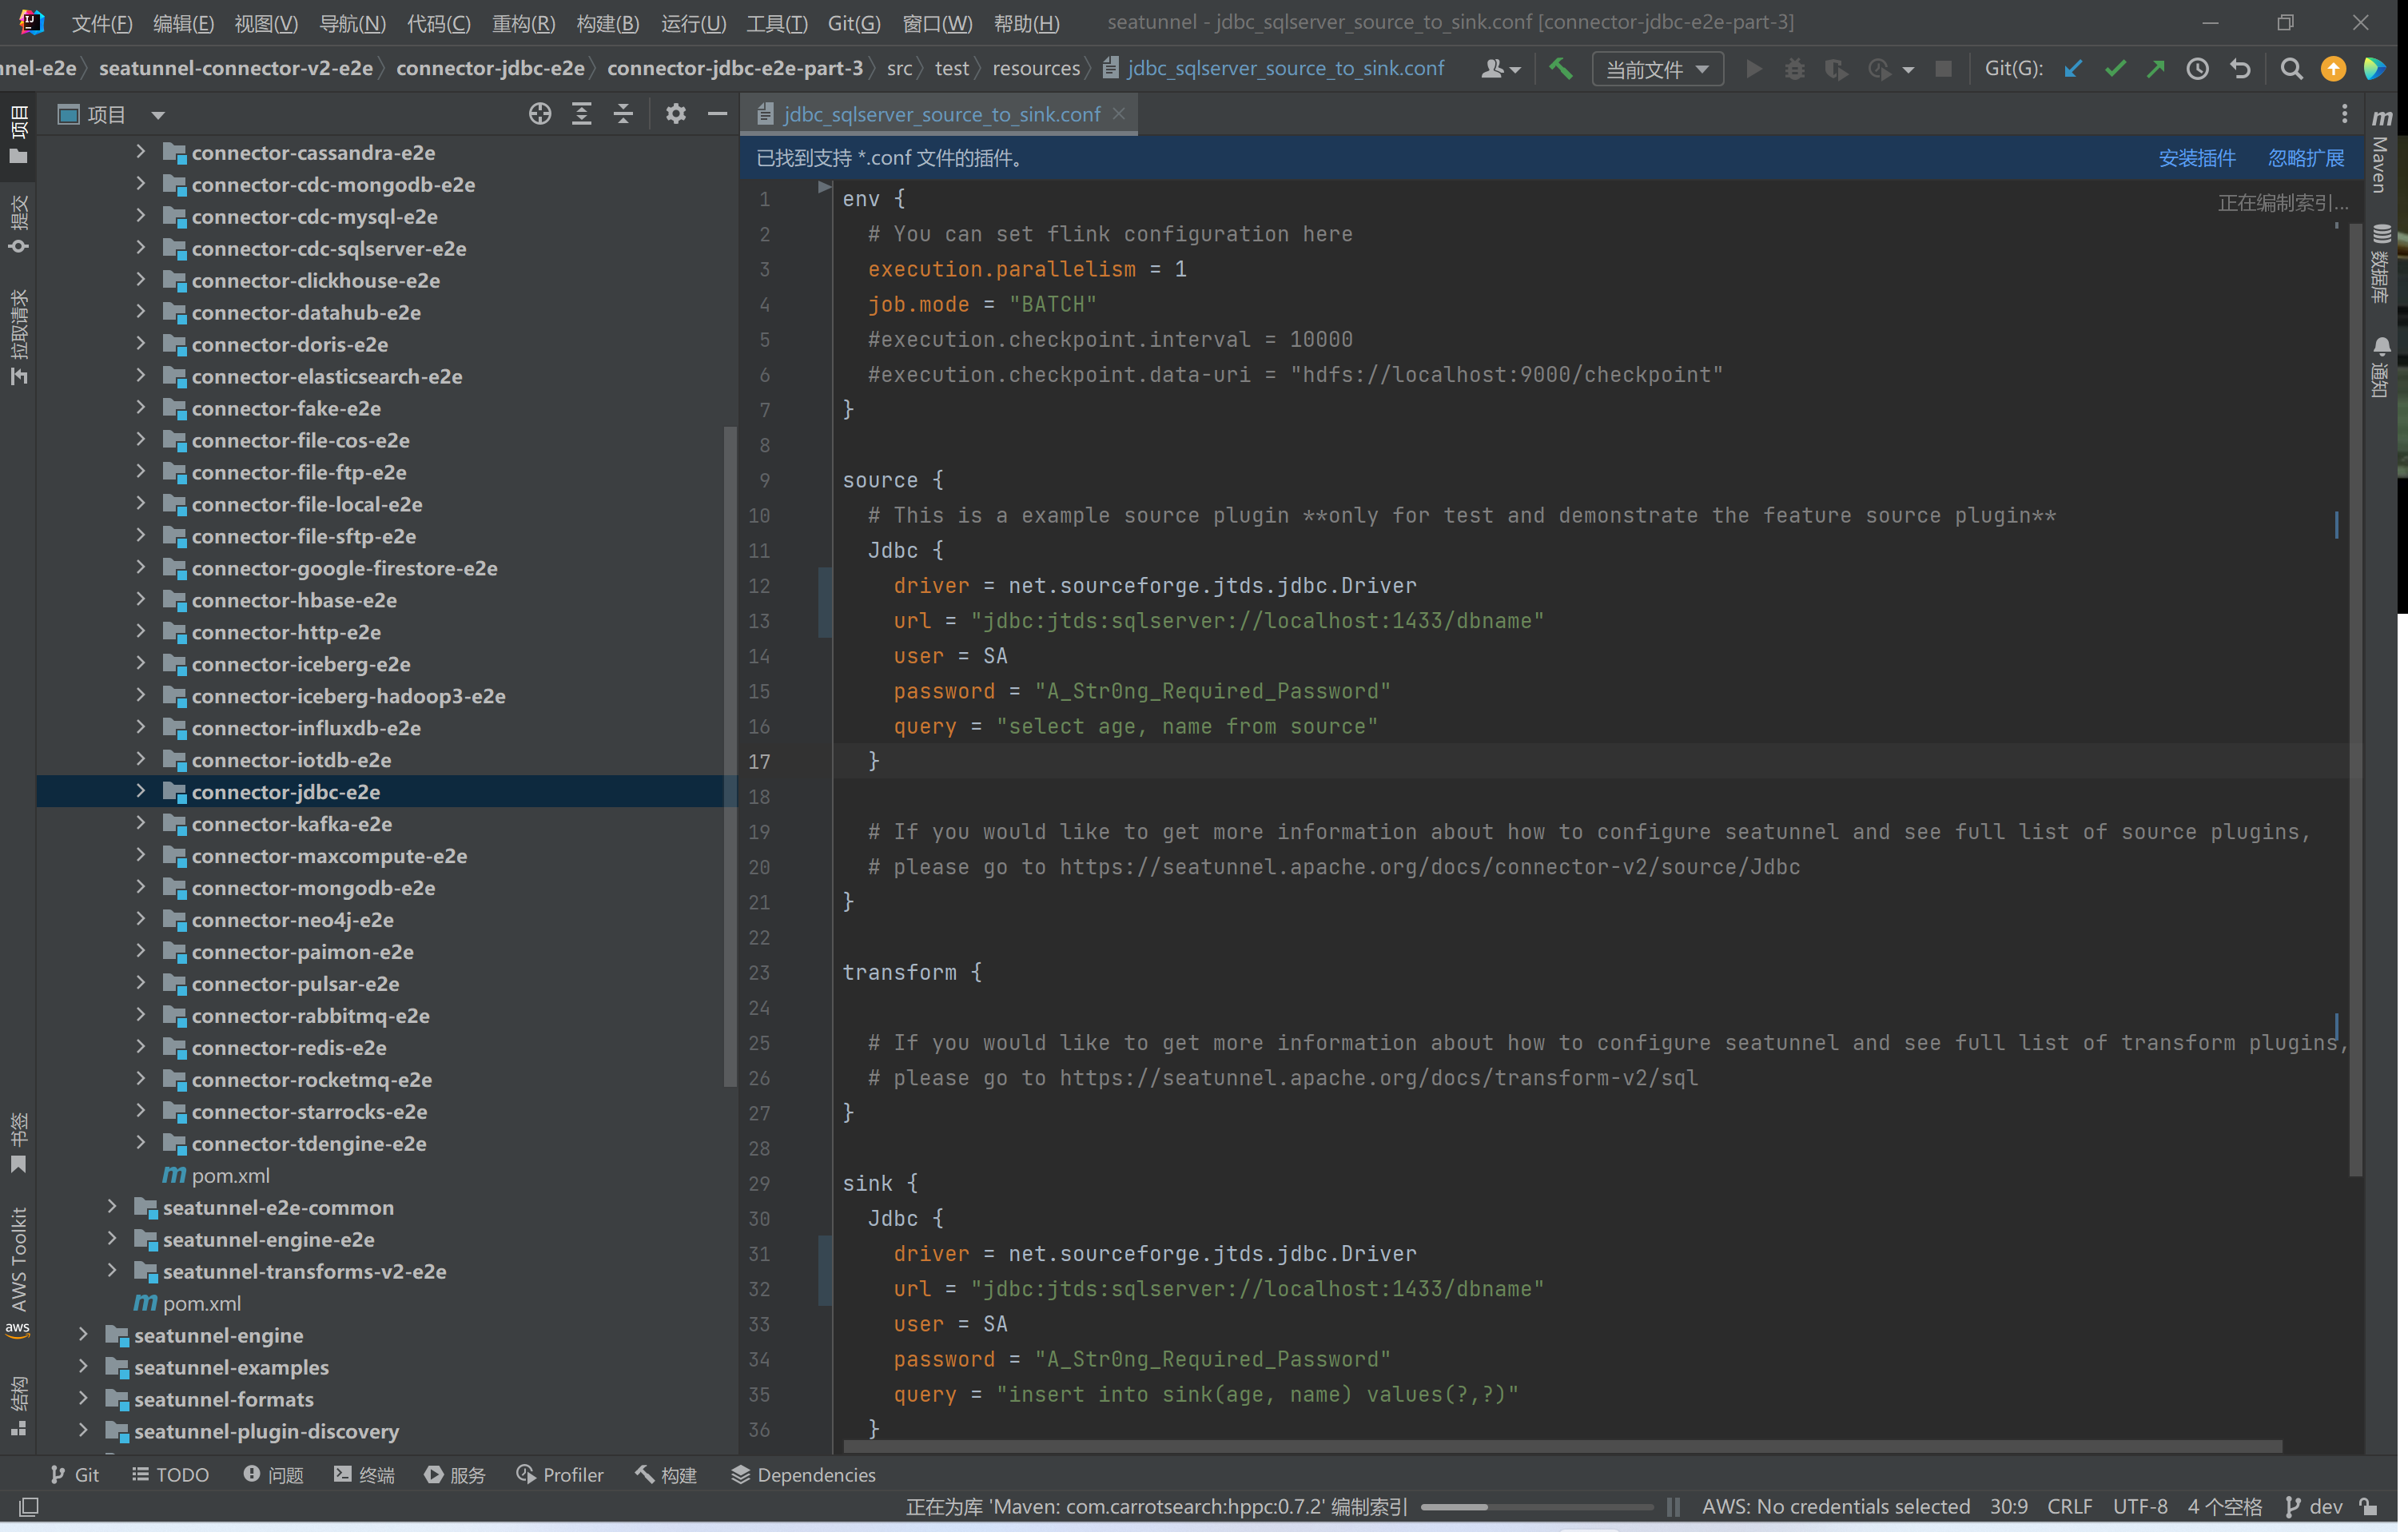
1.编写config文件,我们测试通过net.sourceforge.jtds.jdbc.Driver 从sqlserver中读出数据再写入sqlserver中
env {
  # You can set flink configuration here
  execution.parallelism = 1
  job.mode = "BATCH"
  #execution.checkpoint.interval = 10000
  #execution.checkpoint.data-uri = "hdfs://localhost:9000/checkpoint"
}

source {
  # This is a example source plugin **only for test and demonstrate the feature source plugin**
  Jdbc {
    driver = net.sourceforge.jtds.jdbc.Driver
    url = "jdbc:jtds:sqlserver://localhost:1433/dbname"
    user = SA
    password = "A_Str0ng_Required_Password"
    query = "select age, name from source"
  }

  # If you would like to get more information about how to configure seatunnel and see full list of source plugins,
  # please go to https://seatunnel.apache.org/docs/connector-v2/source/Jdbc
}

transform {

  # If you would like to get more information about how to configure seatunnel and see full list of transform plugins,
  # please go to https://seatunnel.apache.org/docs/transform-v2/sql
}

sink {
  Jdbc {
    driver = net.sourceforge.jtds.jdbc.Driver
    url = "jdbc:jtds:sqlserver://localhost:1433/dbname"
    user = SA
    password = "A_Str0ng_Required_Password"
    query = "insert into sink(age, name) values(?,?)"
  }

  # If you would like to get more information about how to configure seatunnel and see full list of sink plugins,
  # please go to https://seatunnel.apache.org/docs/connector-v2/sink/Jdbc
}
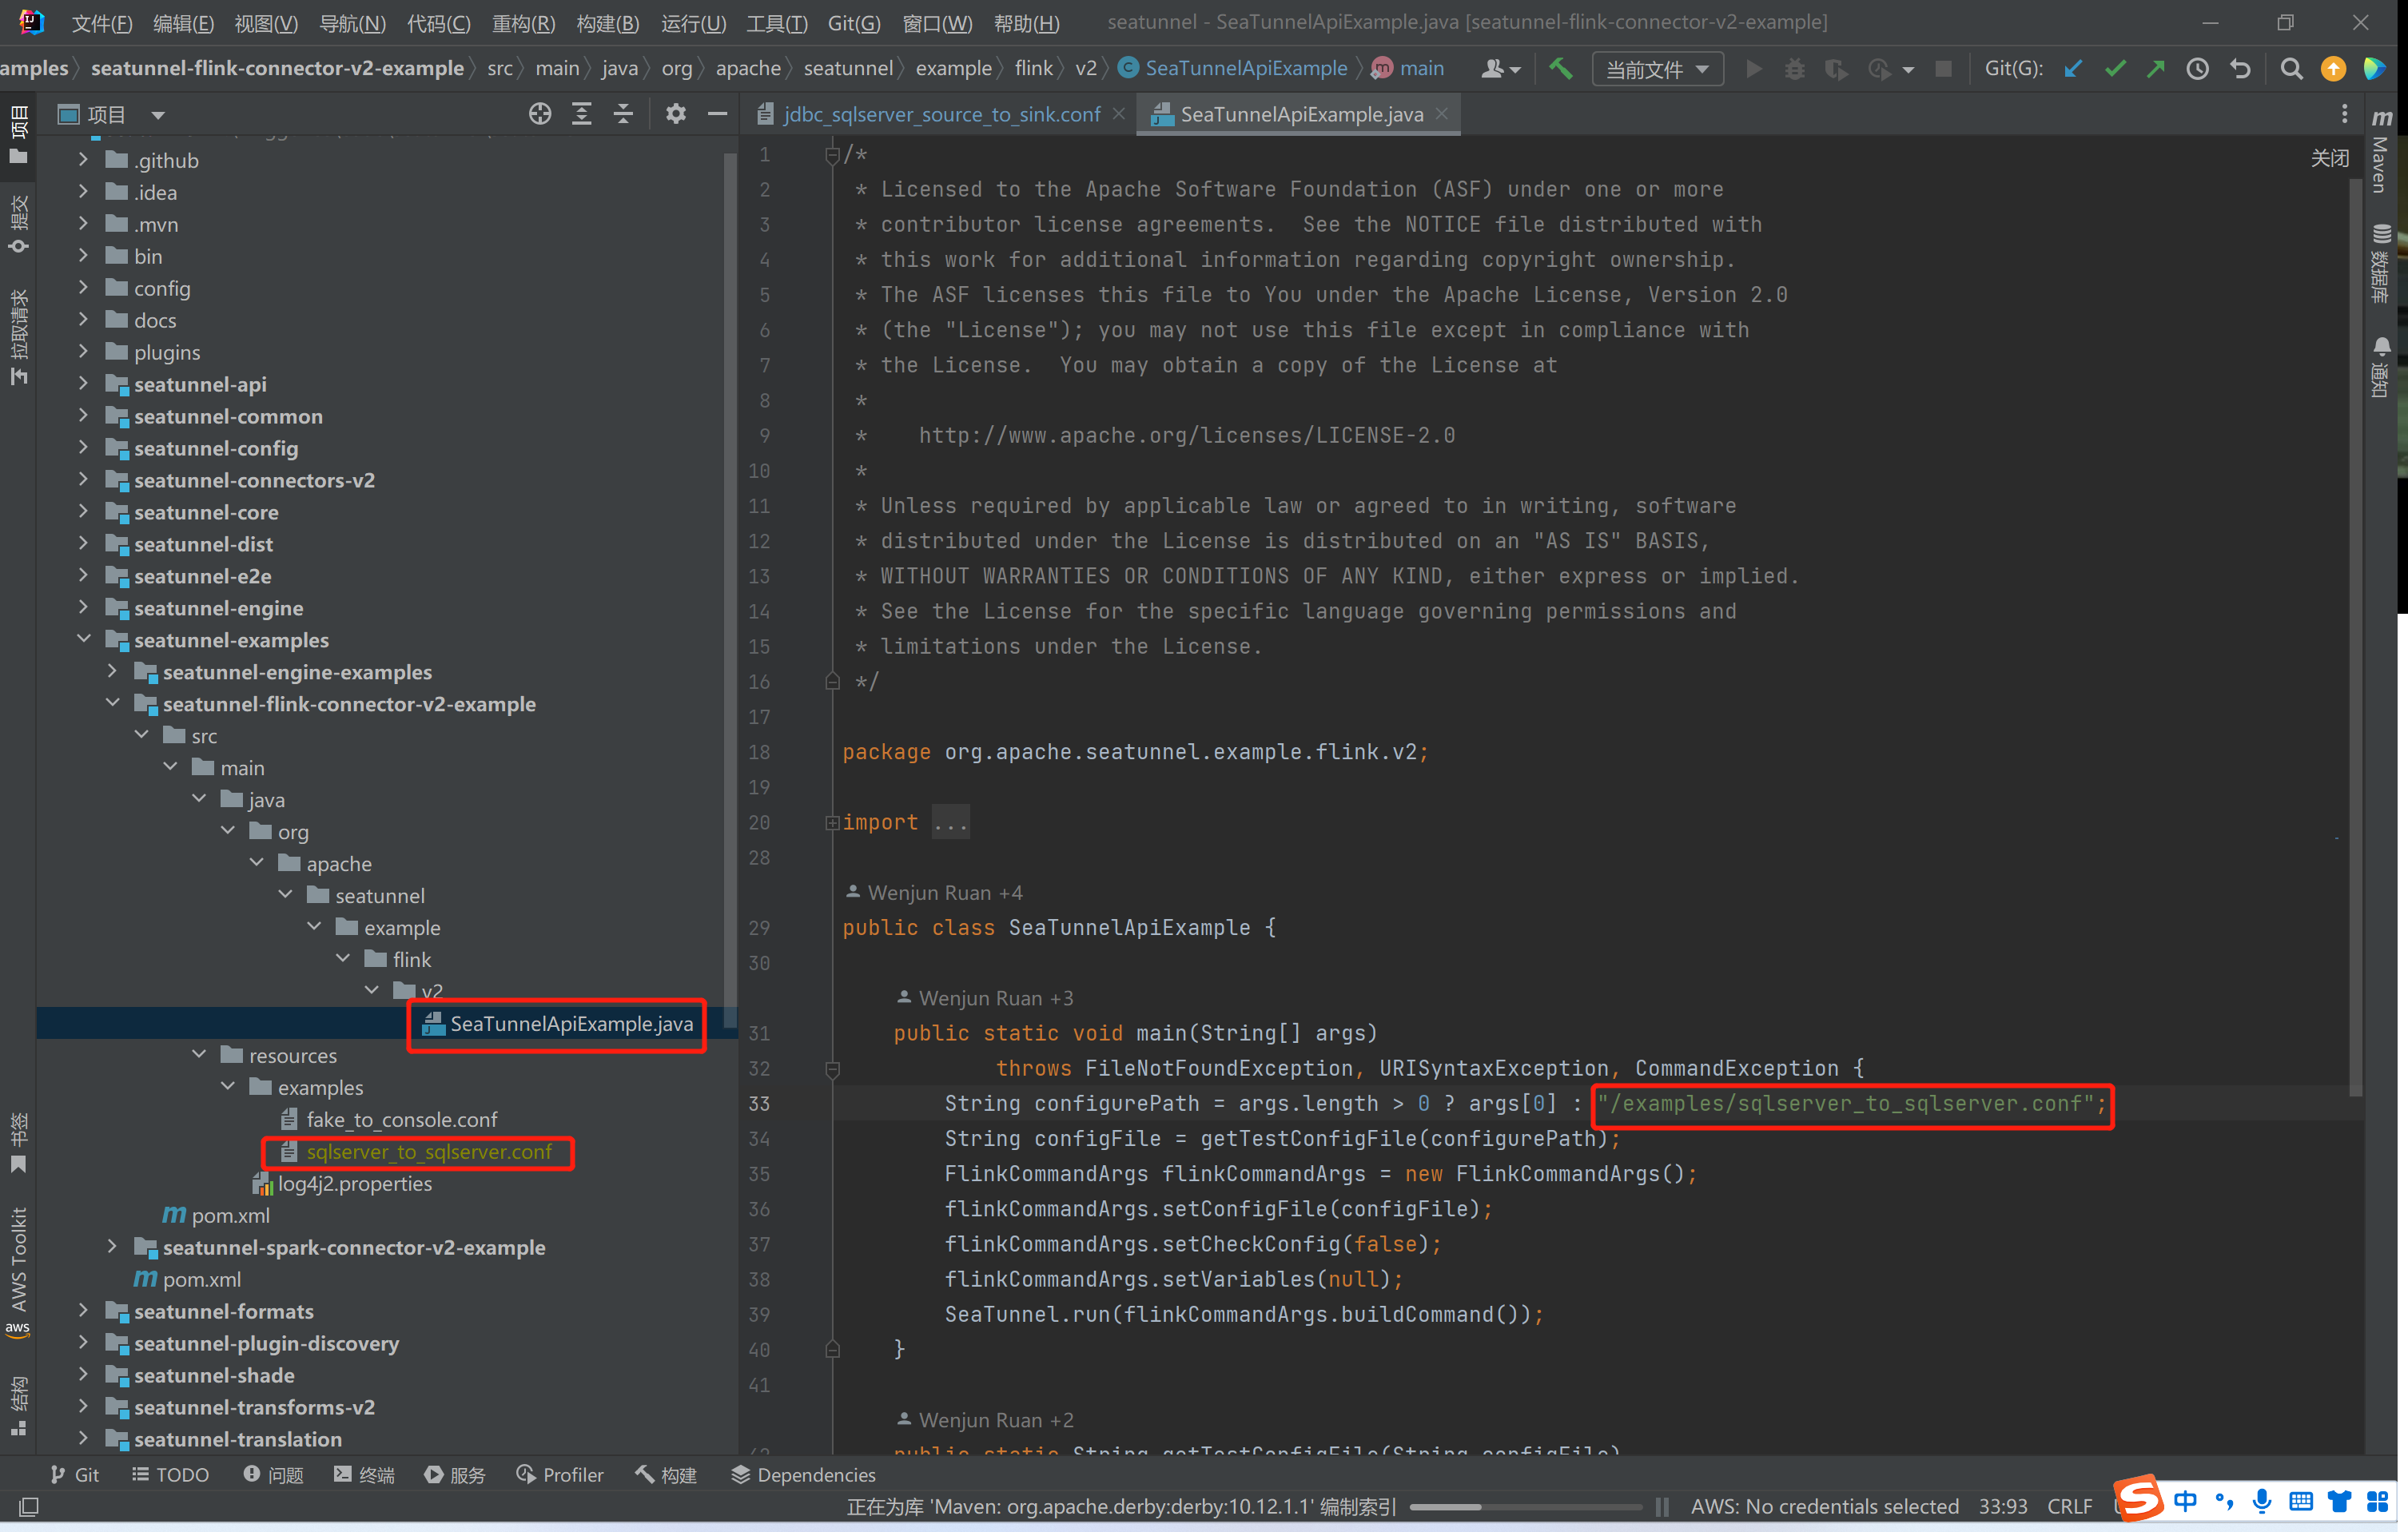
2.修改seatunnel-flink-connector-v2-example中的SeaTunnelApiExample,写入我们写好的config文件
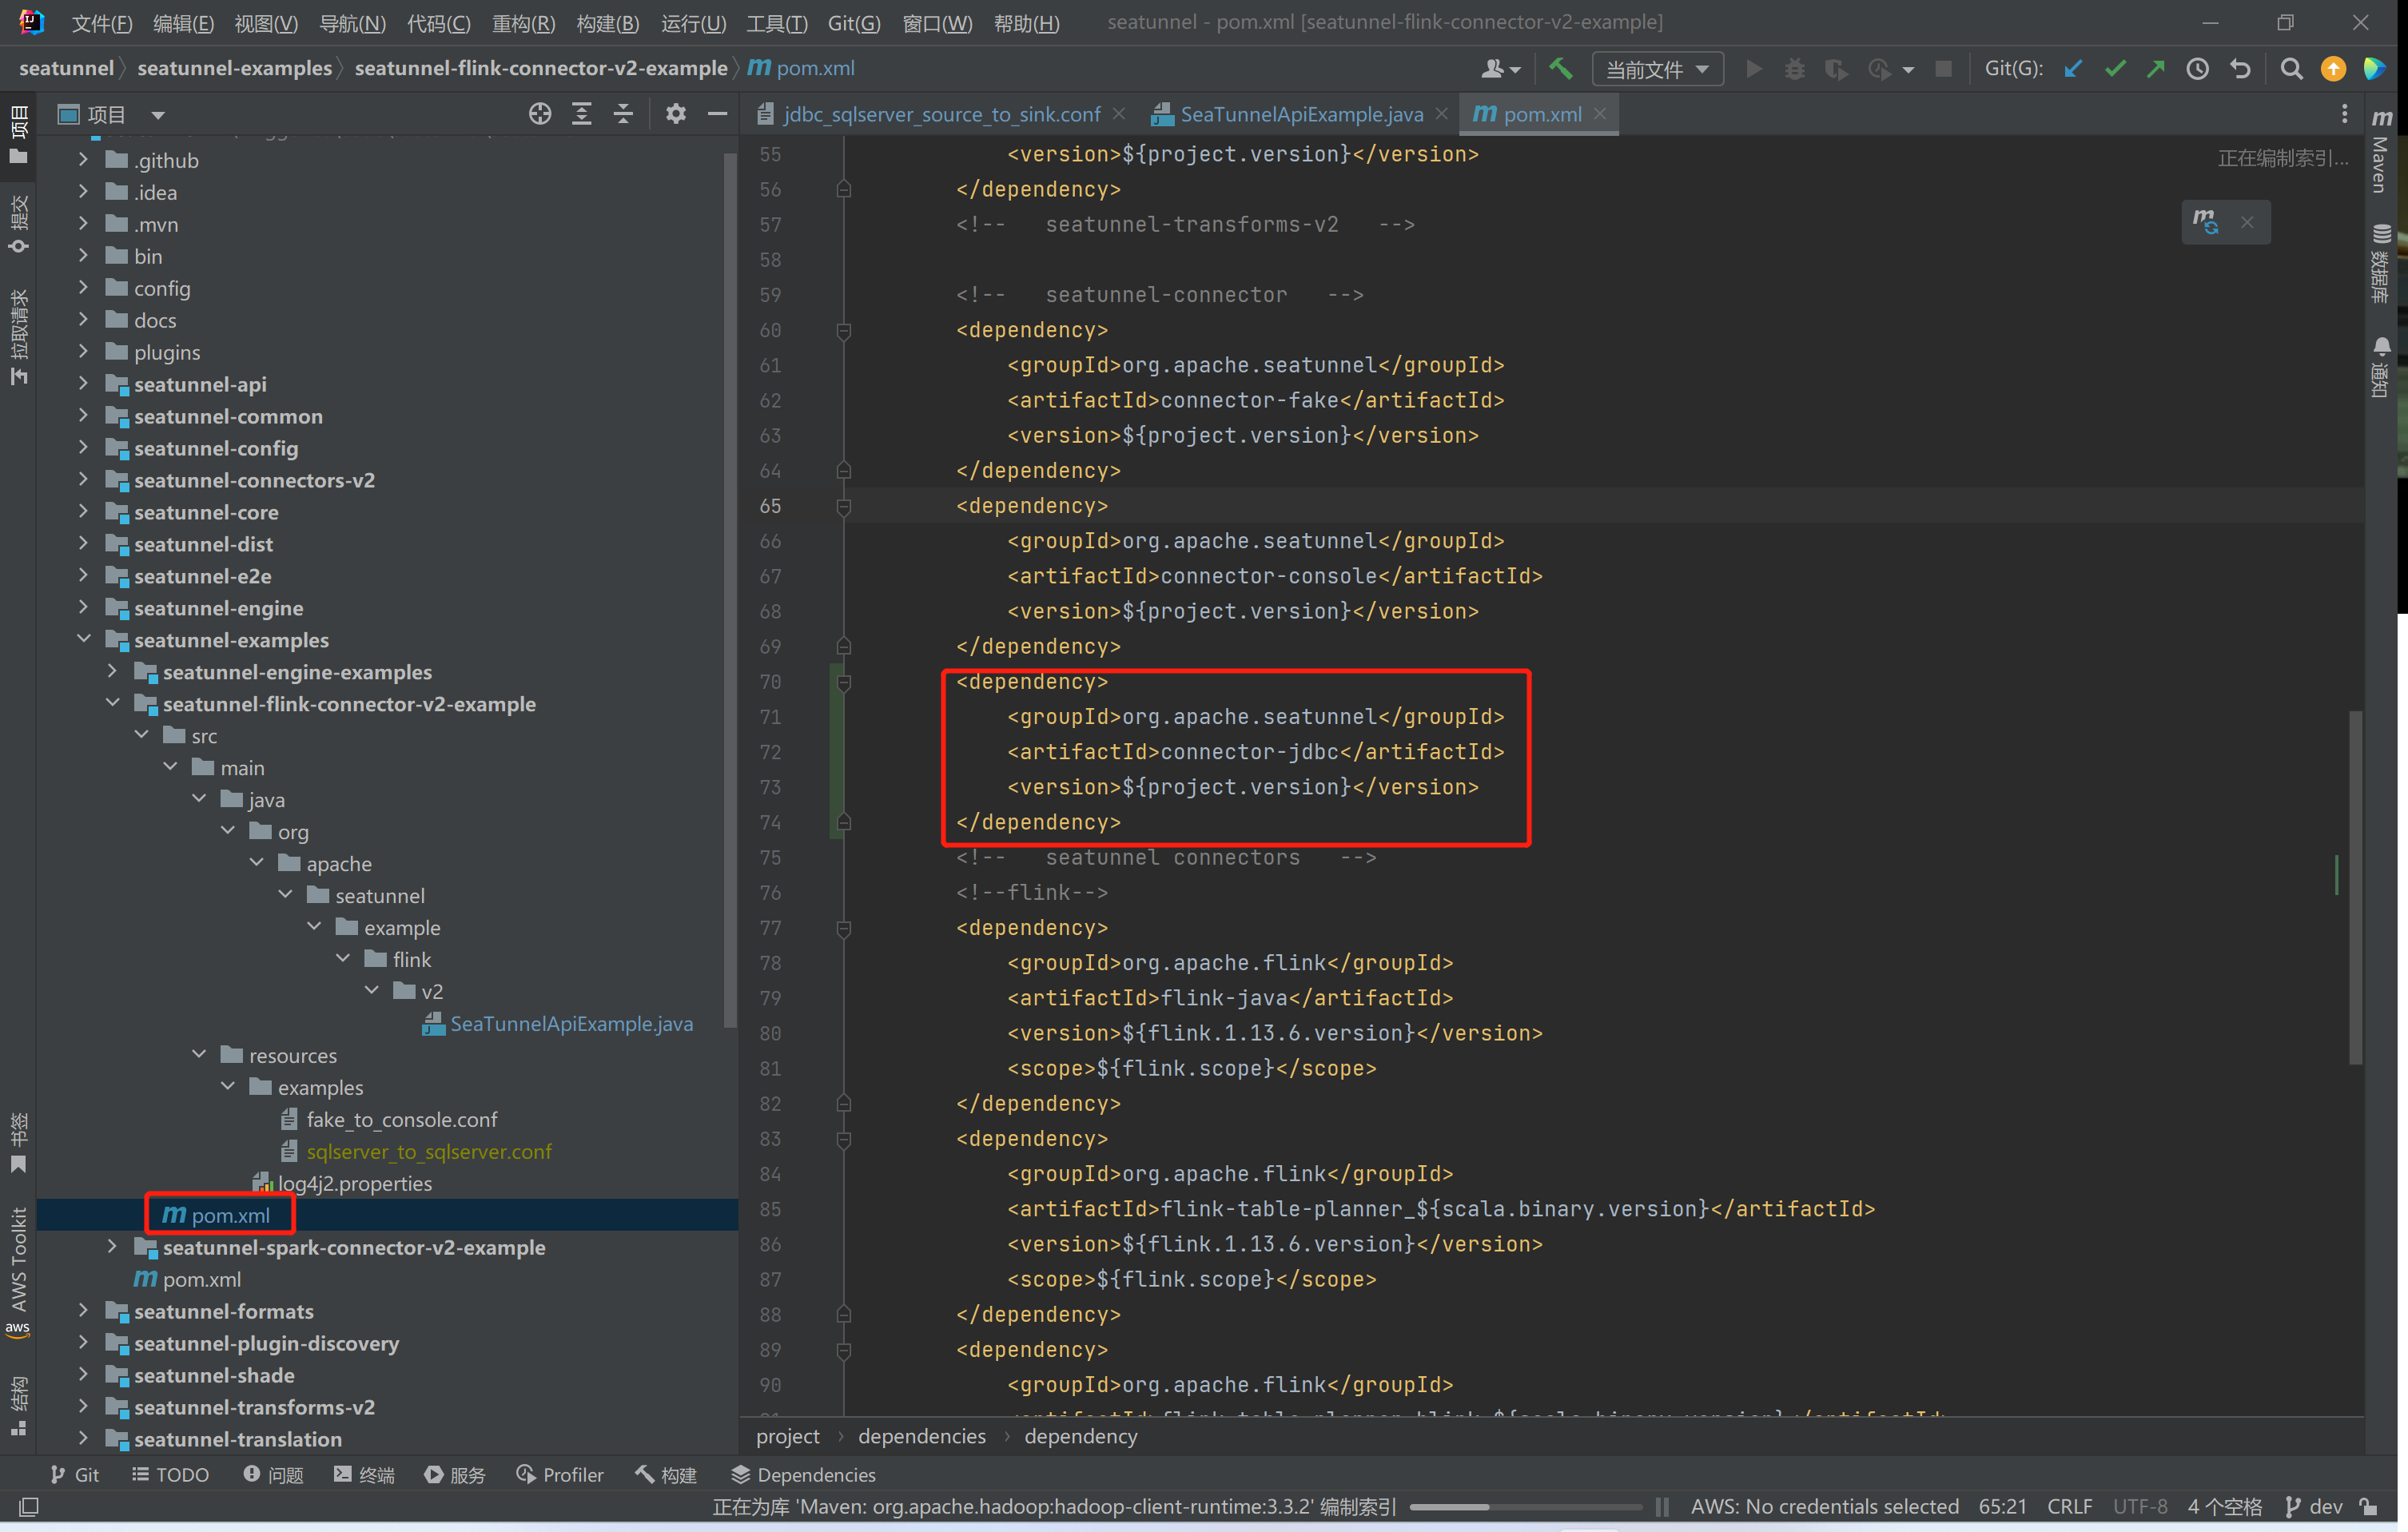
添加seatunnel-flink-connector-v2-example pom文件中添加jdbc依赖
3.运行代码
运行SeaTunnelApiExample,右键->run
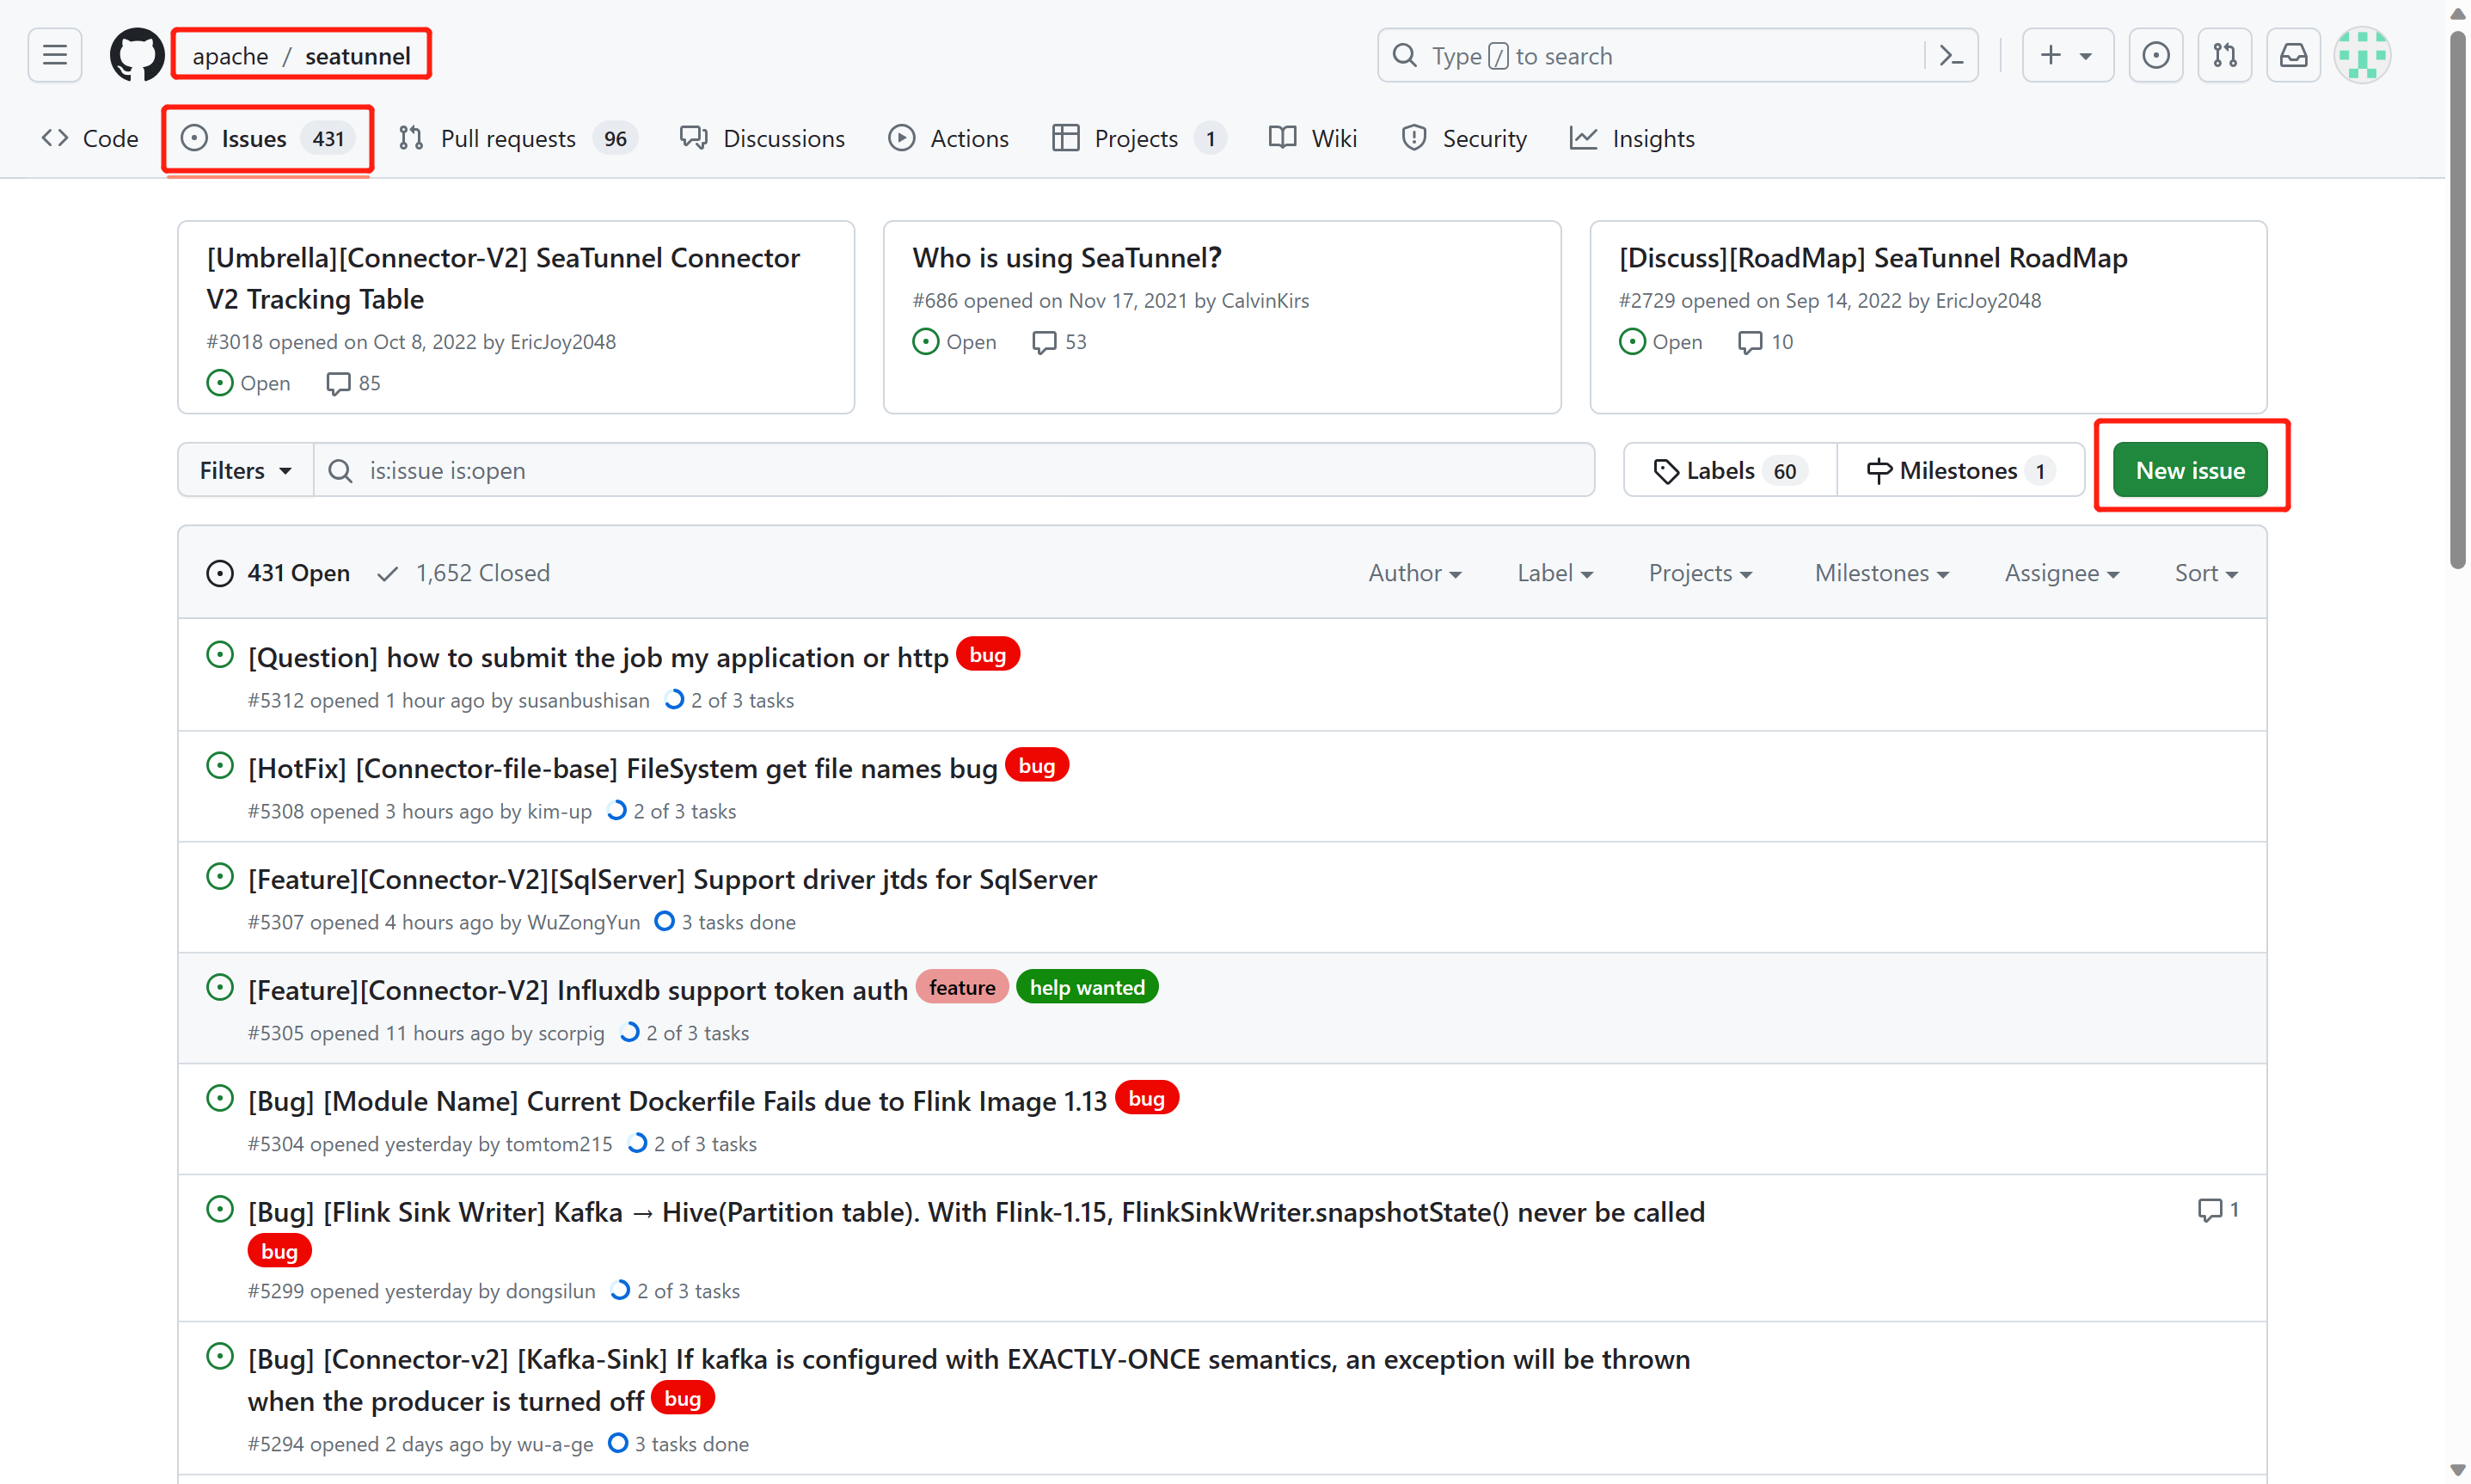
4. 提交issue
issue的作用就是告诉社区我们打算做什么事情,后续的PR就是来提交代码解决这个issue。除此以外issue也是我们来提出bug或者其他想法的地方。不一定自己来实现它。你提出来,别人能解决,他们就会提交PR来解决这个问题。
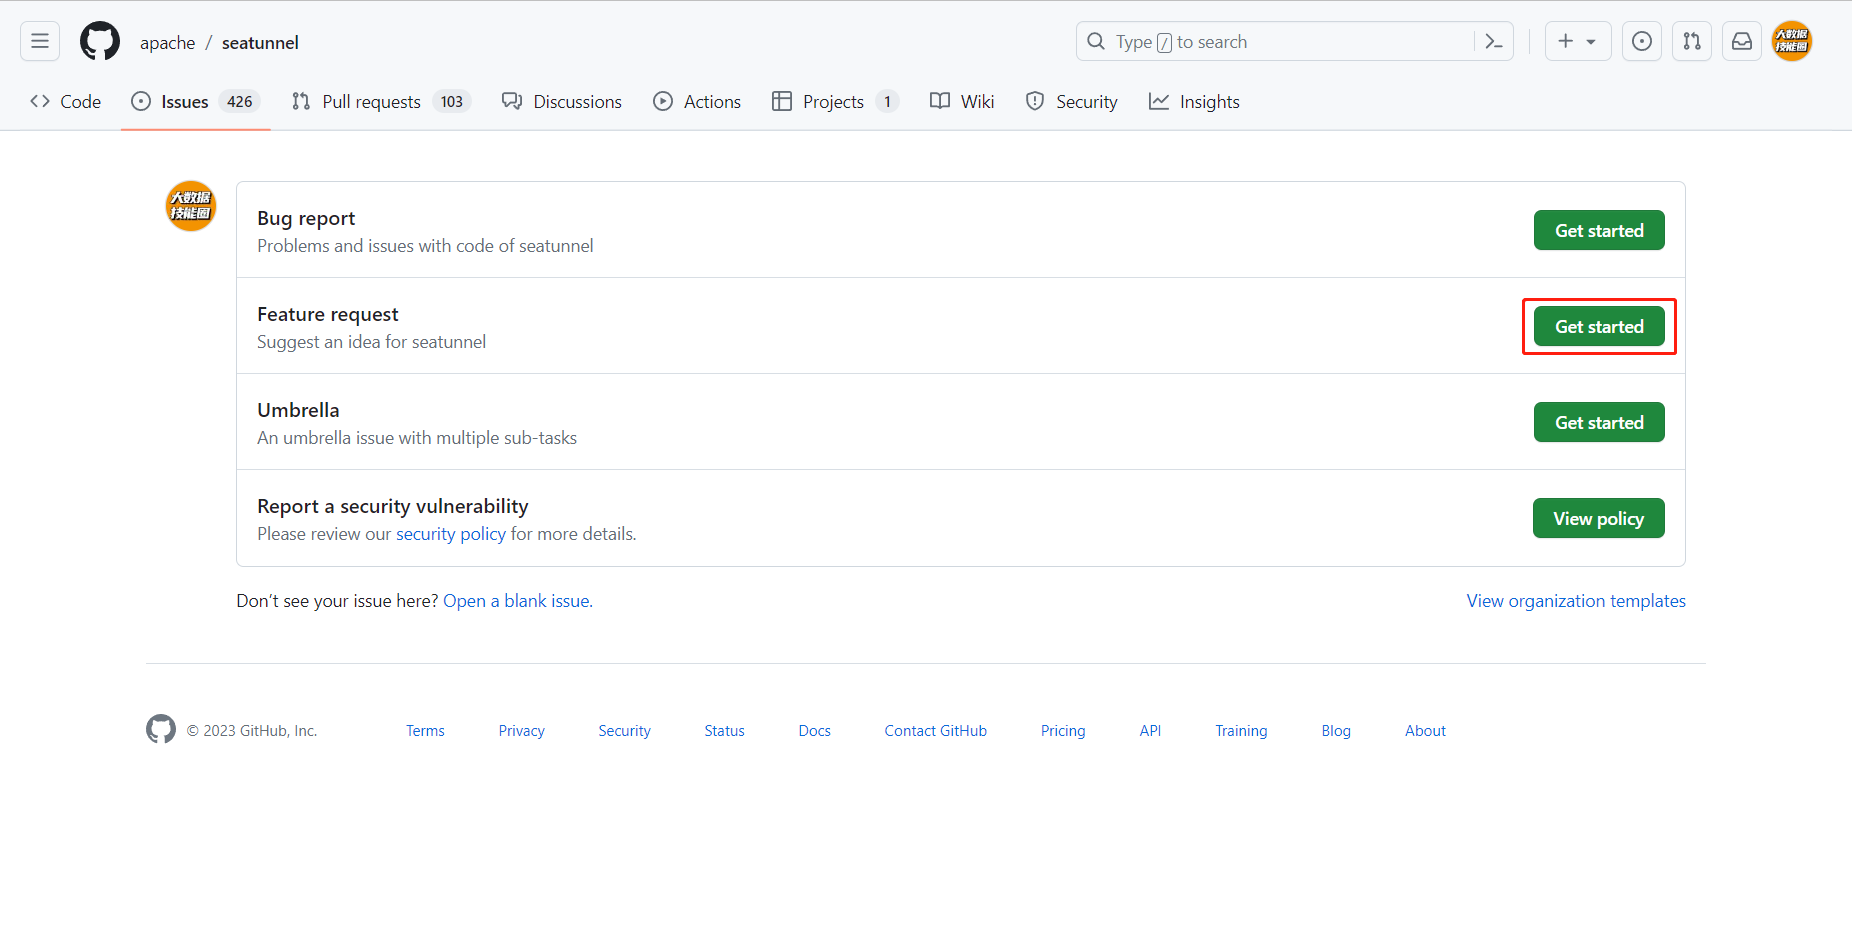
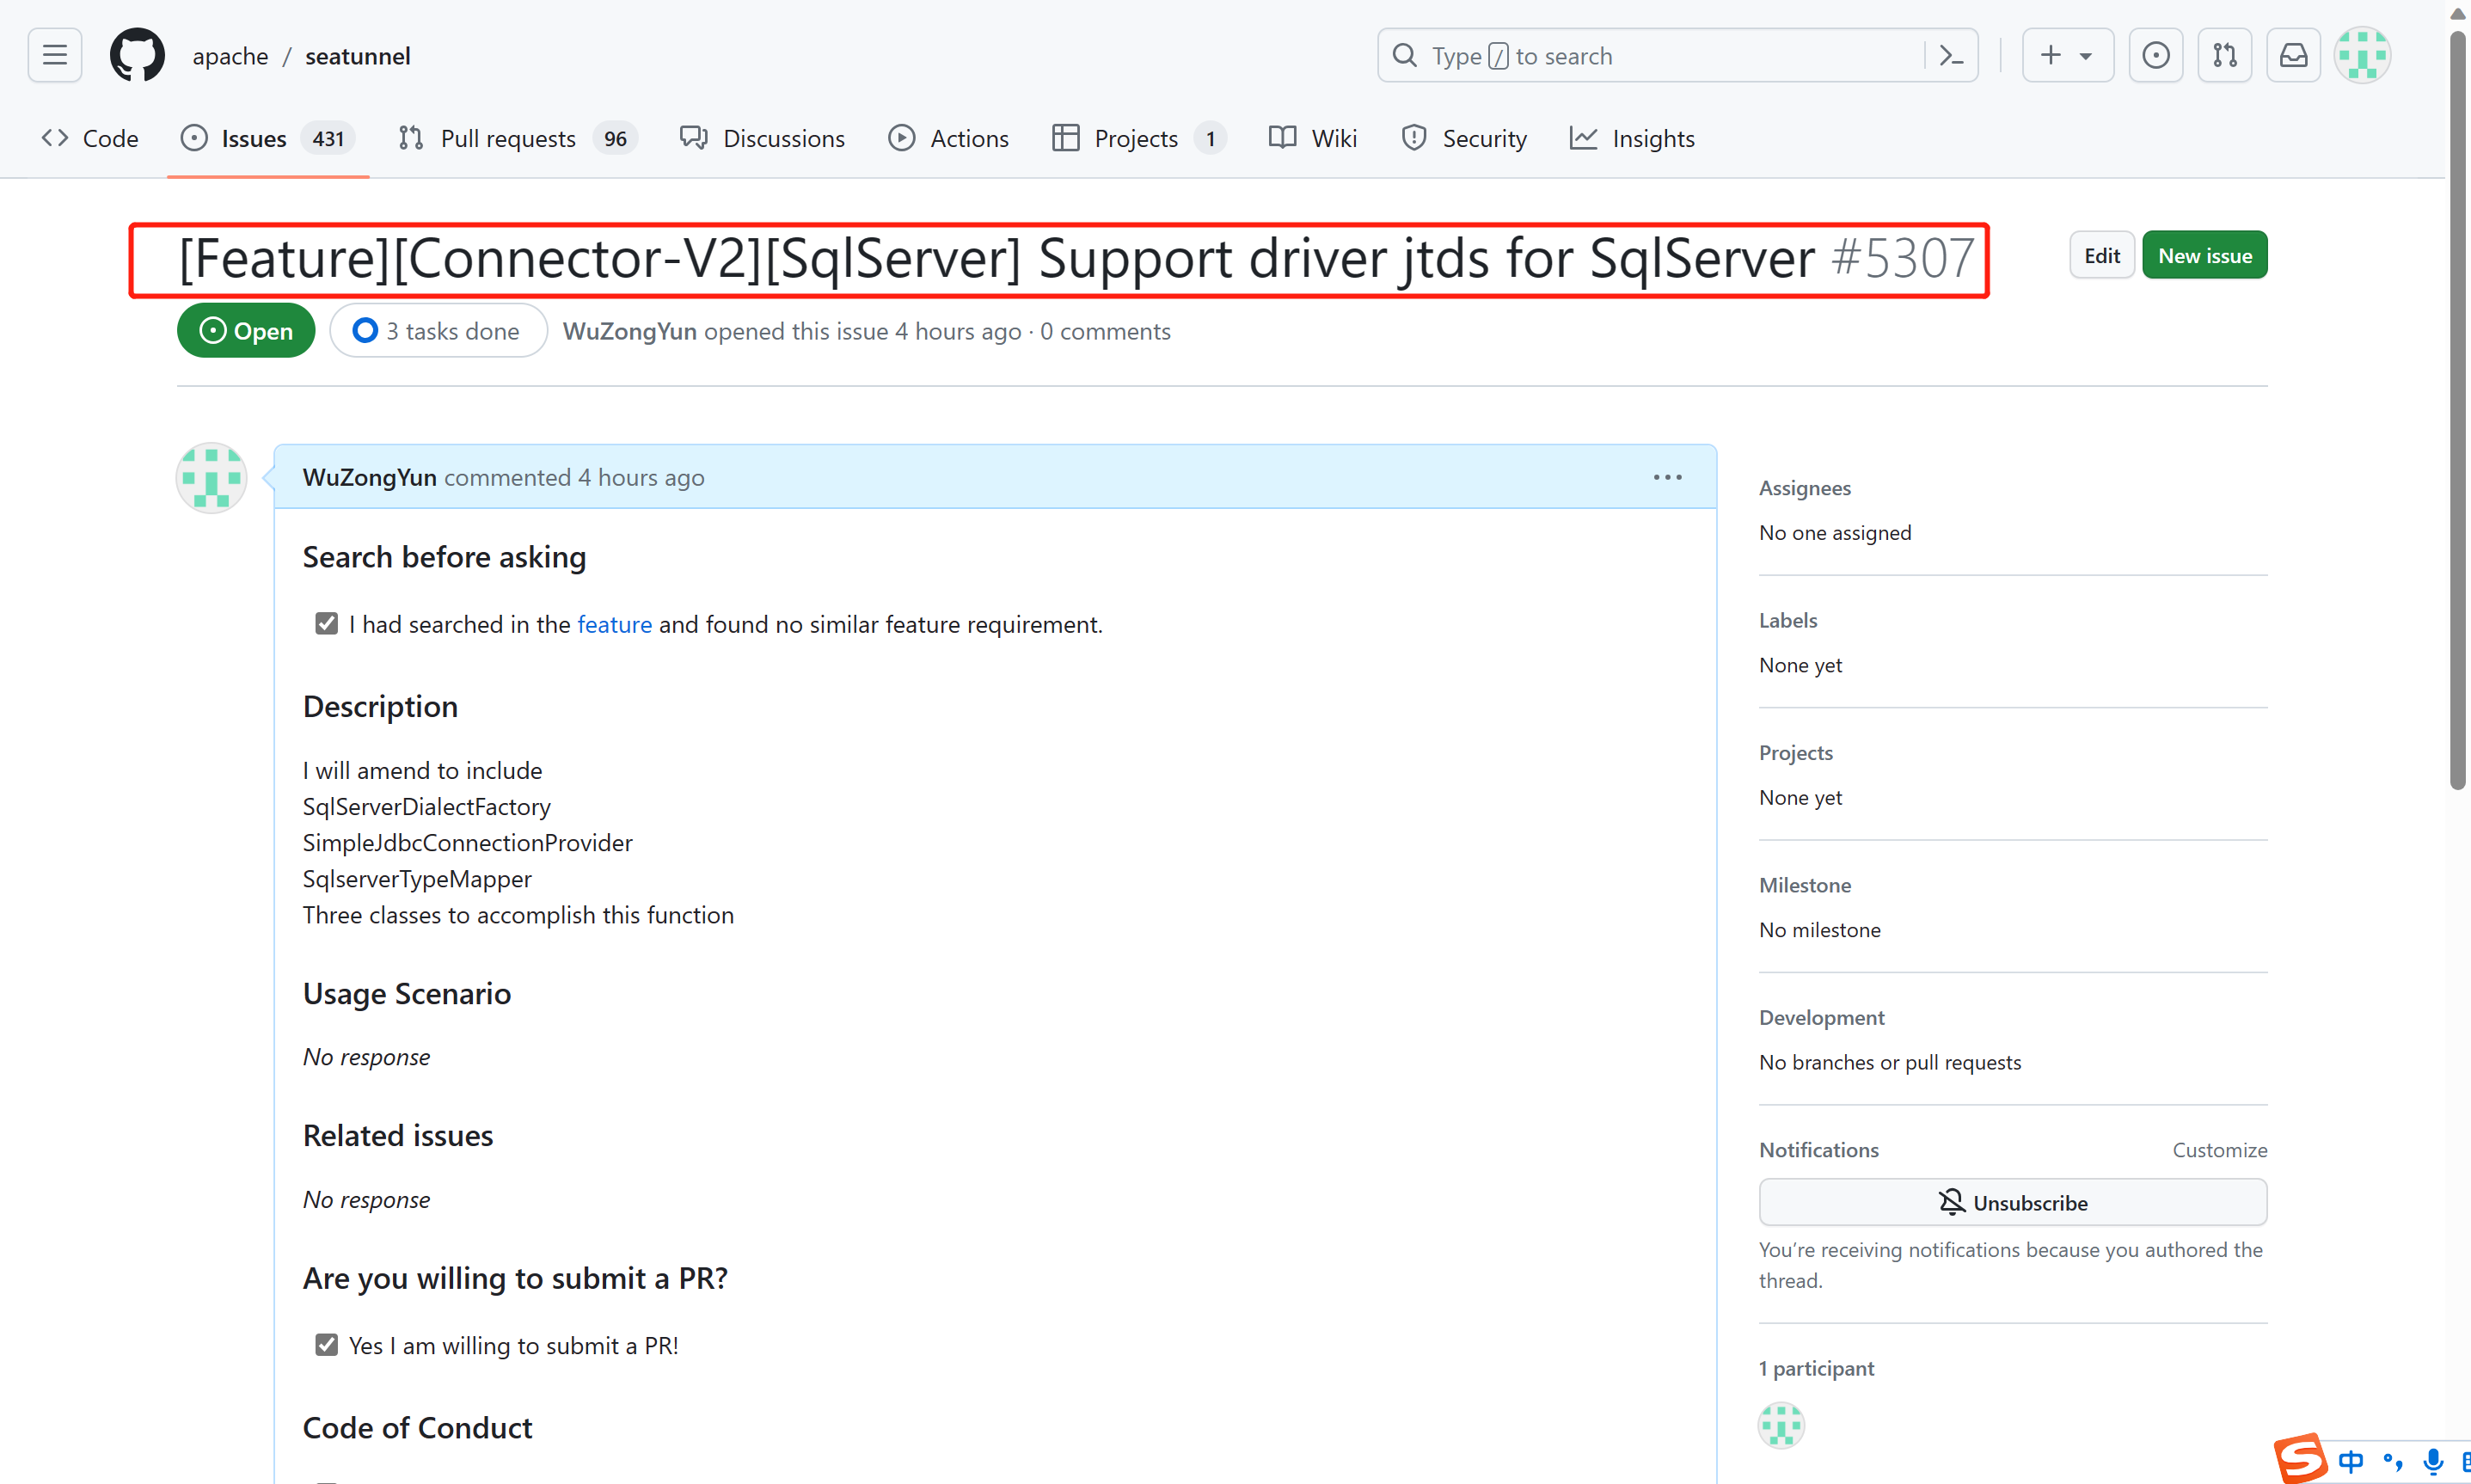
我这里提交了一个叫[Feature][Connector-V2][SqlServer] Support driver jtds for SqlServer #5307 的issue,其中Feature可以按具体的内容换成BUG/DOCS等等 Connector-V2可以换成其他的具体模块,这里大家可以参照别人已经提的issue来命名。
注:带"*"的都是必填项
5. 提交代码
git commit -m 'commit content'
git push
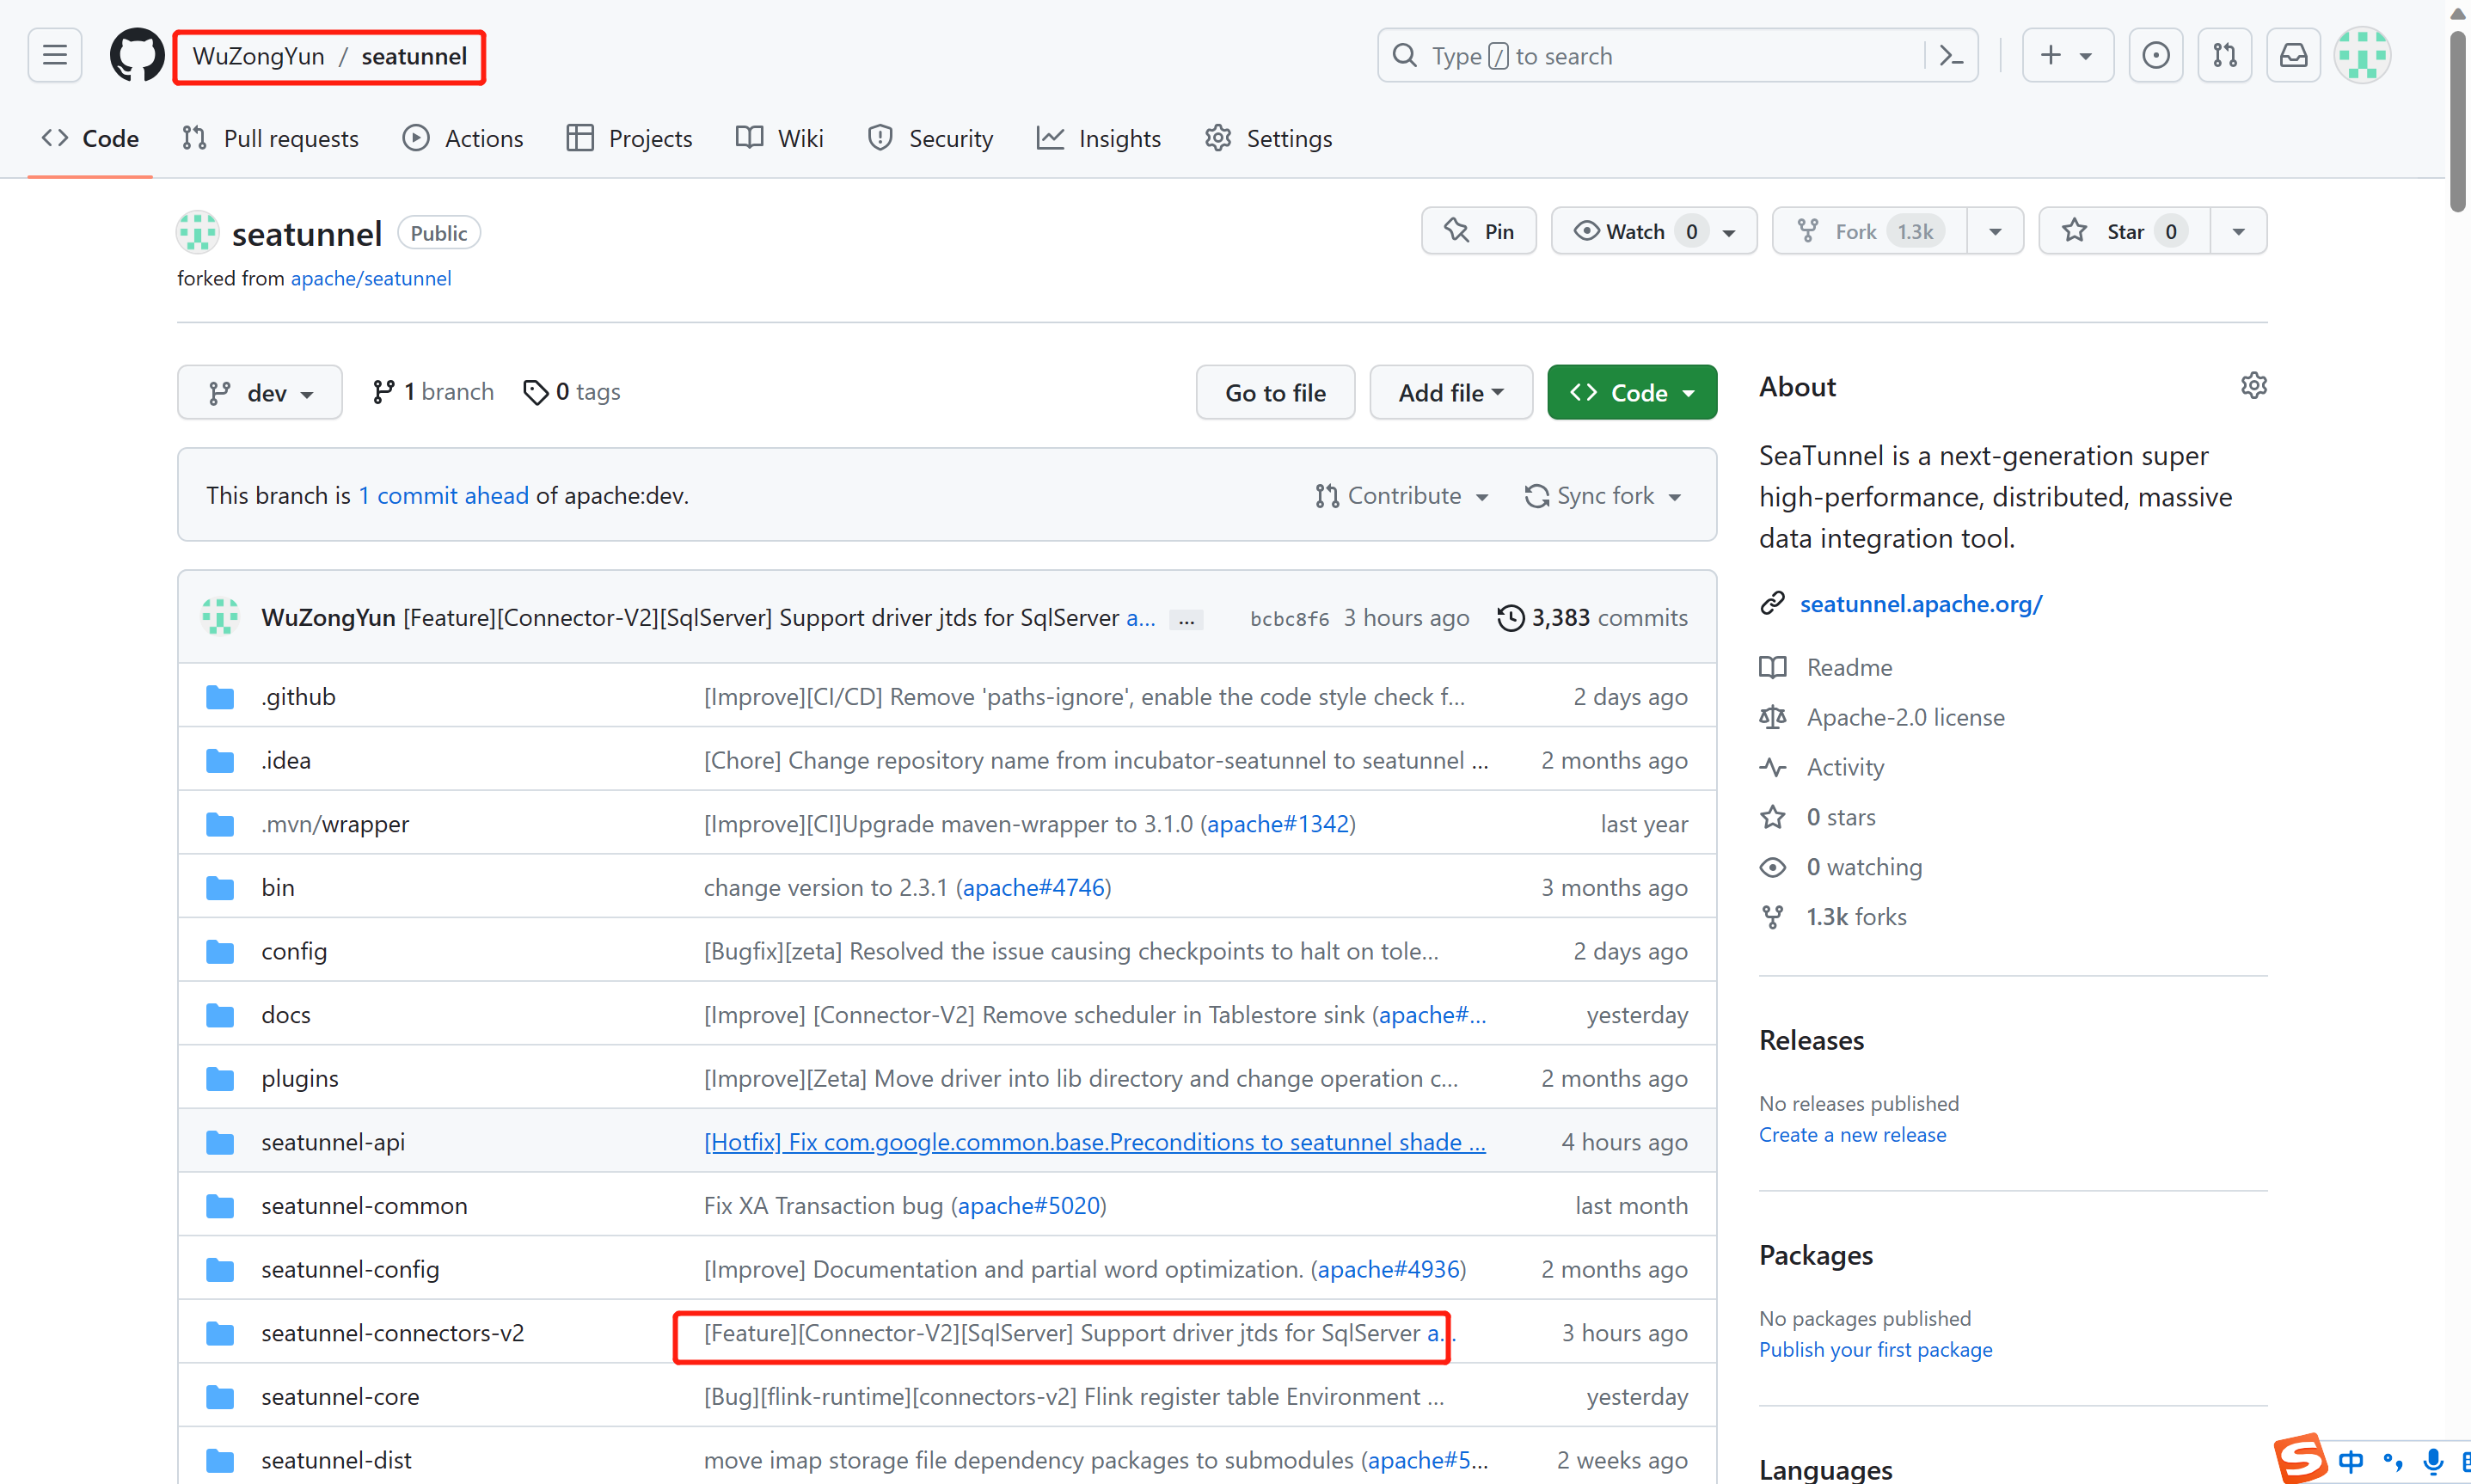
提交后在github上查看提交代码详情
6. 提交PR(Pull Request)
提交完成后,因为我们的仓库的代码的上游是apache/seatunnel,在conribute中我们就可以去提交一个PR。
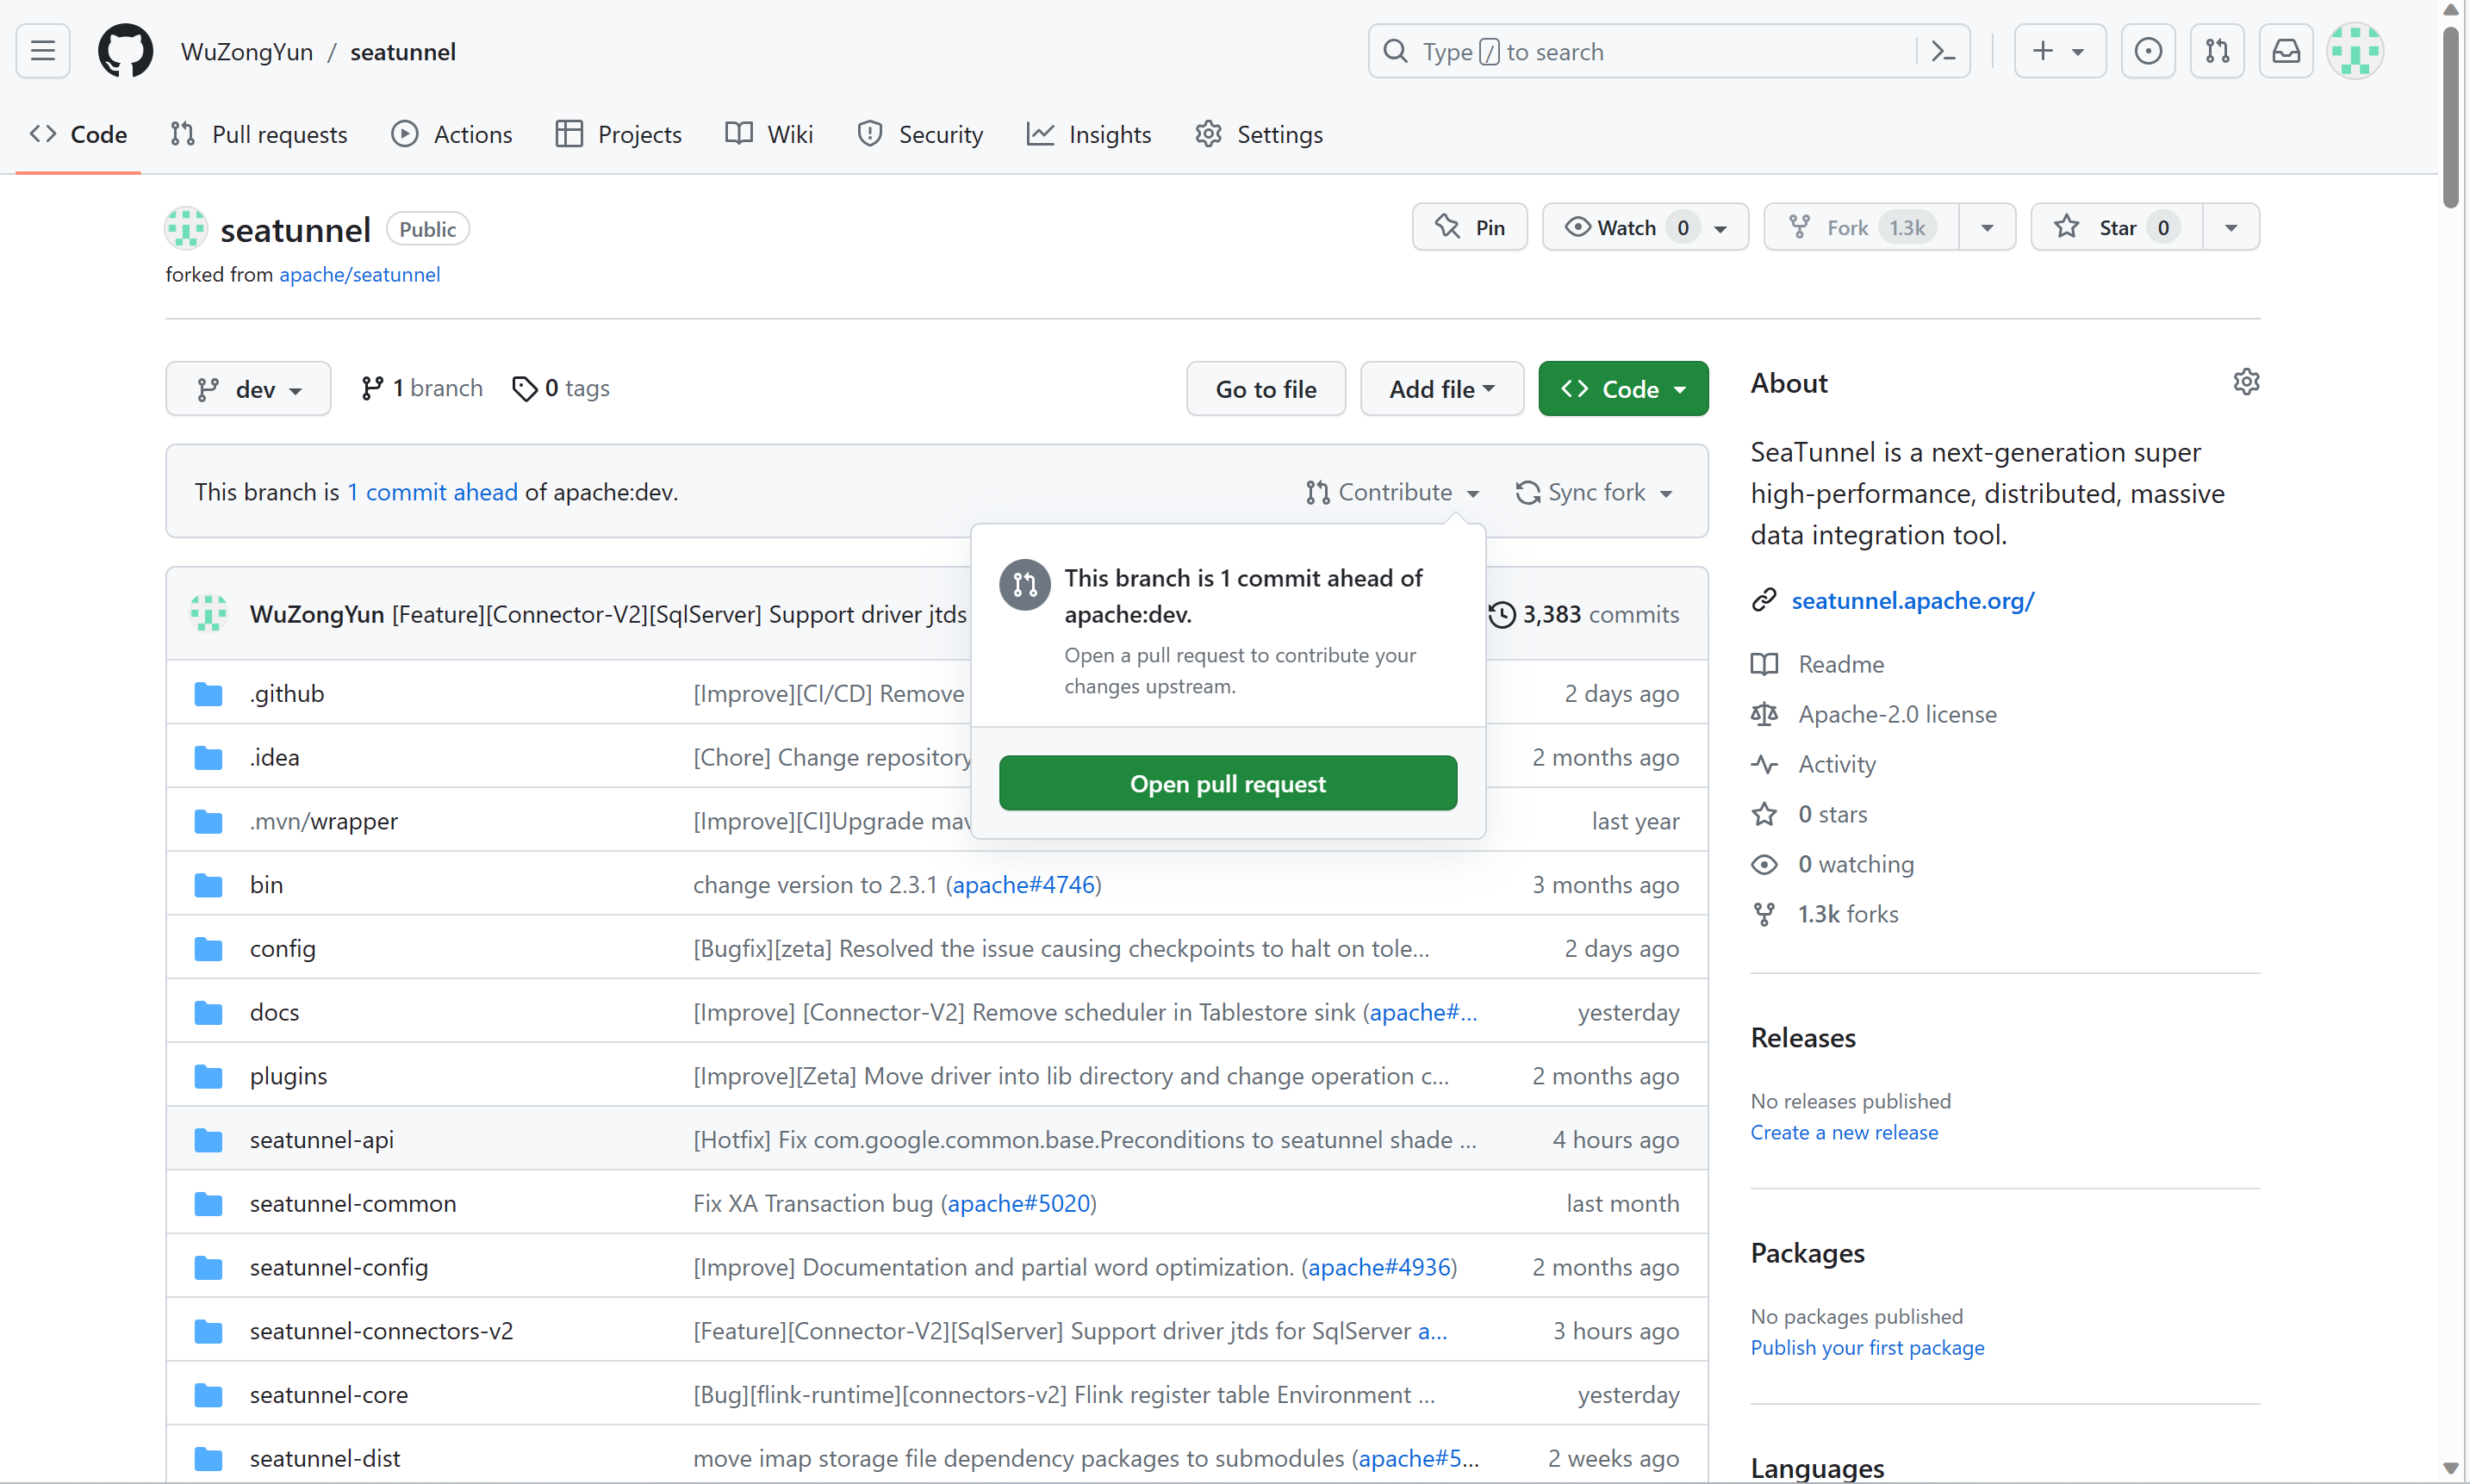
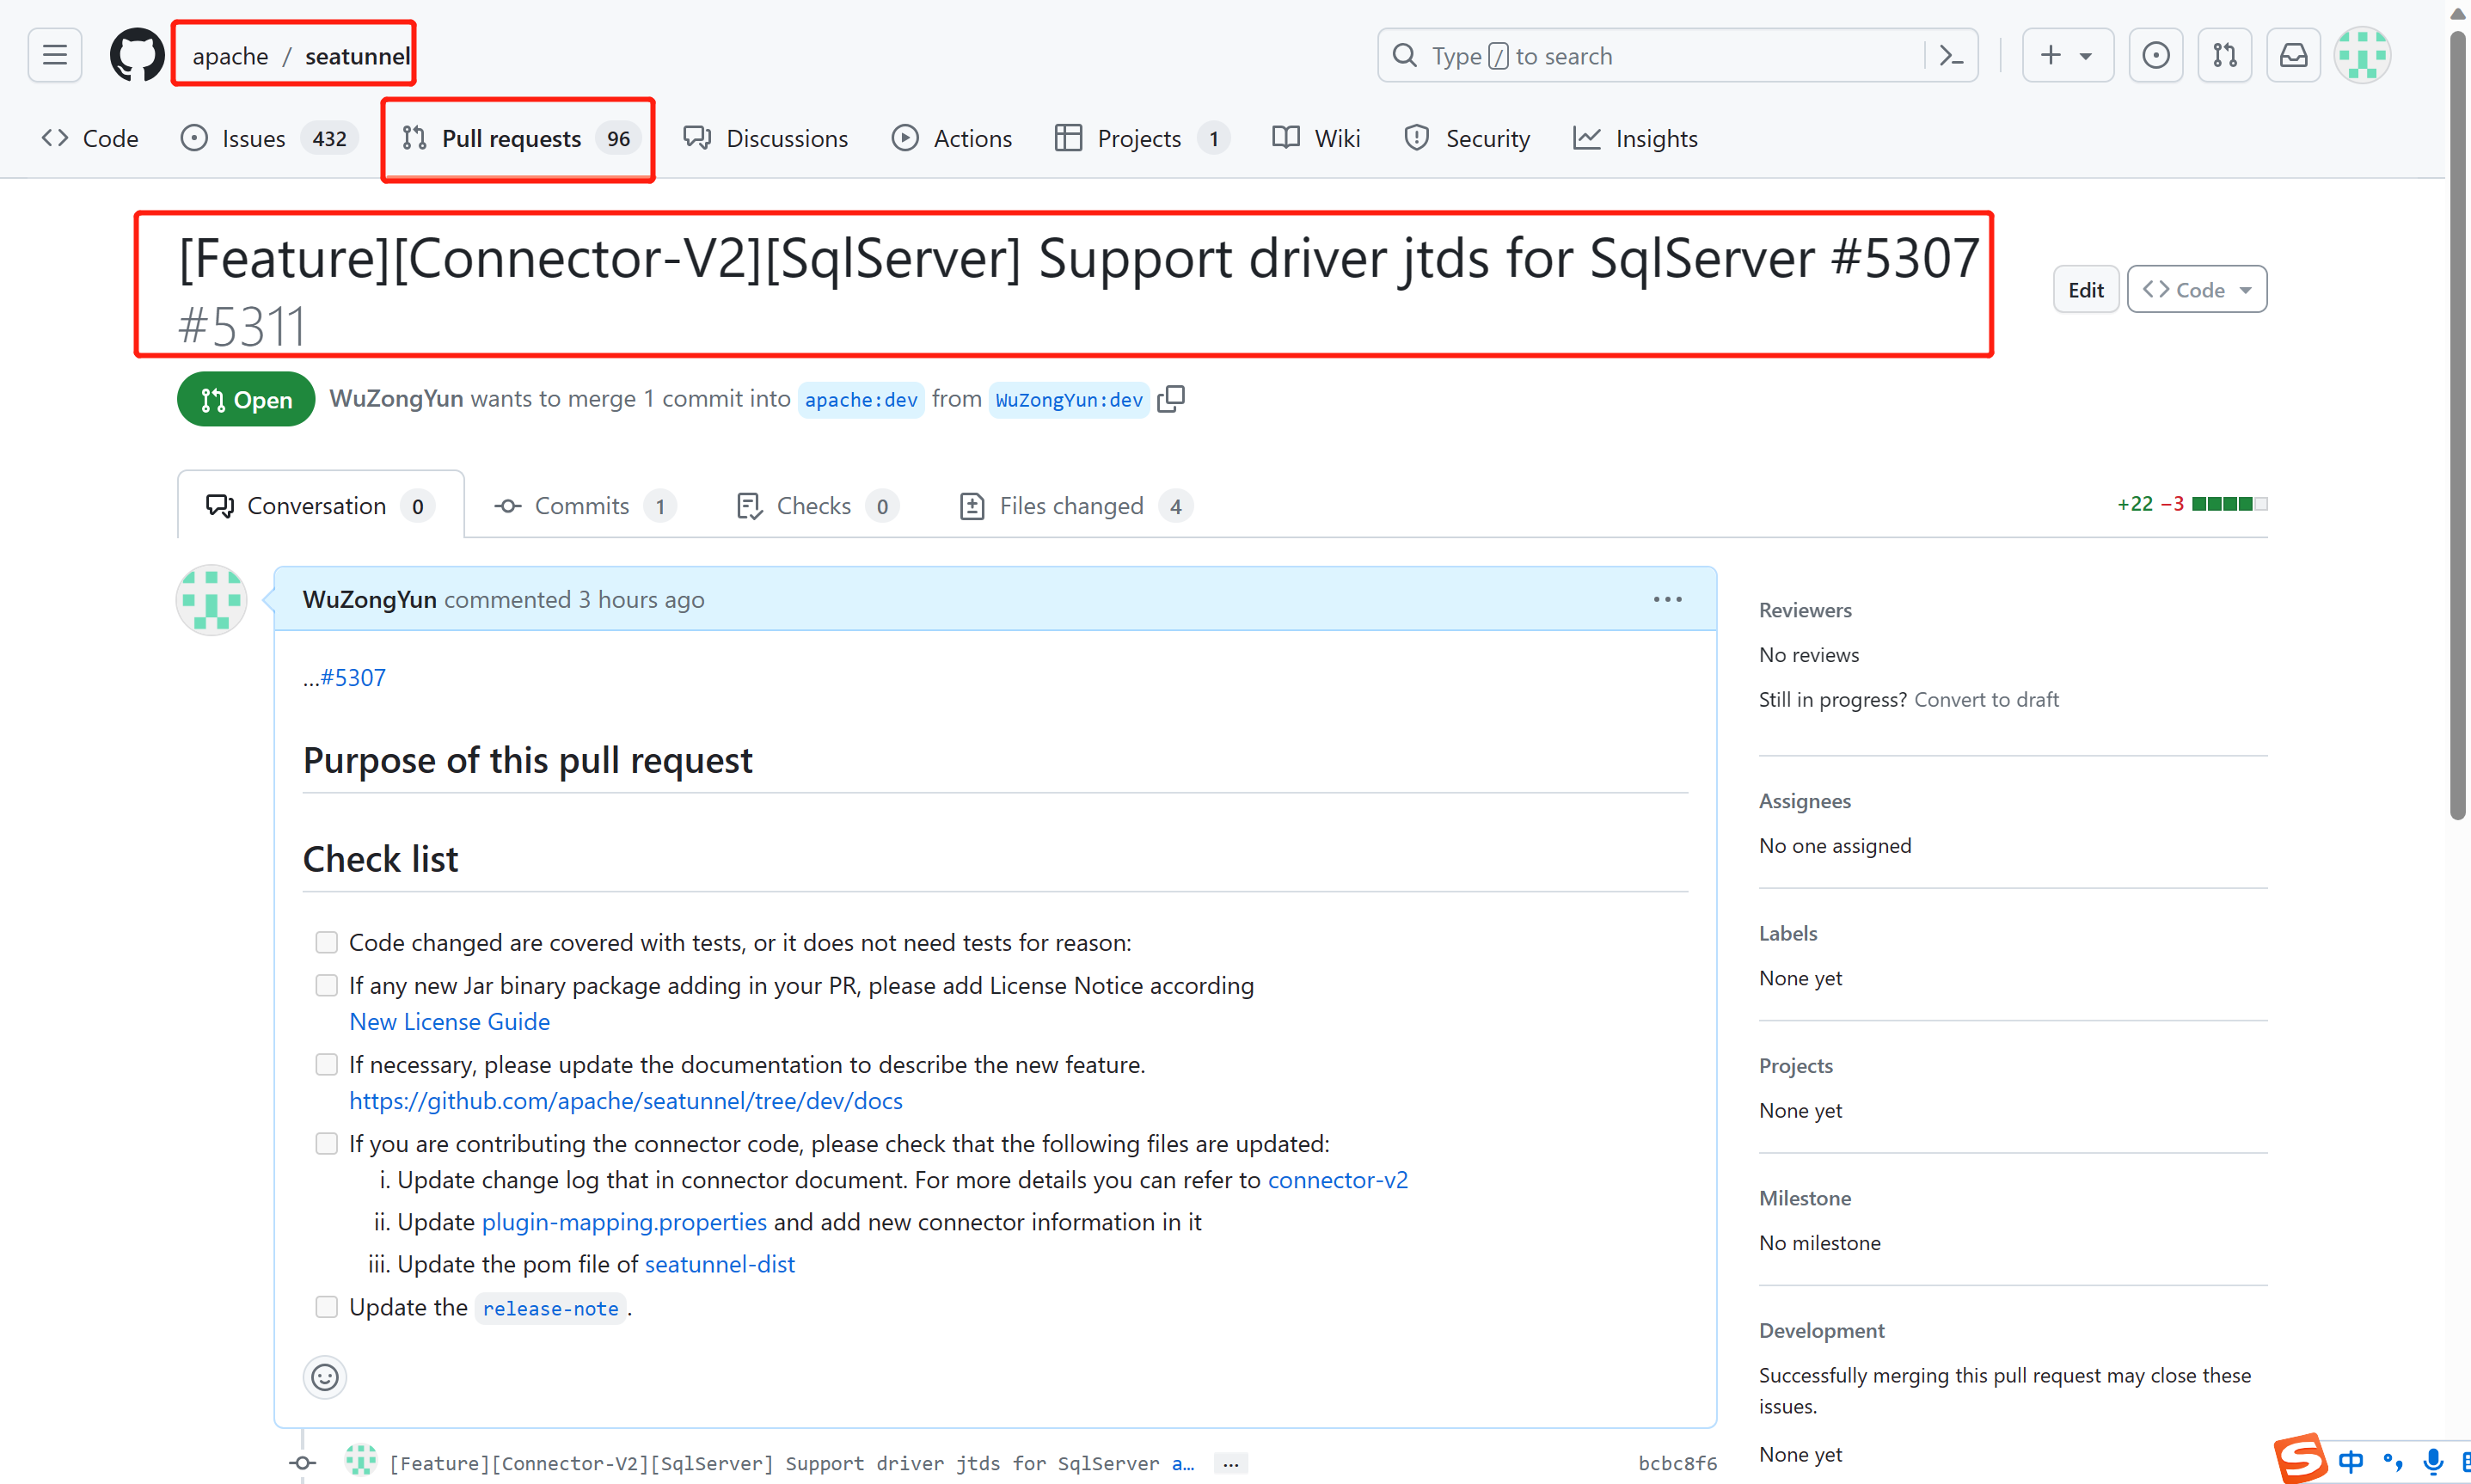
点击Open pull request,就会跳转到上游apache/seatunnel下面的Pull Request列表,并自动开发创建PR页面。填写相关内容,PR的名称就跟需要解决的这个issue一样就可以了,需要注意的时候,最后要带上issue的ID ,我这里是#5307 ,之后点击提交就可以了。
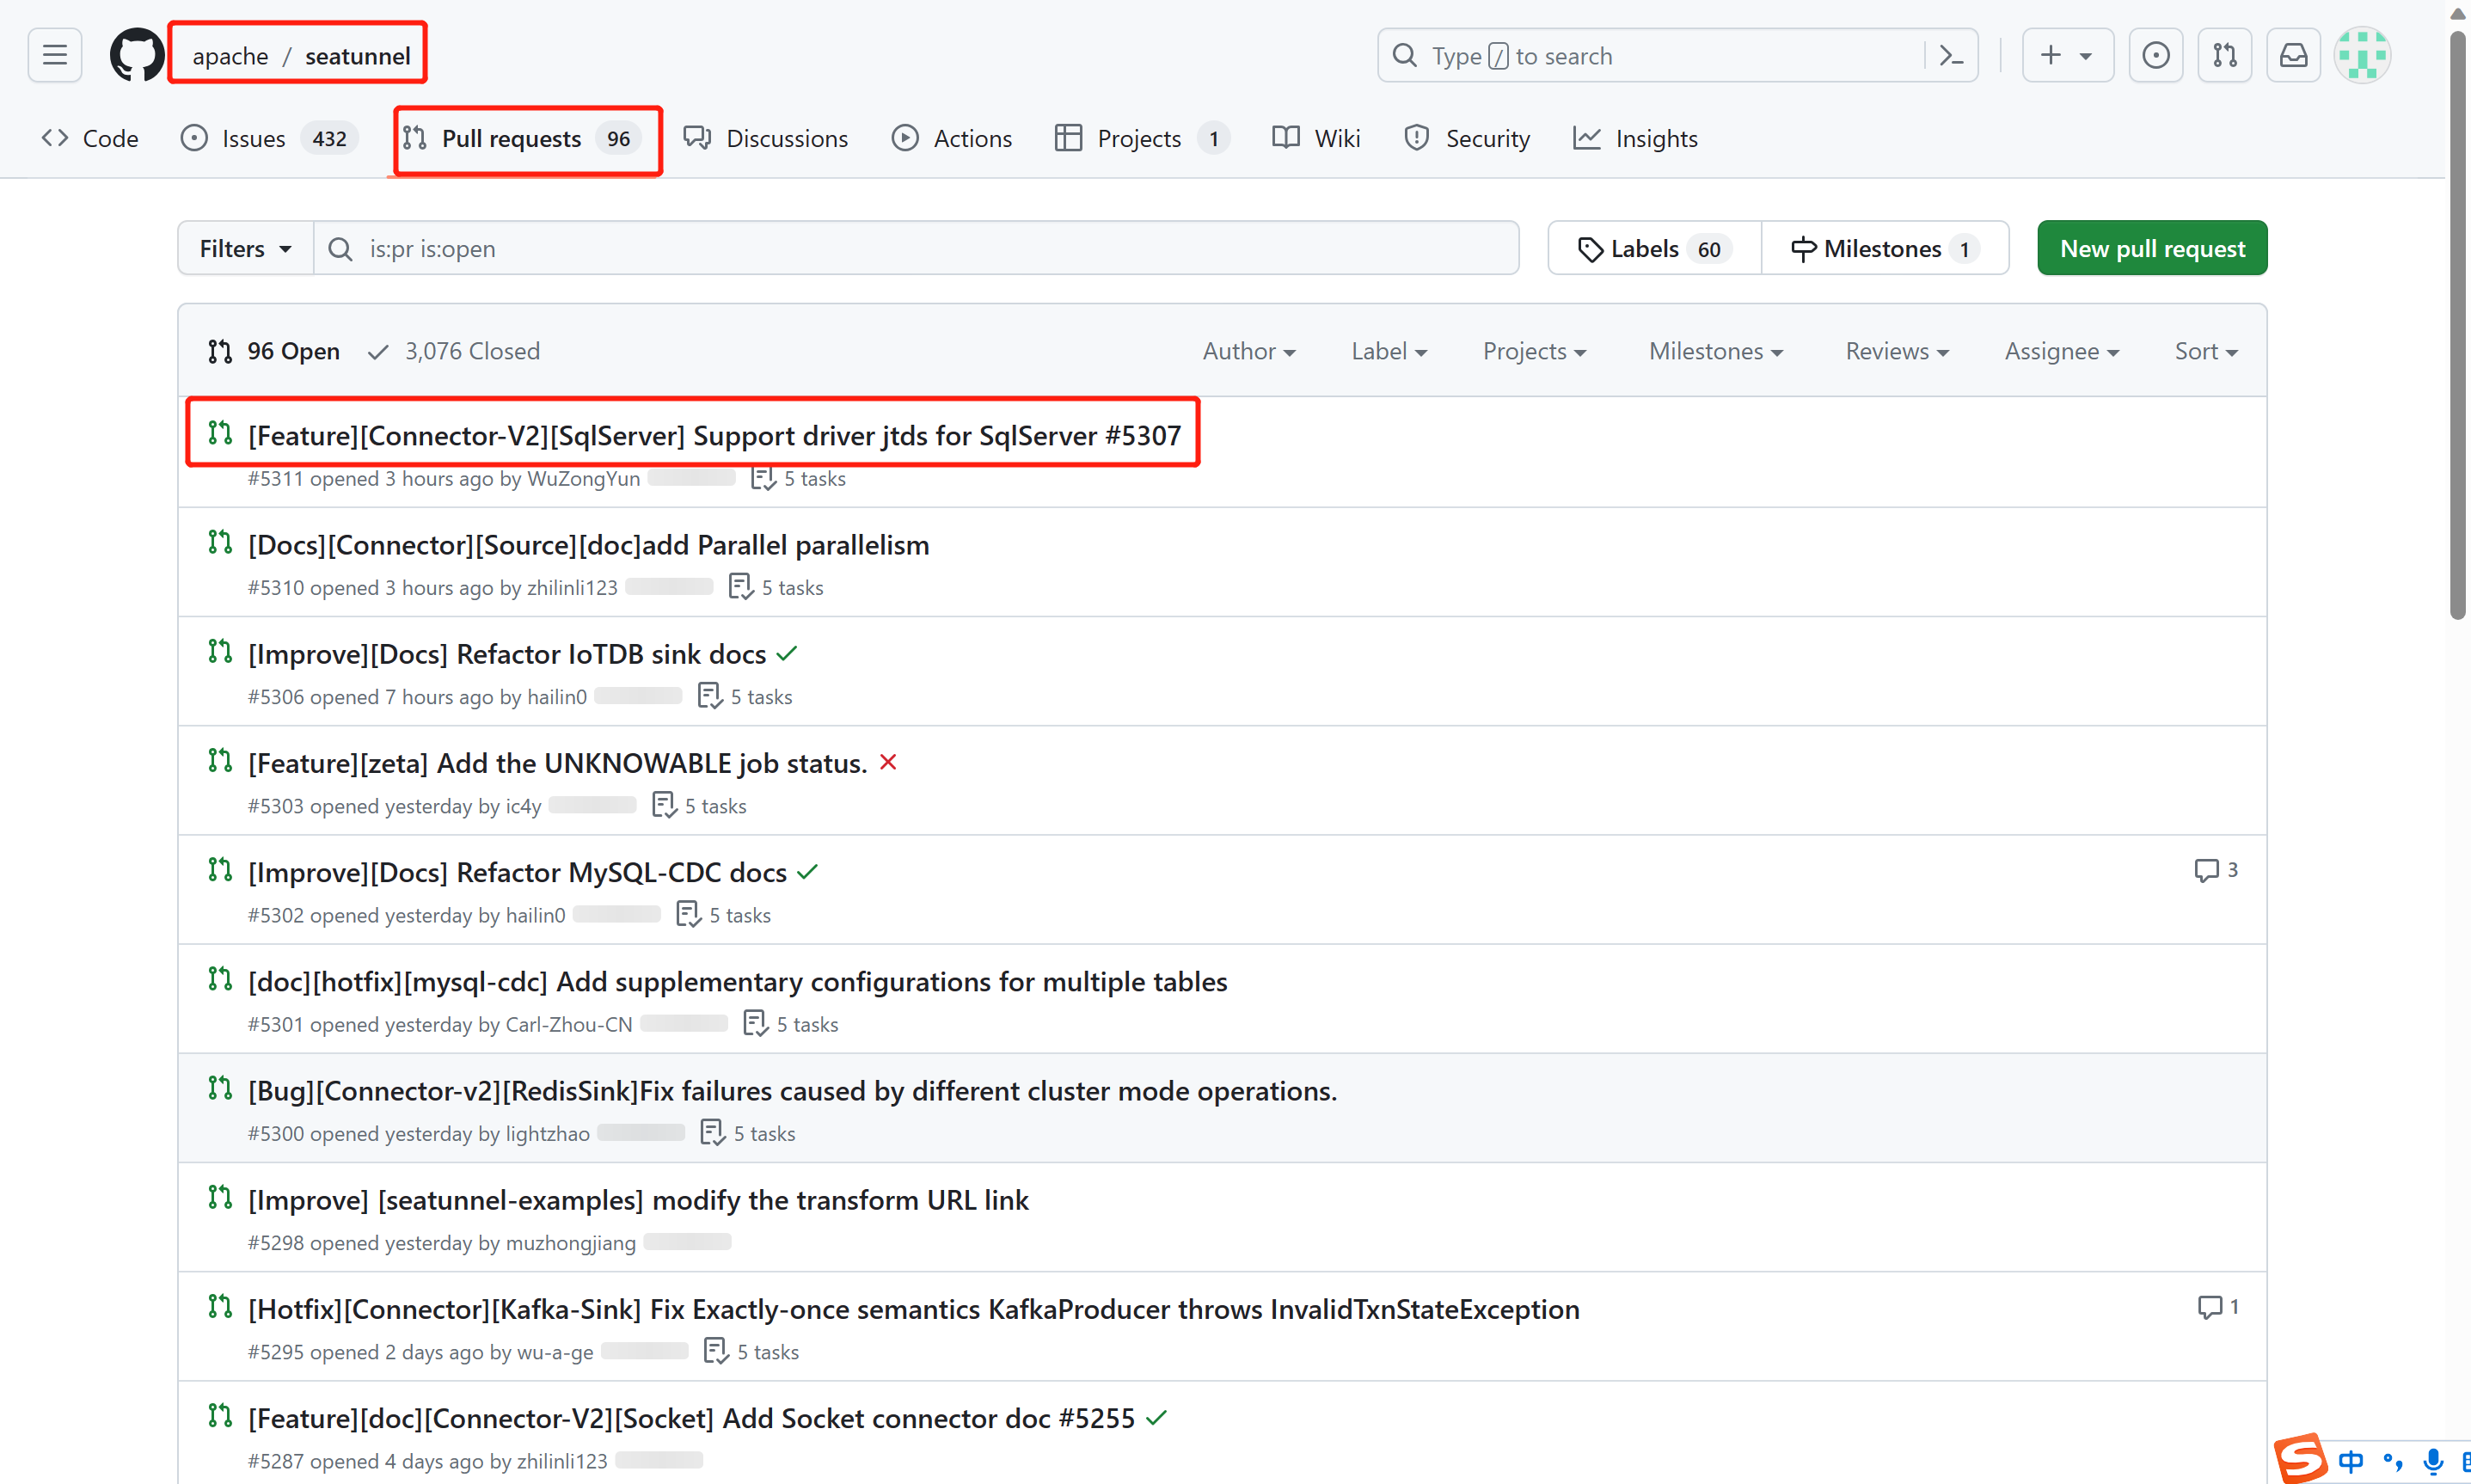
之后就等社区的管理员审核就可以了,这个过程中可能会在PR中进行留言交流,必要的话,再修改代码,重新提交代码,openPR...
本文由 白鲸开源 提供发布支持!