本文介绍如何在Apollo GraphQL中实现文件的传输
文件传输在GrapqhQL中官方建议
文章Apollo Server File Upload Best Practices提及了实现文件上传的几种方式,分别是:
- Signed URLs
- Using an image upload service
- Multipart Upload Requests
本文介绍我所尝试过的第一种和第三种。
用grapqhl-upload的方式
graphql-upload是一个第三方的库,可以用来传输多个文件,也是实现文件传输的最简单方式。
在《Principled GraphQL》中,Apollo创始人们对Data Graph原则的指南中建议我们“将GraphQL层与服务层分离”。通常情况下,在生产客户端-服务器架构中,客户端不直接与后端服务进行通信。通常,我们使用一个额外的层来“将负载平衡、缓存、服务定位或API密钥管理等关注点委派给单独的层”。
对于新的业余项目(不太重要或概念验证),通常情况下,面向客户端的GraphQL服务也是执行业务逻辑、直接与数据库交互(可能通过ORM)并返回解析器所需数据的后端服务。虽然我们不建议在生产环境中使用这种架构,但这是开始学习Apollo生态系统的一种不错的方式。
注意:除非明确使用csrfPrevention: true配置Apollo Server,否则此方法容易受到CSRF变异攻击的影响。
下面给出示例:
首先安装graphql-upload:
npm install graphql-upload
在定义graph schema时,添加Upload类型:
scalar Upload
Javascript code:
const express = require('express');
const { ApolloServer, gql } = require('apollo-server-express');
const {
  GraphQLUpload,
  graphqlUploadExpress, // A Koa implementation is also exported.
} = require('graphql-upload');
const { finished } = require('stream/promises');
const { ApolloServerPluginLandingPageLocalDefault } = require('apollo-server-core');

const typeDefs = gql`
  # The implementation for this scalar is provided by the
  # 'GraphQLUpload' export from the 'graphql-upload' package
  # in the resolver map below.
  scalar Upload

  type File {
    filename: String!
    mimetype: String!
    encoding: String!
  }

  type Query {
    # This is only here to satisfy the requirement that at least one
    # field be present within the 'Query' type.  This example does not
    # demonstrate how to fetch uploads back.
    otherFields: Boolean!
  }

  type Mutation {
    # Multiple uploads are supported. See graphql-upload docs for details.
    singleUpload(file: Upload!): File!
  }
`;

const resolvers = {
  // This maps the `Upload` scalar to the implementation provided
  // by the `graphql-upload` package.
  Upload: GraphQLUpload,

  Mutation: {
    singleUpload: async (parent, { file }) => {
      const { createReadStream, filename, mimetype, encoding } = await file;

      // Invoking the `createReadStream` will return a Readable Stream.
      // See https://nodejs.org/api/stream.html#stream_readable_streams
      const stream = createReadStream();

      // This is purely for demonstration purposes and will overwrite the
      // local-file-output.txt in the current working directory on EACH upload.
      const out = require('fs').createWriteStream('local-file-output.txt');
      stream.pipe(out);
      await finished(out);

      return { filename, mimetype, encoding };
    },
  },
};

async function startServer() {
  const server = new ApolloServer({
    typeDefs,
    resolvers,
    // Using graphql-upload without CSRF prevention is very insecure.
    csrfPrevention: true,
    cache: 'bounded',
    plugins: [ApolloServerPluginLandingPageLocalDefault({ embed: true })],
  });
  await server.start();

  const app = express();

  // This middleware should be added before calling `applyMiddleware`.
  app.use(graphqlUploadExpress());

  server.applyMiddleware({ app });

  await new Promise<void>((r) => app.listen({ port: 4000 }, r));

  console.log(`? Server ready at http://localhost:4000${server.graphqlPath}`);
}

startServer();
用Signed URL的方式
首先介绍下Signed URL:
Signed URL是一种带有数字签名的URL。数字签名是由服务器生成的加密哈希值,用于验证URL的完整性和认证请求的来源。
Signed URL通常用于授权访问受限资源。通过生成签名URL,服务器可以控制谁可以访问特定的资源以及在多长时间内有效。签名URL通常包含参数,如过期时间、访问权限和其他验证信息。客户端通过使用签名URL来访问受保护的资源,服务器会验证签名的有效性以确定是否允许访问。
Signed URL在多种场景下都有应用,如:
文件下载:服务器可以生成带有签名的URL,允许用户在一段时间内下载文件。过期后,URL将不再有效。
私有内容共享:服务器可以生成签名URL,用于向特定用户授权访问私有内容,例如共享照片或视频。
安全传输:签名URL可以用于验证请求的来源,防止请求被篡改或伪造。
本文使用AWS S3作为云储存的媒介,下面介绍使用方法
AWS S3
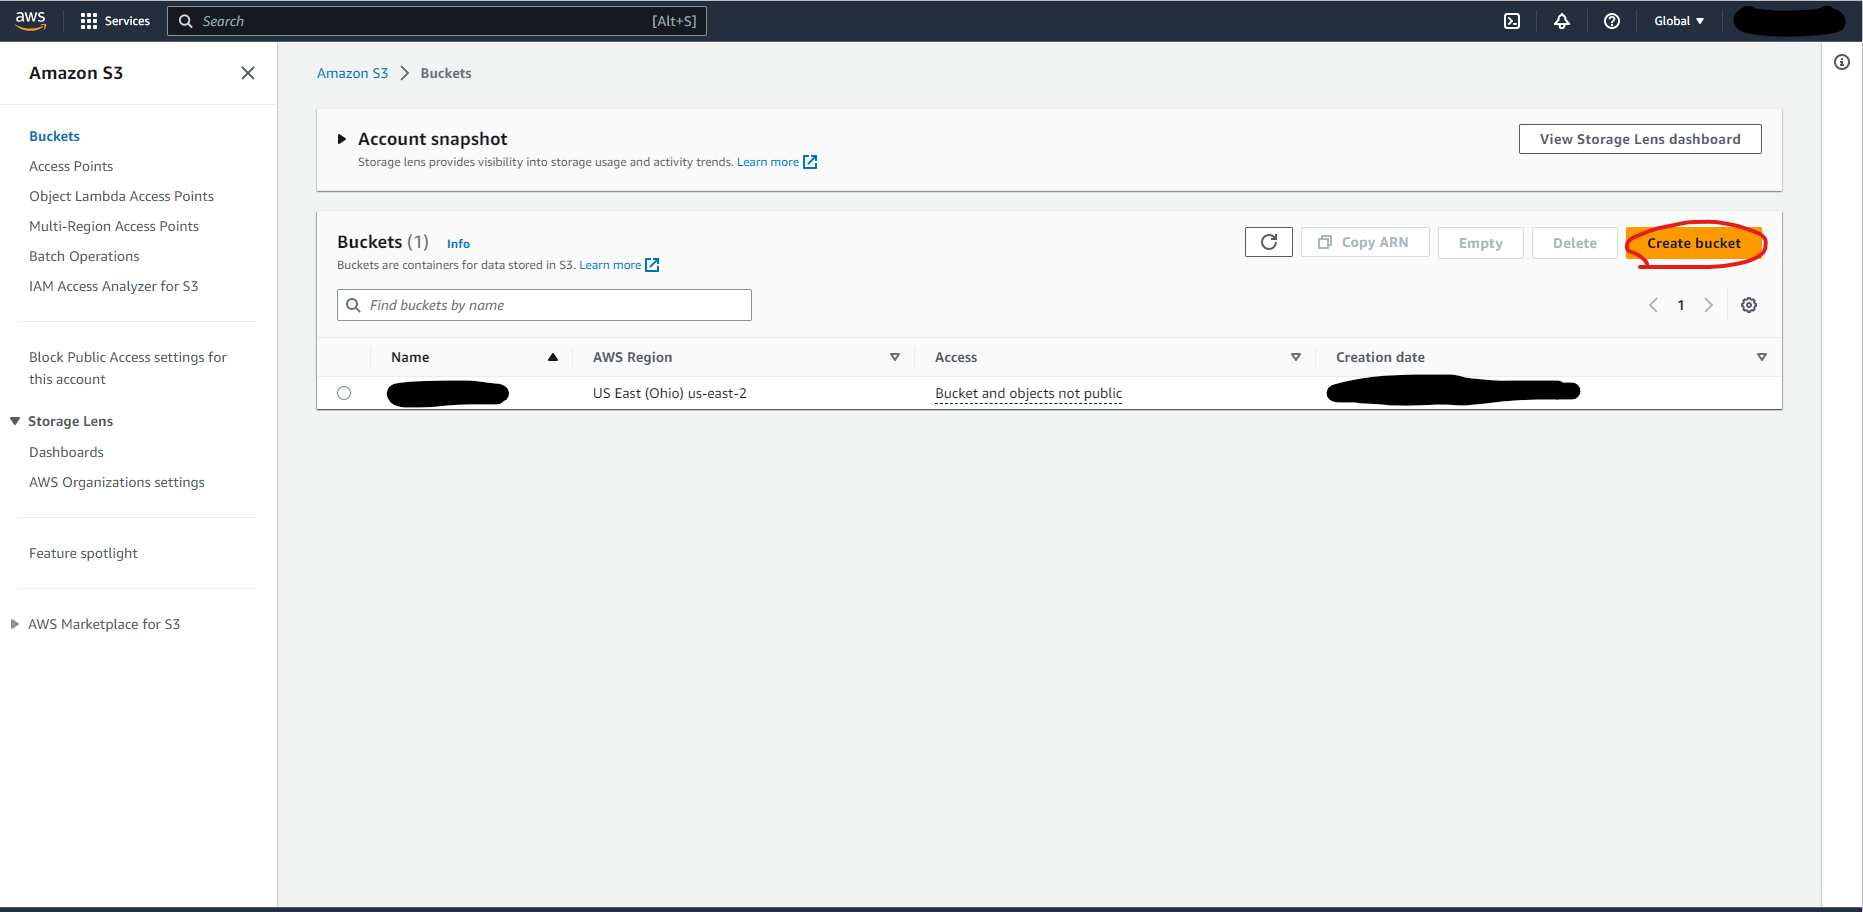
首先在AWS S3中注册一个账号,然后在打开AWS Management Console, 找到Buckets, 创建一个Bucket:
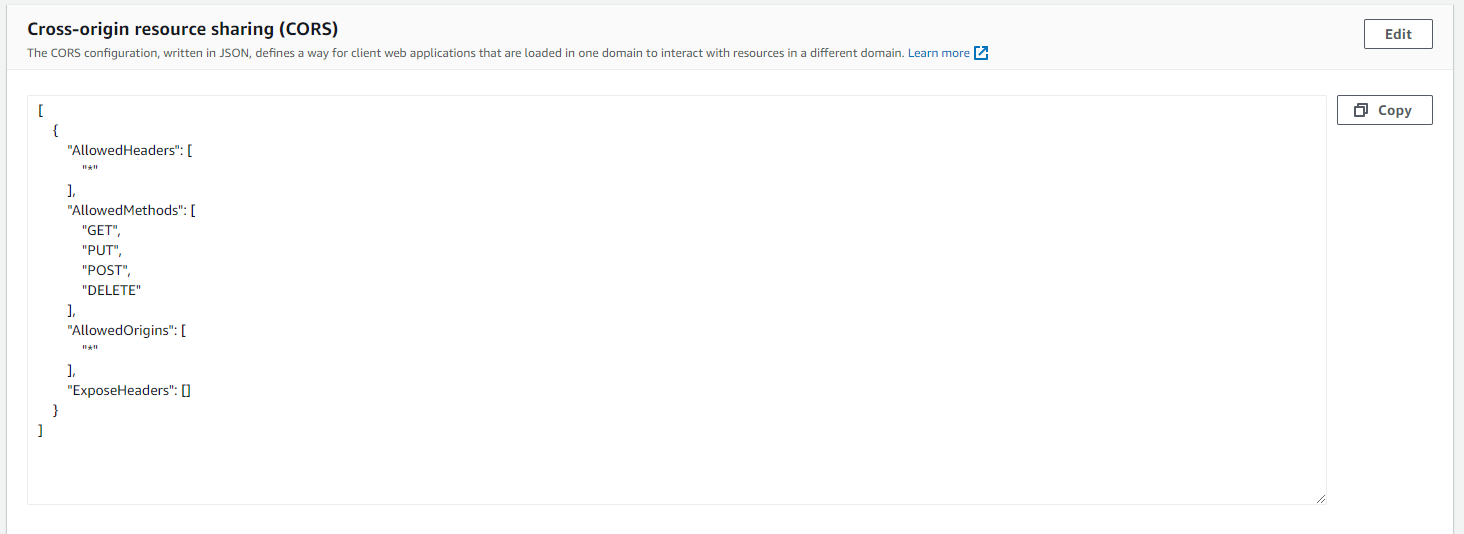
然后在Permission中设置CORS
之后,在Bucket属性中,enable key,获取ACCESS_KEY和SECRET_ACCESS_KEY,参考:https://docs.aws.amazon.com/AmazonS3/latest/userguide/configuring-bucket-key.html
前端:
首先安装AWS相关API:
npm install @aws-sdk/client-s3 @aws-sdk/s3-request-presigner
上传文件,并生成Get的Presigned URL:
public async uploadTextFile(file: File): Promise<string> {
	const text = await file.text();
	const putCommand = new PutObjectCommand({
		Bucket: BUCKET_NAME,
		Key: file.name,
		Body: text,
	});
	const downloadCommand = new GetObjectCommand({
		Bucket: BUCKET_NAME,
		Key: file.name,
	});
	await this.s3Client.send(putCommand);
	return await getSignedUrl(this.s3Client, downloadCommand, {expiresIn: 3600});
}
后端:
不需要安装Aws api,获取URL后直接下载即可:
private async downloadFileFromS3PresignedUrl(url: string): Promise<string> {
  try {
    const response = await axios.get(url, {responseType: "document"});
    const regex = /^\/([^?]+)/;
    const match = response.request.path.match(regex);
    if (match && match[1]) {
      const filePath = `${process.cwd()}/.temp/${match[1]}`;
      return response.data
    } else {
      return Promise.reject('File path extract error');
    }
  } catch (e) {
    this.logger.error("error in axios call:", e);
  }
}