一、隐藏nginx的版本,只需要修改nginx的配置文件,重启nginx即可
打开nginx所在文件下的conf文件夹下的 nginx.conf
修改server节点下的 server_tokens 改为server_tokens off; 如果没有,添加即可;
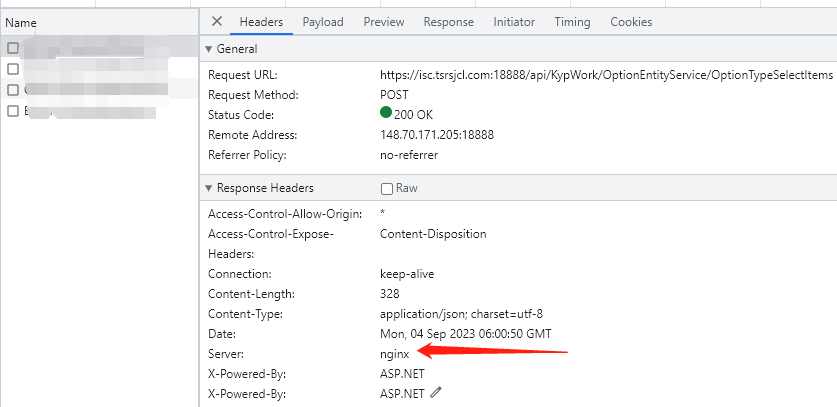
二、去掉header中的server后面的内容
想将上面截图中的server里面的ngxin也去掉,需要编译nginx的生成新的nginx.exe替换原有的exe文件
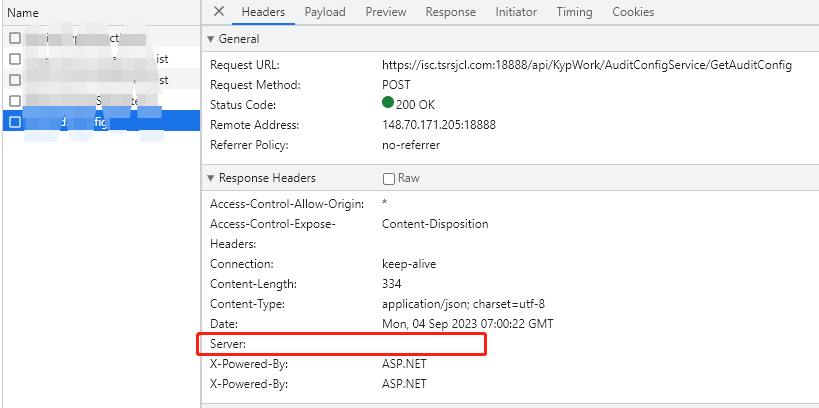
达到如下效果
1、下载安装MSYS
2、下载安装Strawberry perl
下载地址:https://strawberryperl.com
3、下载安装NASM
下载地址:https://www.nasm.us/pub/nasm/releasebuilds/?C=M;O=D
(1)配置环境变量

(2)打开cmd,输入nasm -v 测试是否成功

4、Visual Studio 需要有nmake.exe
需要安装
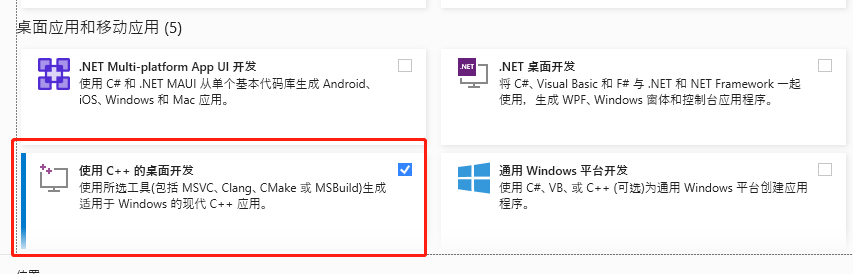
如果没有安装,点击“工具” - “获取工具和功能”进行选择安装
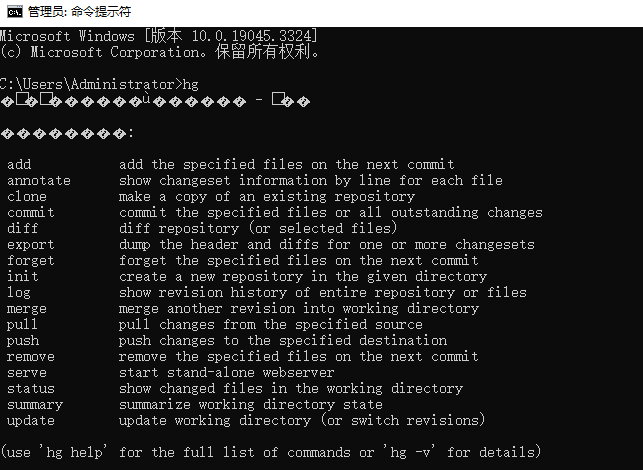
5、安装Mercurial
主要是用来下载nginx的源码包,下载地址:https://www.mercurial-scm.org
打开cmd,输入hg 测试是否成功
6、 下载nginx源码包
方法一、打开cmd进入想要检出到的目录,执行下面的命令检出代码
hg clone http://hg.nginx.org/nginx
方法二、直接在官网下载自己所需版本
6.1、修改nginx源码中的文件
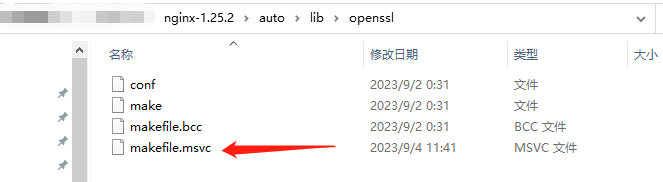
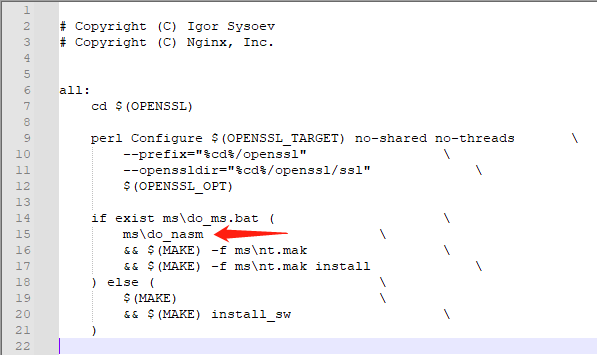
(1)修改makefile.msvc 文件
路径:nginx\auto\lib\openssl\makefile.msvc
将ms\do_ms 改成 ms\do_nasm
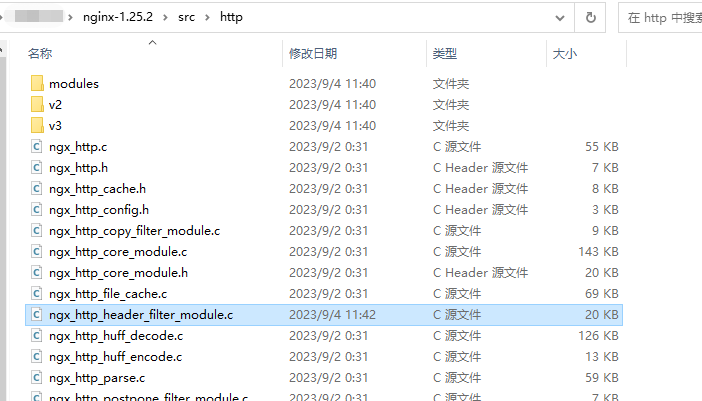
(2)修改ngx_http_header_filter_module.c
路径:nginx\src\http\ngx_http_header_filter_module.c
将
static u_char ngx_http_server_string[] = "Server: nginx" CRLF;
static u_char ngx_http_server_full_string[] = "Server: " NGINX_VER CRLF;
改为
static u_char ngx_http_server_string[] = "Server: " CRLF;
static u_char ngx_http_server_full_string[] = "Server: " CRLF;
(3)修改 ngx_http_special_response.c
路径:nginx\src\http\ngx_http_special_response.c
将36行的nginx改成Please guess it! 与上文一致,可以自定义

7、编译环境依赖包下载
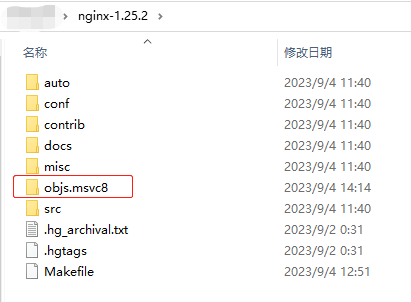
(1)在nginx源码包目录下新建objs.msvc8目录,在objs.msvc8目录下再新建lib目录用于存放下面的依赖包
(2) 将下载的包解压后放到nginx源码包lib目录
下载的版本 可以参考需要替换的nginx中的版本,输入nginx -V命令
7.1、OpenSSL
下载地址:https://www.openssl.org/source/old
7.2、pcre
官网地址:http://www.pcre.org
其他下载地址:https://sourceforge.net/projects/pcre/files
7.3 zlib
下载地址:http://zlib.net
8、重新编译源码生成nginx.exe
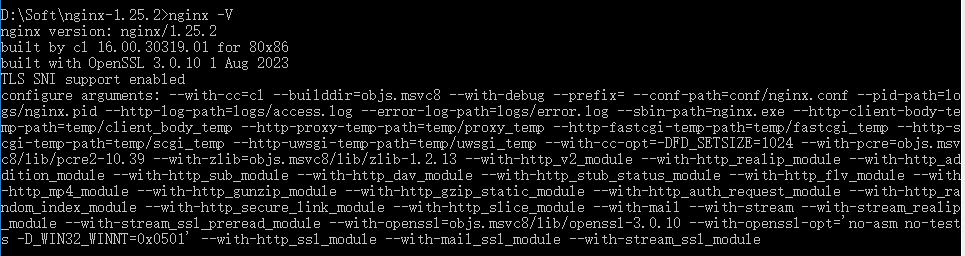
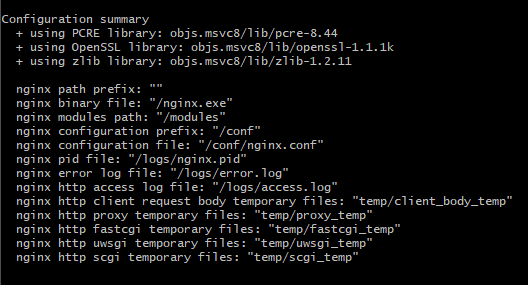
8.1 取出 configure arguments 的相关信息
进入nginx的目录(不是源码路径)使用nginx -V取出configure arguments 后面的信息,如上图
8.2 开始生成Makefile文件
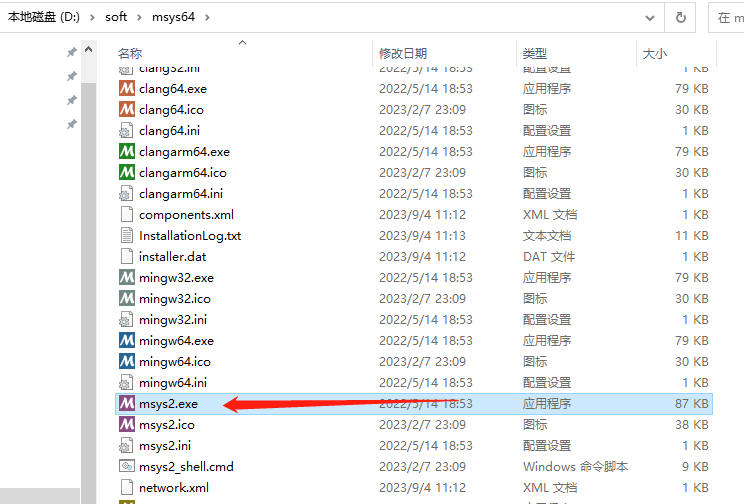
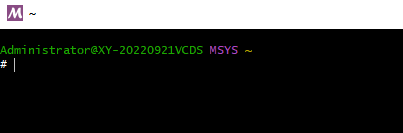
(1)进入MSYS的安装路径,找到msys2.exe文件,双击打开
(2)进入nginx源码目录,上面下载的源码所在地址
cd nginx源码地址
(3)开始生成Makefile文件,修改为自己的配置(下面加粗部分)
auto/configure --with-cc=cl --builddir=objs.msvc8 --with-debug --prefix= --conf-path=conf/nginx.conf --pid-path=logs/nginx.pid --http-log-path=logs/access.log --error-log-path=logs/error.log --sbin-path=nginx.exe --http-client-body-temp-path=temp/client_body_temp --http-proxy-temp-path=temp/proxy_temp --http-fastcgi-temp-path=temp/fastcgi_temp --http-scgi-temp-path=temp/scgi_temp --http-uwsgi-temp-path=temp/uwsgi_temp --with-cc-opt=-DFD_SETSIZE=1024 --with-pcre=objs.msvc8/lib/pcre2-10.37 --with-zlib=objs.msvc8/lib/zlib-1.3 --with-http_v2_module --with-http_realip_module --with-http_addition_module --with-http_sub_module --with-http_dav_module --with-http_stub_status_module --with-http_flv_module --with-http_mp4_module --with-http_gunzip_module --with-http_gzip_static_module --with-http_auth_request_module --with-http_random_index_module --with-http_secure_link_module --with-http_slice_module --with-mail --with-stream --with-stream_realip_module --with-stream_ssl_preread_module --with-openssl=objs.msvc8/lib/openssl-3.0.1 --with-openssl-opt='no-asm no-tests -D_WIN32_WINNT=0x0501' --with-http_ssl_module --with-mail_ssl_module --with-stream_ssl_module
8.3 编译Makefile文件
打开 Visual Studio 的命令提示行
(1)进入nginx源码目录
cd nginx源码目录
(2)开始编译
nmake -f objs.msvc8/Malefile
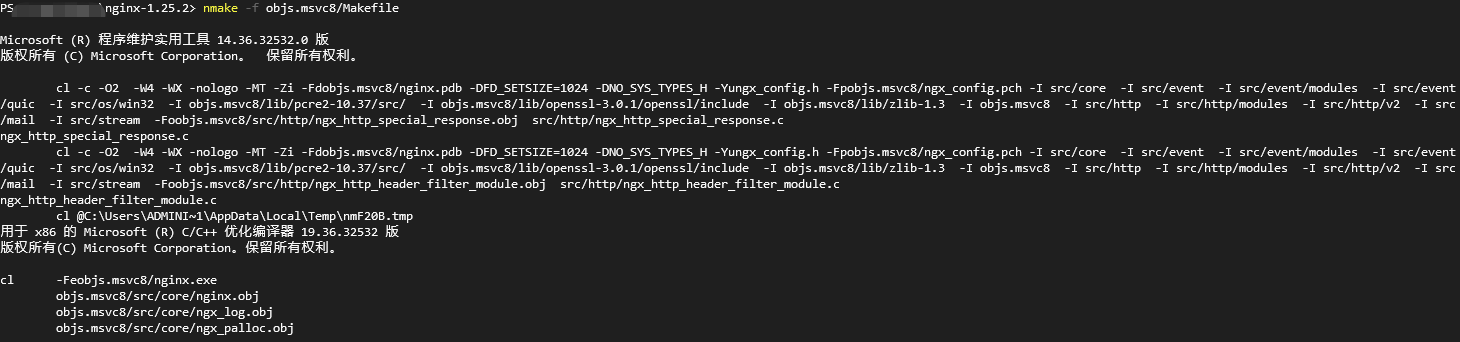
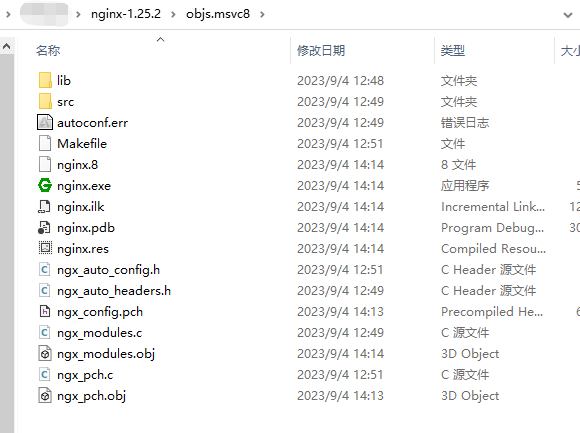
(3)编译成功后生成一个nginx.exe
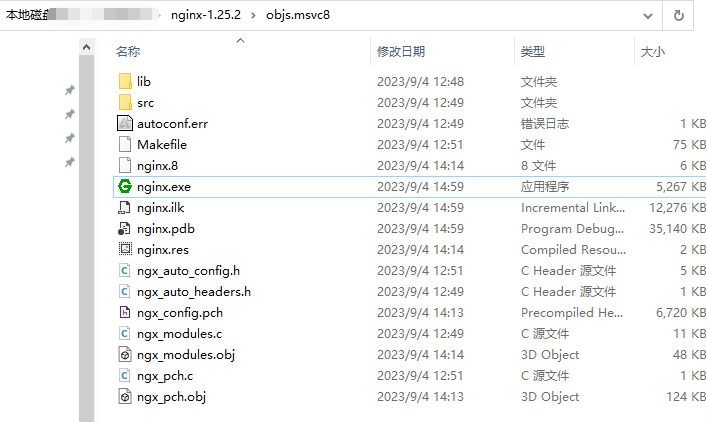
(4)将新生成的nginx.exe替换原来的nginx.exe即可
关闭之前的nginx 替换以后,重启nginx即可。