本文将以c语言工程演示整个配置过程,使用vscode远程连接服务器编译文件,服务器环境为centos 7.9
1、演示文件目录
本文用于演示的CMake工程目录如下:
|-- C_MAKE_TEST
    |-- build
    |-- test.c
    |-- CMakeLists.txt
build用于存放cmake生成的缓存文件和编译文件
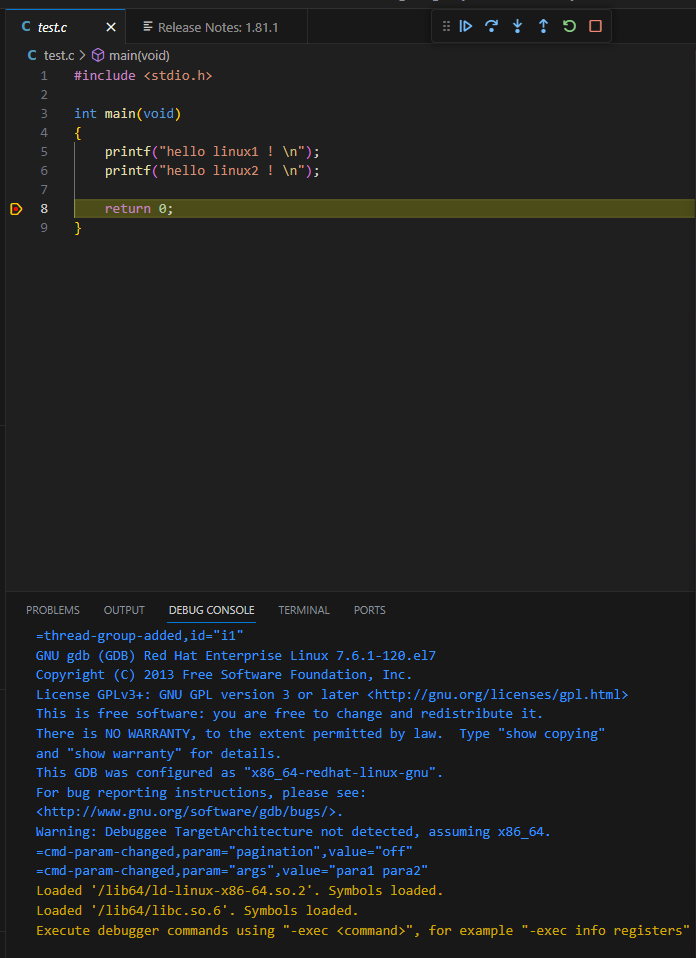
test.c 为测试代码,代码如下:
#include <stdio.h>

int main(void)
{
    printf("hello linux1 ! \n");
    printf("hello linux2 ! \n");

    return 0;
}
CMakeLists.txt是用于构建CMake工程的配置文件,代码如下:
# CMake 最低版本号要求
cmake_minimum_required (VERSION 2.8)

#项目名称, 参数值是 test, 该命令表示项目的名称是 test
project(test)

# 目标程序名
aux_source_directory(. DIR_TOOT_SRCS)

# 显示指定使用的C编译器
set(CMAKE_CXX_FLAGS "${CMAKE_CXX_FLAGS} -g")
file(GLOB SRC ${CMAKE_CURRENT_SOURCE_DIR}/*.c)

# 指定生成目标
add_executable(${PROJECT_NAME} ${SRC})
为了方便演示,本文使用file(GLOB SRC ${CMAKE_CURRENT_SOURCE_DIR}/*.c)查找工程中所有的.c文件,并将它们储存在变量SRC中。
2、在vscode中实现CMake编译
1. 在菜单中,选择Terminal->Configure Default Build Task
2. 选 CMake:build
3. 自动生成一个 tasks.json文件,将其中内容替换为如下:
{
    "version": "2.0.0",
    "tasks": [
        {
            "label": "cmake",
            "type": "shell",
            "command": "cmake",
            "args": [
                "../"
            ],
            "options": {
                "cwd": "${fileDirname}/build"
            },
        },
        {
            "label": "make",
            "type": "shell",
            "command": "make",
            "args": [],
            "options": {
                "cwd": "${fileDirname}/build"
            },
        },
        {
            "label": "build",
            "dependsOn":["cmake", "make"]
        },
    ],
}
4. 在菜单中,选择Terminal->Run Task...
5. 选择build
6. 选择 continue without scanning the task output
控制台输出如下信息:
cmake

make
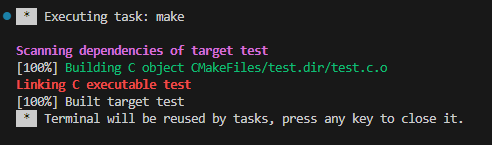
此时build下生成的文件如下:
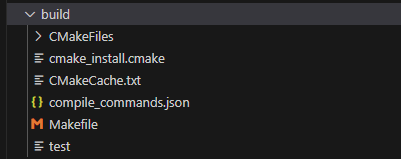
test即为cmake编译生成的可执行文件
3、在vscode中调试CMake工程代码
1. 在菜单中, 选择Run->Add Configuration,生成一个空白launch.json文件
2. 替换内容如下:
{
    "version": "0.2.0",
    "configurations": [
        {
            "name": "g++ - Build and debug active file",
            "type": "cppdbg",
            "request": "launch",
            "program": "${fileDirname}/build/${fileBasenameNoExtension}",
            "args": ["para1", "para2"],
            "stopAtEntry": false,
            "cwd": "${fileDirname}",
            "environment": [],
            "externalConsole": false,
            "MIMode": "gdb",
            "setupCommands": [
                {
                    "description": "Enable pretty-printing for gdb",
                    "text": "-enable-pretty-printing",
                    "ignoreFailures": true
                }
            ],
            "preLaunchTask": "build",
            "miDebuggerPath": "/usr/bin/gdb"
        }
    ]
}
3. 回到test.c 文件 打断点,按F5,即可实现调试
参考教程:
1. https://zhuanlan.zhihu.com/p/618043511?utm_id=0