一、简介
动物识别系统。基于Python+TensorFlow+Django网页框架+ResNet50算法模型实现
实现步骤如下:
- 收集多种动物的图片数据集,并整理归类
- 然后使用TensorFlow搭建ResNet50算法模型网络对数据集进行多次迭代训练
- 最后得到一个精度较高的H5模型文件
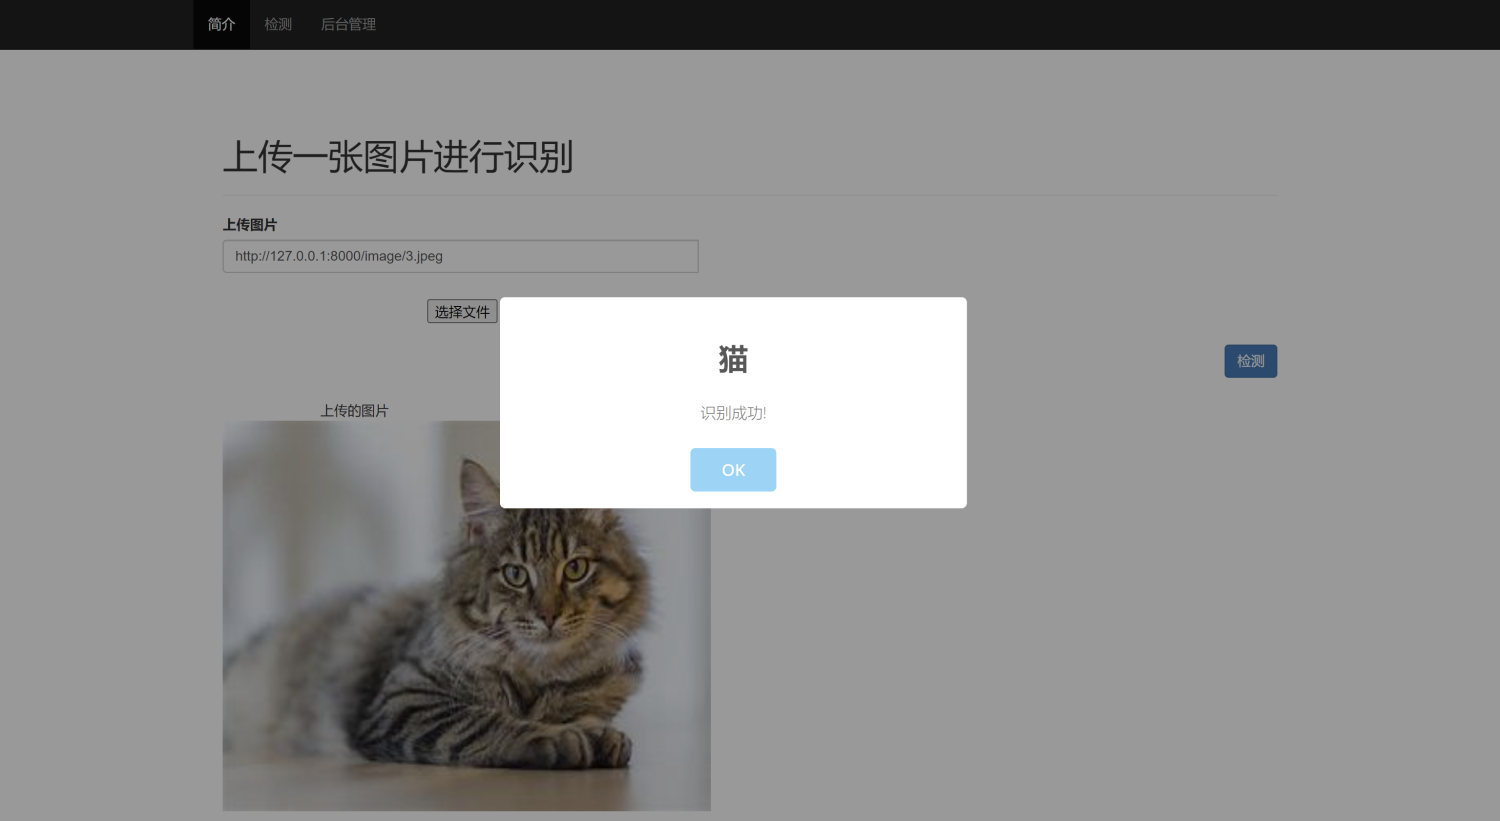
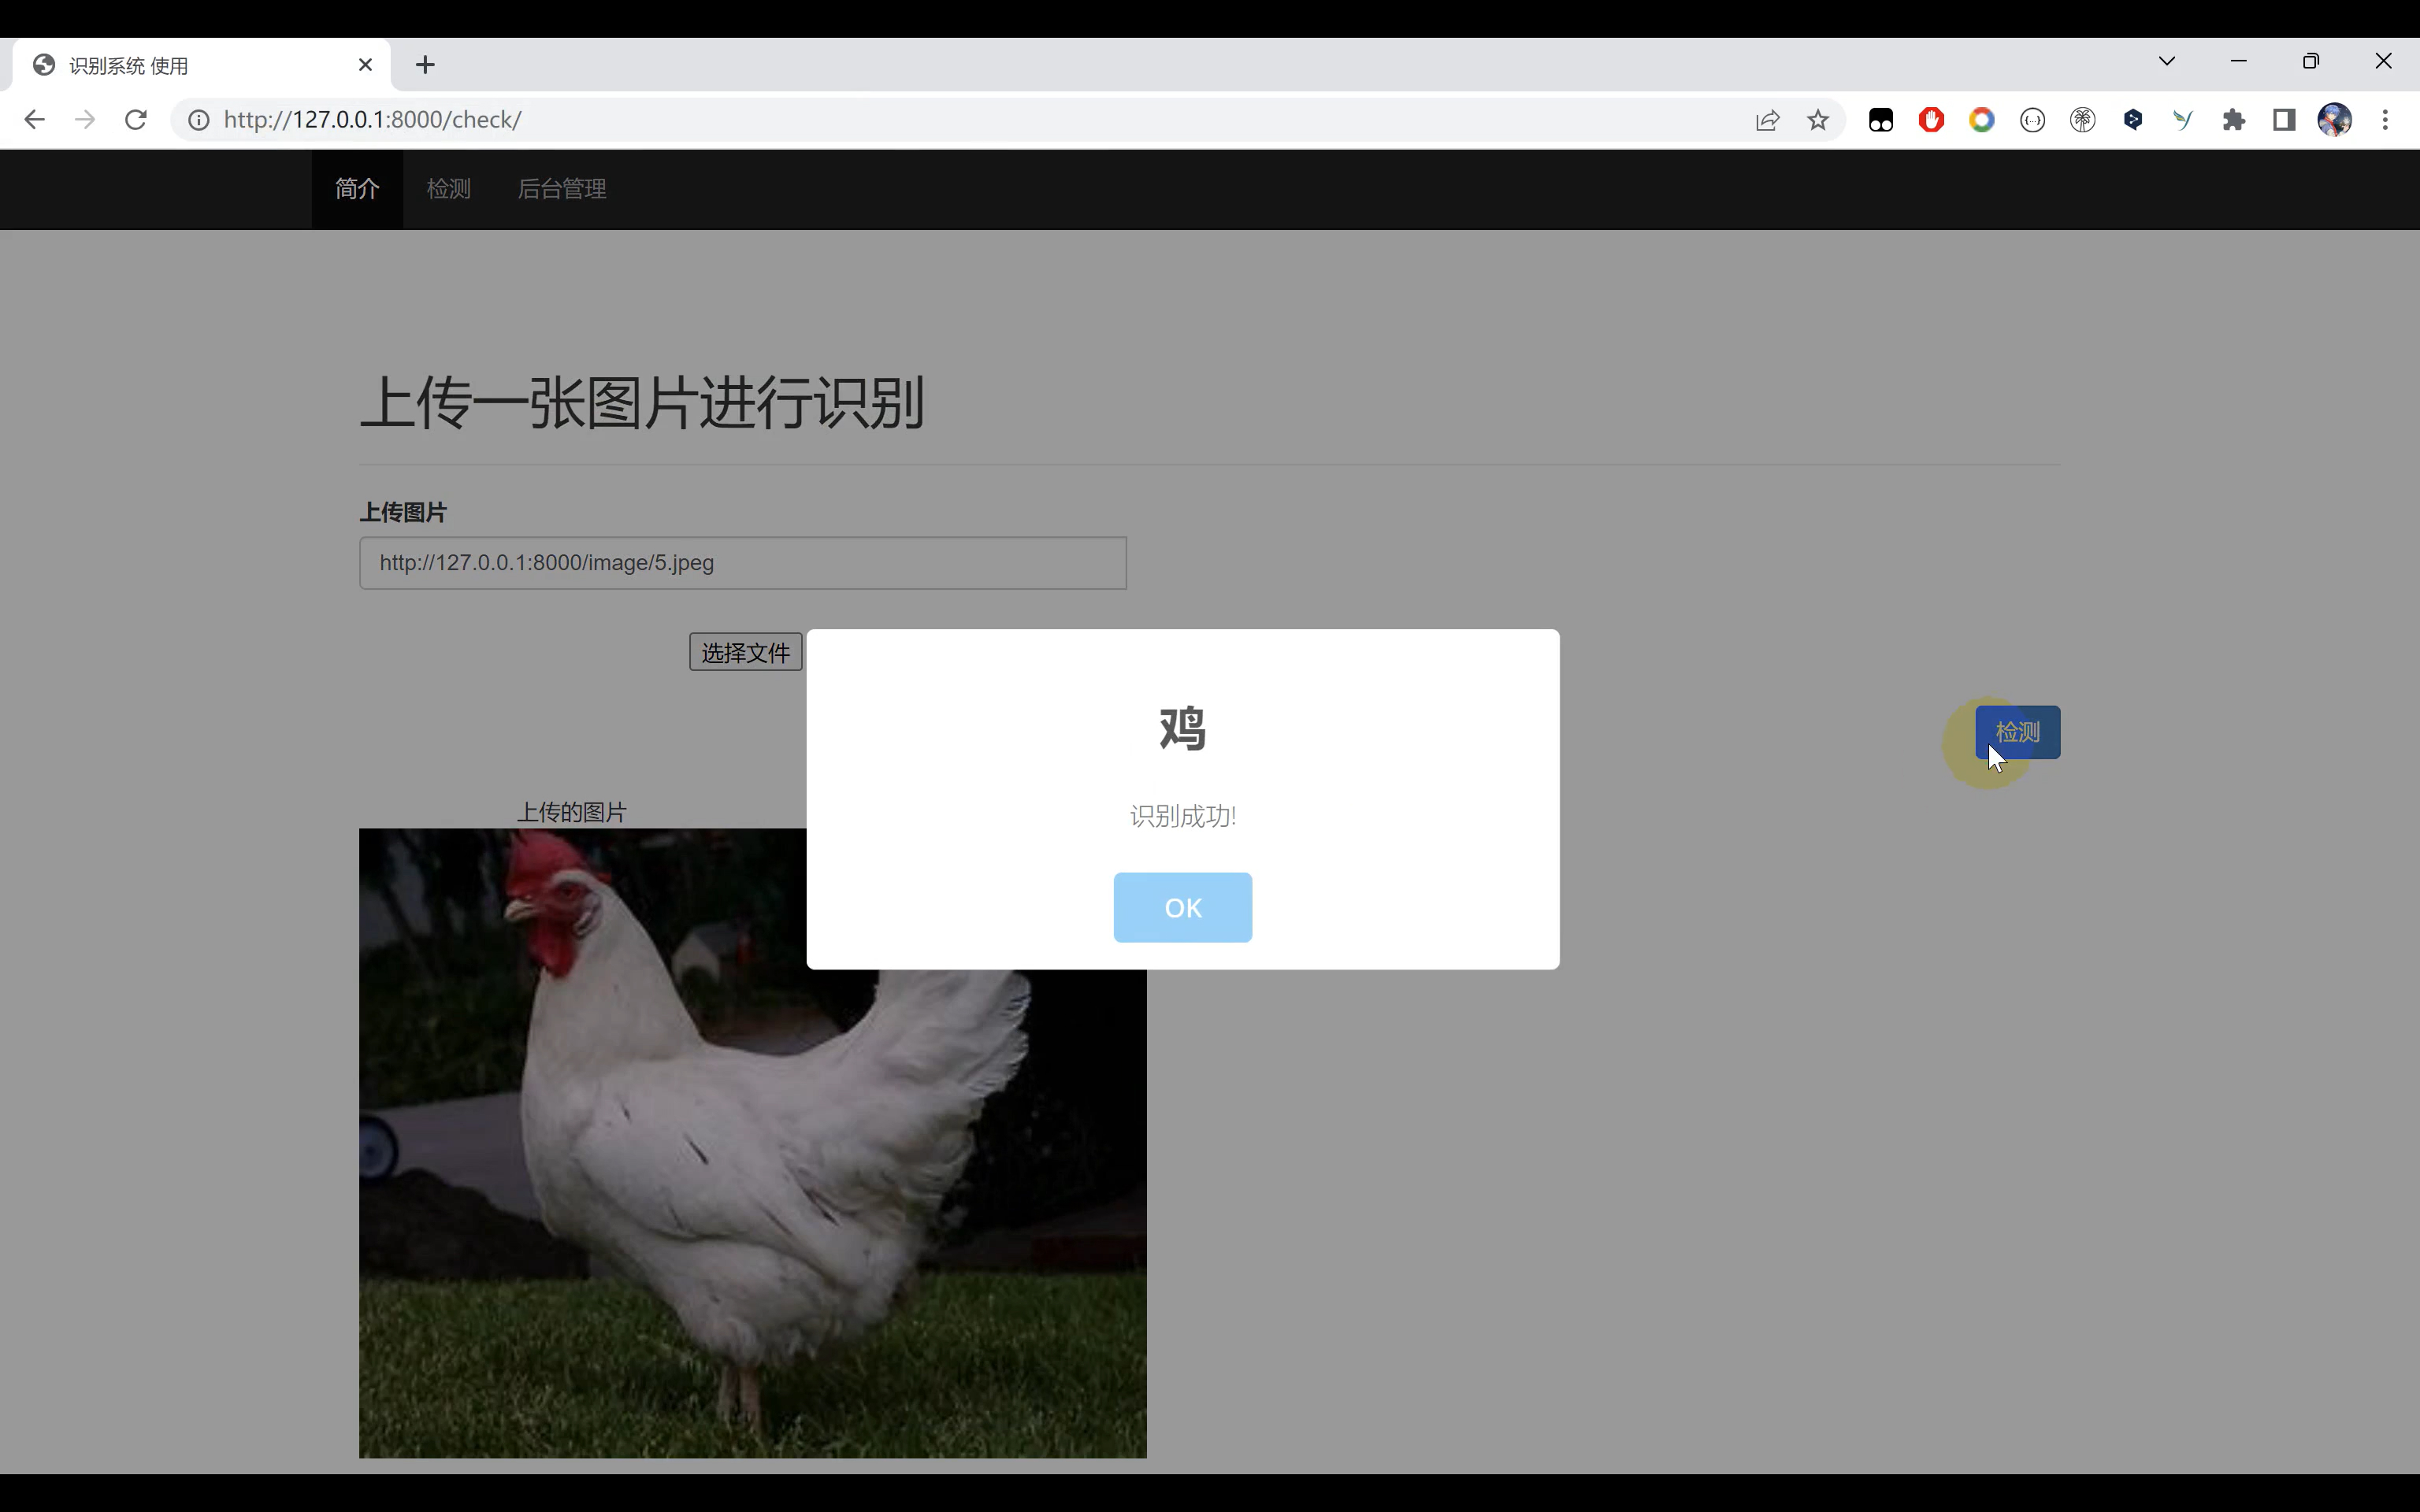
- 基于训练好的模型,使用Django开发一个网页界面平台,实现用户上传一张图片识别其名称
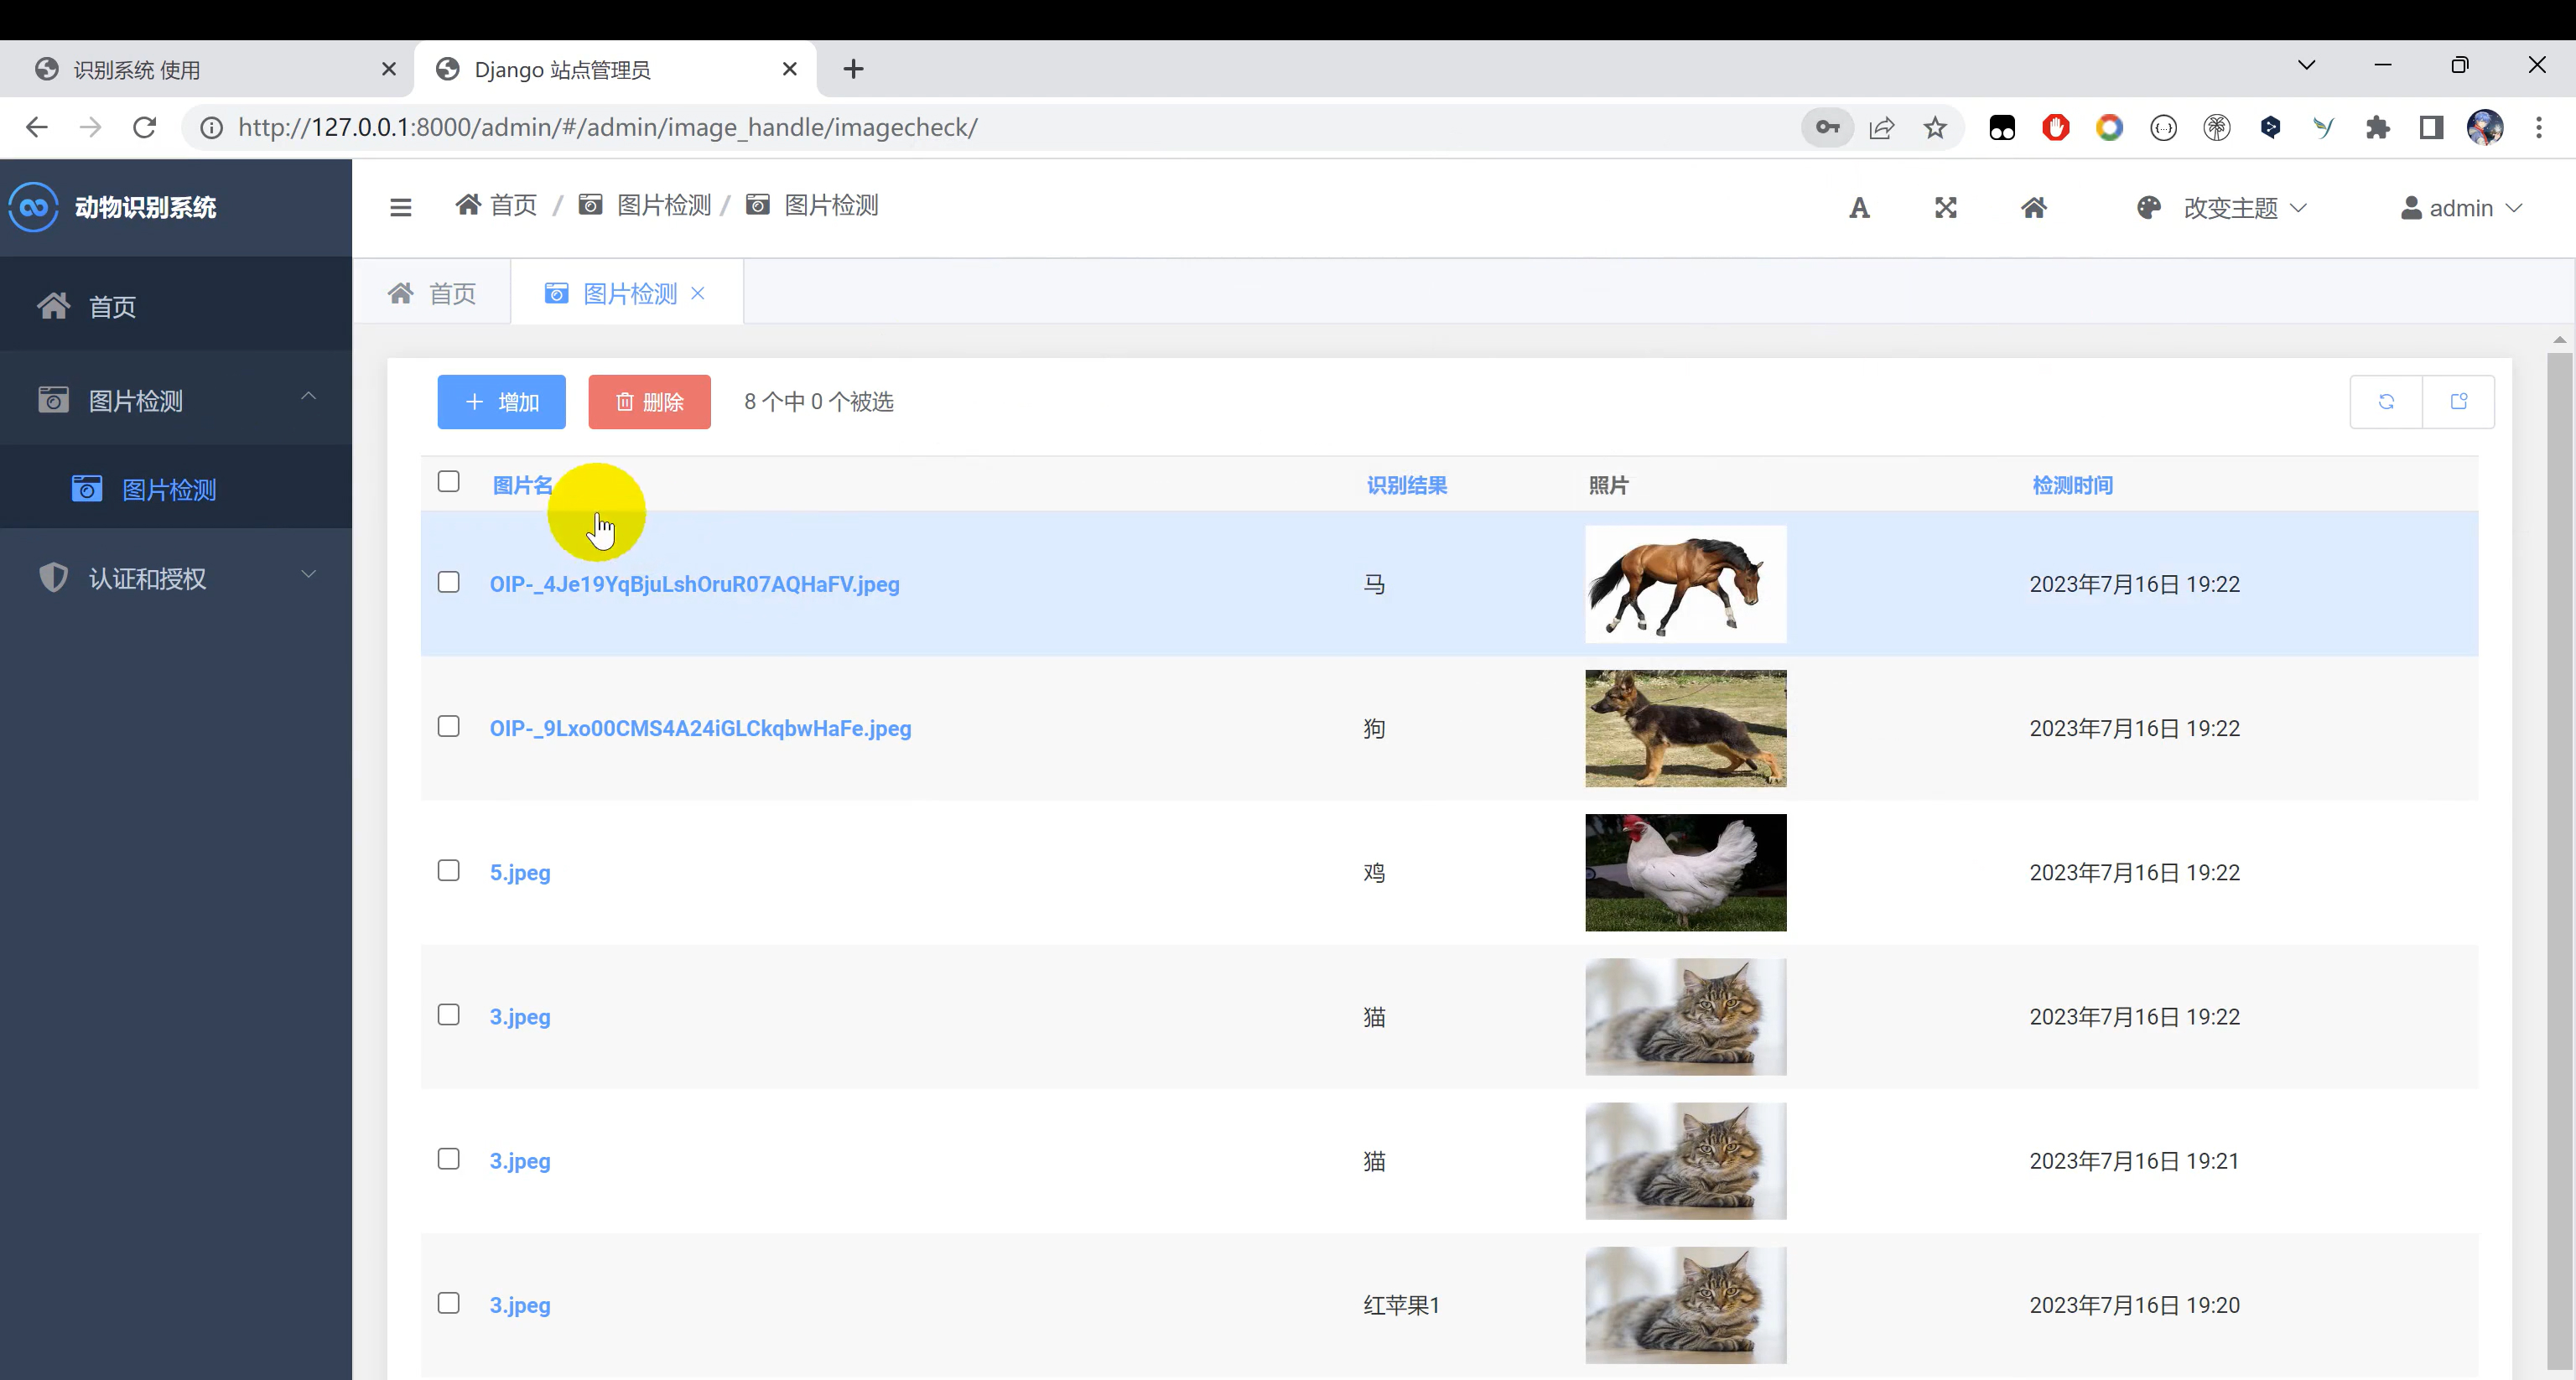
- 用户上传信息和识别信息均保存在数据库中
二、效果图片
三、演示视频 and 代码
视频+代码+介绍:https://s7bacwcxv4.feishu.cn/wiki/K2oZwERjfidCPqkaZHMcj0OKnld
四、基于TensorFlow搭建ResNet50算法模型案例
ResNet(残差网络)是深度学习中常用的一种神经网络结构,它通过引入残差模块来缓解深层网络的梯度消失问题。在本文中,我们将使用TensorFlow来搭建ResNet50,并使用此模型进行图像分类。
1. ResNet50的结构简介
ResNet的核心思想是使用“跳跃连接”(或称为“短路连接”)来避免深层神经网络的梯度消失问题。具体来说,如果我们设定一个输入为x的层的输出为H(x),则在ResNet中,我们让层的输出为H(x) + x。这意味着每个层学习的是与输入x之间的残差函数,而不是直接的映射函数。
ResNet50包含50层,其中包括1层卷积、4个建筑块(每个建筑块包含多个残差块)和1层全连接层。
2. 使用TensorFlow搭建ResNet50
首先,确保安装了必要的库:
pip install tensorflow
定义残差块
import tensorflow as tf
from tensorflow.keras.layers import Input, Conv2D, BatchNormalization, Activation, Add

def identity_block(input_tensor, kernel_size, filters, stage, block):
    filters1, filters2, filters3 = filters

    conv_name_base = 'res' + str(stage) + block + '_branch'
    bn_name_base = 'bn' + str(stage) + block + '_branch'

    # 主路径的第一部分
    x = Conv2D(filters1, (1, 1), name=conv_name_base + '2a')(input_tensor)
    x = BatchNormalization(axis=3, name=bn_name_base + '2a')(x)
    x = Activation('relu')(x)

    # 主路径的第二部分
    x = Conv2D(filters2, kernel_size, padding='same', name=conv_name_base + '2b')(x)
    x = BatchNormalization(axis=3, name=bn_name_base + '2b')(x)
    x = Activation('relu')(x)

    # 主路径的第三部分
    x = Conv2D(filters3, (1, 1), name=conv_name_base + '2c')(x)
    x = BatchNormalization(axis=3, name=bn_name_base + '2c')(x)

    # 最后将短路连接与主路径相加,再通过ReLU激活函数
    x = Add()([x, input_tensor])
    x = Activation('relu')(x)

    return x
搭建ResNet50模型
from tensorflow.keras.layers import ZeroPadding2D, MaxPooling2D, Flatten, Dense, GlobalAveragePooling2D
from tensorflow.keras.models import Model

def ResNet50(input_shape, classes):
    # 定义输入
    img_input = Input(shape=input_shape)

    # 前期处理
    x = ZeroPadding2D((3, 3))(img_input)
    x = Conv2D(64, (7, 7), strides=(2, 2), name='conv1')(x)
    x = BatchNormalization(axis=3, name='bn_conv1')(x)
    x = Activation('relu')(x)
    x = MaxPooling2D((3, 3), strides=(2, 2))(x)

    # 构建残差块
    # ...

    # 全连接层
    x = GlobalAveragePooling2D()(x)
    x = Flatten()(x)
    x = Dense(classes, activation='softmax', name='fc' + str(classes))(x)

    # 创建模型
    model = Model(img_input, x, name='resnet50')

    return model

model = ResNet50(input_shape=(224, 224, 3), classes=1000)
model.compile(optimizer='adam', loss='categorical_crossentropy', metrics=['accuracy'])