1. 配置依赖
点击查看代码
<!--Swagger文档工具-->
        <dependency>
            <groupId>io.springfox</groupId>
            <artifactId>springfox-boot-starter</artifactId>
            <version>3.0.0</version>
        </dependency>
- swagger配置类
点击查看代码
package com.example.config;


import org.springframework.context.annotation.Bean;
import org.springframework.context.annotation.Configuration;
import org.springframework.web.servlet.config.annotation.EnableWebMvc;
import springfox.documentation.builders.ApiInfoBuilder;
import springfox.documentation.builders.PathSelectors;
import springfox.documentation.builders.RequestHandlerSelectors;
import springfox.documentation.oas.annotations.EnableOpenApi;
import springfox.documentation.service.ApiInfo;
import springfox.documentation.service.Contact;
import springfox.documentation.spi.DocumentationType;
import springfox.documentation.spring.web.plugins.Docket;


@Configuration
@EnableOpenApi
@EnableWebMvc
public class MySwaggerConfig {
    @Bean
    public Docket api() {
        return new Docket(DocumentationType.OAS_30)
                .apiInfo(apiInfo())
                .select()
                .apis(RequestHandlerSelectors.basePackage("com.example"))
                .paths(PathSelectors.any())
                .build();
    }

    private ApiInfo apiInfo() {
        return new ApiInfoBuilder()
                .title("神盾局特工管理系统接口文档")
                .description("全网最简单的SpringBoot+Vue前后端分离项目实战")
                .version("1.0")
                .contact(new Contact("qqcn", "http://www.qqcn.cn", "qqcn@aliyun.com"))
                .build();
    }
}
3. 暂时注释拦截器
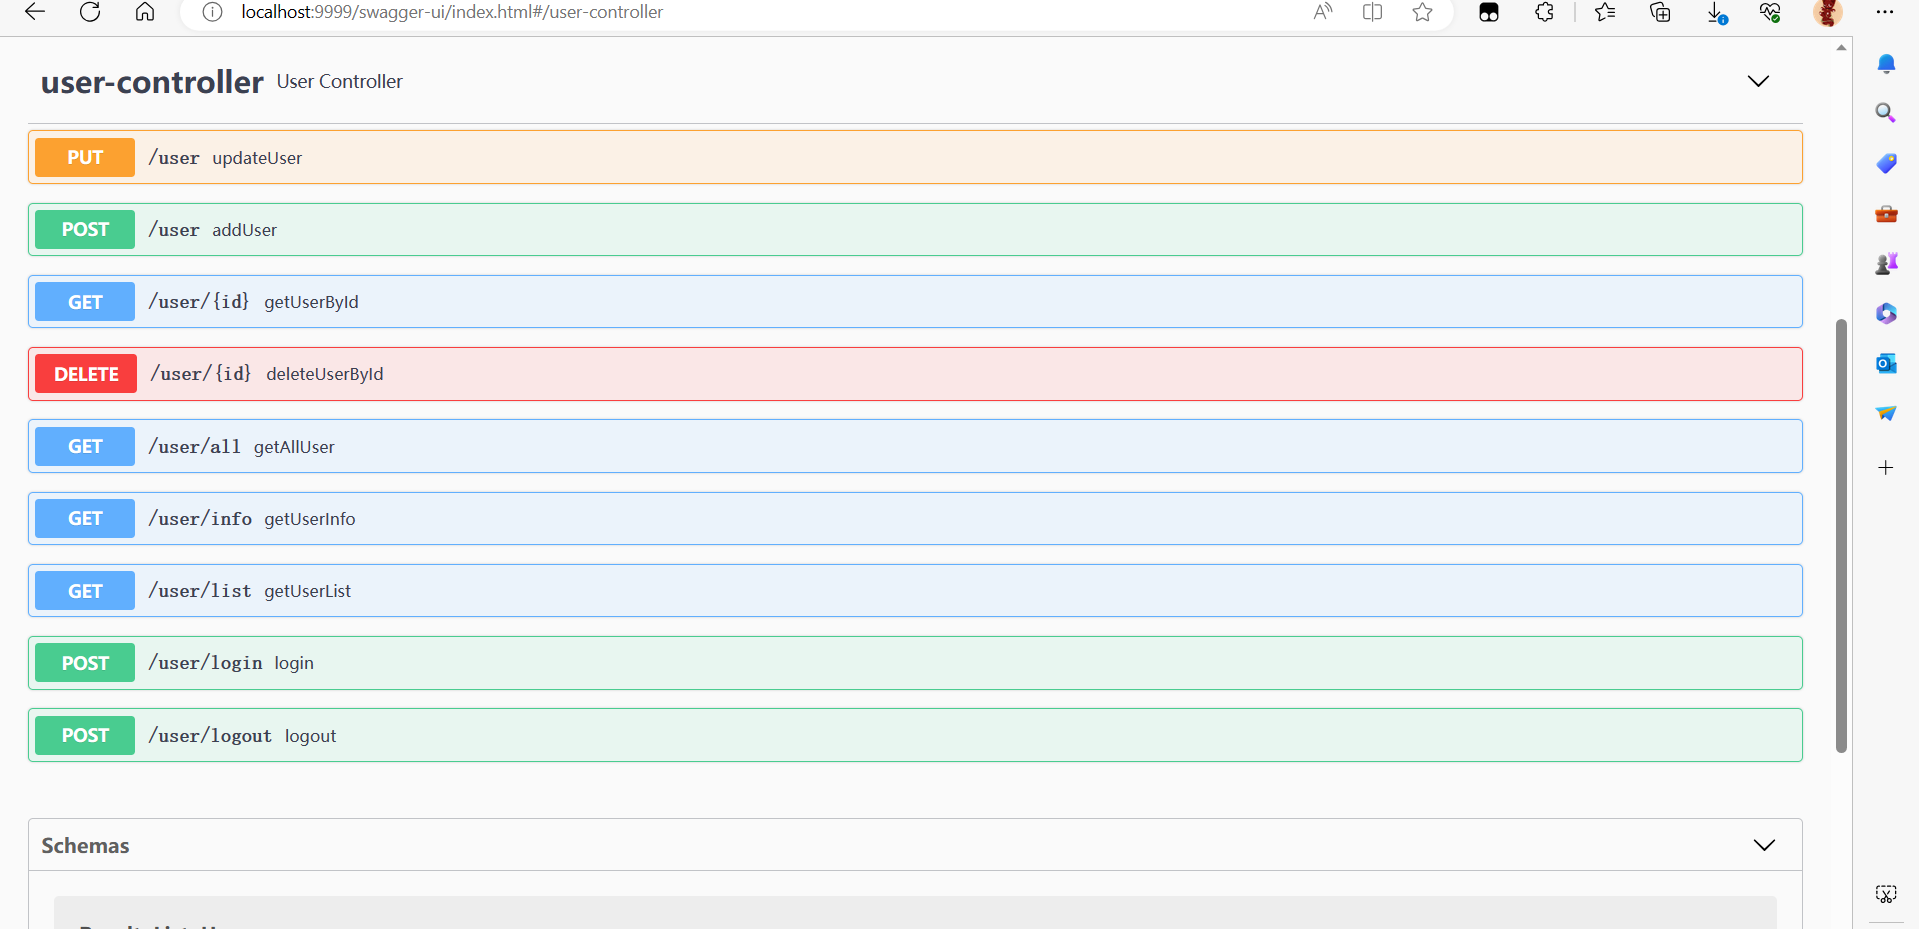
4. 进入文档

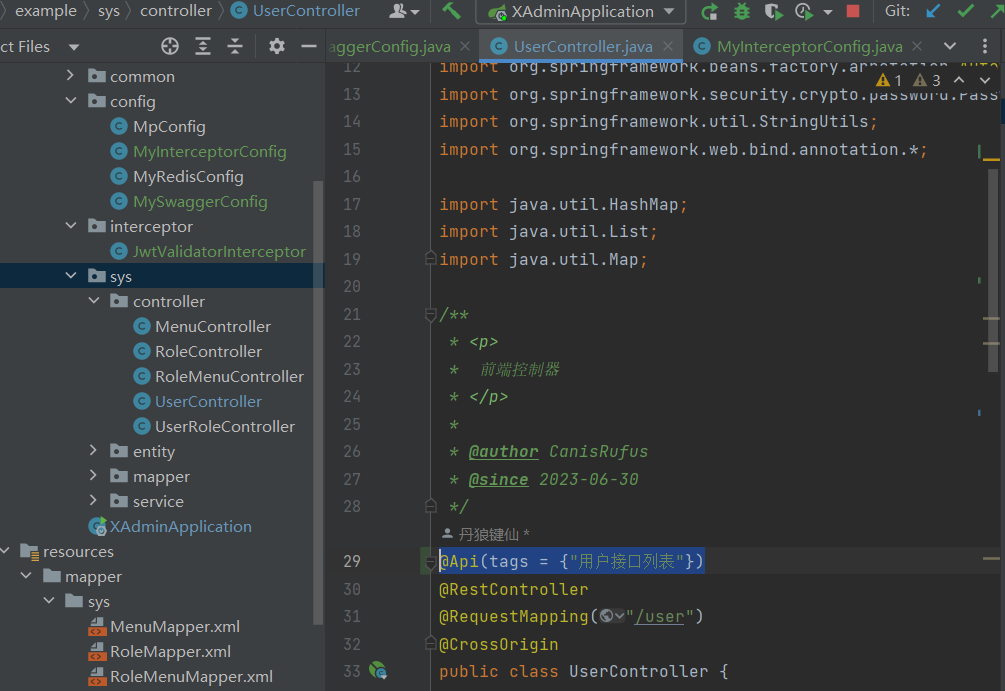
4.1. 打开控制器
4.2. 加入api
4.3. 重启刷新
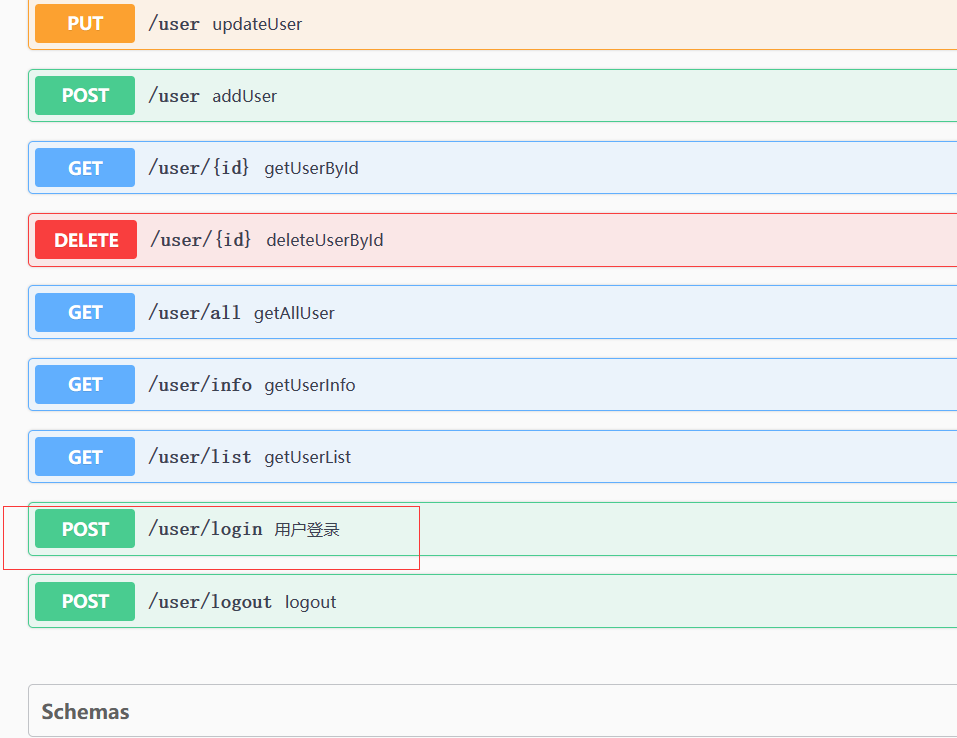
发现用户登录那里有了中文的说明,没有注解说明的就是默认接口方法名
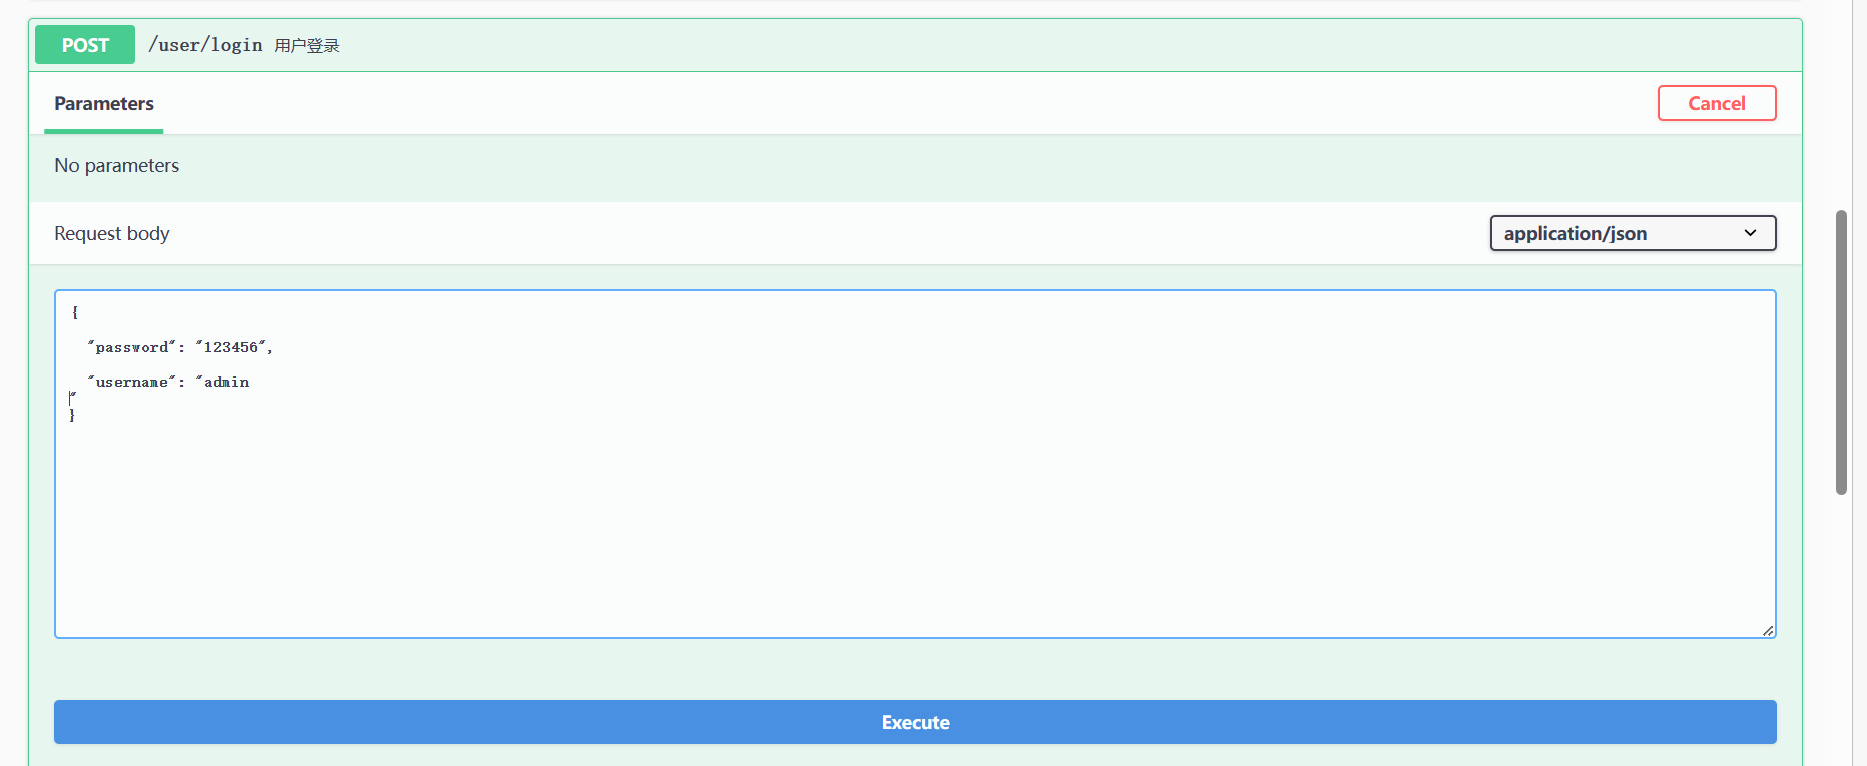
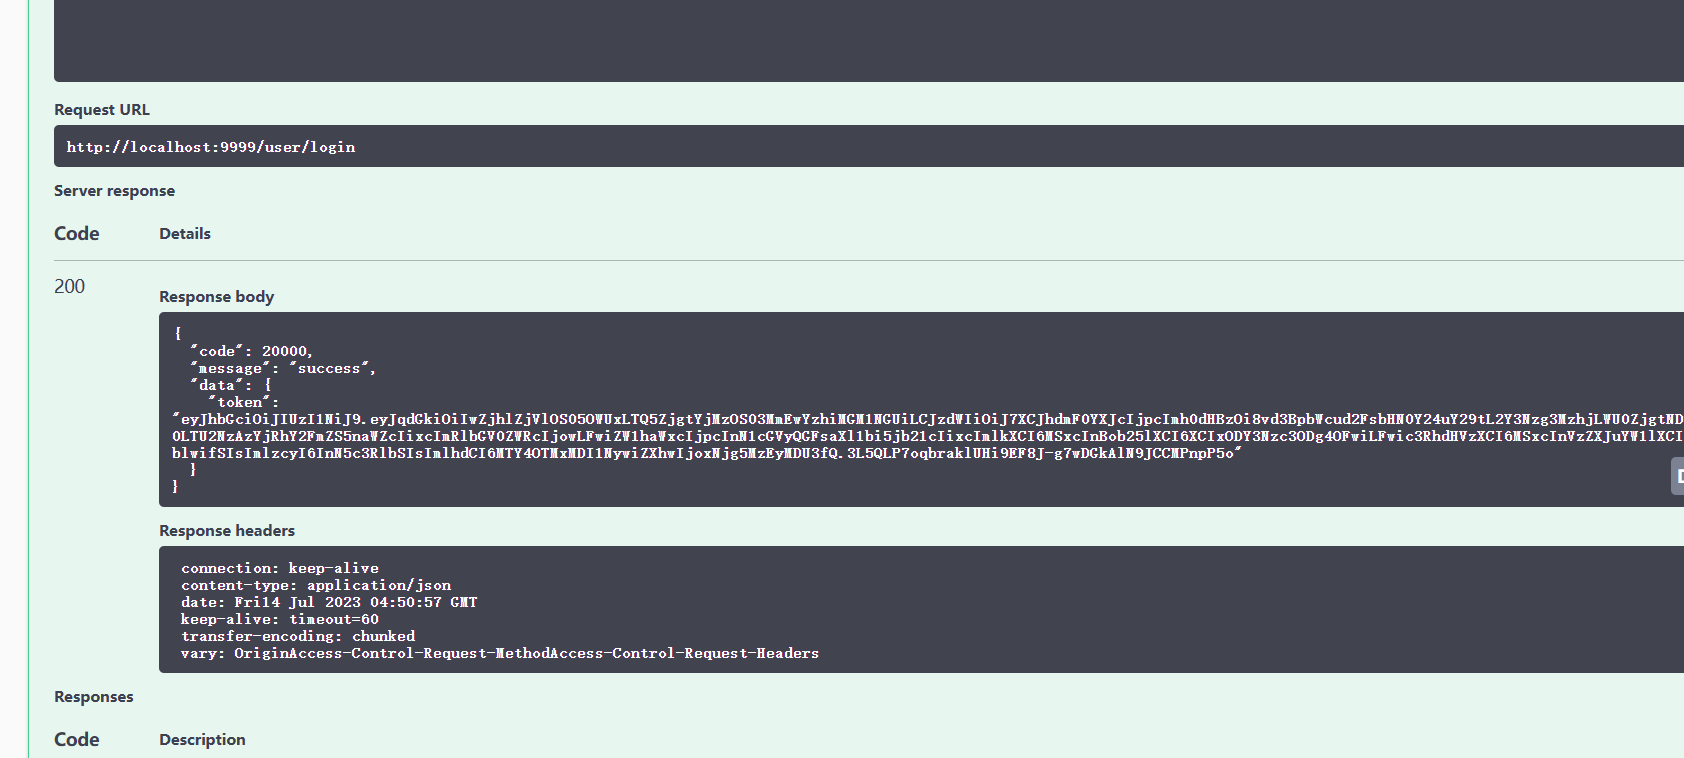
4.4. 测试
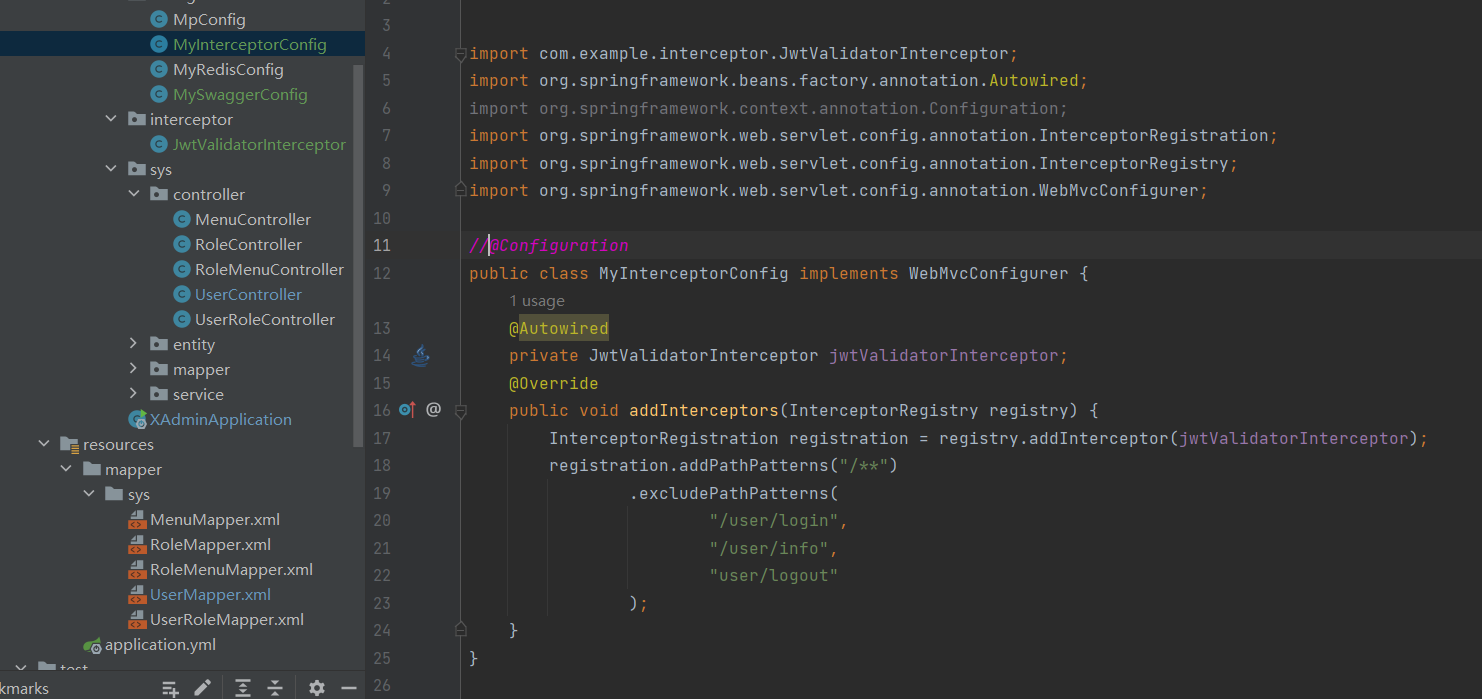
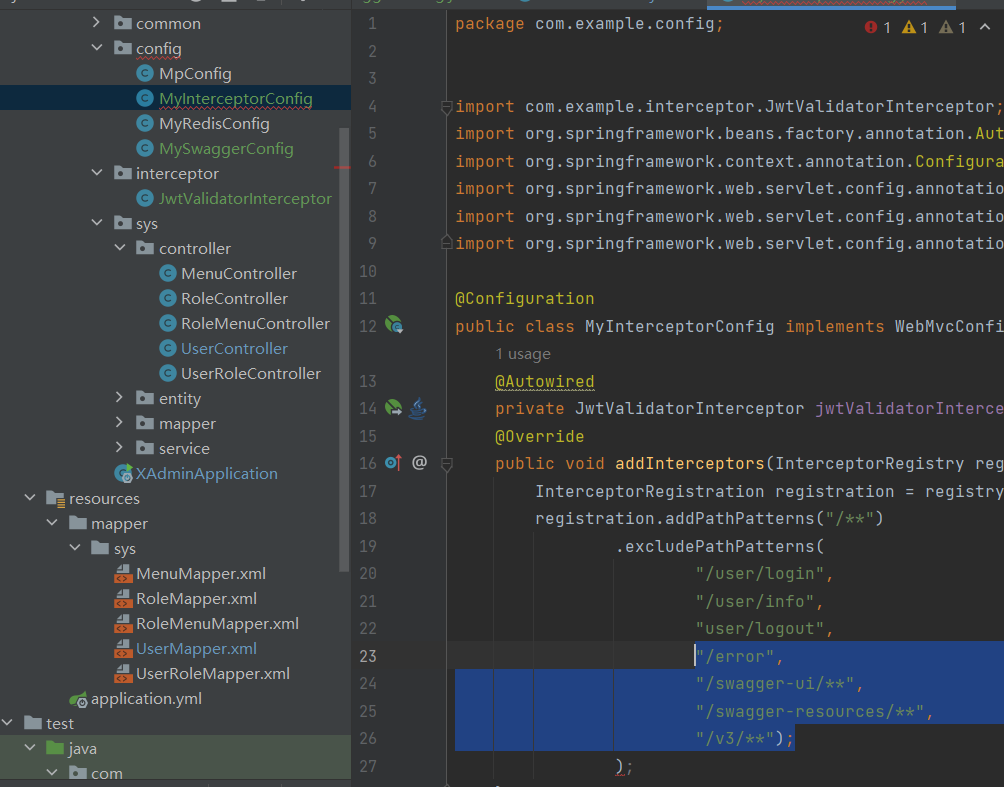
5. 加入拦截器
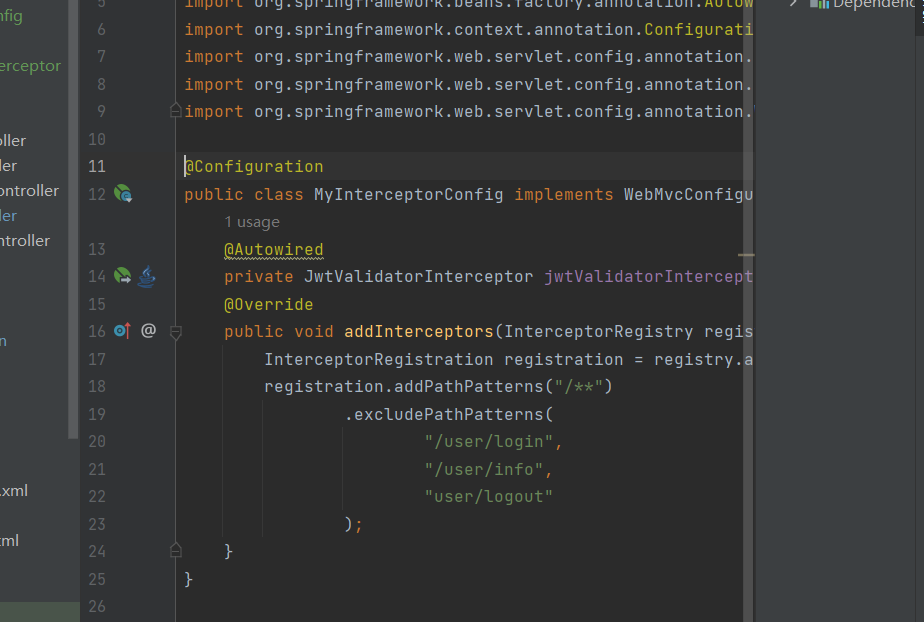
很明显因为没有注册所以登录失败了
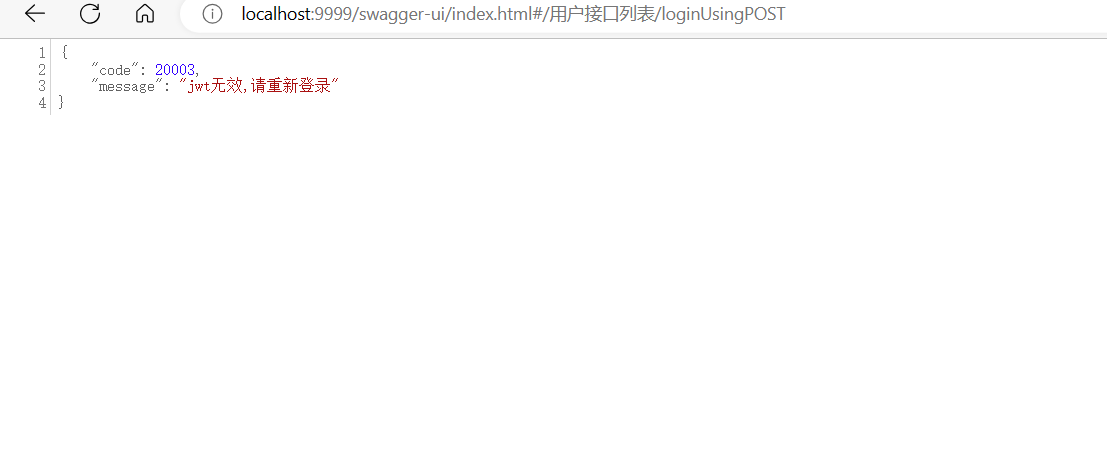
现在来注册拦截器
测试,成功

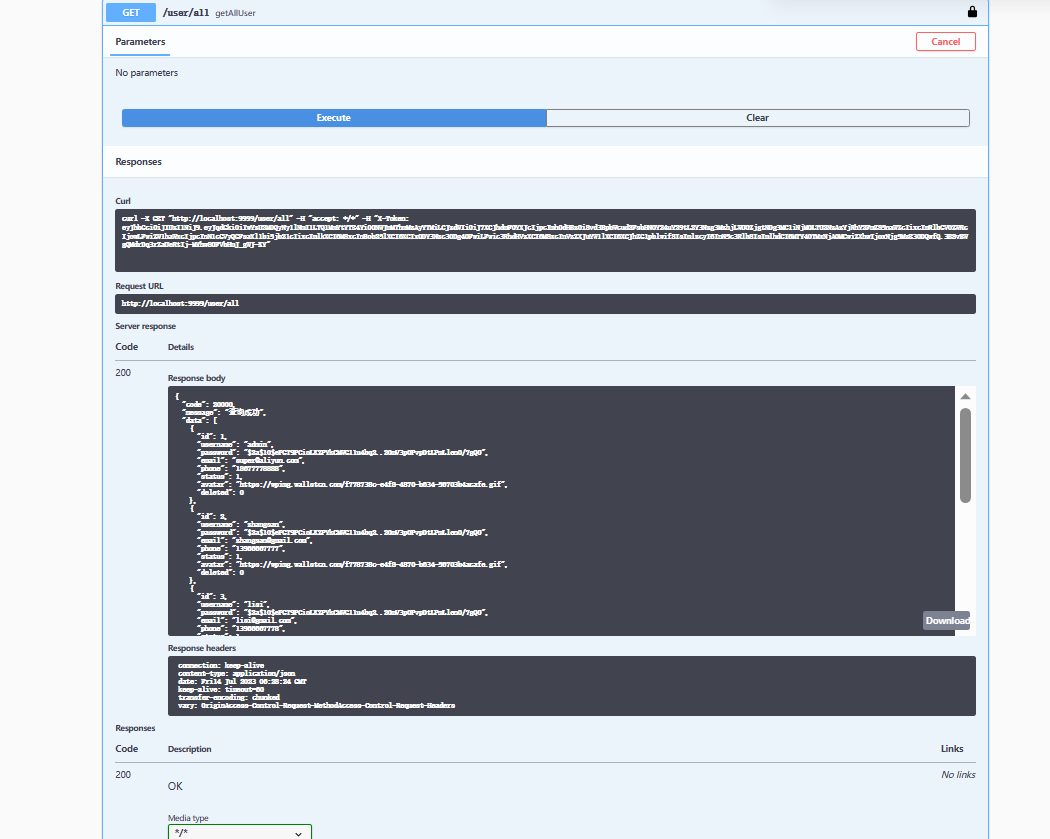
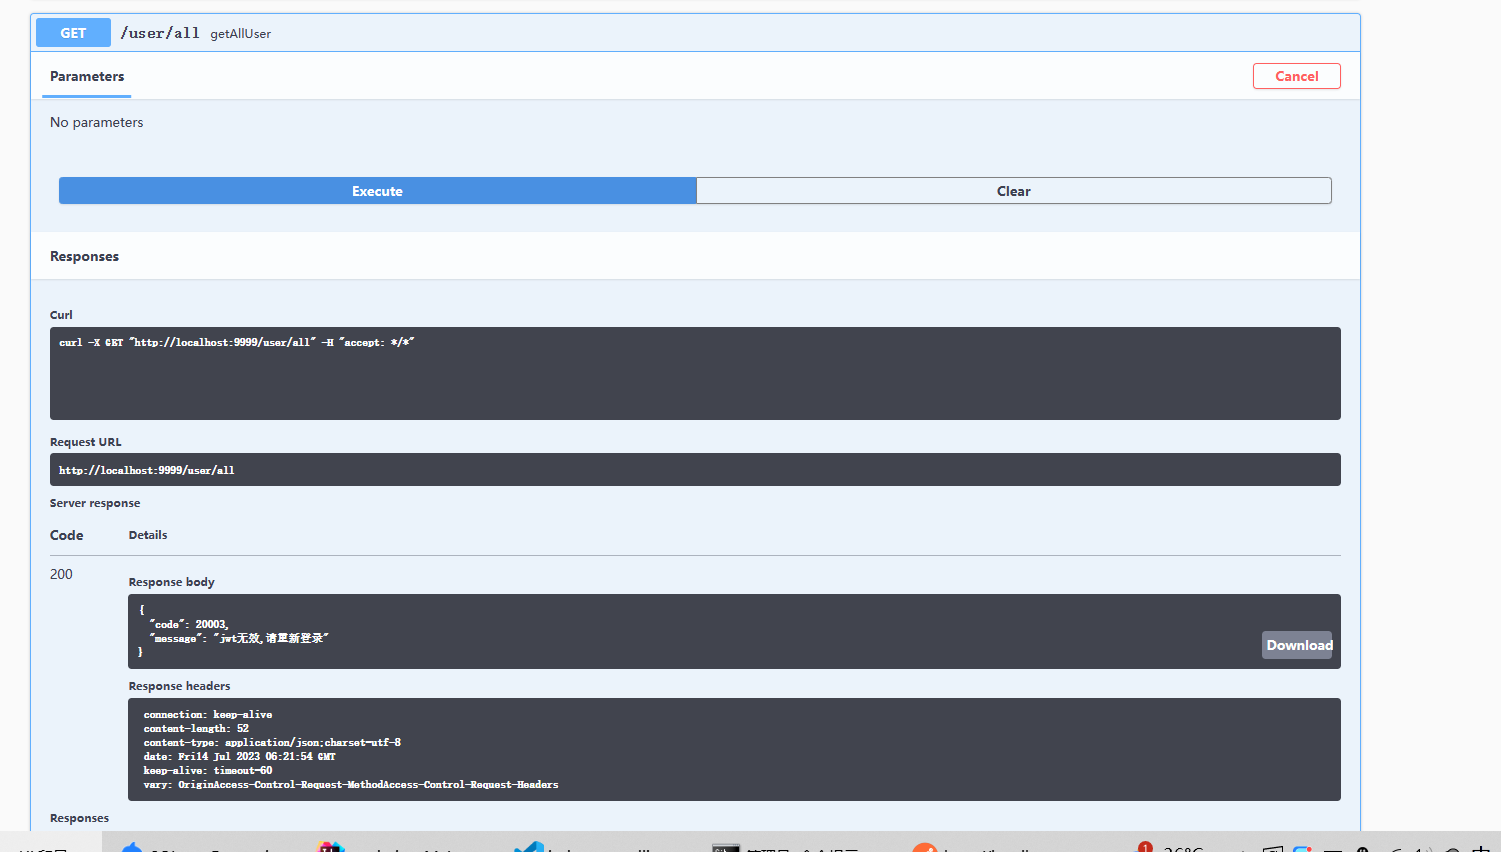
6. 测试其他接口
测试查询所有用户接口
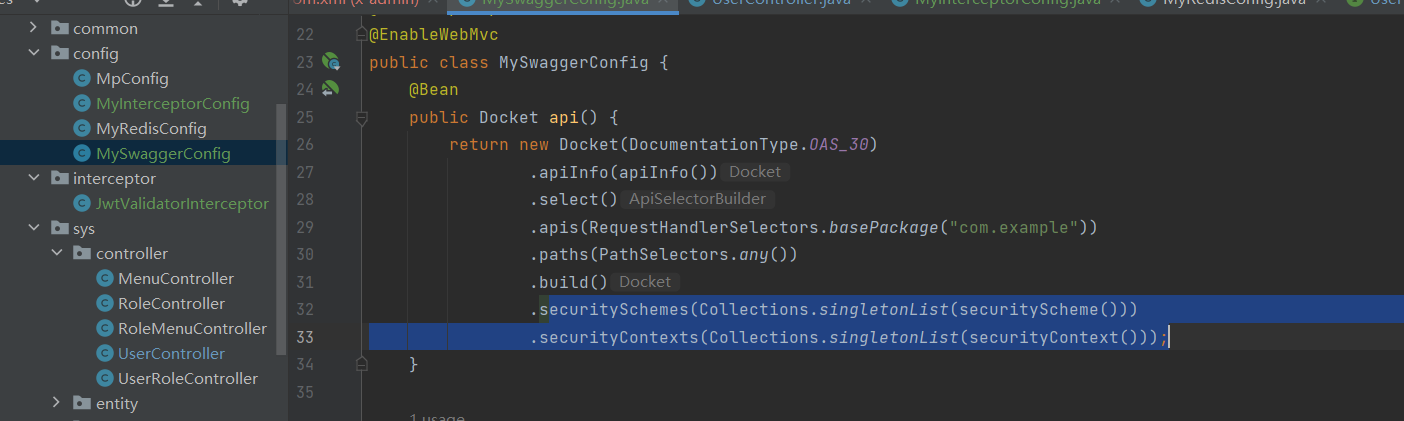
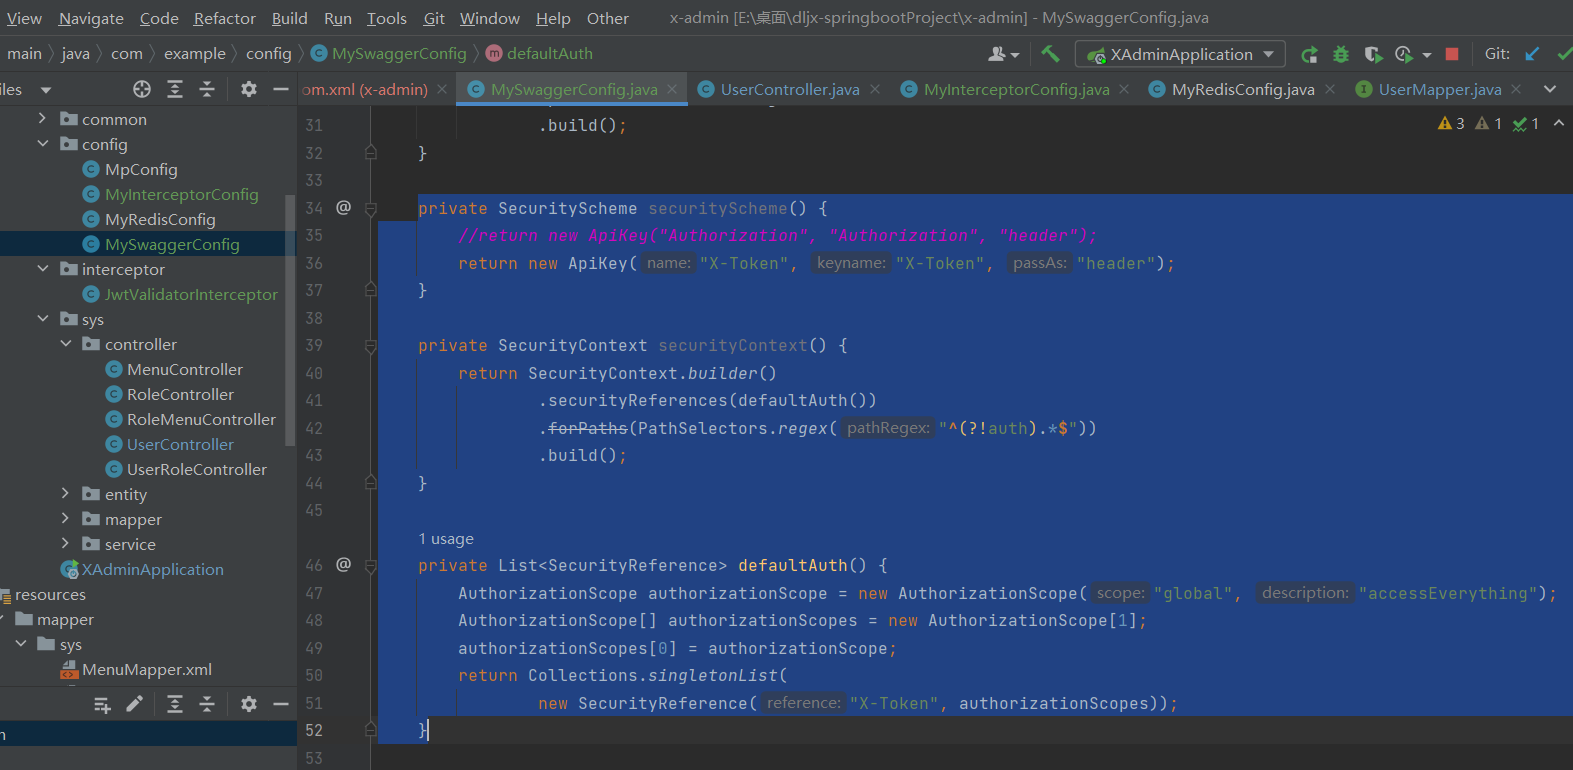
找到MySwaggerConfig
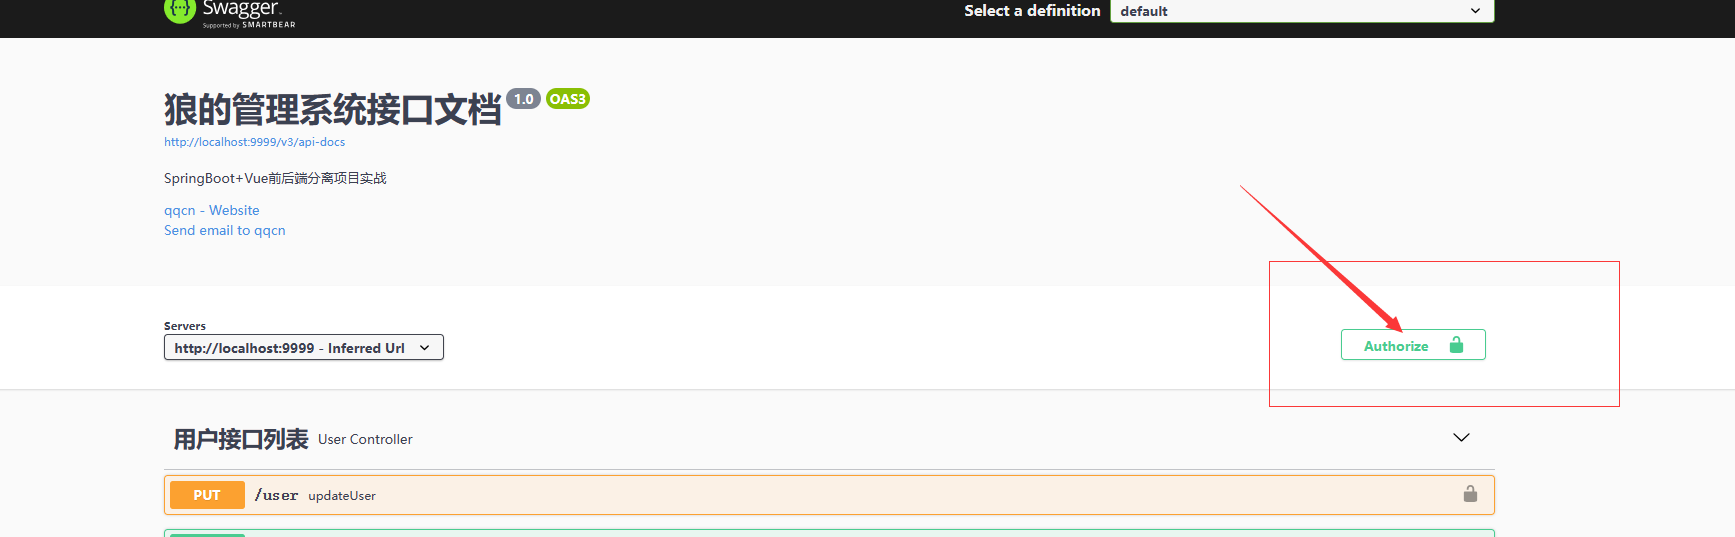
认证按钮
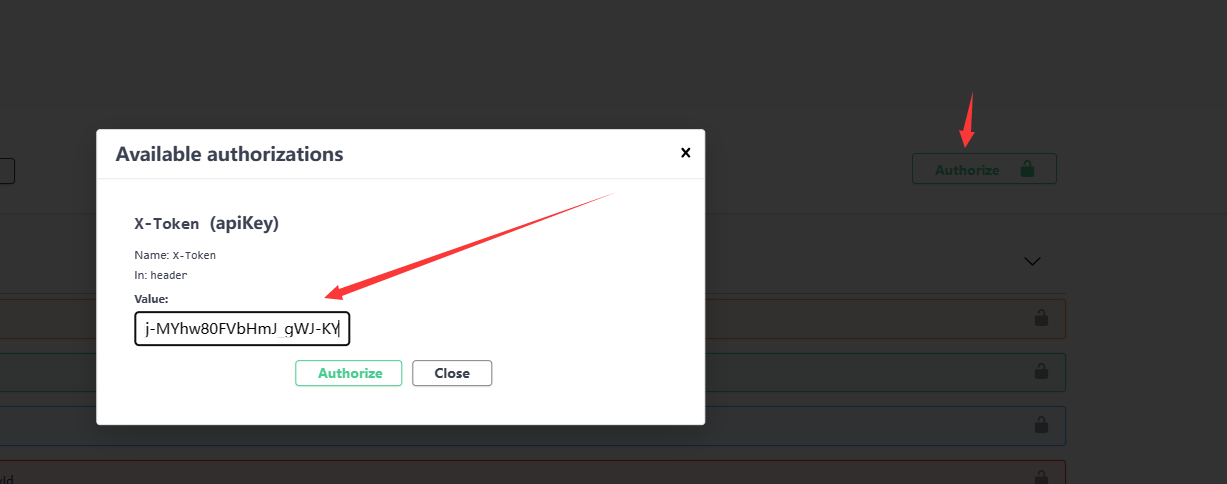
把token贴上去
再次测试其他接口,成功