前言
MxCAD 的WEB CAD SDK提供了参数化绘图的功能, 我们可以通过查看继承自McDbEntity的类的所有实例,它们都可以进行参数化的绘图。
首先我们应该在页面上显示一张图纸, 请根据mxcad入门文档的说明或者通过查看 github| gitee存储的初始化各种示例项目查看代码来实现显示图纸的页面。
在线CAD功能测试:https://demo.mxdraw3d.com:3000/mxcad/
点的绘制
参数化绘制一个CAD中的点:
import { MxCpp, McDbPoint, McCmColor } from "mxcad"

const mxcad = MxCpp.App.getCurrentMxCAD()

const point = new McDbPoint()

const color = new McCmColor()

color.setRGB(0, 255, 255)

point.trueColor = color

point.setPosition(200, 200)

mxcad.drawEntity(point)
效果图:

多行文字
绘制多行文字代码如下:
import { MxCpp, McGePoint3d, McCmColor, McDb, McDbMText } from "mxcad"

const mxcad = MxCpp.App.getCurrentMxCAD()

const mText = new McDbMText()

const textId = mxcad.drawEntity(mText)

const text = textId.getMcDbEntity() as McDbMText

text.attachment = McDb.AttachmentPoint.kTopLeft

text.contents = "内容 \\P 内容"

text.location = new McGePoint3d(10, 20)

text.trueColor = new McCmColor(255, 0, 255)

text.textHeight = 10

mxcad.updateDisplay()
效果图:

单行文字
绘制单行文本代码如下:
import { MxCpp, McGePoint3d, McCmColor, McDb, McDbText } from "mxcad"

const mxcad = MxCpp.App.getCurrentMxCAD()

const text = new McDbText()

text.widthFactor = 1

text.horizontalMode = McDb.TextHorzMode.kTextCenter

text.verticalMode = McDb.TextVertMode.kTextBottom

text.textString = "内容"

text.position = new McGePoint3d(-10, -20)

text.trueColor = new McCmColor(255, 0, 255)

text.height = 10

mxcad.drawEntity(text)

mxcad.updateDisplay()
效果图:

对齐标注
绘制对齐标注尺寸代码如下:
import { MxCpp, McGePoint3d, McCmColor, McDb, McDbAlignedDimension } from "mxcad"

const mxcad = MxCpp.App.getCurrentMxCAD()

const mDimension = new McDbAlignedDimension()

const dimensionId = mxcad.drawEntity(mDimension)

const dimension = dimensionId.getMcDbEntity() as McDbAlignedDimension

dimension.xLine1Point = new McGePoint3d(0, 255)

dimension.xLine2Point = new McGePoint3d(30, 60)

dimension.dimLinePoint = new McGePoint3d(88, 88)

dimension.textAttachment = McDb.AttachmentPoint.kTopLeft

dimension.trueColor = new McCmColor(200, 255, 0)

dimension.oblique = 0

mxcad.updateDisplay()
效果图:
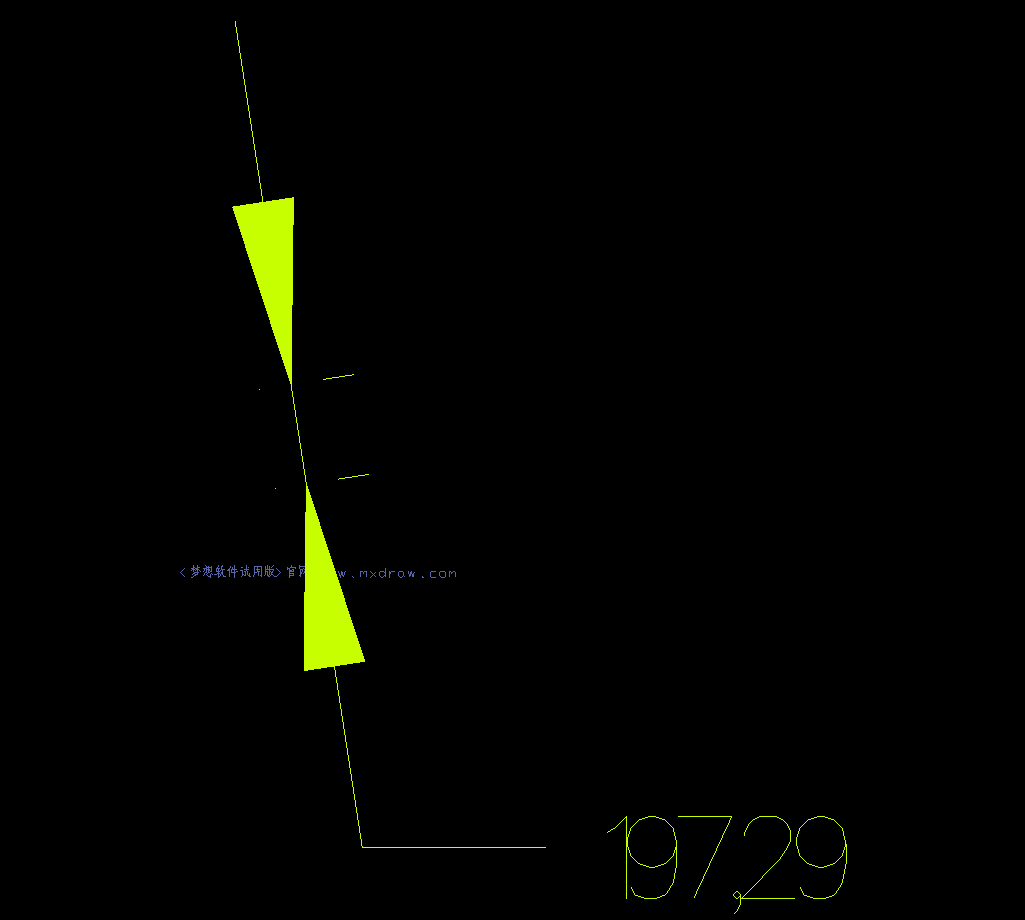
旋转标注
绘制旋转标注尺寸代码如下:
import { MxCpp, McGePoint3d, McCmColor, McDb, McDbRotatedDimension } from "mxcad"

const mxcad = MxCpp.App.getCurrentMxCAD()

const mDimension = new McDbRotatedDimension()

const dimensionId = mxcad.drawEntity(mDimension)

const dimension = dimensionId.getMcDbEntity() as McDbRotatedDimension

dimension.xLine1Point = new McGePoint3d(100, -137)

dimension.xLine2Point = new McGePoint3d(161,30)

dimension.dimLinePoint = new McGePoint3d(80, -60)

dimension.textAttachment = McDb.AttachmentPoint.kTopLeft

dimension.textRotation = 0.23

dimension.trueColor = new McCmColor(200, 255, 0)

dimension.oblique = 0

dimension.rotation = 0

mxcad.updateDisplay()
效果图:

绘制直线
绘制直线代码如下:
import { MxCpp, McCmColor, McDbLine } from "mxcad"

const mxcad = MxCpp.App.getCurrentMxCAD()

const line = new McDbLine(0, 0, 0, -80, -80, 0)

line.trueColor = new McCmColor(255, 0, 0)

mxcad.drawEntity(line)
效果图:
绘制圆
绘制圆代码如下:
import { MxCpp, McCmColor, McDbCircle } from "mxcad"

const mxcad = MxCpp.App.getCurrentMxCAD()

const circle = new McDbCircle(-100, 300, 0, 20)

circle.trueColor = new McCmColor(255, 0, 0)

mxcad.drawEntity(circle)
效果图:

绘制多义线
绘制多义线代码如下:
import { MxCpp, McGePoint3d, McDbPolyline } from "mxcad"

const mxcad = MxCpp.App.getCurrentMxCAD()

const polyline = new McDbPolyline()

polyline.isClosed = false

polyline.constantWidth = 10

polyline.addVertexAt(new McGePoint3d(100, 100))

polyline.addVertexAt(new McGePoint3d(200, 100), 0.2, 1, 5, 1)

polyline.addVertexAt(new McGePoint3d(100, 200), 0.2, 5, 1, 2)

mxcad.drawEntity(polyline)
效果图:
绘制圆弧
绘制圆弧代码如下:
import { MxCpp, McGePoint3d, McDbArc, McCmColor } from "mxcad"

const mxcad = MxCpp.App.getCurrentMxCAD()

const arc = new McDbArc()

arc.center = new McGePoint3d(-100, -100),

arc.radius = 20

arc.startAngle = Math.PI / 2

arc.endAngle = Math.PI * 3 / 2

arc.trueColor = new McCmColor(255, 233, 0)

mxcad.drawEntity(arc)
效果图:
绘制椭圆
绘制椭圆代码如下:
import { MxCpp, McGePoint3d, McDbEllipse, McCmColor, McGeVector3d } from "mxcad"

const mxcad = MxCpp.App.getCurrentMxCAD()

const ellipse = new McDbEllipse()

ellipse.center = new McGePoint3d(-200, -200),

ellipse.majorAxis = new McGeVector3d(0, 300, 0)

ellipse.minorAxis = new McGeVector3d(33, 0, 0)

ellipse.radiusRatio = 0.5

ellipse.startAngle = Math.PI / 2

ellipse.endAngle = Math.PI * 3 / 2

ellipse.trueColor = new McCmColor(255, 233, 0)

mxcad.drawEntity(ellipse)
效果图:

交互绘制
如果上述位置属性是用户通过点击或者输入框输入,mxcad就提供了这样一套用于获取用户输入并在绘制中得到输入的机制,最频繁的应该是鼠标点击输入。
1、通过鼠标点击获取CAD图纸中的坐标位置,代码如下:
import { MxCADUiPrPoint } from "mxcad"

const getPoint = new MxCADUiPrPoint()

const point = await getPoint.go()

console.log(point)
上述代码打印的就是一个坐标点了, 其坐标点是用户通过鼠标点击获取到的对应的图纸坐标位置。
2、通过输入框输入值, 来确定除了坐标以外的其他参数,代码如下:
const input = document.createElement("input")

input.addEventListener("keydown", (e: KeyboardEvent) => {

    // 设置传输命令行消息数据

    MxFun.setCommandLineInputData((e.target as HTMLInputElement).value, e.keyCode);

})

document.body.appendChild(input)
mxcad中引用了mxdraw 下载依赖时会自动下载, 所有我们只要安装了mxcad就可以使用mxdraw。
如上代码所示, 我们传入用户输入的内容和对应按键的keyCode值
const getInt = new MxCADUiPrInt()

const getKey = new MxCADUiPrKeyWord

const getStr = new MxCADUiPrString()

getInt.setMessage("提示用户输入数字:")

const intVal = await getInt.go()

console.log(intVal)

getKey.setMessage("提示用户关键词 A、 B、 C:")

getKey.setKeyWords("A B C")

const keyVal = await getKey.go()

console.log(keyVal)

getStr.setMessage("提示用户输入字符串:")

const strVal = await getStr.go()

console.log(strVal)

上述代码会在用户输入对应类型的数据后按下回车键(Enter或者Esc)才会往下执行, 通过setMessage设置提示,最终得到用户输入的数据, 通过这些数据进行参数化绘图。

最后这些设置的用户提示通过下面代码获得:

import { MxFun } from "mxdraw"

MxFun.listenForCommandLineInput(({ msCmdTip, msCmdDisplay, msCmdText }) => {

    console.log(msCmdTip, msCmdDisplay, msCmdText)

 }

);
如果你无法理解上述某个函数的意思,可以在mxdraw API文档或者mxcad API文档中查看对应的APi说明。
参数化绘制文字的完整流程
下面简单实现一个的参数化绘制文字的流程:
import { MxFun } from "mxdraw"

import { MxCADUiPrInt, MxCADUiPrKeyWord, MxCADUiPrString, MxCADUiPrPoint, McDbText, MxCpp } from "mxcad"

MxFun.addCommand("Mx_draw_Text", async ()=> {

    const getInt = new MxCADUiPrInt()

    const getKey = new MxCADUiPrKeyWord()

    const getStr = new MxCADUiPrString()

    const getPoint = new MxCADUiPrPoint()

    const text = new McDbText()

    getPoint.setMessage("请点击确定文字位置")


    const position = await getPoint.go()

    if(!position) return

    text.position = position


    getInt.setMessage("请输入文字高度")

    const height = await getInt.go()

    if(!height) return

    text.height = height


    getKey.setMessage("选择水平对齐方式 快捷键 L: 左对齐 C: 居中对齐 R: 右对齐 A: 水平对齐 M: 垂直中间对齐 F: 自适应")


    getKey.setKeyWords("L C R A M F")


    await getKey.go()

    if(getKey.isKeyWordPicked("L")) text.horizontalMode = McDb.TextHorzMode.kTextLeft

    if(getKey.isKeyWordPicked("C")) text.horizontalMode = McDb.TextHorzMode.kTextCenter

    if(getKey.isKeyWordPicked("R")) text.horizontalMode = McDb.TextHorzMode.kTextRight

    if(getKey.isKeyWordPicked("A")) text.horizontalMode = McDb.TextHorzMode.kTextAlign

    if(getKey.isKeyWordPicked("M")) text.horizontalMode = McDb.TextHorzMode.kTextMid

    if(getKey.isKeyWordPicked("F")) text.horizontalMode = McDb.TextHorzMode.kTextFit


    getStr.setMessage("请输入文字内容")

    const str = await getStr.go()

    if(!str) return

    text.textString = str

    const mxcad = MxCpp.App.getCurrentMxCAD()

    mxcad.drawEntity(text)

})
演示Demo源码:
https://gitee.com/mxcadx/mxdraw-article/tree/master/mxcad参数化绘图/demo.zip