gitlab
一、什么是gitlab
私有代码仓库
精细化权限配置,让系统更安全
控制用户/用户组是否可以提交到主分支 (PR Push Request)
它使用Ruby语言写成。后来,一些部分用Go语言重写
二、Gitlab vs Github/Gitee
| Gitlab | Github/Gitee | |
|---|---|---|
| 共同点 | 存放代码,git访问 | 存放代码,git访问 |
| 不同点 | 精确化控制权限 全面安全措施 定时备份 升级 迁移 | 使用权限,用户管理比较弱,无法做到精细化权限. |
三、 Gitlab 应用场景
- 开源免费,搭建简单,维护成本低,符合中小公司口味 gogs.io
- 权限管理,实现代码对部分人可见,安全性高
- 离线同步
gogs
https:gogs.io/docs/installation/install_from_binary
四、gitlab快速上手
1.安装要求
#系统要求
Ubuntu (16.04/18.04/20.04)
Debian (9/10)
CentOS (7/8)
openSUSE Leap (15.2)
SUSE Linux Enterprise Server (12 SP2/12 SP5)
Red Hat Enterprise Linux (please use the CentOS
packages and instructions)
#硬件要求
磁盘
存放代码,比代码空间大
7.2k以上的磁盘 sas
ssd

#CPU
4 核心 500用户
8 核心 1000用户
#内存
4 G内存 500用户
8 G内存 1000用户
2.部署gitlab
#安装gitlab
[root@gitlab ~]# ll
total 1206068
-rw-------. 1 root root       1340 Jan  9 09:09 anaconda-ks.cfg
-rw-r--r--  1 root root 1235006450 Mar 24 08:27 gitlab-ce-15.9.3-ce.0.el7.x86_64.rpm
[root@gitlab ~]# yum -y localinstall gitlab-ce-15.9.3-ce.0.el7.x86_64.rpm
It looks like GitLab has not been configured yet; skipping the upgrade script.

       *.                  *.
      ***                 ***
     *****               *****
    .******             *******
    ********            ********
   ,,,,,,,,,***********,,,,,,,,,
  ,,,,,,,,,,,*********,,,,,,,,,,,
  .,,,,,,,,,,,*******,,,,,,,,,,,,
      ,,,,,,,,,*****,,,,,,,,,.
         ,,,,,,,****,,,,,,
            .,,,***,,,,
                ,*,.


     _______ __  __          __
    / ____(_) /_/ /   ____ _/ /_
   / / __/ / __/ /   / __ `/ __ \
  / /_/ / / /_/ /___/ /_/ / /_/ /
  \____/_/\__/_____/\__,_/_.___/


#配置gitlab
[root@gitlab ~]# cat /etc/gitlab/gitlab.rb
external_url 'http://gitlab.cn'
gitlab_rails['smtp_enable'] = false
gitlab_rails['registry_enabled'] = false
registry['enable'] = false
prometheus['enable'] = false
alertmanager['enable'] = false
node_exporter['enable'] = false
redis_exporter['enable'] = false
postgres_exporter['enable'] = false
gitlab_exporter['enable'] = false
prometheus_monitoring['enable'] = false

#根据配置文件生成gitlab的目录
#使用gitlab.rb文件生成子配置文件
[root@gitlab ~]# gitlab-ctl reconfigure
[root@gitlab ~]# cd /opt/gitlab/
[root@gitlab /opt/gitlab]# ll
total 27972
drwxr-xr-x  2 root root      172 Mar 26 12:57 bin
-rw-r--r--  1 root root 17622577 Mar 10 02:38 dependency_licenses.json
drwxr-xr-x 16 root root      192 Mar 26 14:42 embedded
drwxr-xr-x  6 root root      209 Mar 26 14:46 etc
drwxr-xr-x  2 root root      150 Mar 26 14:46 init
-rw-r--r--  1 root root 10952524 Mar 10 02:38 LICENSE
drwxr-xr-x  2 root root      289 Mar 26 13:01 licenses
drwxr-xr-x  2 root root     8192 Mar 26 12:57 LICENSES
drwxr-xr-x  2 root root      150 Mar 26 14:46 service
drwxr-xr-x 11 root root      150 Mar 26 14:46 sv
drwxr-xr-x  3 root root       18 Mar 26 14:46 var
-rw-r--r--  1 root root    32187 Mar 10 02:38 version-manifest.json
-rw-r--r--  1 root root    16605 Mar 10 02:38 version-manifest.txt
[root@gitlab /opt/gitlab]# cd service/
[root@gitlab /opt/gitlab/service]# ll
total 0
lrwxrwxrwx 1 root root 21 Mar 26 14:43 gitaly -> /opt/gitlab/sv/gitaly
lrwxrwxrwx 1 root root 25 Mar 26 14:43 gitlab-kas -> /opt/gitlab/sv/gitlab-kas
lrwxrwxrwx 1 root root 31 Mar 26 14:46 gitlab-workhorse -> /opt/gitlab/sv/gitlab-workhorse
lrwxrwxrwx 1 root root 24 Mar 26 14:42 logrotate -> /opt/gitlab/sv/logrotate
lrwxrwxrwx 1 root root 20 Mar 26 14:46 nginx -> /opt/gitlab/sv/nginx
lrwxrwxrwx 1 root root 25 Mar 26 14:43 postgresql -> /opt/gitlab/sv/postgresql
lrwxrwxrwx 1 root root 19 Mar 26 14:46 puma -> /opt/gitlab/sv/puma
lrwxrwxrwx 1 root root 20 Mar 26 14:43 redis -> /opt/gitlab/sv/redis
lrwxrwxrwx 1 root root 22 Mar 26 14:46 sidekiq -> /opt/gitlab/sv/sidekiq
#重启服务
[root@gitlab /opt/gitlab/service]# gitlab-ctl restart
#查看密码
[root@gitlab ~]# cat /etc/gitlab/initial_root_password

Password: KdWbSi33BSQN+cTOVgzVgyIlgLXElBc6pgsCorJ00mQ=
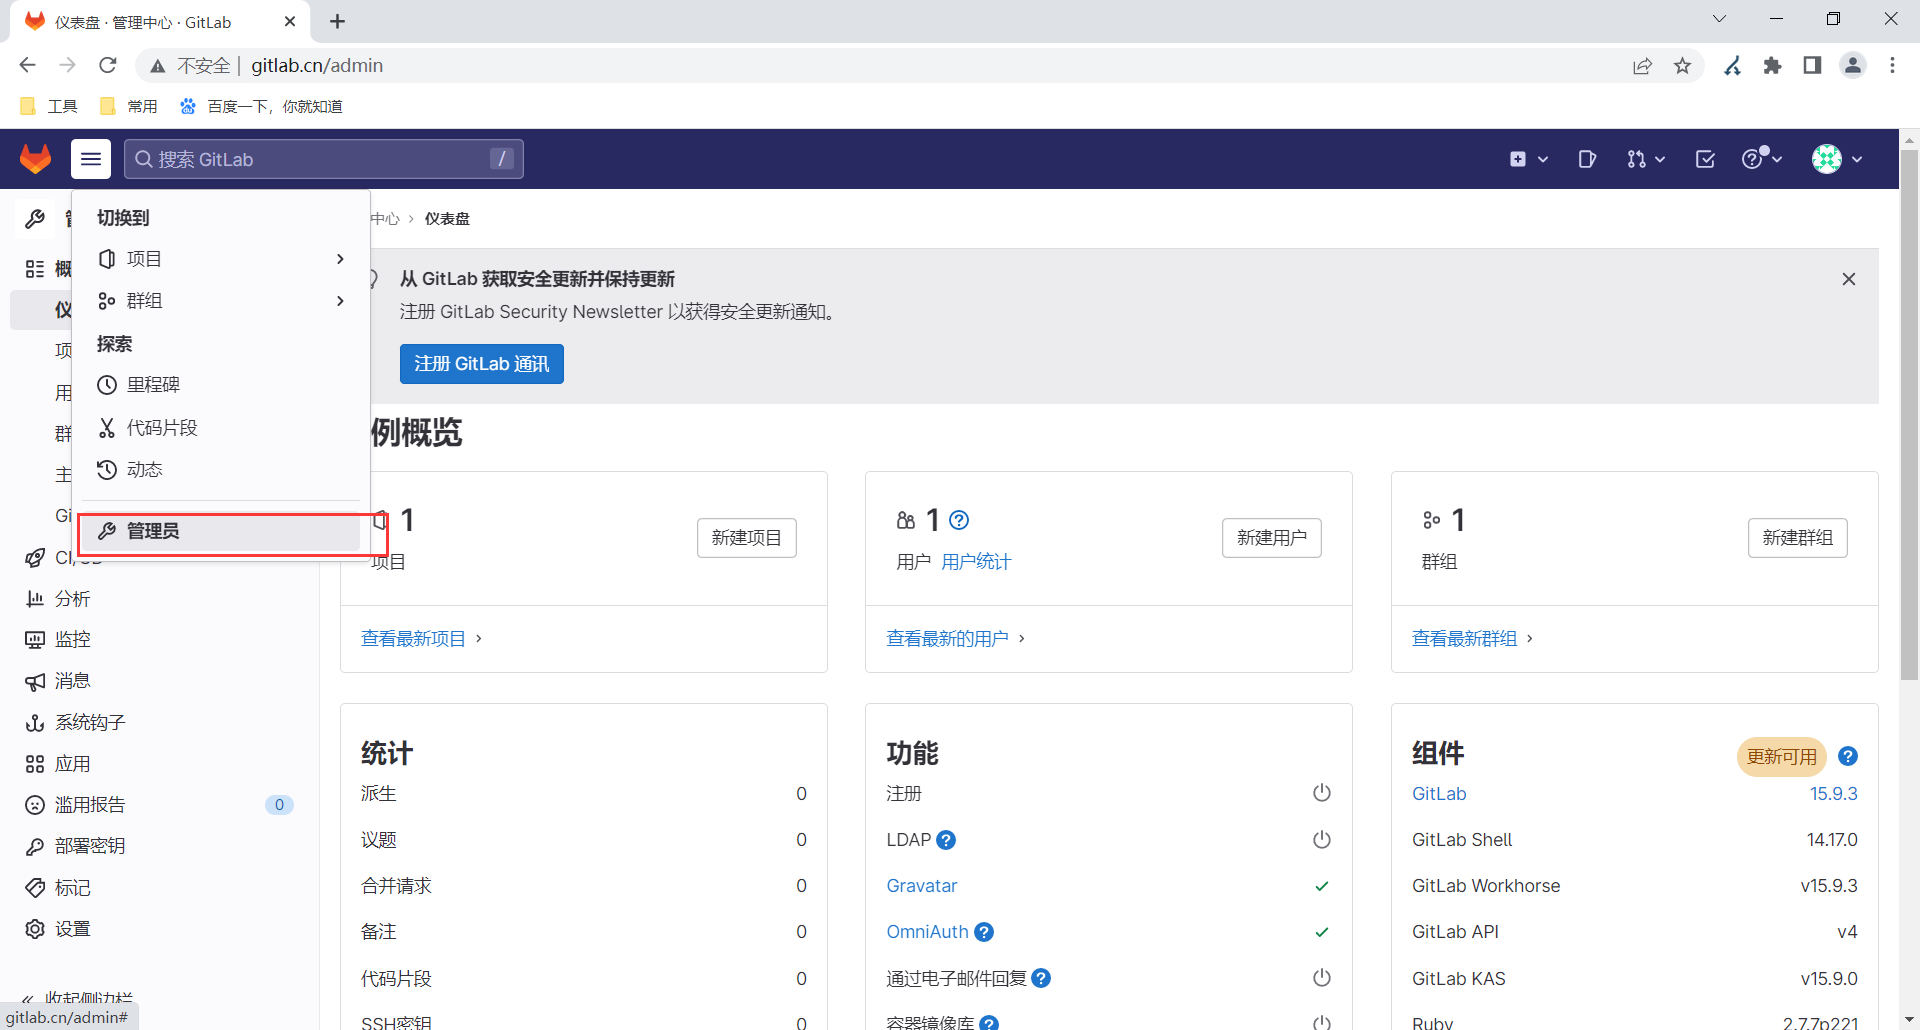
3.登录
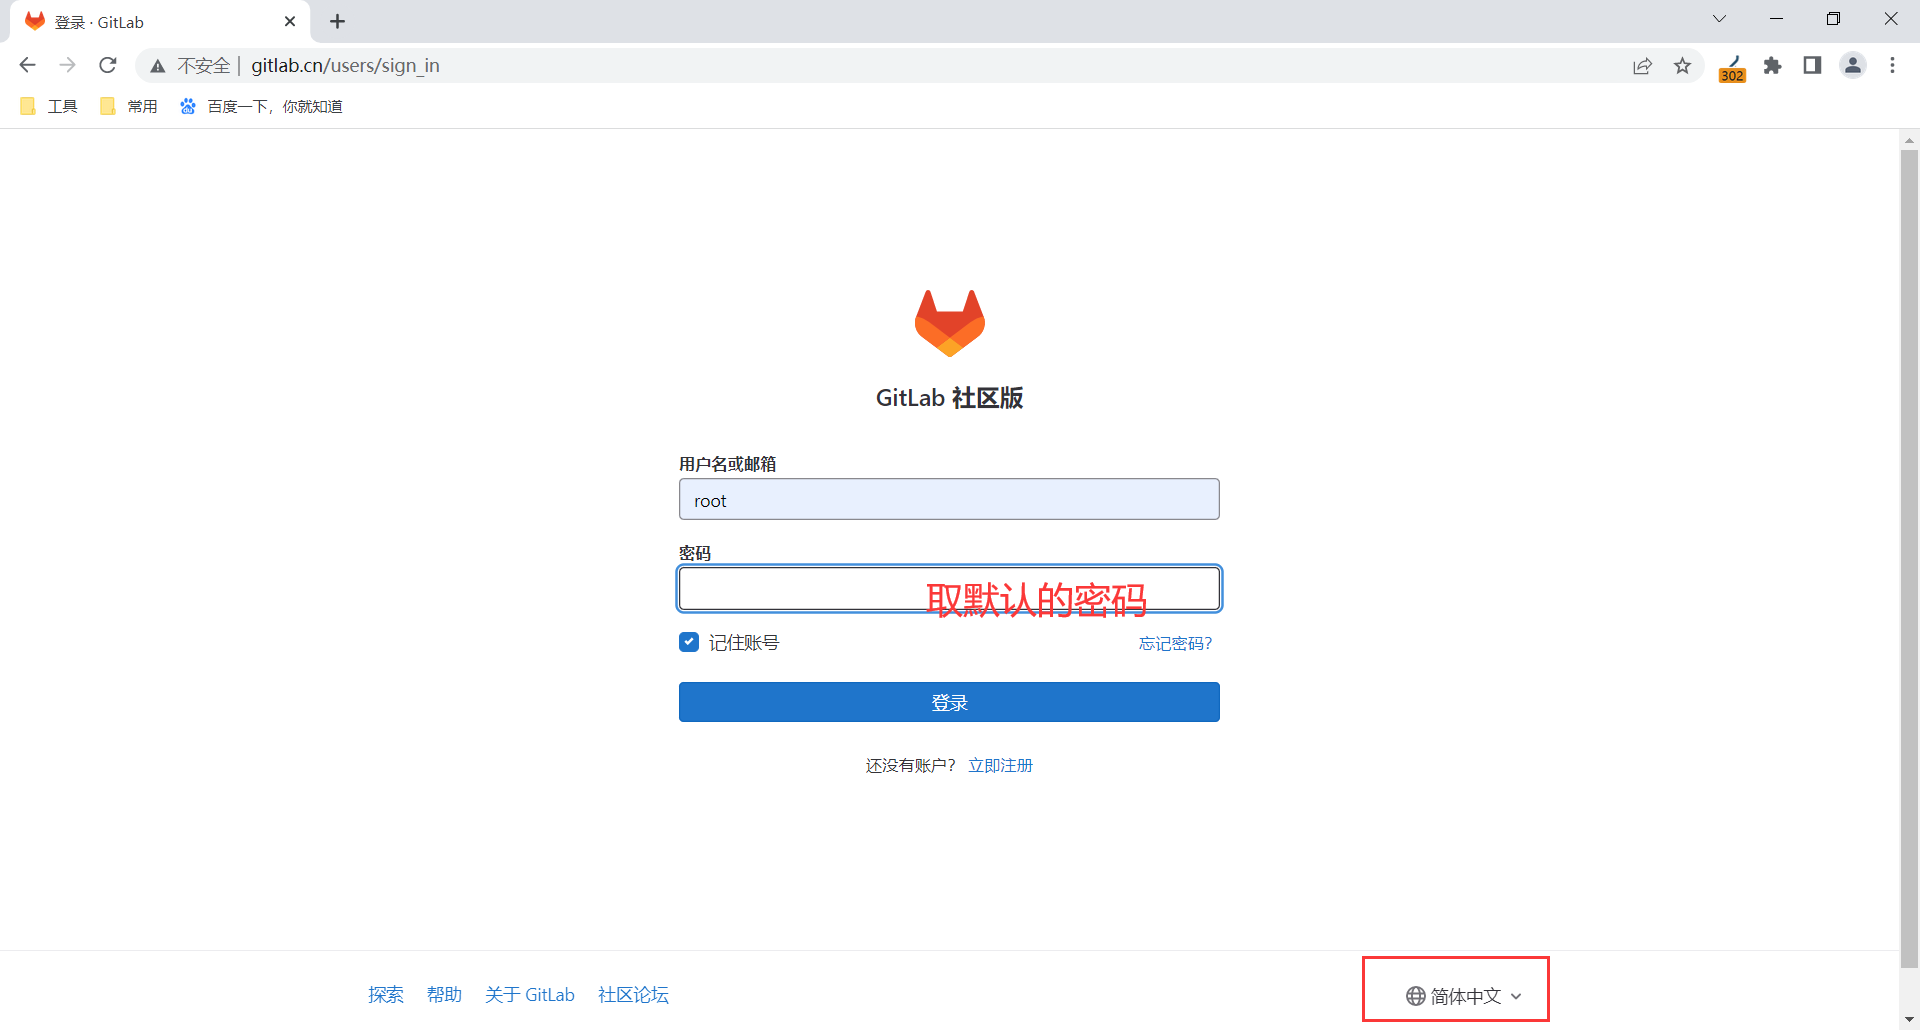
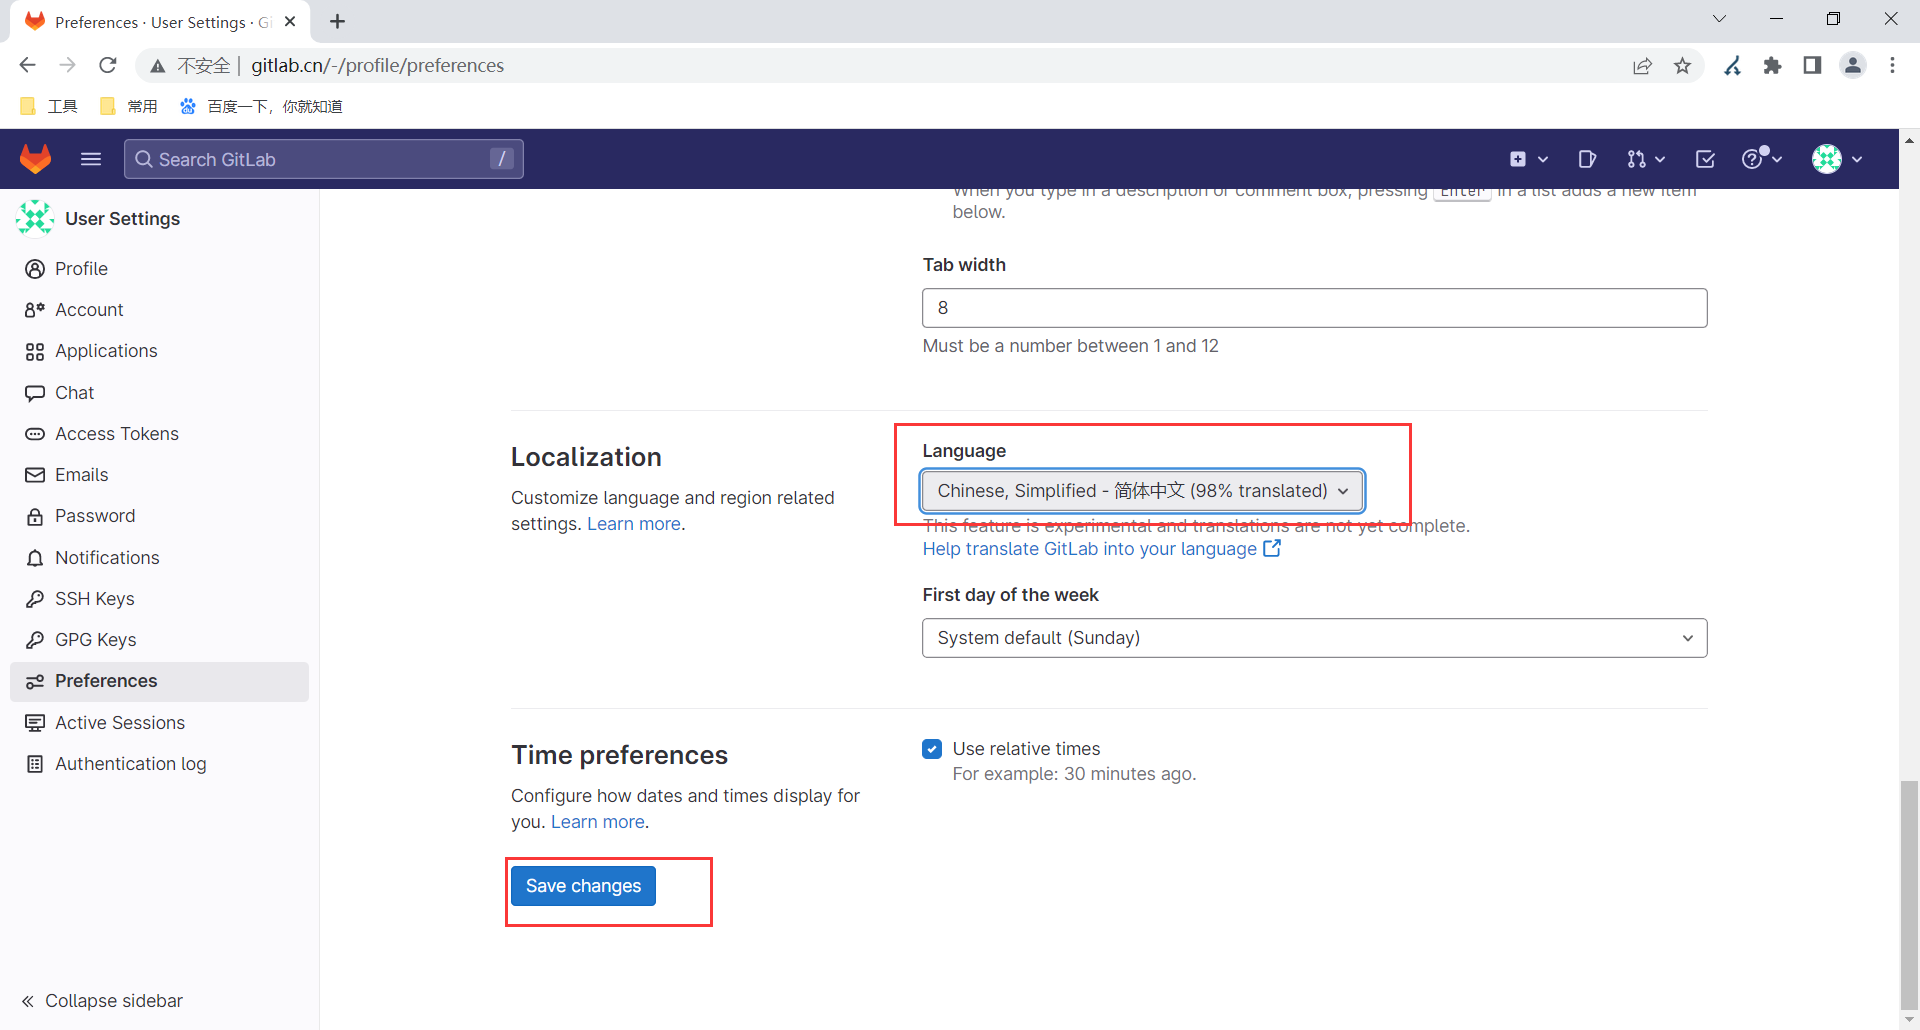
4.汉化

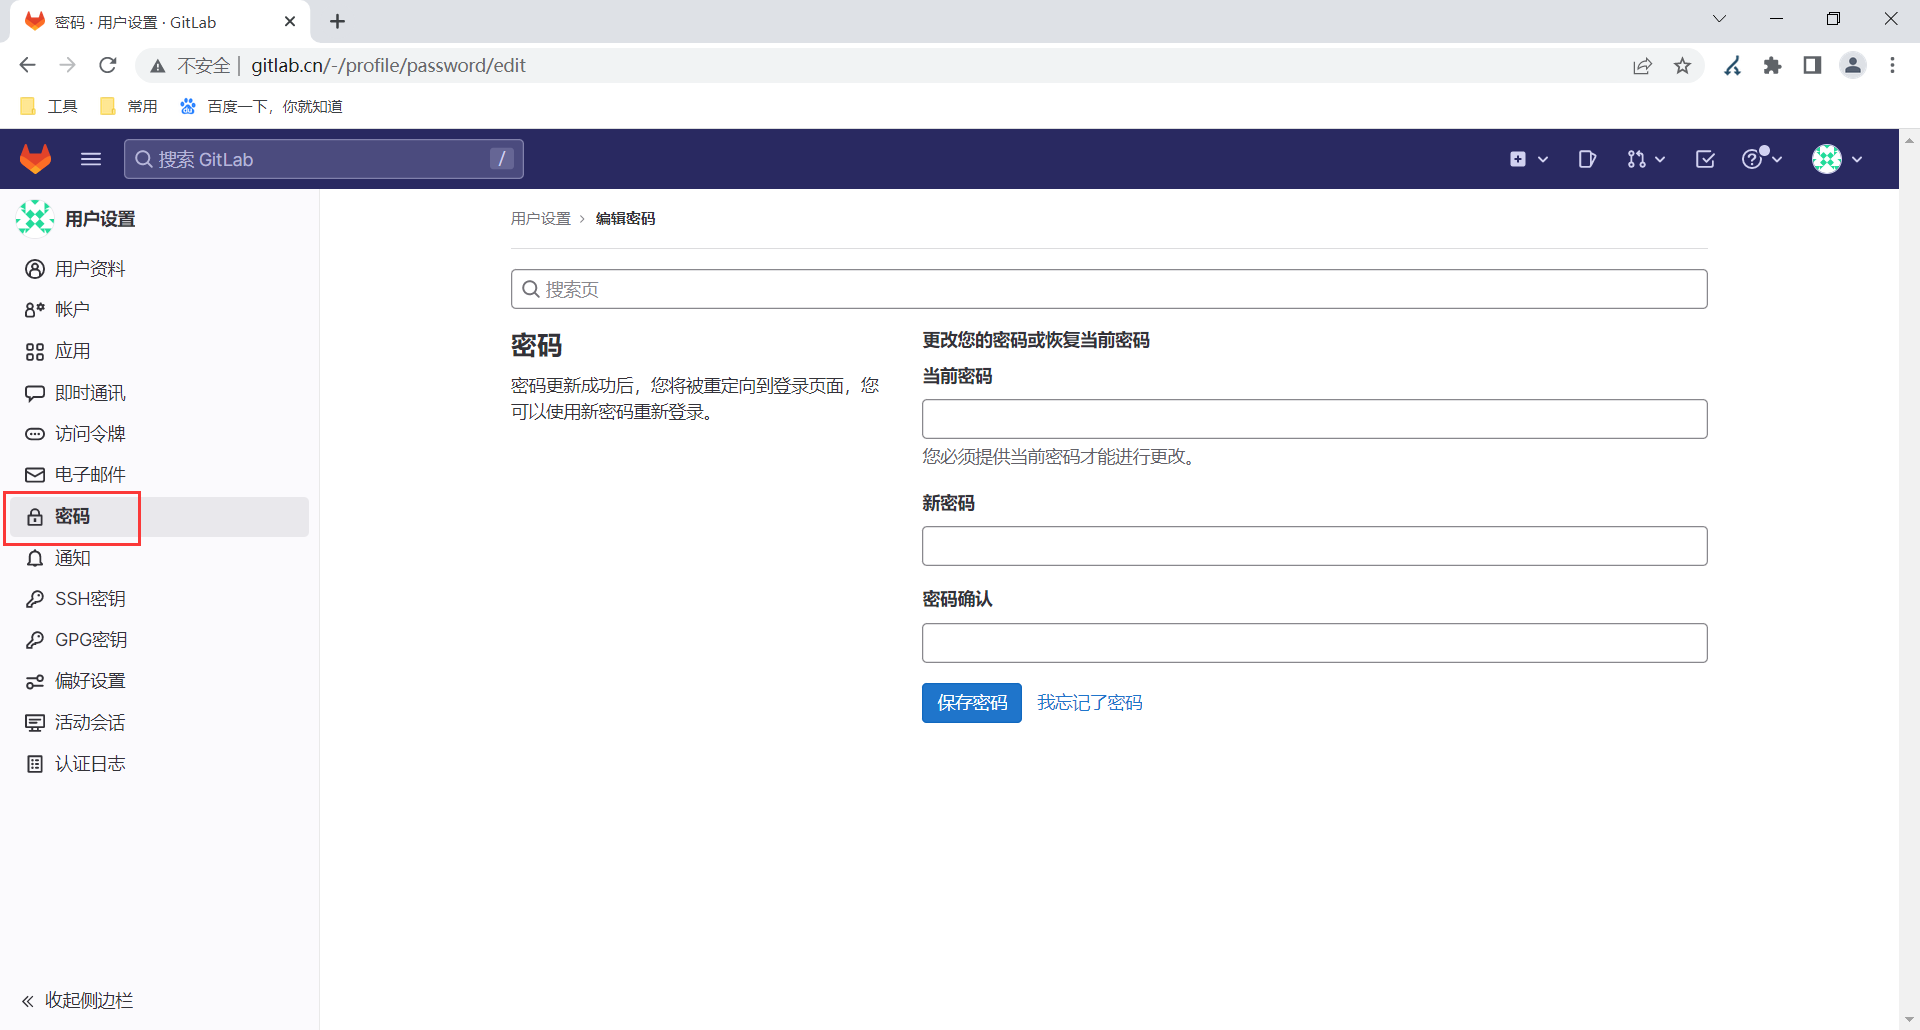
5.设置密码
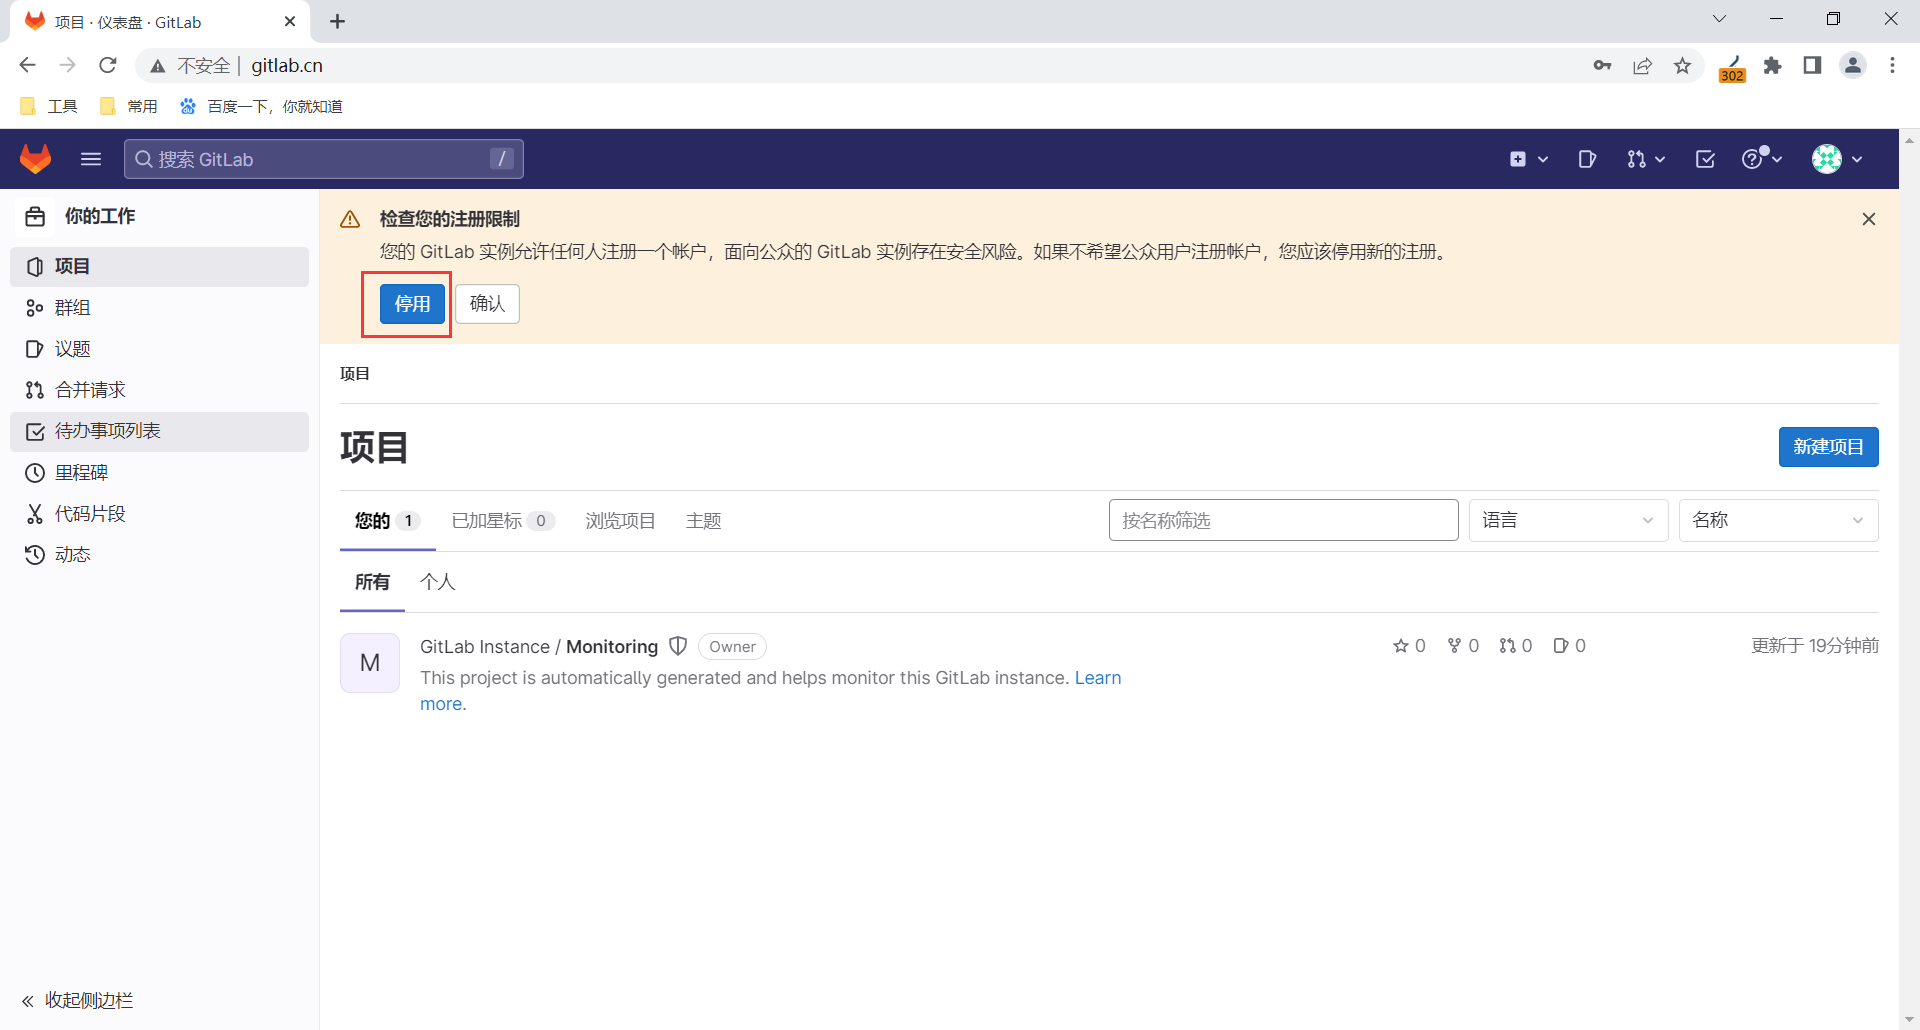
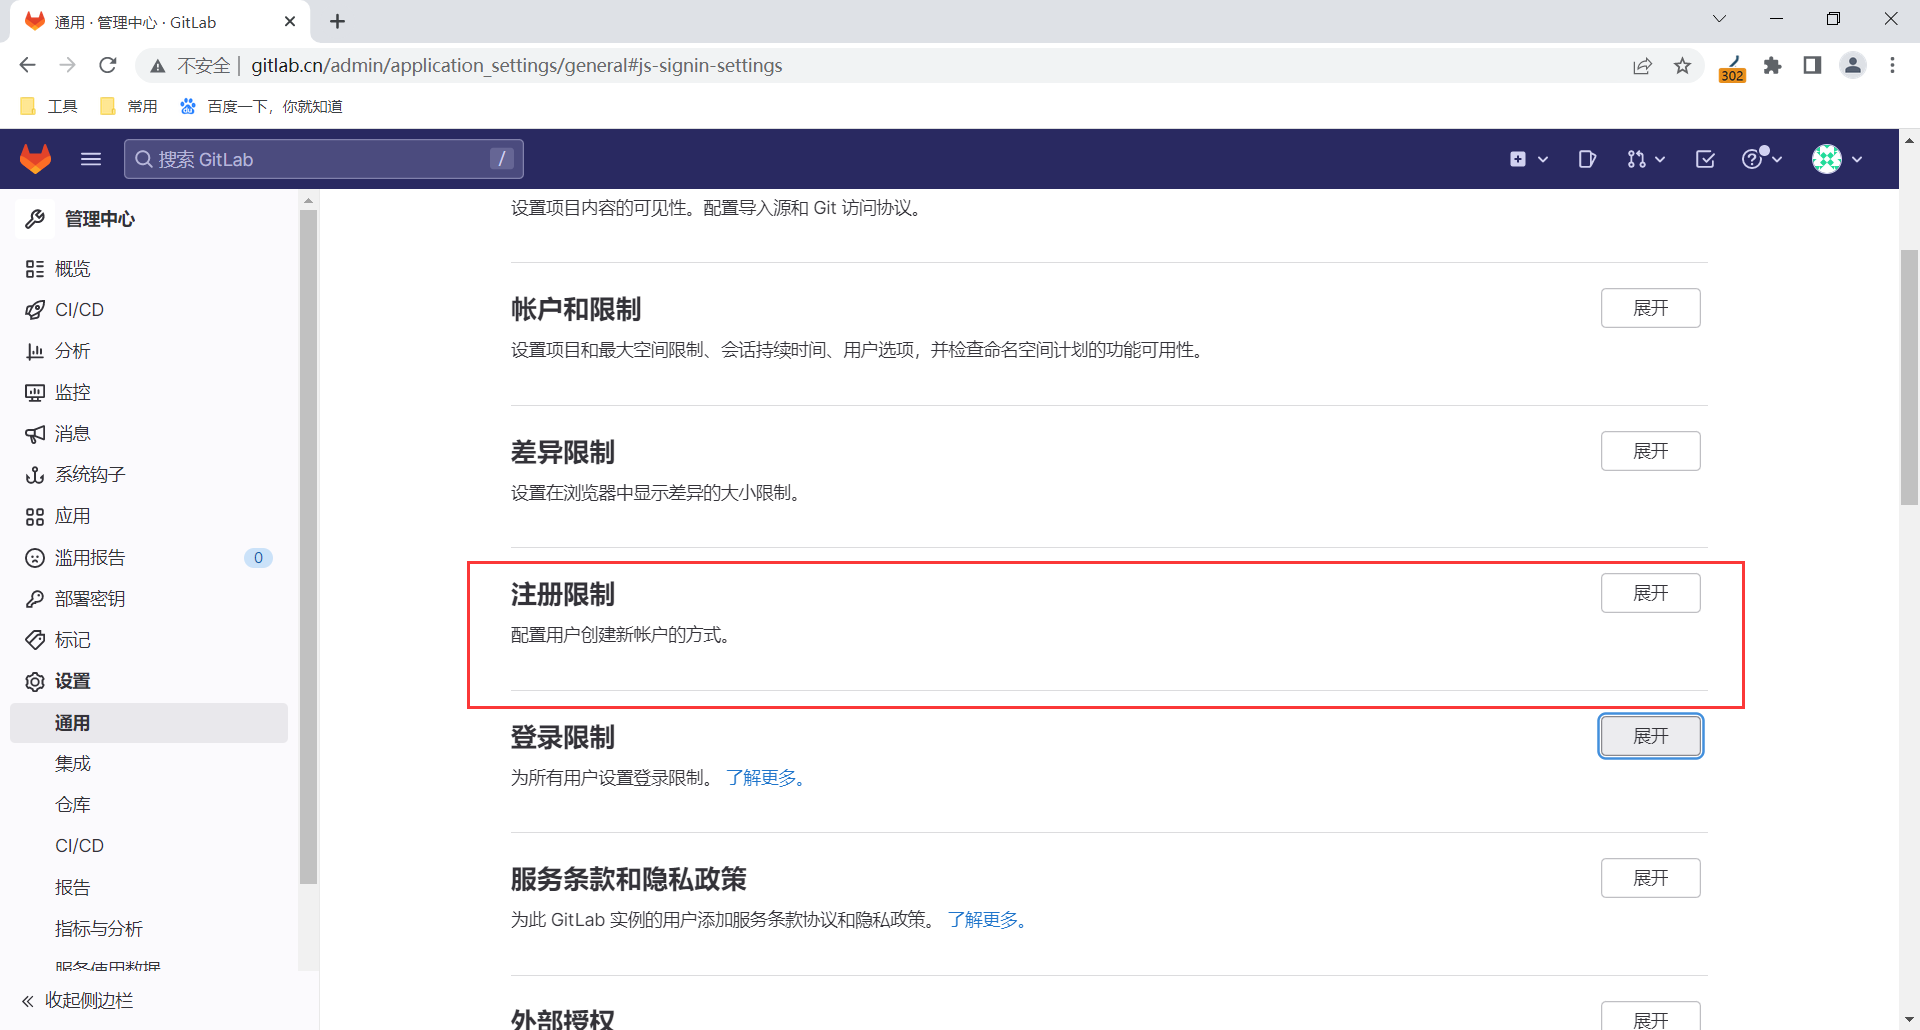
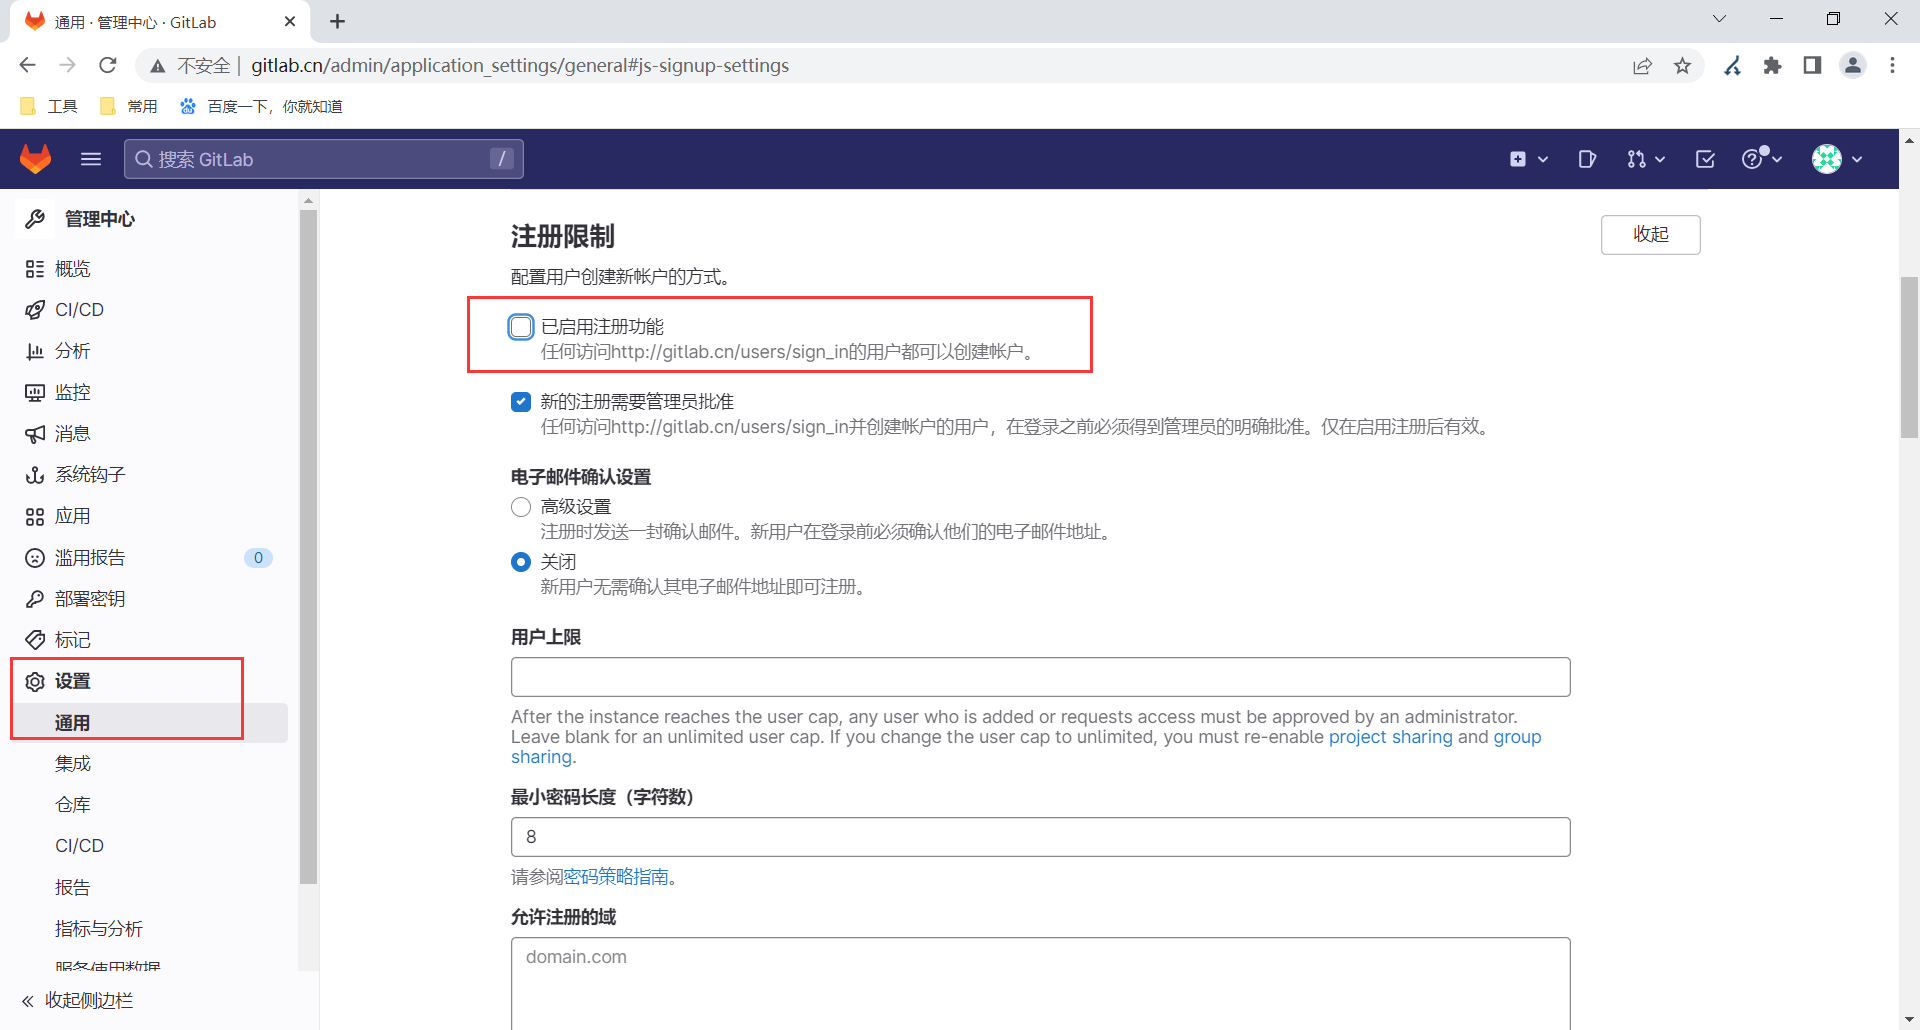
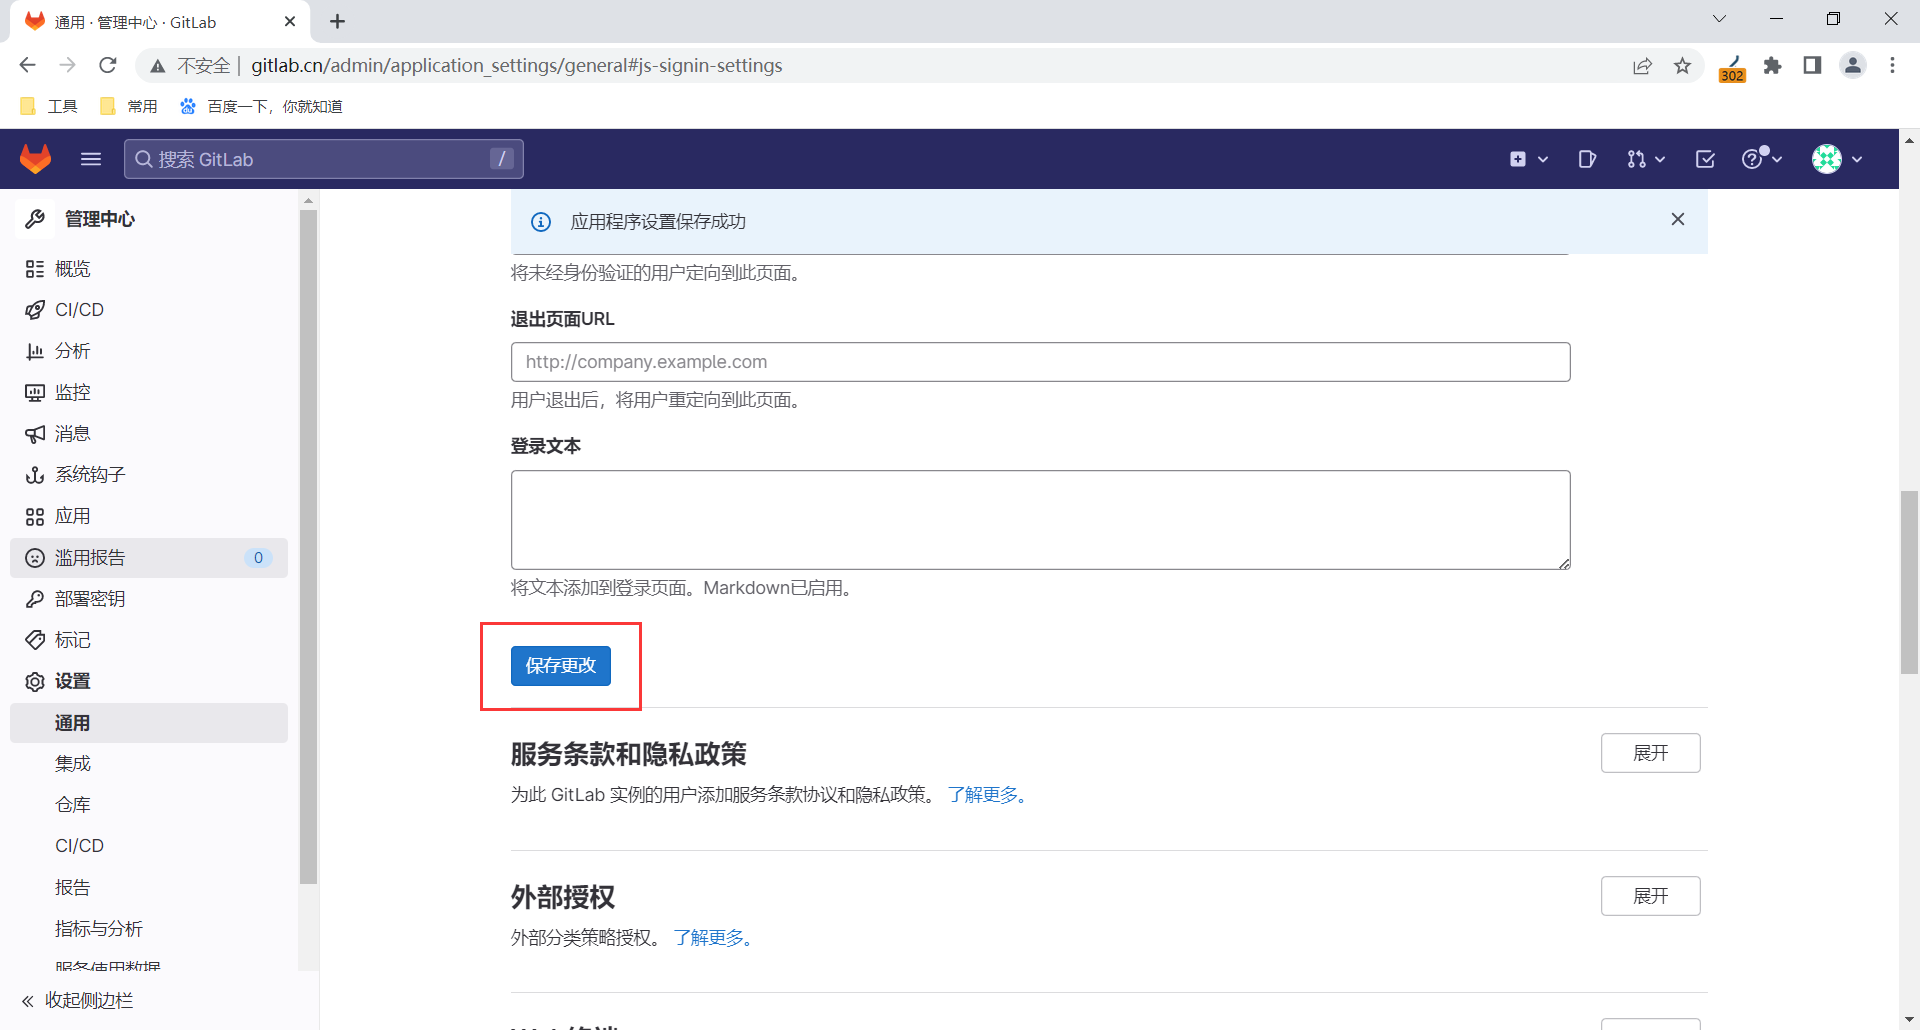
6.停用注册限制
7.删除
删除rpm
/var/opt/gitlab /opt/gitlab/ 2个目录删除.
备份内核参数配置 /opt/gitlab/embedded/etc/*-gitlab-*.conf
安装完成,覆盖回去上面几个conf.
8.500 vs 502
#500
需要等待,启动较慢.检查资源是否够用.

#502大概率是数据库问题
gitlab-rake db:migrate
gitlab-ctl reconfigure
gitlab-ctl restart
9.重置密码
[root@gitlab ~]# gitlab-rake "gitlab:password:reset"
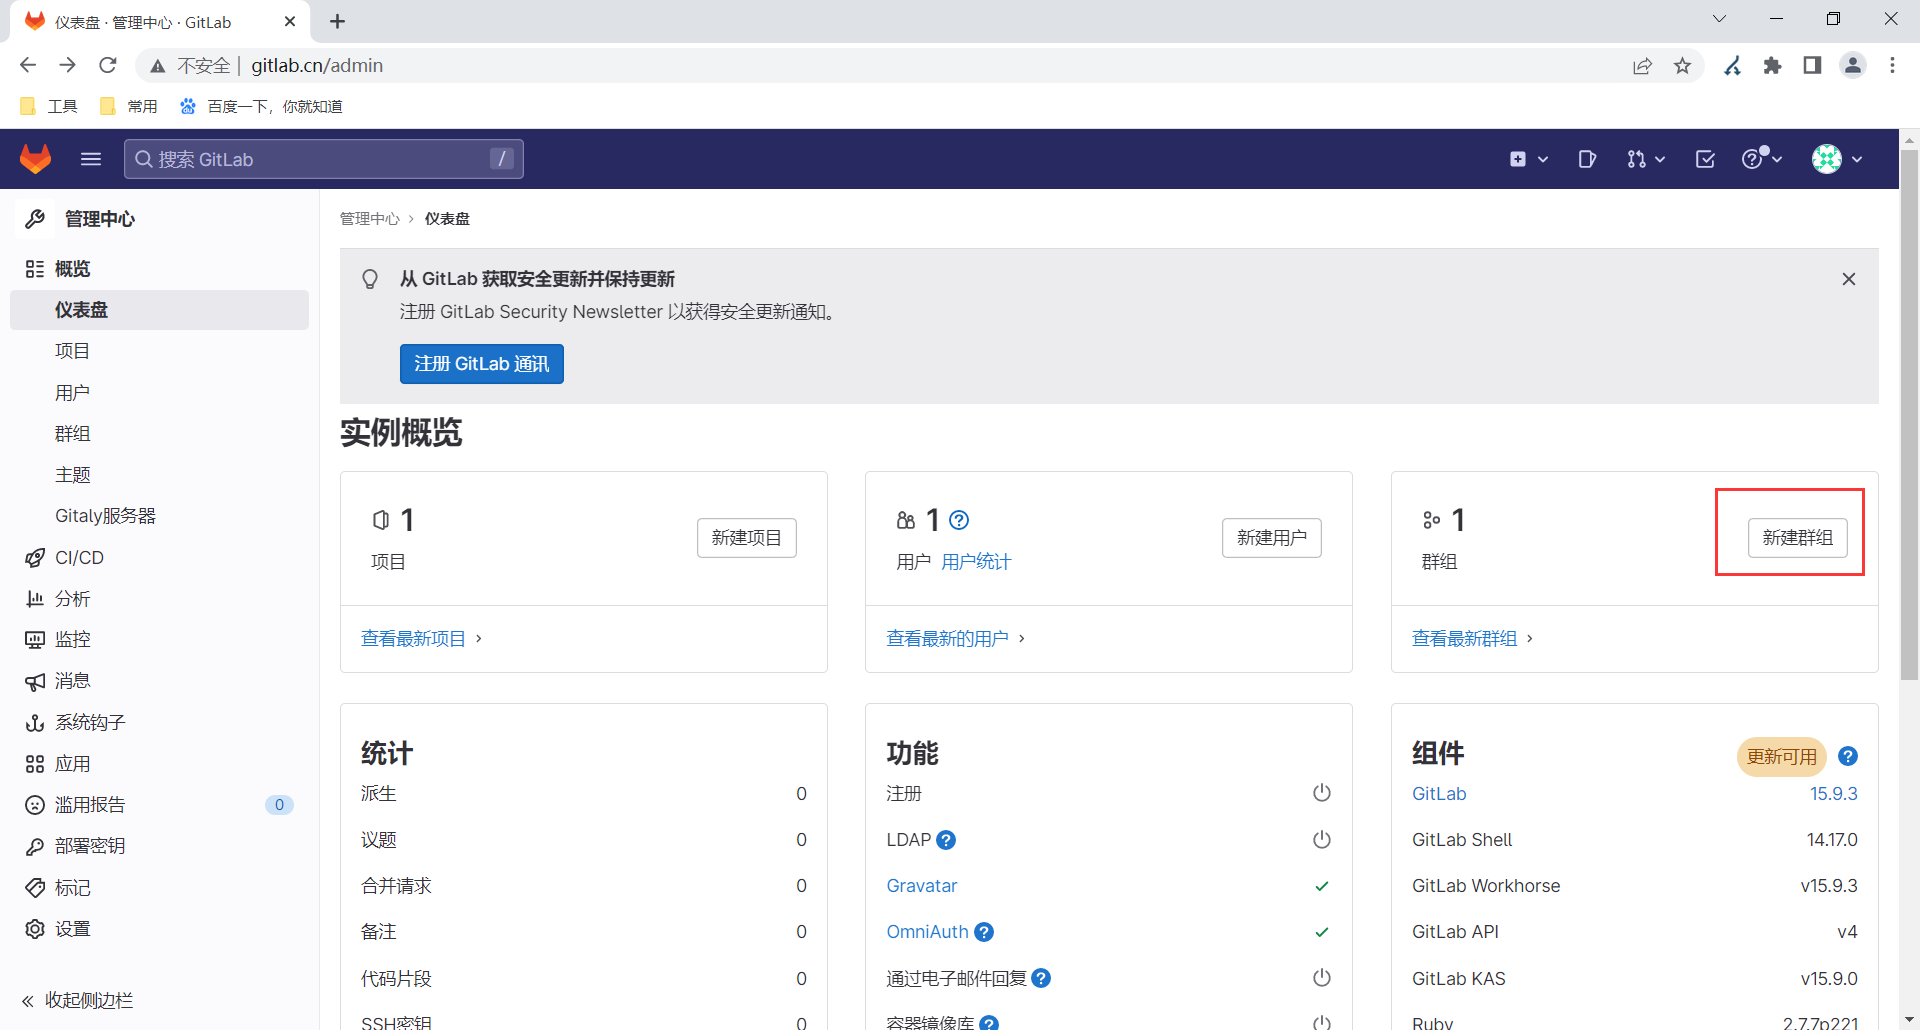
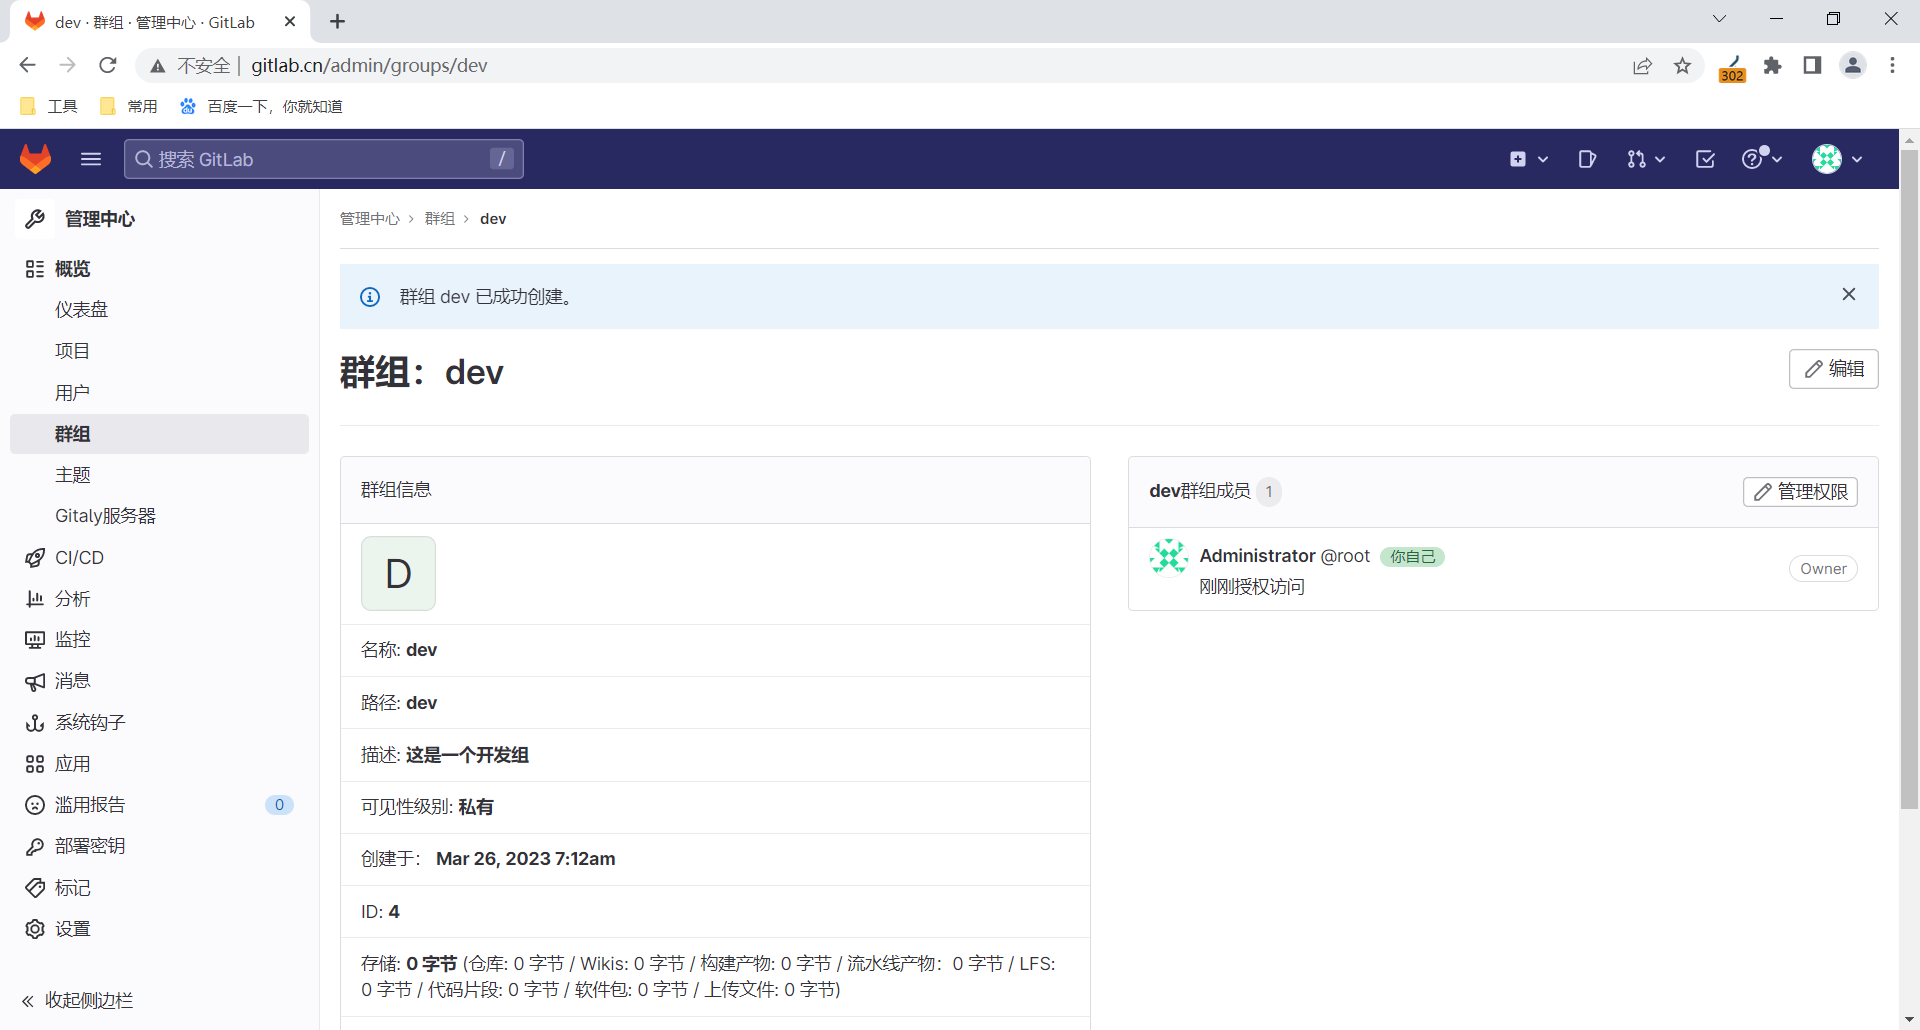
五、Gitlab用户与组
1.案例 创建用户组:dev

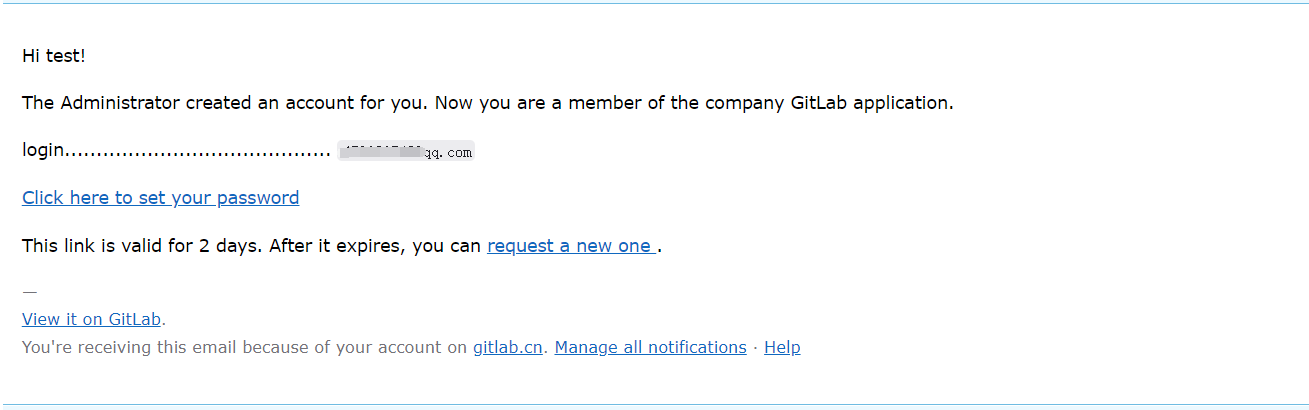
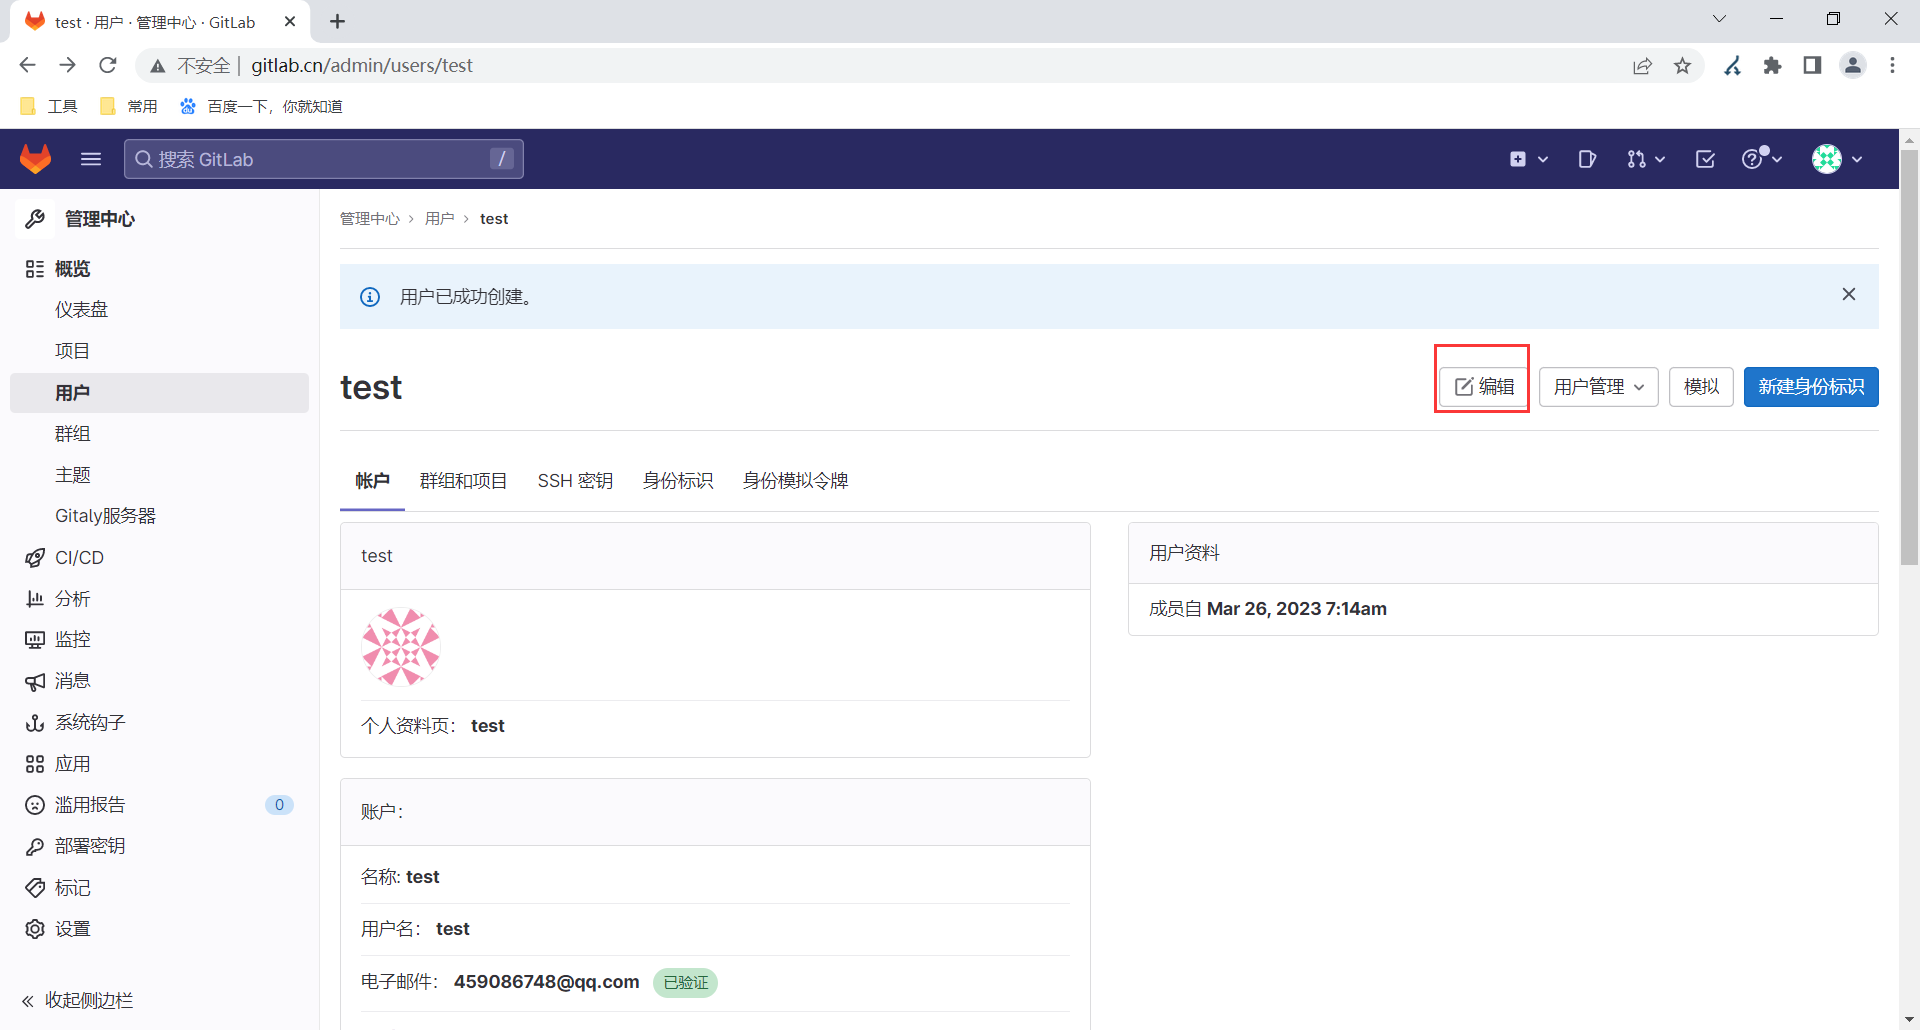
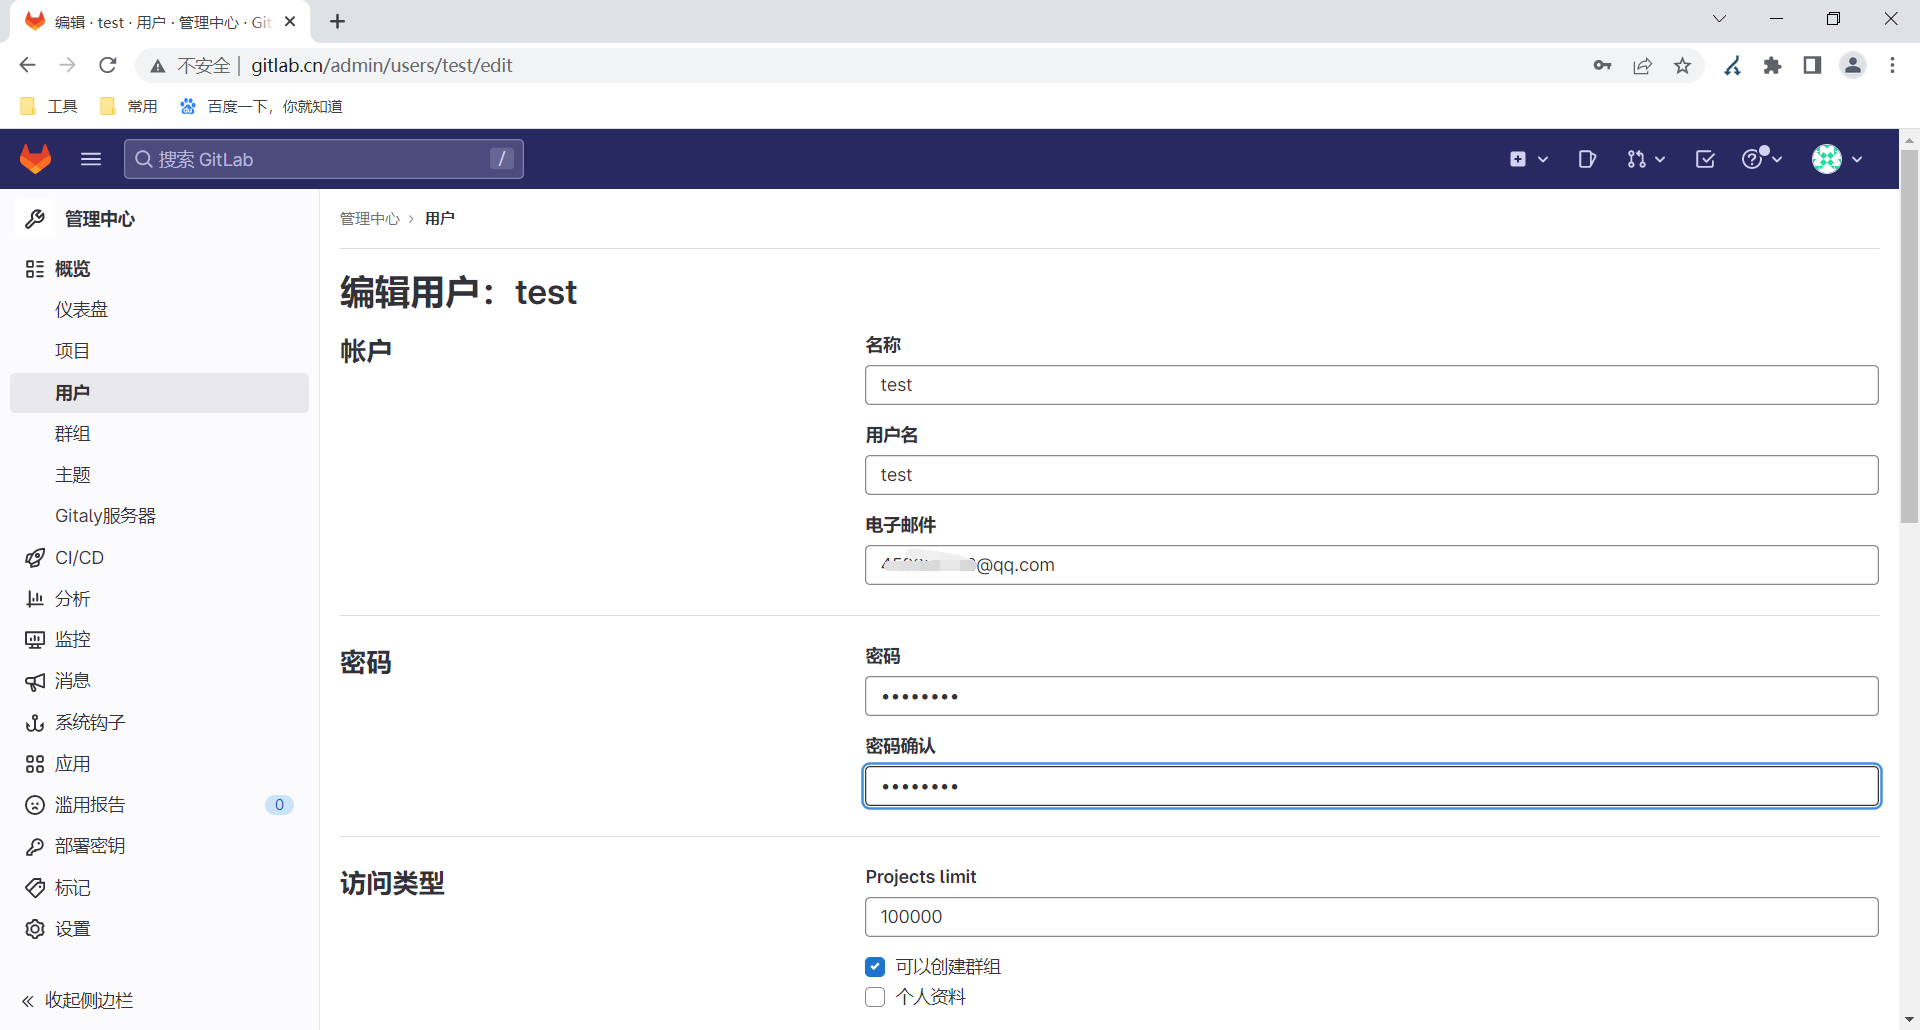
2.添加用户
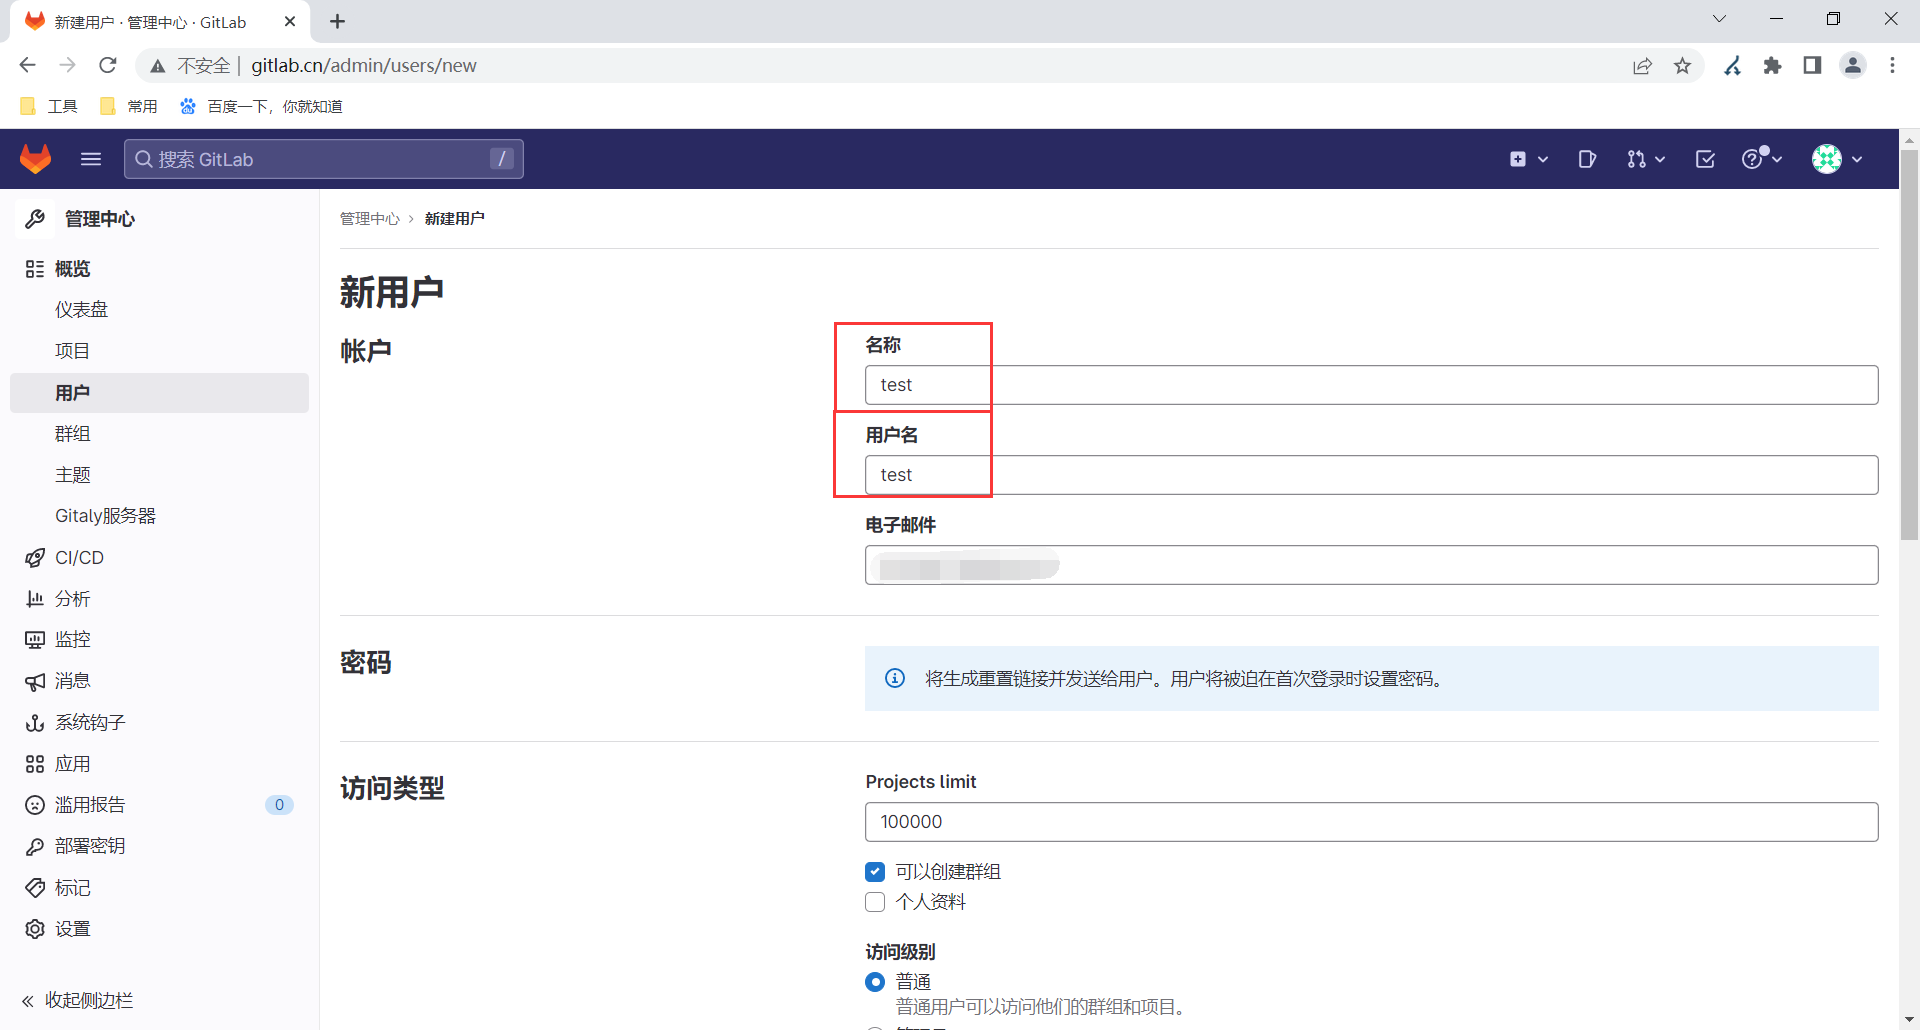
这个时候会有一封邮件,提示设置密码。也可以手动先设置一个
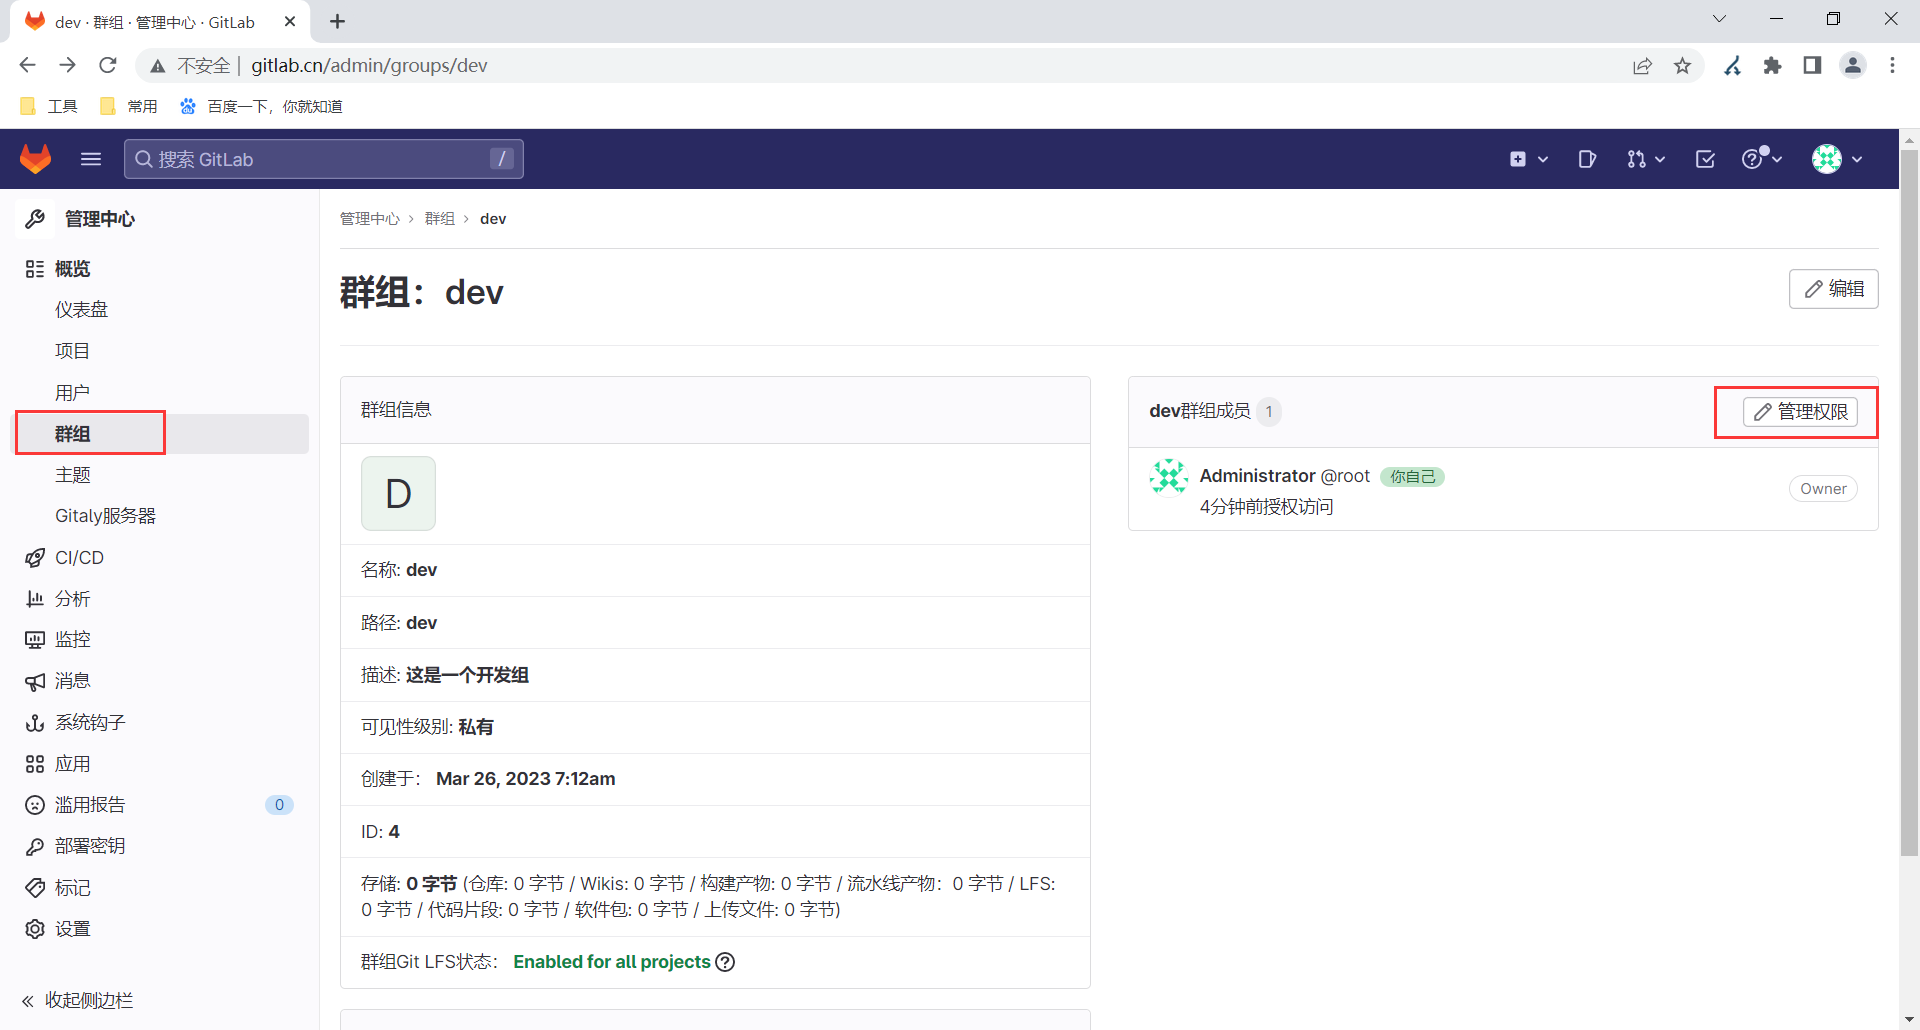
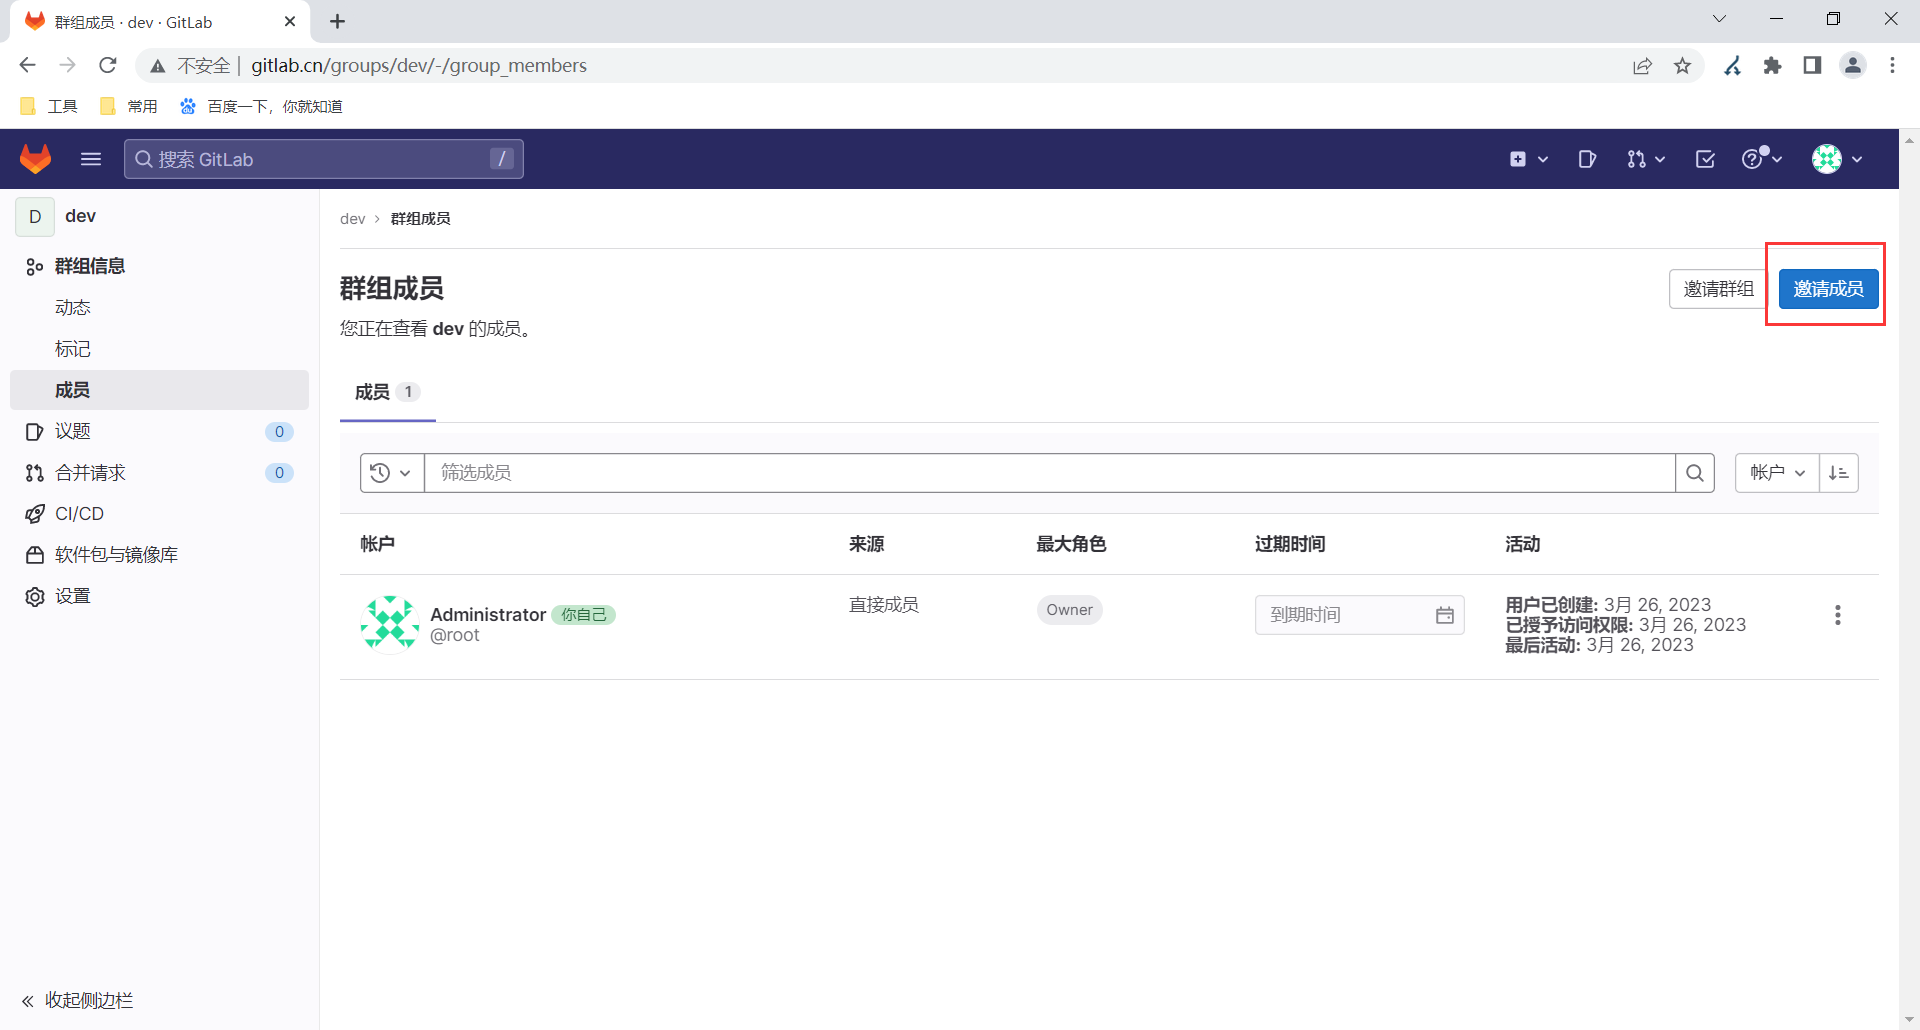
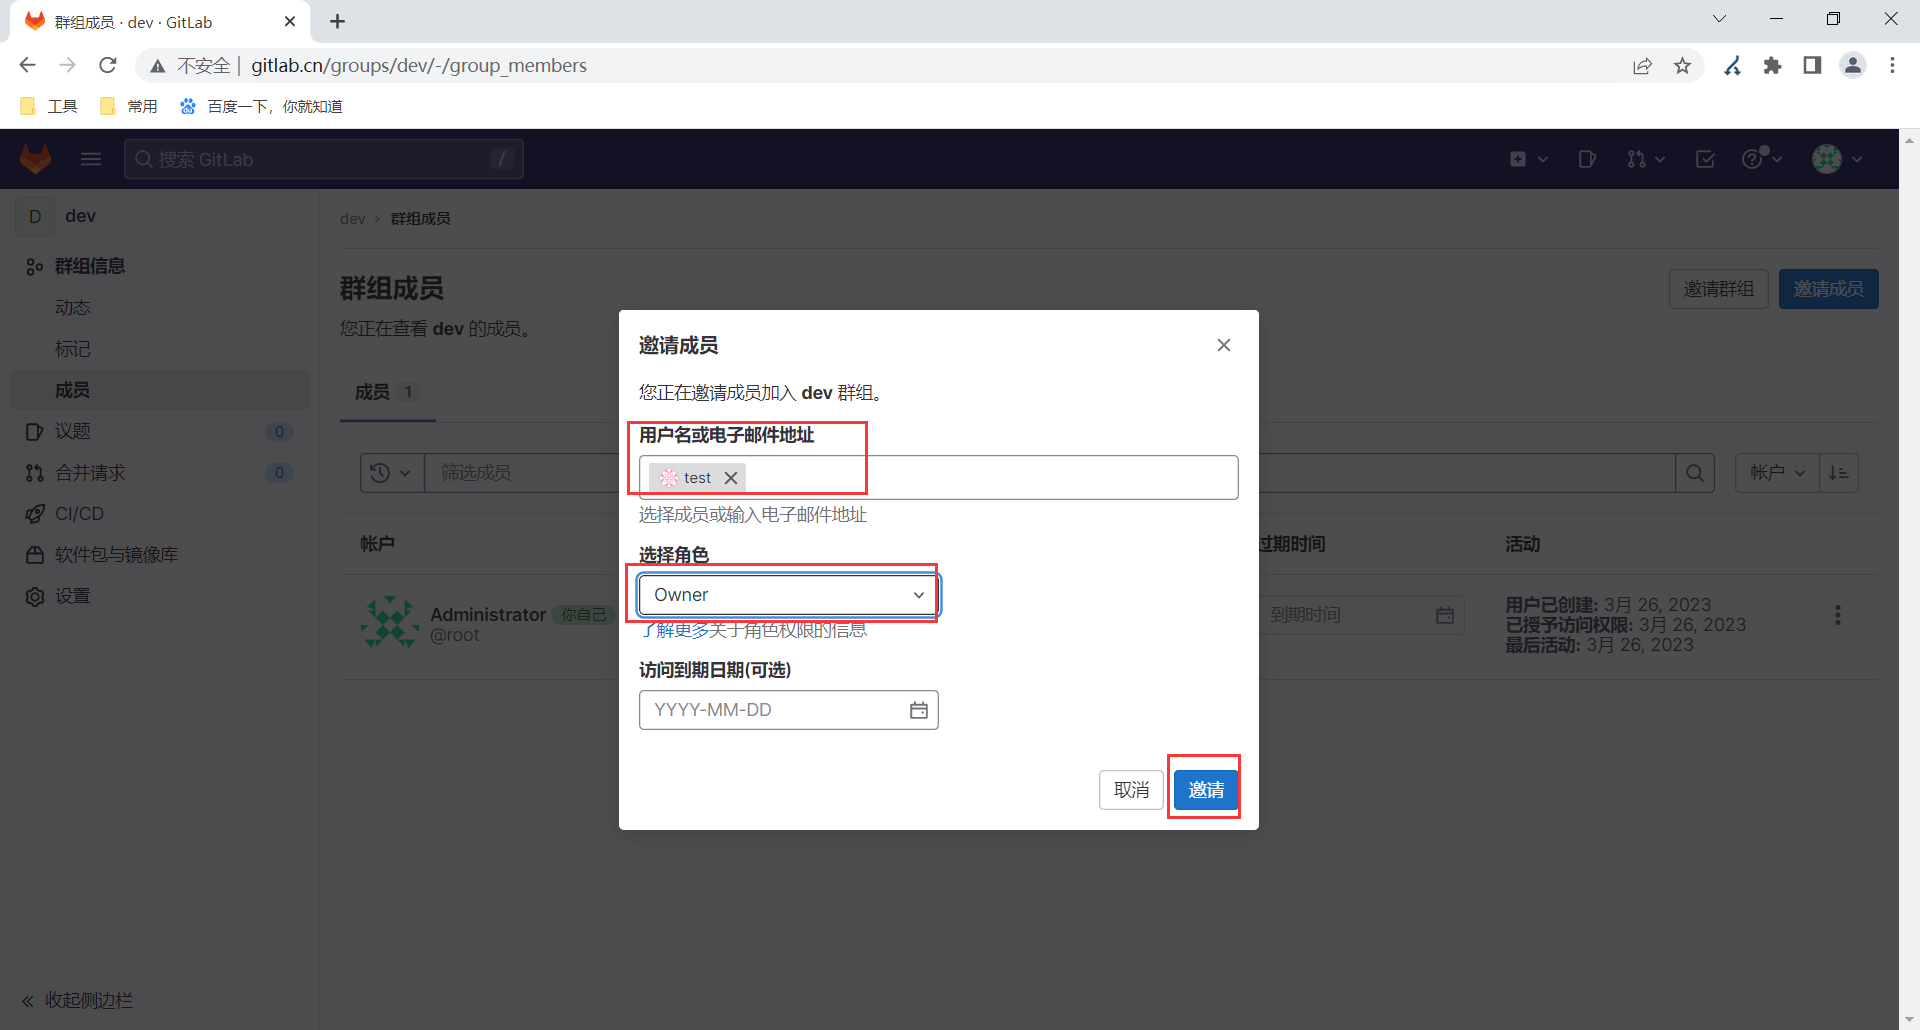
3.关联用户与用户组
进入群组中,选择邀请成员.权限注意要设置为owner权限.
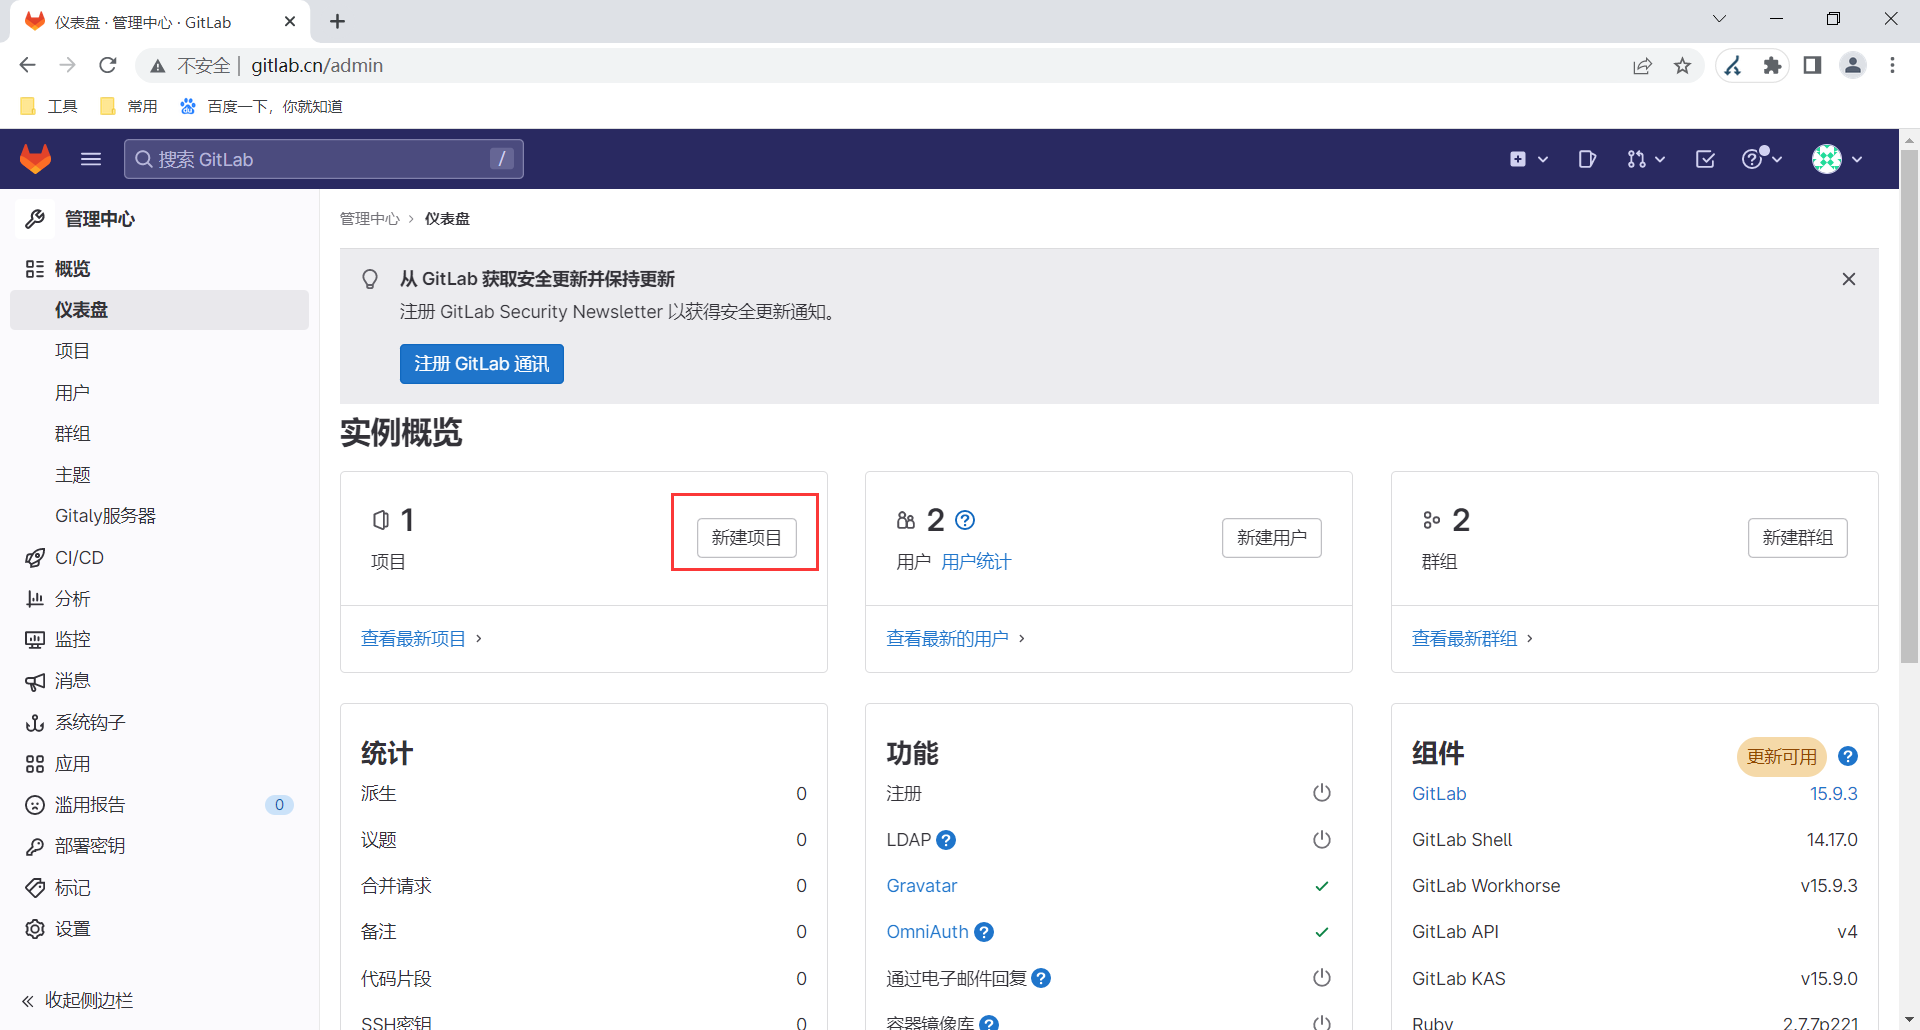
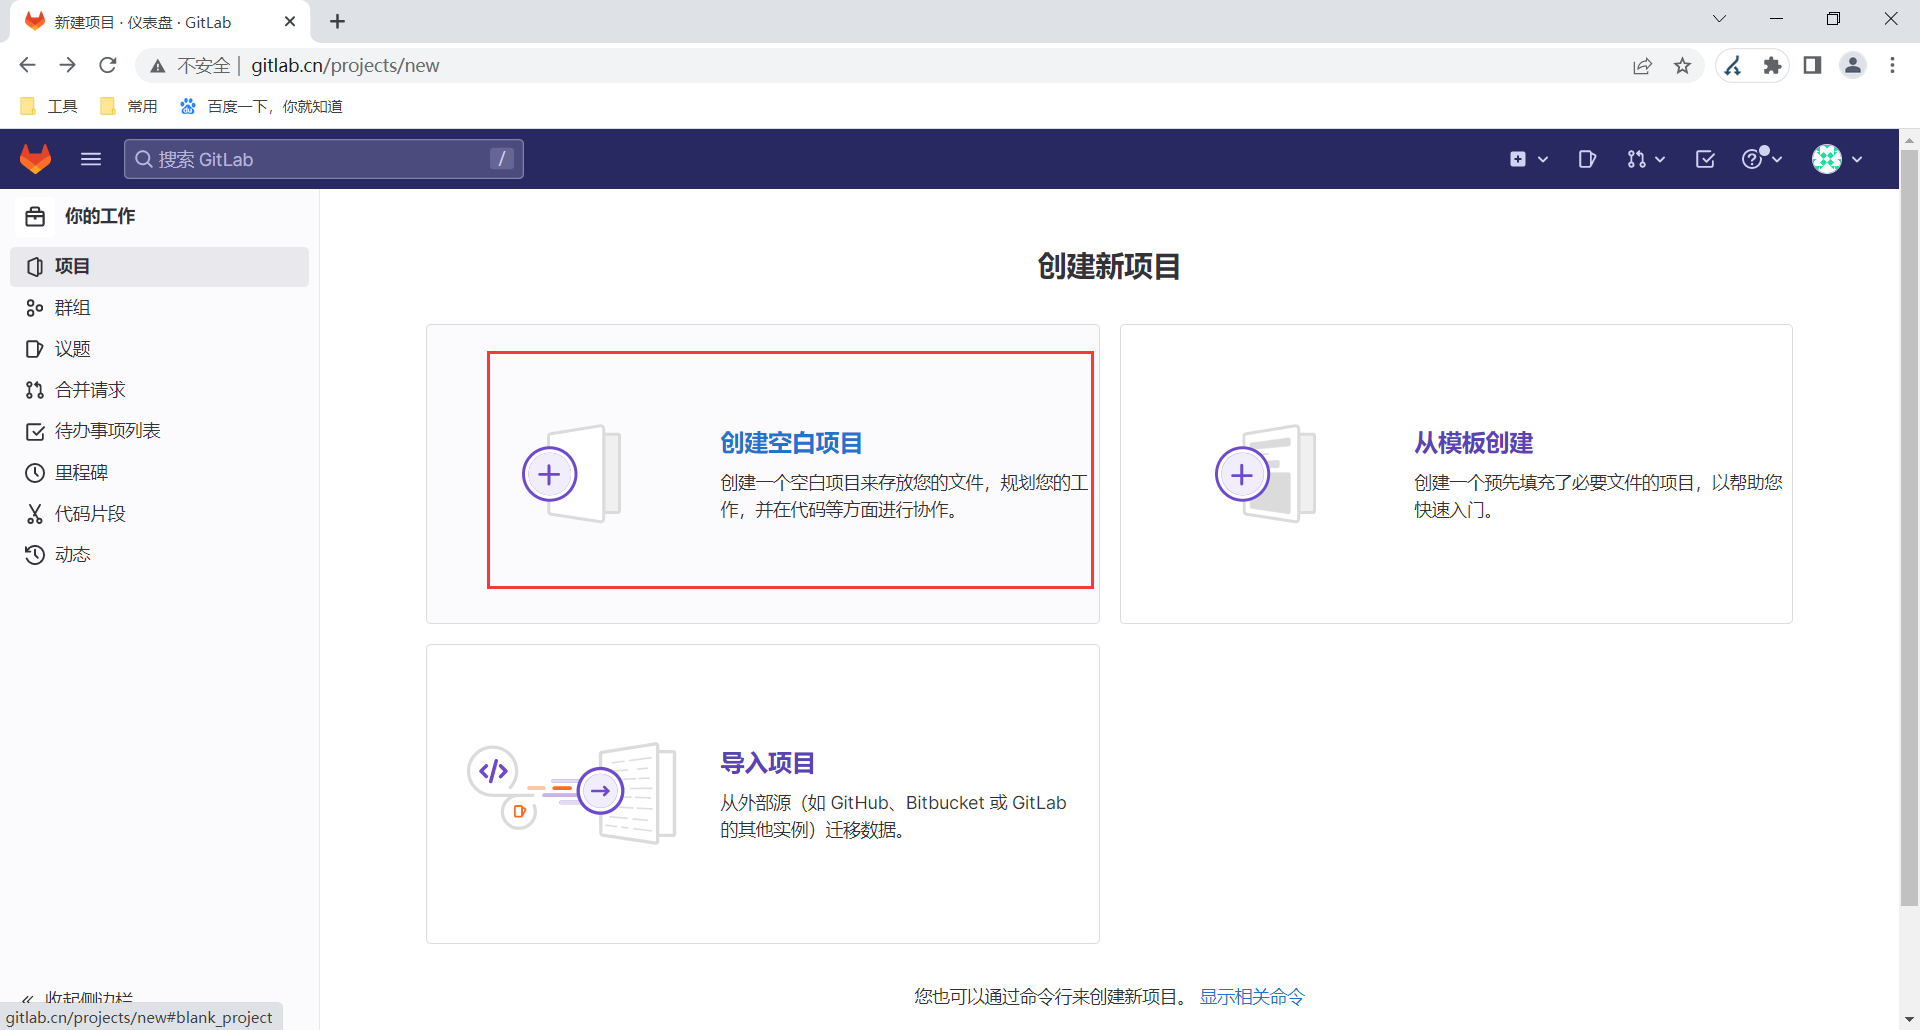
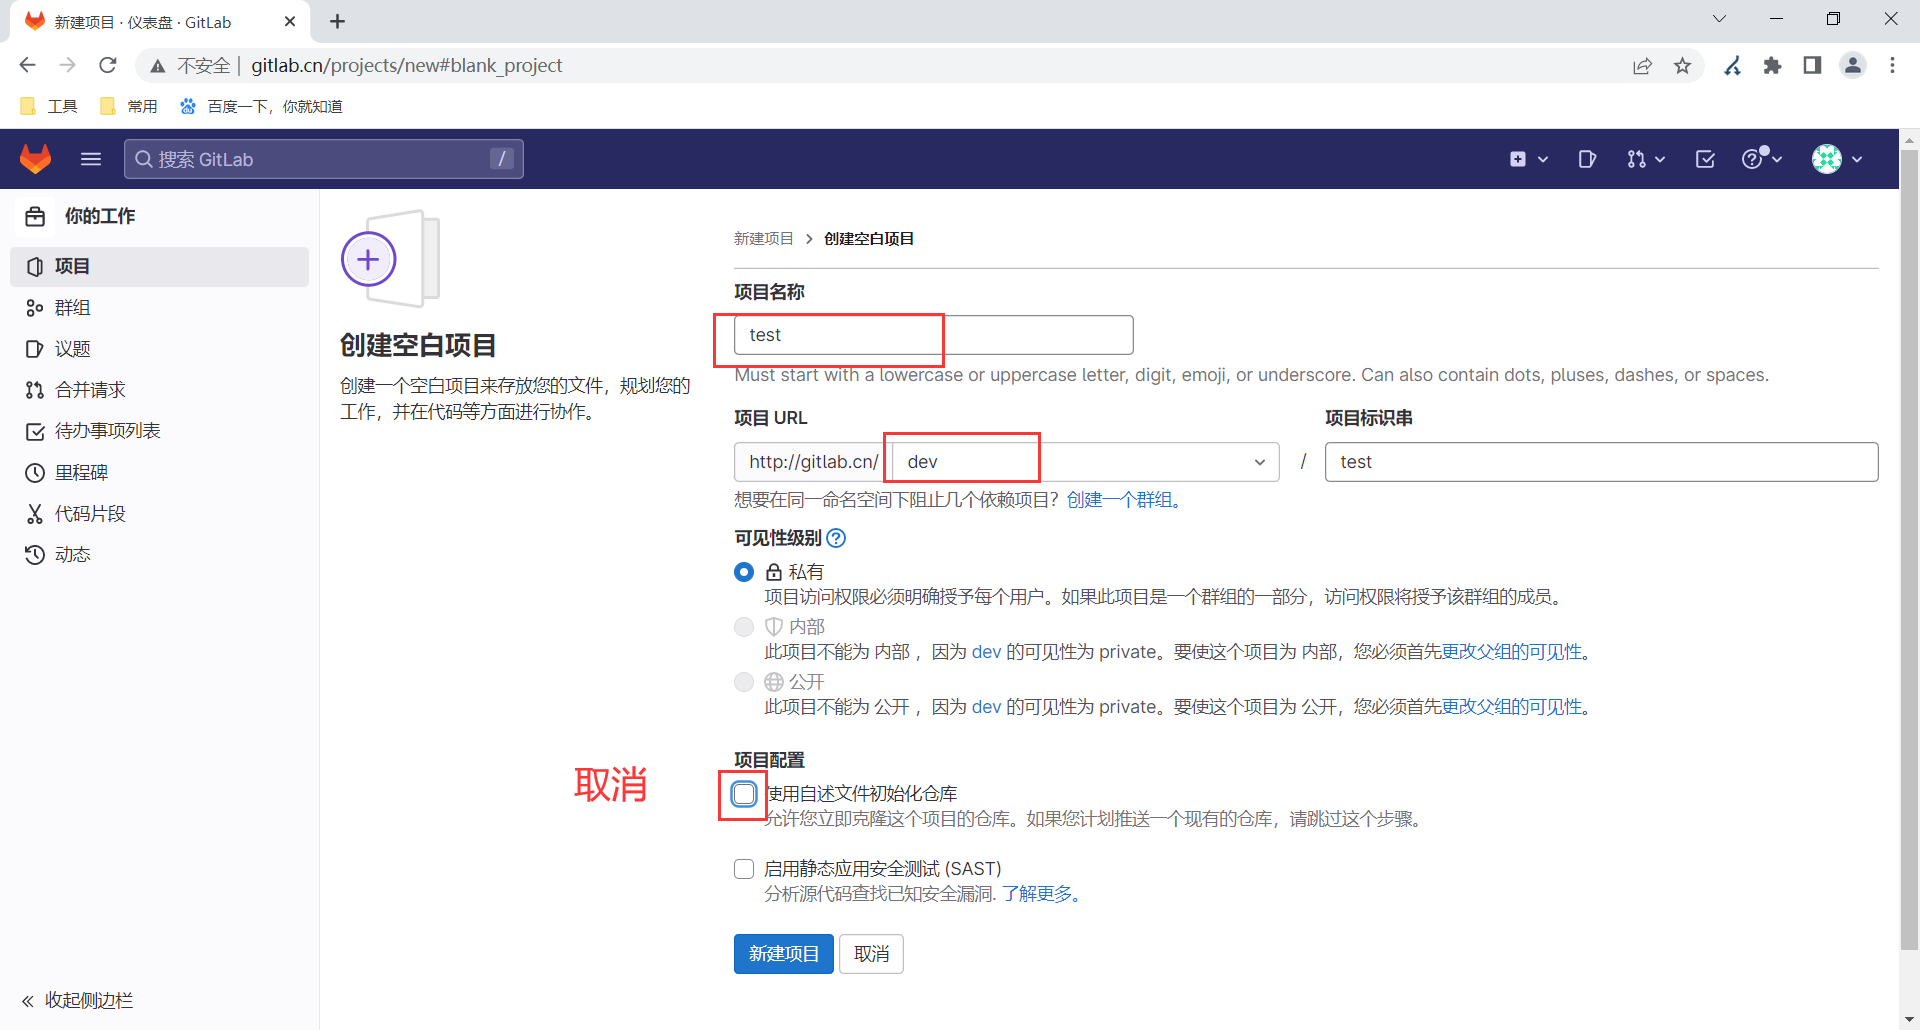
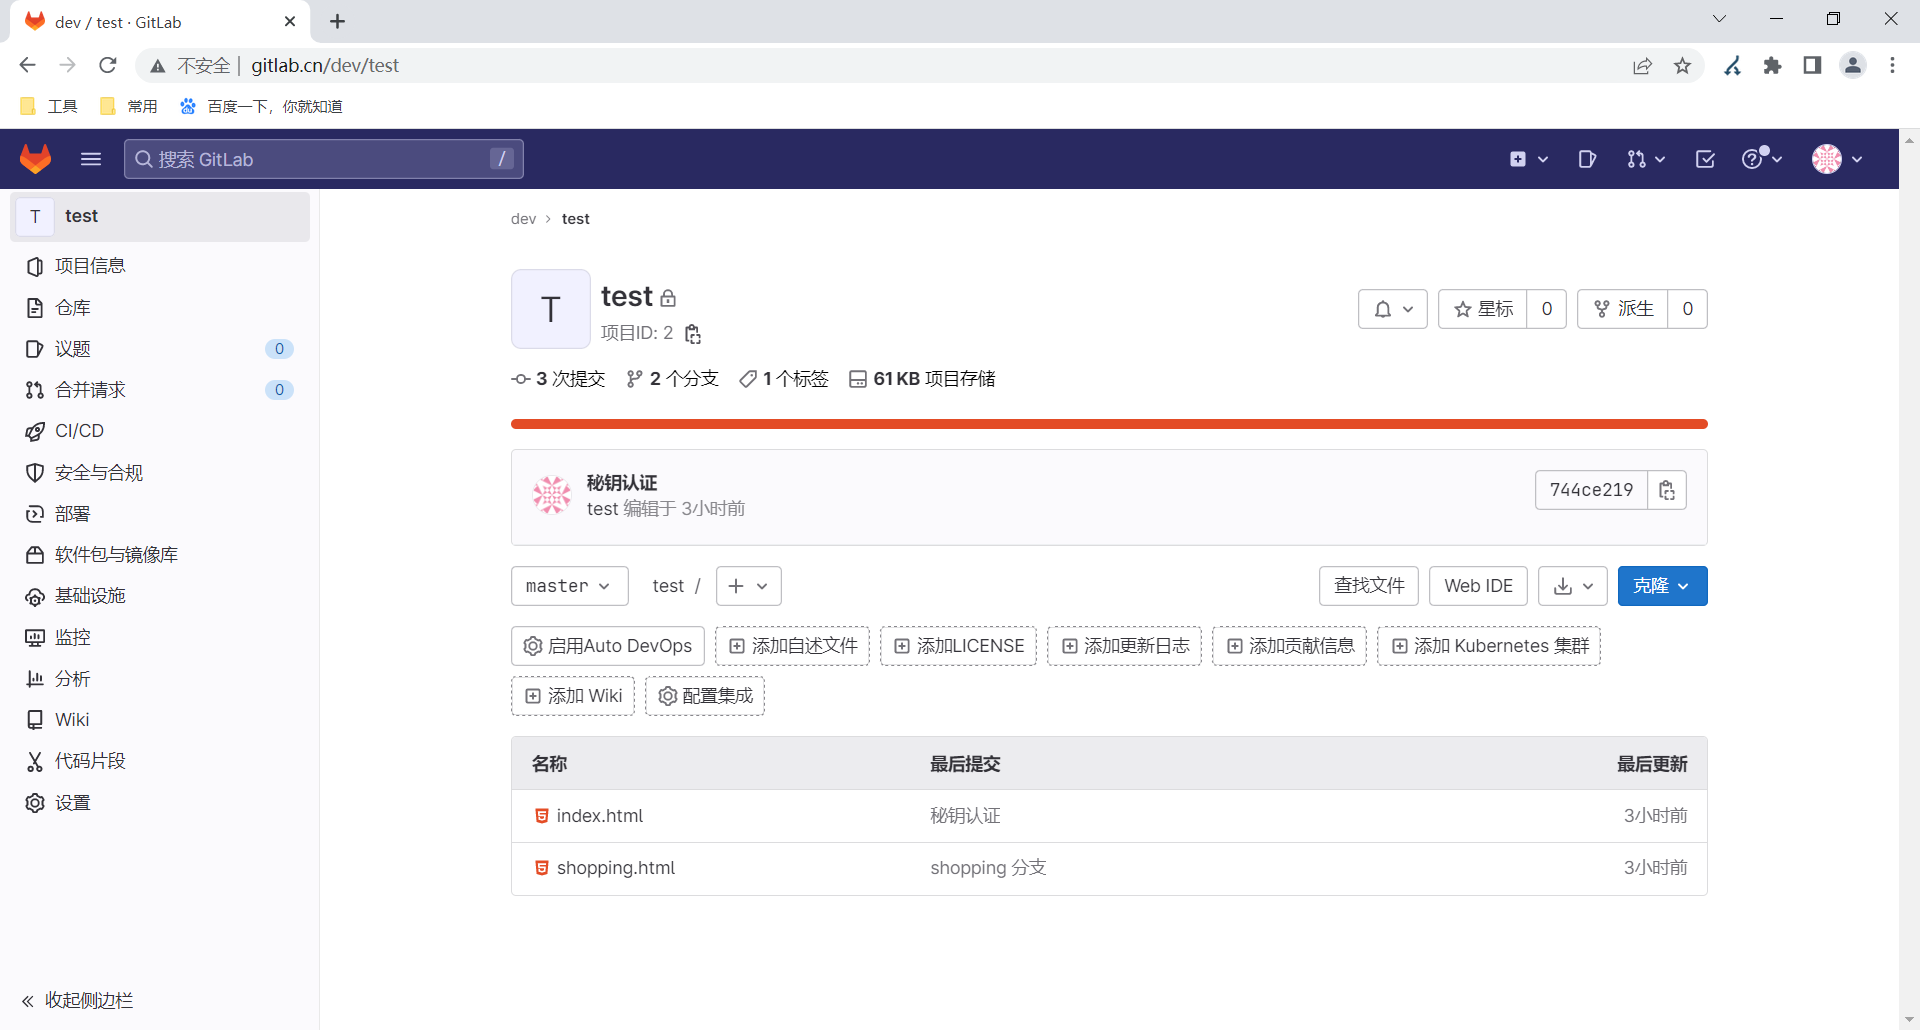
六、Gitlab项目
1.创建项目
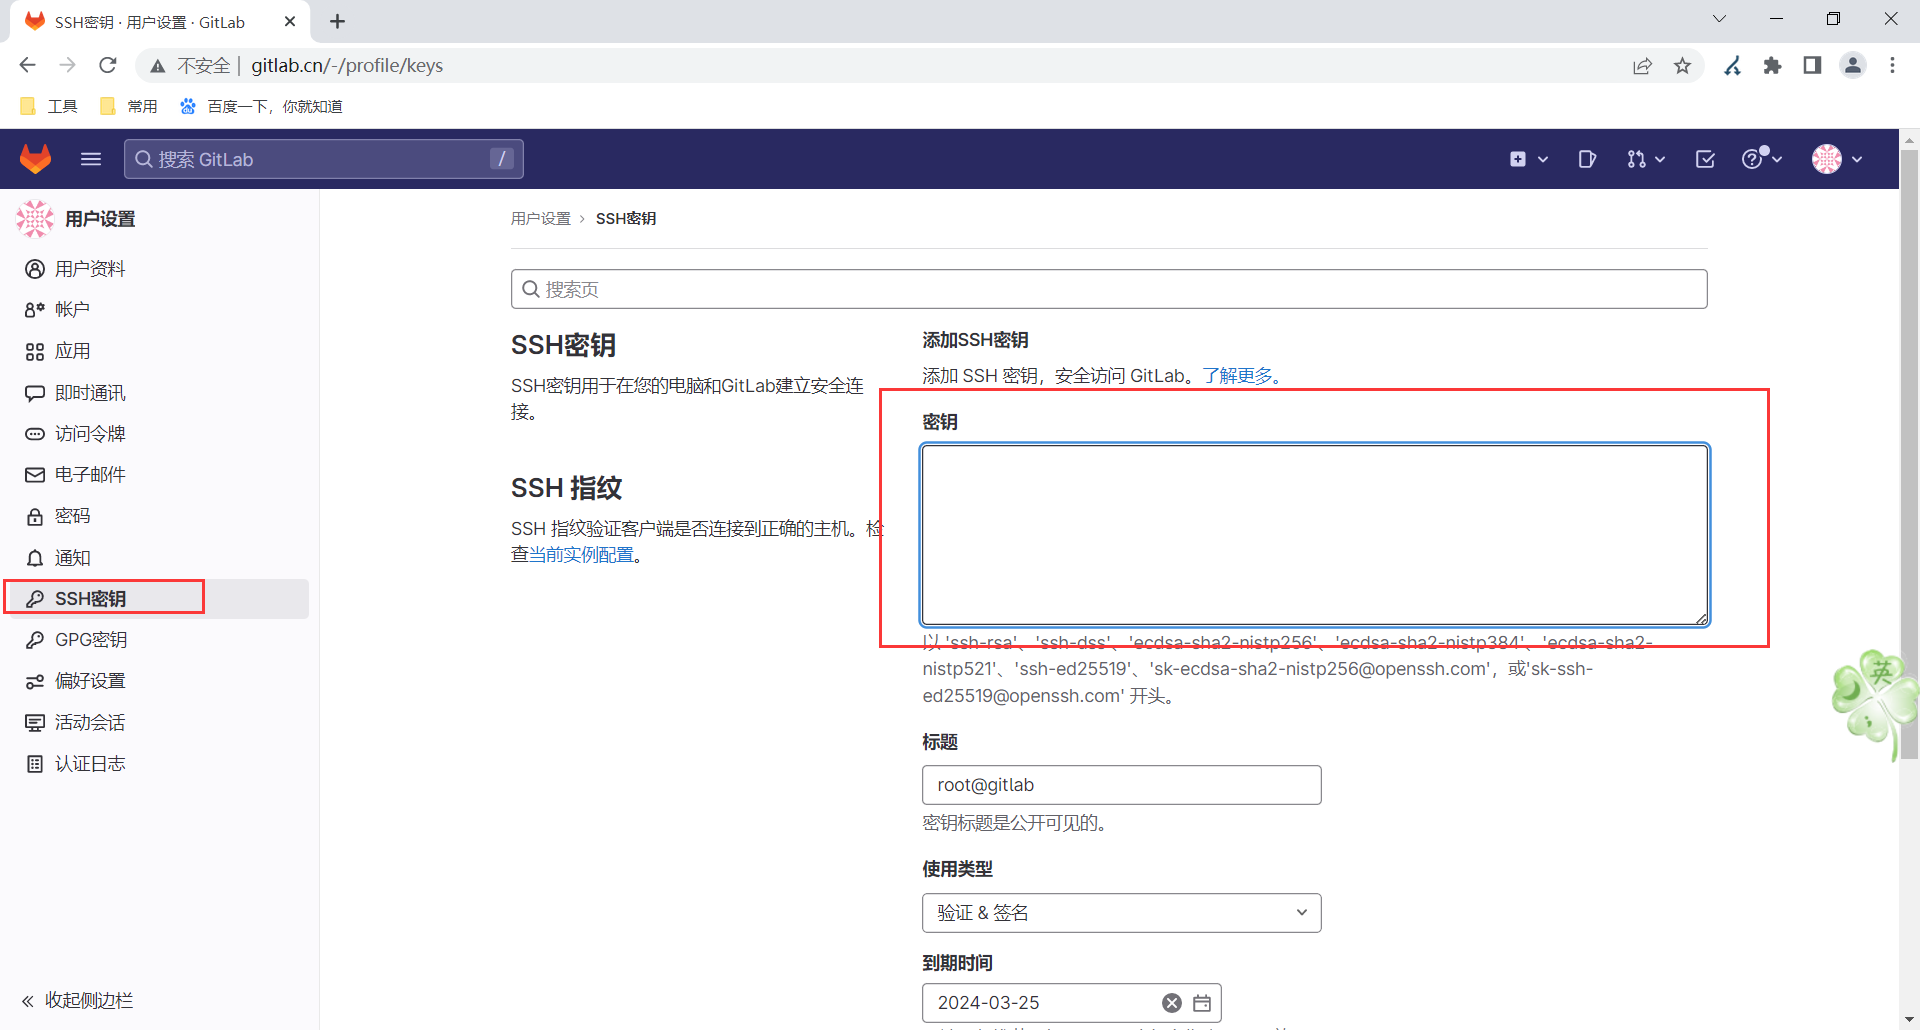
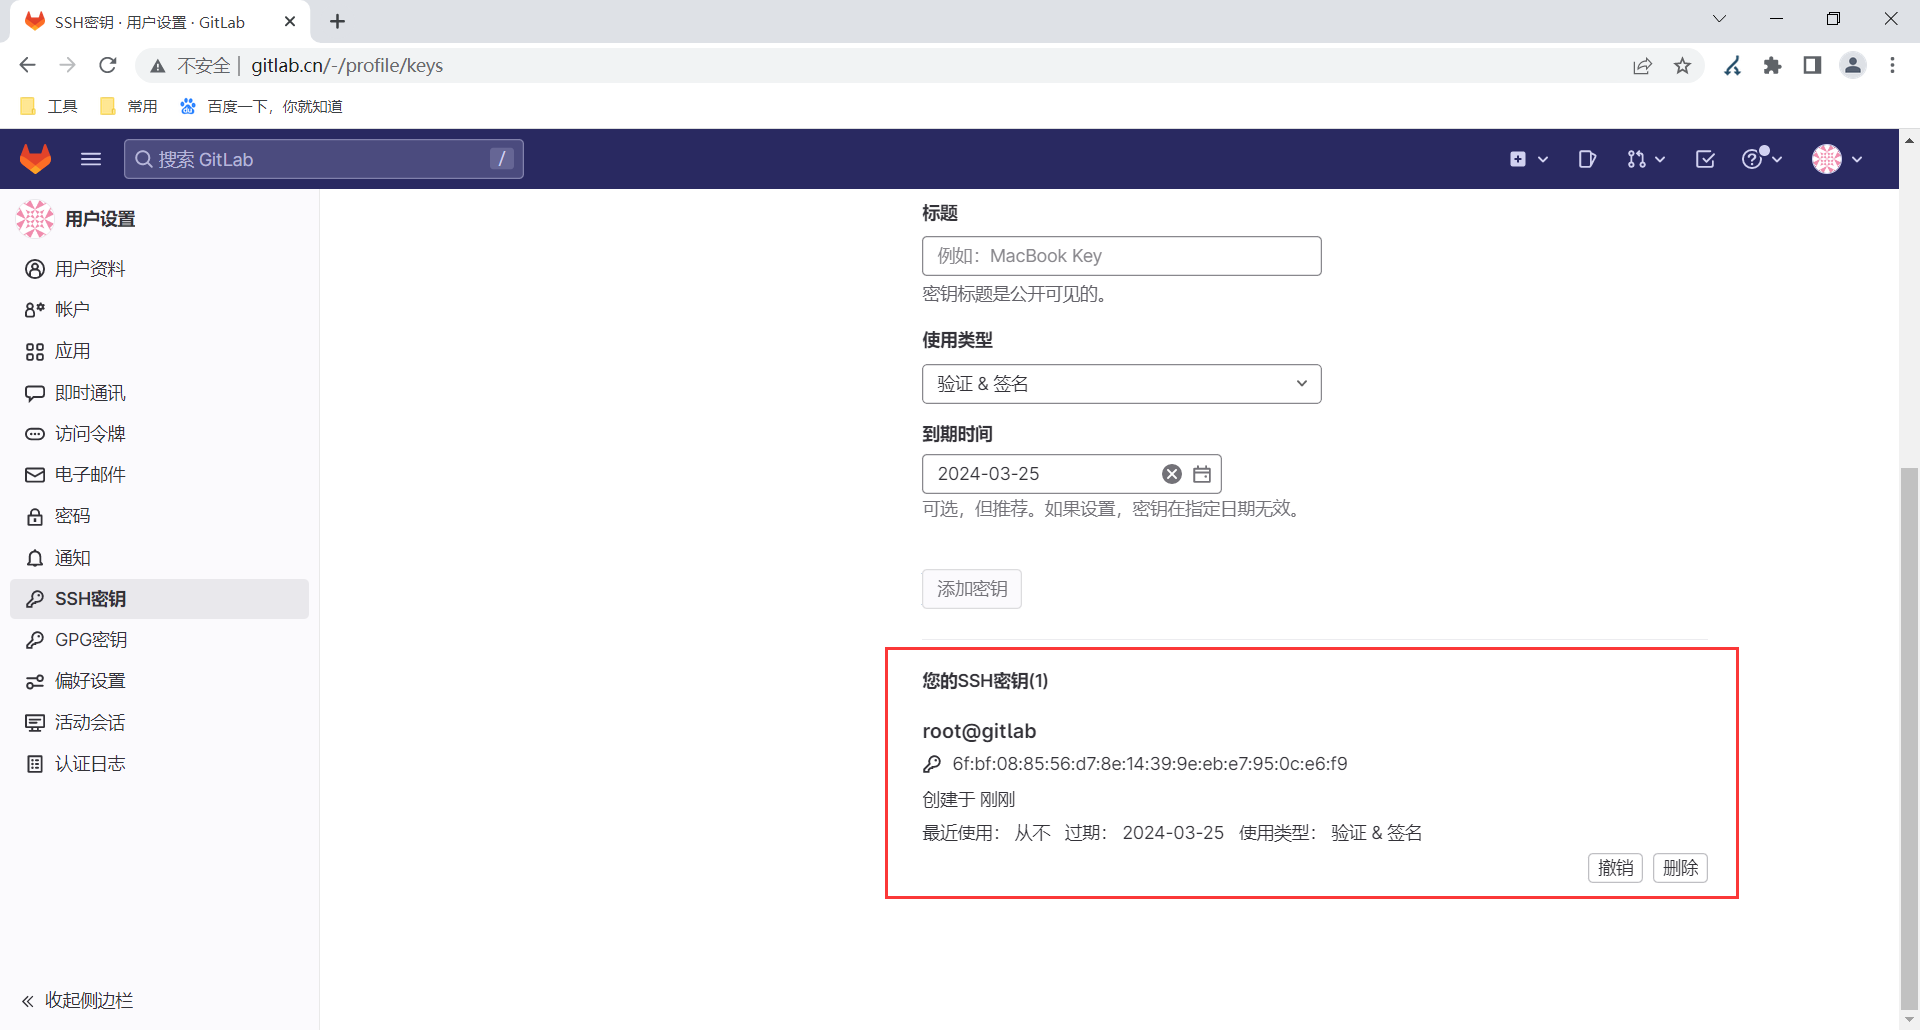
2.使用test用户推送代码
登录test用户
配置ssh公钥
3.推送代码
#推送现有的 Git 仓库
[root@gitlab ~]# cd /app/code/live-app/
[root@gitlab /app/code/live-app]#

#重命名已有的仓库
[root@gitlab /app/code/live-app]# git remote rename origin old-origin

#添加新的仓库地址
[root@gitlab /app/code/live-app]# git remote add origin git@gitlab.cn:dev/test.git

#推送所有分支
[root@gitlab /app/code/live-app]# git push -u origin --all
Counting objects: 9, done.
Compressing objects: 100% (5/5), done.
Writing objects: 100% (9/9), 773 bytes | 0 bytes/s, done.
Total 9 (delta 0), reused 0 (delta 0)
remote:
remote: To create a merge request for shopping, visit:
remote:   http://gitlab.cn/dev/test/-/merge_requests/new?merge_request%5Bsource_branch%5D=shopping
remote:
To git@gitlab.cn:dev/test.git
 * [new branch]      master -> master
 * [new branch]      shopping -> shopping
Branch master set up to track remote branch master from origin.
Branch shopping set up to track remote branch shopping from origin.

#推送所有标签
[root@gitlab /app/code/live-app]# git push -u origin --tags
Counting objects: 1, done.
Writing objects: 100% (1/1), 147 bytes | 0 bytes/s, done.
Total 1 (delta 0), reused 0 (delta 0)
To git@gitlab.cn:dev/test.git
 * [new tag]         v1.0 -> v1.0
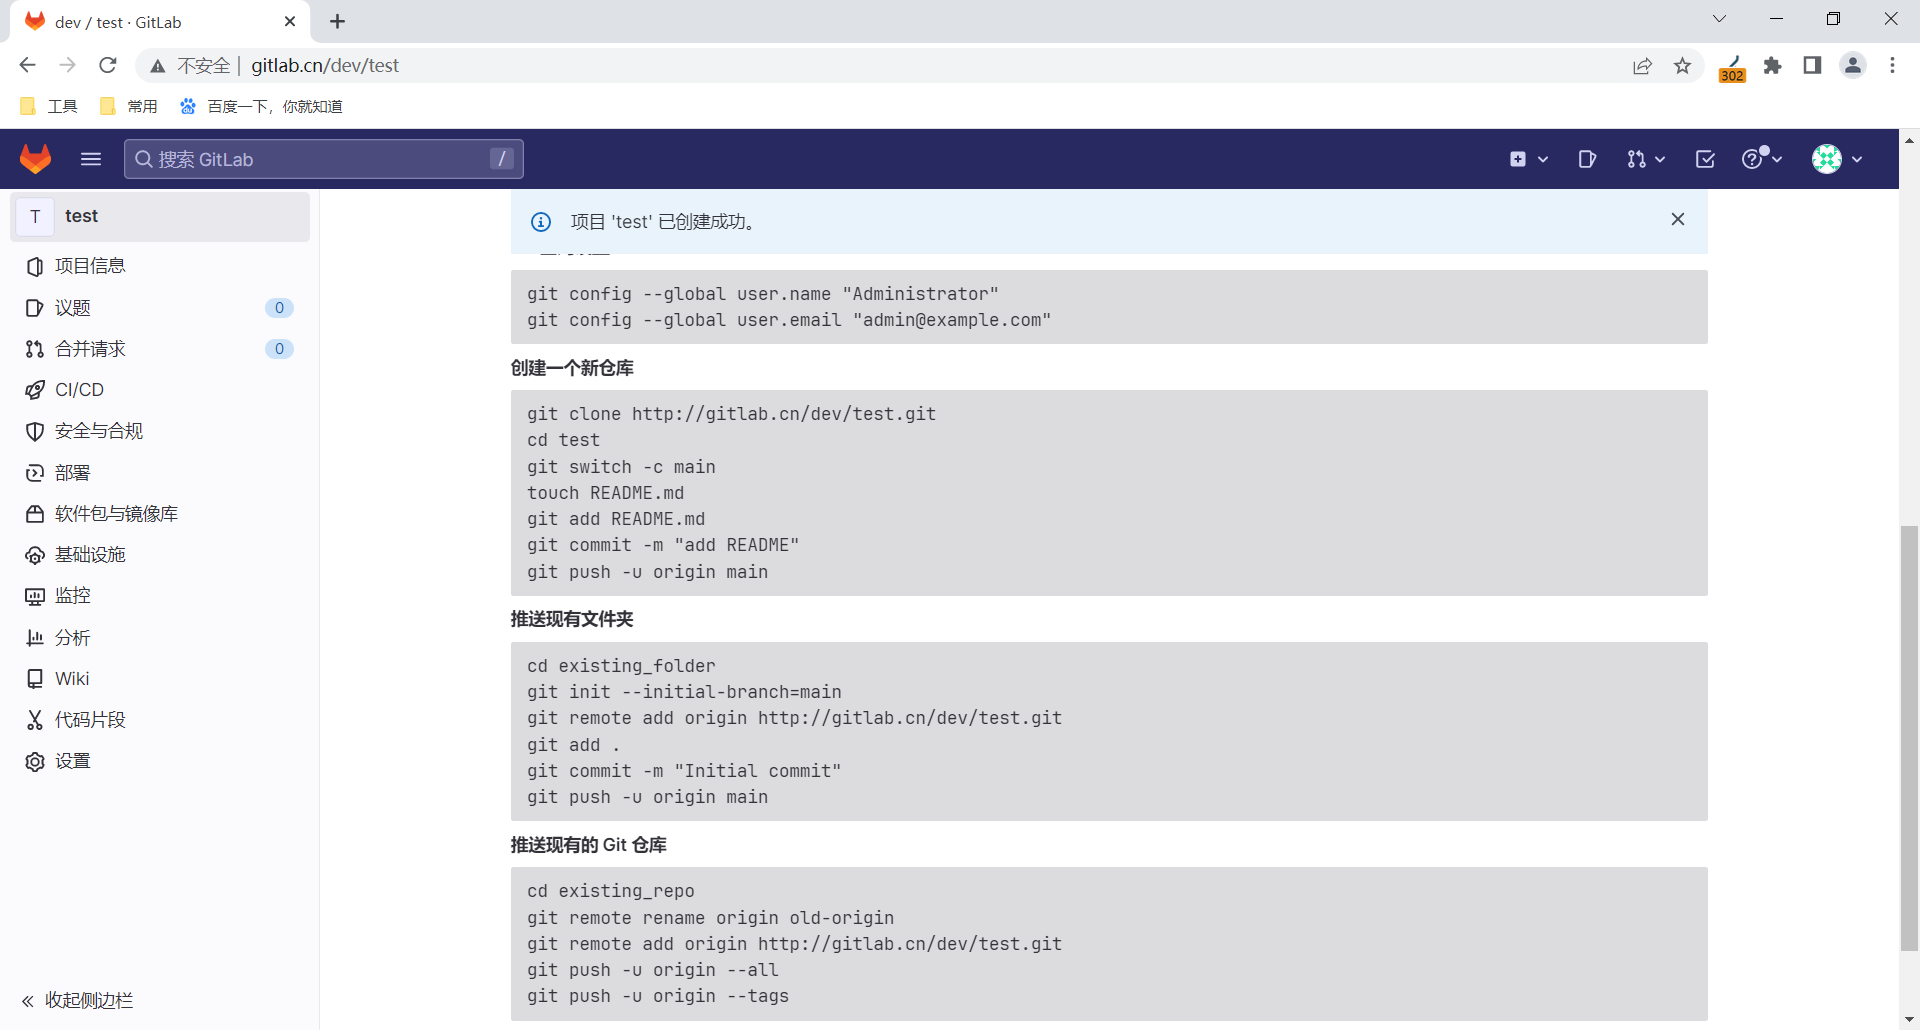
#Git 全局设置
git config --global user.name "{用户名}"
git config --global user.email "{邮箱}"
#创建一个新仓库
git clone git@gitlab.cn:dev/test.git
cd test
git switch -c main
touch README.md
git add README.md
git commit -m "add README"
git push -u origin main
#推送现有文件夹
cd existing_folder
git init --initial-branch=main
git remote add origin git@gitlab.cn:dev/test.git
git add .
git commit -m "Initial commit"
git push -u origin main
#推送现有的 Git 仓库
cd existing_repo
git remote rename origin old-origin
git remote add origin git@gitlab.cn:dev/test.git
git push -u origin --all
git push -u origin --tags

#推送的时候,如果邮箱在gitlab存在,显示gitlab的用户名。如果不存在,显示linux配置的全局用户名
七、Gitlab 备份与恢复
1.备份Gitlab服务的配置
/etc/gitlab目录下所有内容即可
2.备份Gitlab里面的内容
[root@gitlab ~]# cat /etc/gitlab/gitlab.rb
external_url 'http://gitlab.cn'
#修改接下来的4行
gitlab_rails['manage_backup_path'] = true
#备份目录
gitlab_rails['backup_path'] = "/var/opt/gitlab/backups"
#备份的权限
gitlab_rails['backup_archive_permissions'] = 0644
#备份的时间,默认7天
gitlab_rails['backup_keep_time'] = 604800
gitlab_rails['smtp_enable'] = false
gitlab_rails['registry_enabled'] = false
registry['enable'] = false
prometheus['enable'] = false
alertmanager['enable'] = false
node_exporter['enable'] = false
redis_exporter['enable'] = false
postgres_exporter['enable'] = false
gitlab_exporter['enable'] = false
prometheus_monitoring['enable'] = false
#生成配置文件
[root@gitlab ~]# gitlab-ctl reconfigure
[root@gitlab ~]# gitlab-ctl restart

[root@gitlab ~]# rm -f /etc/gitlab/initial_root_password
[root@gitlab ~]# gitlab-backup create
3.手动备份
#GitLab 版本>=12.2
gitlab-backup create
#GitLab 版本<=12.1:
gitlab-rake gitlab:backup:create

[root@gitlab /app/code/live-app]# rm -f /etc/gitlab/initial_root_password
[root@gitlab /app/code/live-app]# gitlab-backup create
[root@gitlab ~]# ll /var/opt/gitlab/backups/
total 412
-rw-r--r-- 1 git git 419840 Mar 27 09:03 1679879010_2023_03_27_15.9.3_gitlab_backup.tar
⚠ 对于gitlab.rb 和gitlab-secrets.json包含敏感信息,需要手动备份.
4.恢复
#停止写入类服务
gitlab-ctl  stop unicorn   #旧版本还需要停止这个服务
gitlab-ctl  stop sidekiq

# gitlab-rake恢复 (不需要加tar)
#新版本GitLab 版本>=12.2:
gitlab-backup restore                BACKUP=1679879010_2023_03_27_15.9.3
#旧版本GitLab 版本<=12.1:
gitlab-rake gitlab:backup:restore    BACKUP=备份文件名字不包含右边内容_gitlab-backup.tar

[root@gitlab ~]# gitlab-ctl  stop  sidekiq
ok: down: sidekiq: 0s, normally up
[root@gitlab ~]# gitlab-backup restore    BACKUP=1679879010_2023_03_27_15.9.3
[root@gitlab ~]# gitlab-ctl  start  sidekiq
#或者
[root@gitlab ~]# gitlab-ctl restart
5.自动备份
#1.备份gitlab数据
gitlab-backup create
#2.备份gitlab配置和密码文件
tar zcf /backup/gitlab/gitlab-conf-$(date +%F).tar.gz   /etc/gitlab/
#3. 传输到备份服务器
rsync xxx
#写入定时任务
00 03 * * * sh /server/scripts/backup-gitlab.sh &>/dev/null
八、 迁移与升级
需要遵循以下升级步骤以确保主版本升级成功:
1.升级至之前主要版本的最新次要版本。
2.升级到目标主要版本的第一个次要版本(X.0.Z)。
3.继续升级到较新的版本。
九、配置Https
为了防止内网渗透,将gitlab服务的访问添加了ssl,具体步骤如下:
#1.gitlab配置https(请先做个快照.)
external_url 'https:gitlab.cn'
nginx[' enable' ] = true
nginx['client_max_body_size' ]= '250m '
nginx['redirect_http_to_https' ]= true
nginx[' redirect_http_to_https _port' ] = 443
nginx['ssl_certificate' ] = "path/ key.crt"
nginx['ssl_certificate_key'] = "path/ key.key"
nginx['ssl_ciphers' ] ="ECDHE-RSA-AES256-GCMSHA384:ECDHE-RSA-AES128-GCM-SHA256"
nginx['ssl_prefer_server_ciphers']= "on"
nginx['ssl_protocols']= "TLSv1.2"
nginx['ssl_session_cache ' ] ="builtin:1000shared:sSL: 10m"
nginx['ssl_session_timeout']= "5m"


nginx['ssl_certificate' ] =用于指定证书 .crt .pem
nginx['ssl_certificate_key']  = 用于指定私钥 .key

2.gitlab重新初始化
gitlab-ctl reconfigure
3.重建配置
gitlab-ctl restart
十、邮件
1.配置邮箱 (发件人)
#配置发件人
51 Email Settings
52 gitlab_rails['gitlab_email_enabled'] = true
53 gitlab_rails['gitlab_email_from'] ='xxxx@163.com'
54 gitlab_rails['gitlab_email_display_name'] ='gitlab_tongzhi'
#配置详细发件人信息
513  GitLab email server settings
514 ! Docs:https:docs.gitlab.com/omnibus/settings/smtp.html
515 ! **Use smtp instead of sendmail/postfix.**
516
517 gitlab_rails['smtp_enable'] = true
518 gitlab_rails['smtp_address'] = "smtp.163.com"
519 gitlab_rails['smtp_port'] = 465
520 gitlab_rails['smtp_user_name'] ="xxxx@163.com"
521 gitlab_rails['smtp_password'] = "????授权码"
522 gitlab_rails['smtp_domain'] = "163.com"
523 gitlab_rails['smtp_authentication'] = "login"
524 gitlab_rails['smtp_enable_starttls_auto'] =true
525 gitlab_rails['smtp_tls'] = true

gitlab-ctl reconfigure
gitlab-ctl restart