12_How to deploy Flask apps on Ubuntu VPS Using gunicorn and Ngnix

发布时间 2023-06-07 22:16:48作者: 漫漫长路


地址:https://www.codewithharry.com/blogpost/flask-app-deploy-using-gunicorn-nginx/


How to deploy flask app on Ubuntu VPS using Nginx and gunicorn

In this post, we will see how to deploy flask applications using gunicorn WSGI server and nginx as a reverse proxy and static files server.

Follow the steps below:

Step 1 - Install required packages

sudo apt update

Now let's install python3, python3-pip, and Nginx using the commands below:

sudo apt install python3-pip python3-dev nginx

Step 2 - Creating a directory (for our flask app) and virtual environment

Let's install virtualenv

sudo pip3 install virtualenv

Lets now create a directory to host our flask application

mkdir myFlaskApp && cd myFlaskApp

run the following command to create a virtual environment named env

virtualenv env

Finally activate the virtual environment

source env/bin/activate

Lets now install flask and gunicorn using pip

pip3 install flask gunicorn

Step 3 - Creating a sample project and wsgi entry point

Let us now create a sample project by entering the command below:

vim app.py

Paste the contents below to app.py file

from flask import Flask
app = Flask(__name__)
@app.route('/')
def hello_world():
    return "Hello World!"
if __name__ == '__main__':
    app.run(debug=True,host='0.0.0.0')

Next, we’ll create a file that will serve as the entry point for our application. This will tell our Gunicorn server how to interact with the application.

vim wsgi.py

copy the contents below to wsgi.py

from app import app

if __name__ == "__main__":
    app.run()

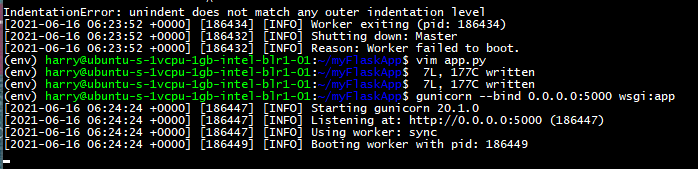
We can test gunicorn's ability to serve our project by running the command below:

gunicorn --bind 0.0.0.0:5000 wsgi:app

Folder structure so far:

myFlaskApp
  |____ app.py
  |____ wsgi.py
  |____ env

Lets deactivate our virtual environment now:

deactivate

Step 4 - Creating a systemd service

Lets now create a systemd service using the following commands:

vim /etc/systemd/system/app.service

Now paste the contents below to this file:

[Unit]
#  specifies metadata and dependencies
Description=Gunicorn instance to serve myproject
After=network.target
# tells the init system to only start this after the networking target has been reached
# We will give our regular user account ownership of the process since it owns all of the relevant files
[Service]
# Service specify the user and group under which our process will run.
User=harry
# give group ownership to the www-data group so that Nginx can communicate easily with the Gunicorn processes.
Group=www-data
# We'll then map out the working directory and set the PATH environmental variable so that the init system knows where our the executables for the process are located (within our virtual environment).
WorkingDirectory=/home/harry/myFlaskApp/
Environment="PATH=/home/harry/myFlaskApp/env/bin"
# We'll then specify the commanded to start the service
ExecStart=/home/harry/myFlaskApp/env/bin/gunicorn --workers 3 --bind unix:app.sock -m 007 wsgi:app
# This will tell systemd what to link this service to if we enable it to start at boot. We want this service to start when the regular multi-user system is up and running:
[Install]
WantedBy=multi-user.target

Activate this service by typing:

sudo systemctl start app
sudo systemctl enable app

A file named app.sock will be automatically created. Folder structure so far:

myFlaskApp
  |____ app.py
  |____ wsgi.py
  |____ env
  |____ app.sock


Step 5 - Configuring Nginx

Create a file named app inside /etc/nginx/sites-available

vim /etc/nginx/sites-available/app

Now copy the below contents to this file:

server {
listen 80;
server_name 165.232.177.116;

location / {
  include proxy_params;
  proxy_pass http://unix:/home/harry/myFlaskApp/app.sock;
    }
}                

Important: I have used my server IP, you should use yours!

Activate this configuration by executing this:

sudo ln -s /etc/nginx/sites-available/app /etc/nginx/sites-enabled

Restart nginx and your website should work fine!

sudo systemctl restart nginx

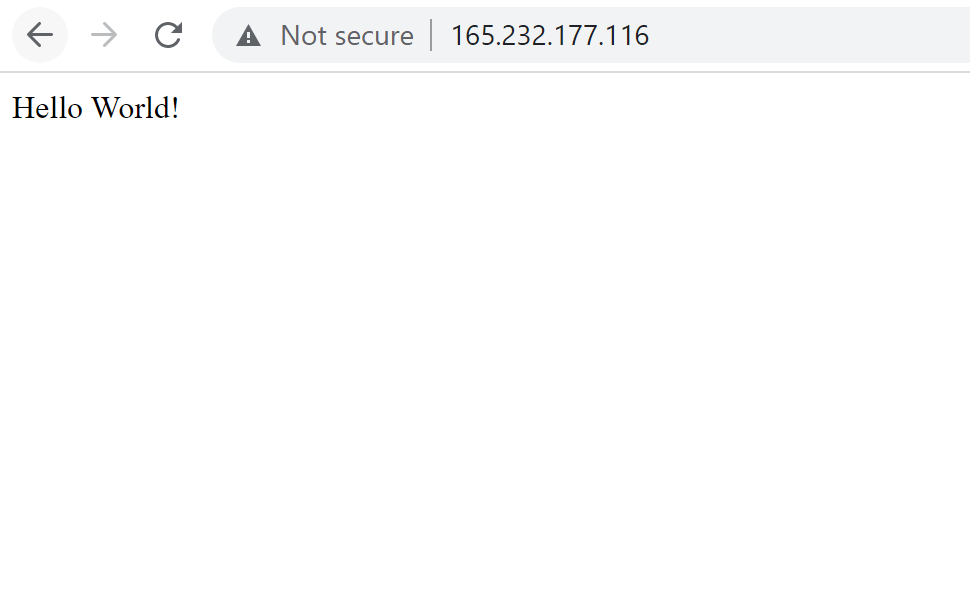
Visiting http://165.232.177.116/ on browser shows a page like this

If you are using a firewall (for eg. ufw), don't forget to allow nginx to receive incoming traffic on port 80

sudo ufw allow 'Nginx Full'

Happy coding!