Apple已支持的开源库:https://machinelearning.apple.com/research/stable-diffusion-coreml-apple-silicon
git clone https://github.com/apple/ml-stable-diffusion
// 下载的文件夹运行
pip install -e .

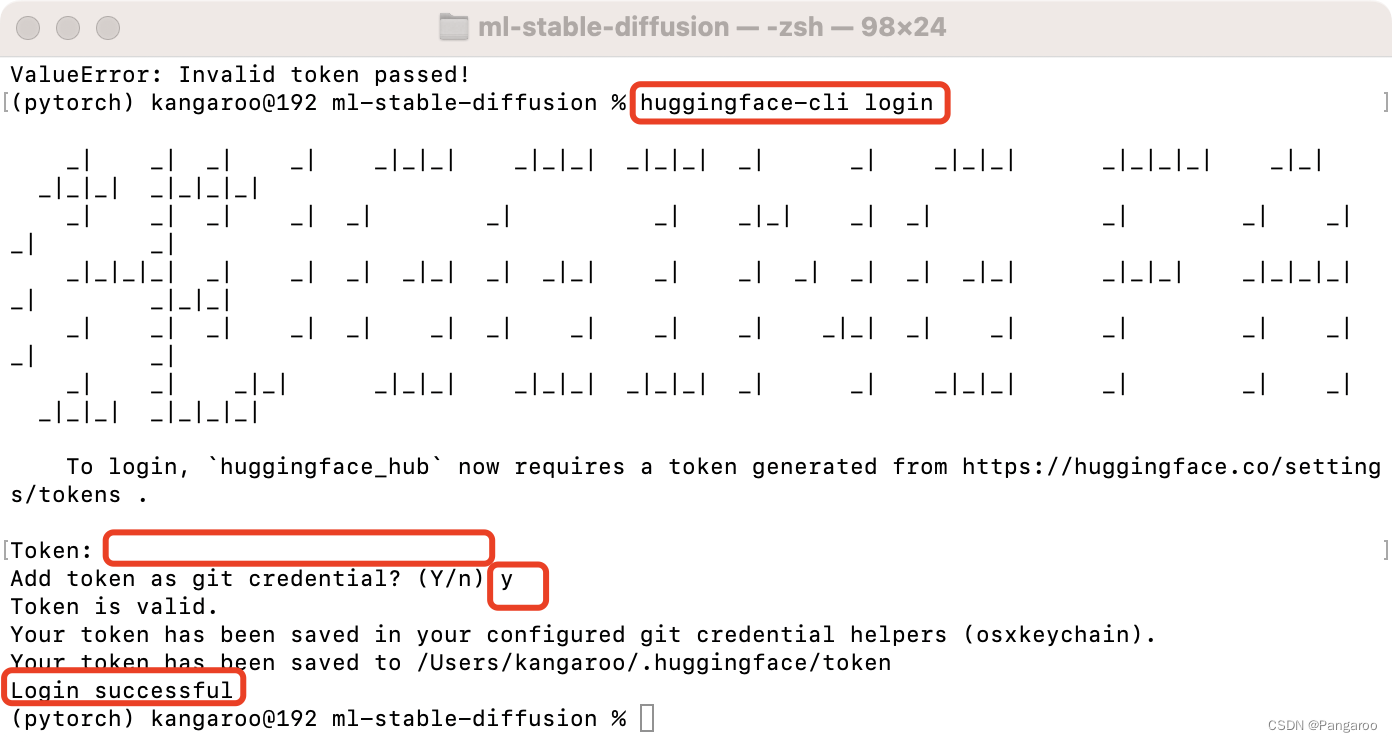
接下去命令行输入指令,按提示输入
huggingface-cli login
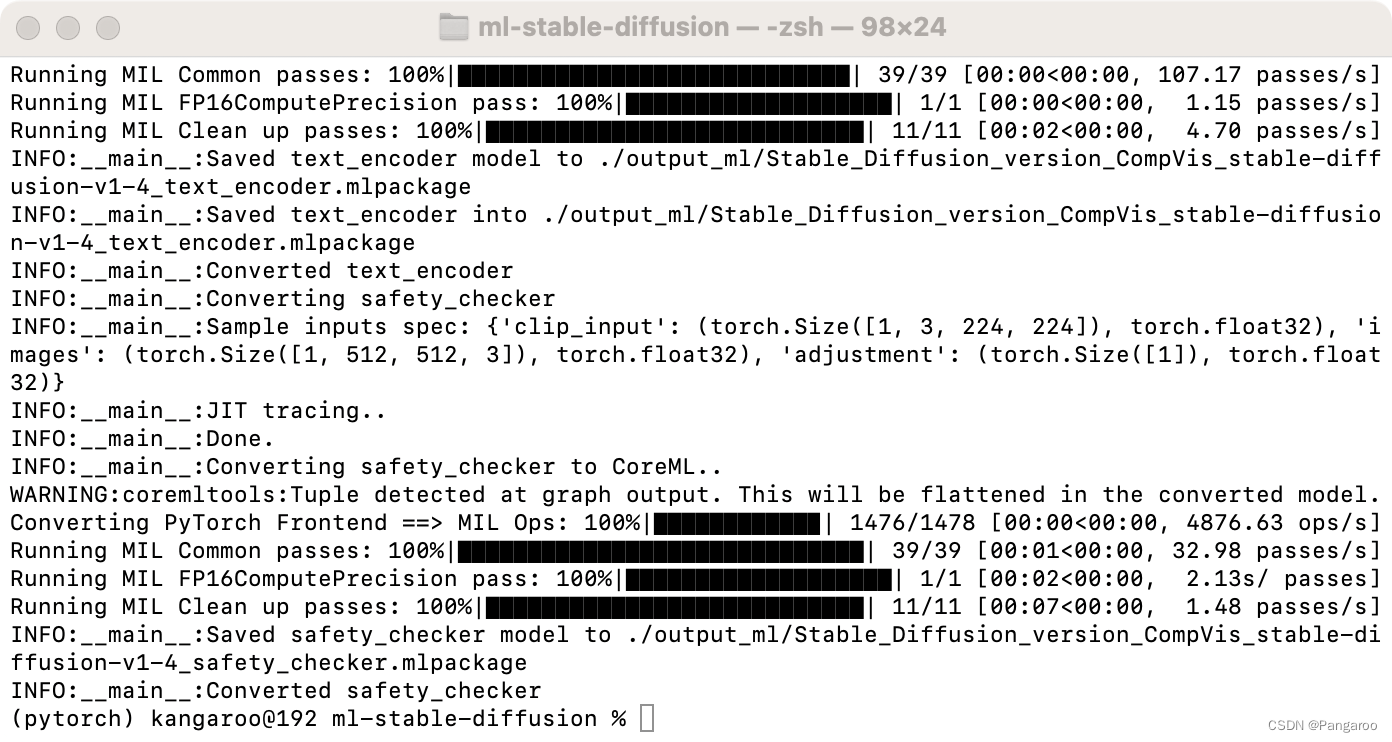
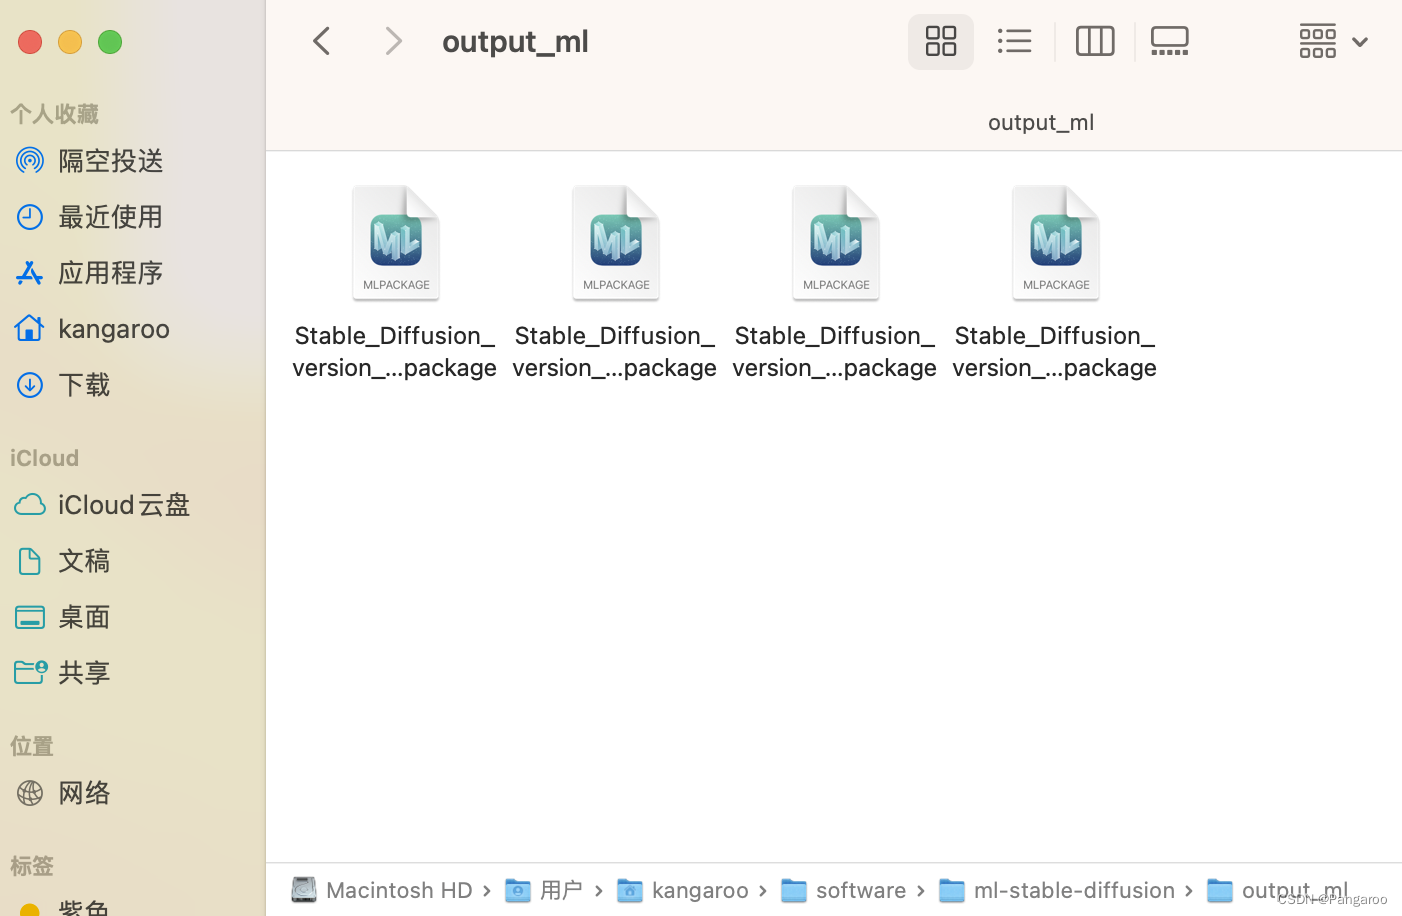
运行指令,在文件夹下运行,顺便创建一个放置ml模型的文件夹,替换下面的-o
python -m python_coreml_stable_diffusion.torch2coreml --convert-unet --convert-text-encoder --convert-vae-decoder --convert-safety-checker -o ./output_ml
--model-version runwayml/stable-diffusion-v1-5 #可以指定其他版本的diffusion模型,默认是 CompVis/stable-diffusion-v1-4
--bundle-resources-for-swift-cli  #将ml文件整理成一个swift包,python生成不需要使用
--chunk-unet #ios和ipados部署需要,后面两个之后有机会我想去尝试一下在真机上的部署
--attention-implementation #在Apple芯片上的npu上实现
python -m python_coreml_stable_diffusion.torch2coreml --convert-unet --convert-text-encoder --convert-vae-decoder --convert-safety-checker -o ./sd2_ml --chunk-unet --model-version stabilityai/stable-diffusion-2-1-base --bundle-resources-for-swift-cli
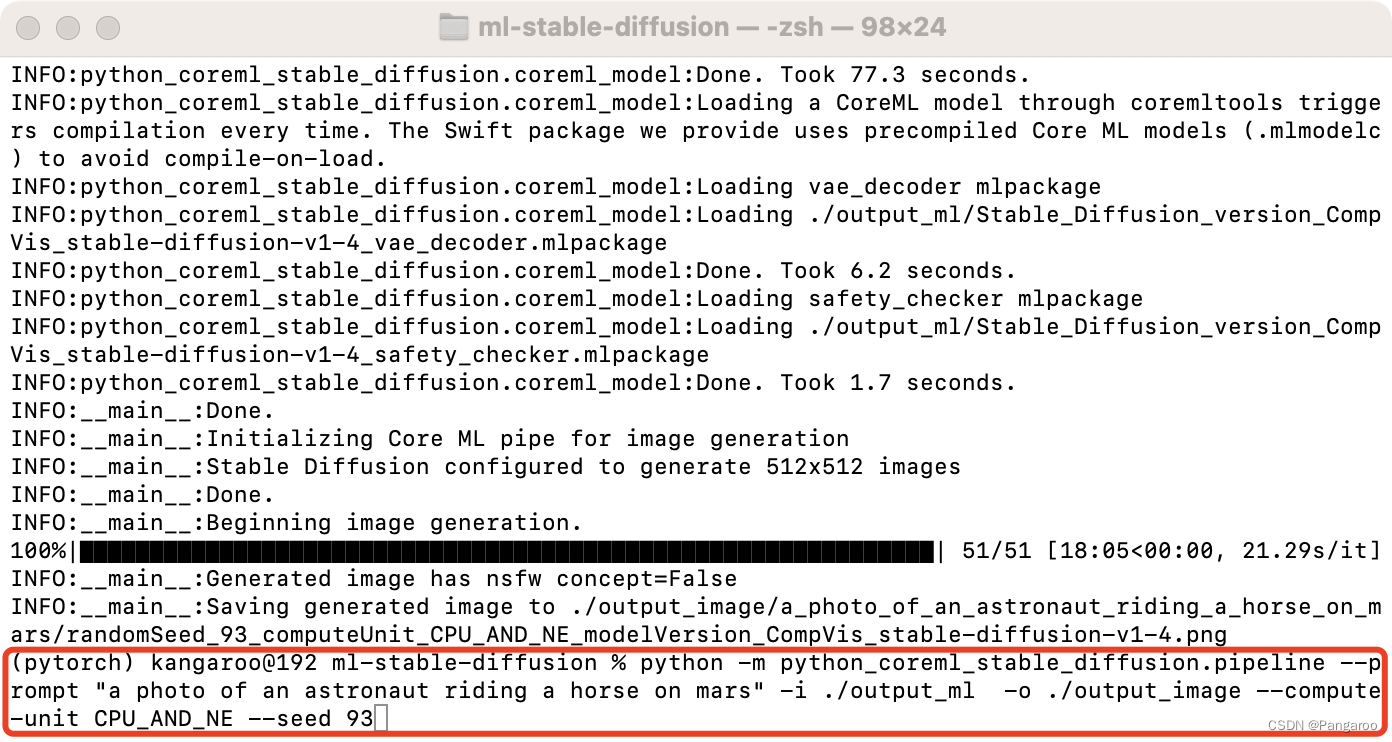
python -m python_coreml_stable_diffusion.pipeline --prompt "a photo of an astronaut riding a horse on mars" -i ./output_ml -o ./output_image --compute-unit ALL --seed 93
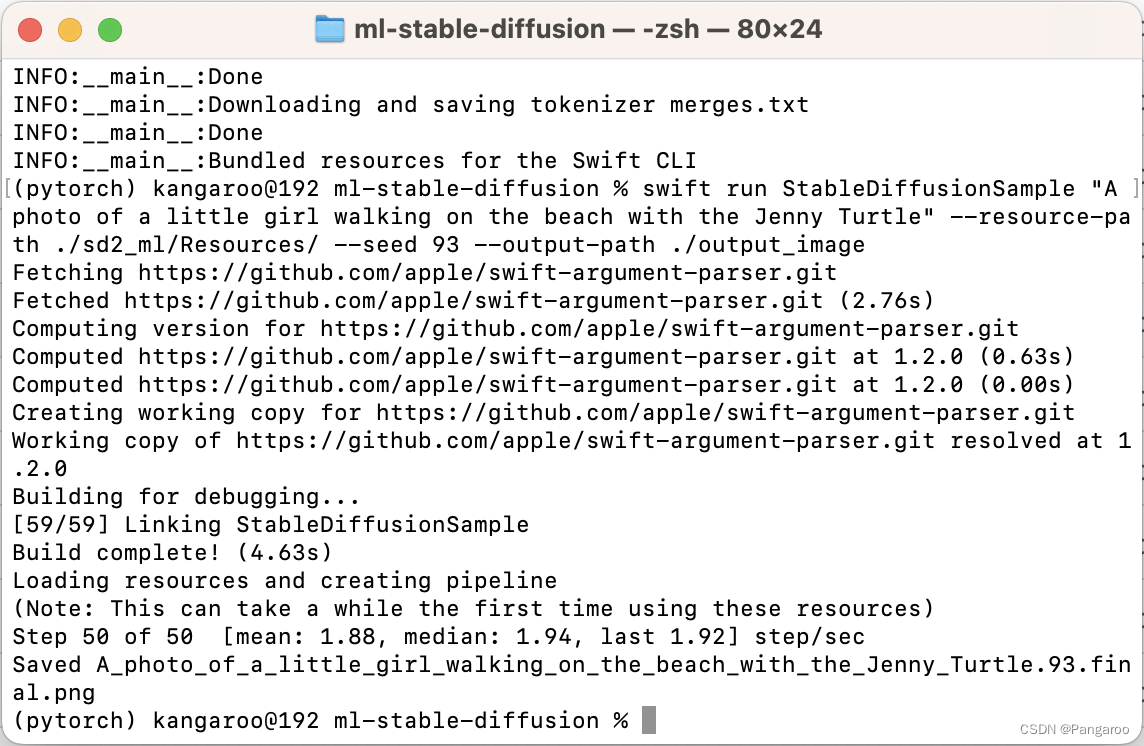
swift run StableDiffusionSample "A photo of a little girl walking on the beach with the Jenny Turtle" --resource-path ./sd2_ml/Resources/ --seed 93 --output-path ./output_image
--model-version #如果前面修改了这个也要修改
--num-inference-steps #默认推理50次,用这个可以自定义次数

就是从上图中我们可以看到似乎无后缀的M芯片由于GPU数量较少吧我猜--compute-unit 都推荐选CPU_AND_NE,pro系列芯片选ALL,以上选CPU_AND_GPU。
1 import SwiftUI
2 import StableDiffusion
3 import CoreML
4
5 struct ContentView: View {
6 @State var prompt: String = "a photo of an astronaut riding a horse on mars"
7 @State var step = 10
8 @State var seed = 100
9 @State var image: CGImage?
10 @State var progress = 0.0
11 @State var generating = false
12 @State var booting = true
13
14 @State var pipeline: StableDiffusionPipeline?
15
16 private let disableSafety = false
17
18
19 var body: some View {
20 VStack {
21 if booting {
22 Text("Initializing...")
23 } else {
24 if let image {
25 Image(uiImage: UIImage(cgImage: image))
26 .resizable()
27 .scaledToFit()
28 }
29 if generating {
30 ProgressView(value: progress)
31 }
32 if !generating {
33 TextField("Prompt", text: $prompt)
34 Stepper(value: $step, in: 1...100) {
35 Text("steps: \(step)")
36 }
37 Stepper(value: $seed, in: 0...10000) {
38 Text("Seed: \(seed)")
39 }
40 Button("Generate") {
41 progress = 0.0
42 image = nil
43 generating = true
44 Task.detached(priority: .high) {
45 var images: [CGImage?]?
46 do {
47 print("generate")
48 images = try pipeline?.generateImages(prompt: prompt, stepCount: step,seed: seed, disableSafety: disableSafety, progressHandler: { progress in
49 print("test")
50 self.progress = Double(progress.step) / Double(step)
51 if let image = progress.currentImages.first {
52 self.image = image
53 }
54 return true
55 })
56 } catch let error {
57 print(error.localizedDescription)
58 }
59 print("finish")
60 if let image = images?.first {
61 self.image = image
62 }
63 generating = false
64 }
65 }
66 }
67 }
68 }
69 .padding()
70 .onAppear{
71 Task.detached(priority: .high) {
72 do {
73 print(os_proc_available_memory())
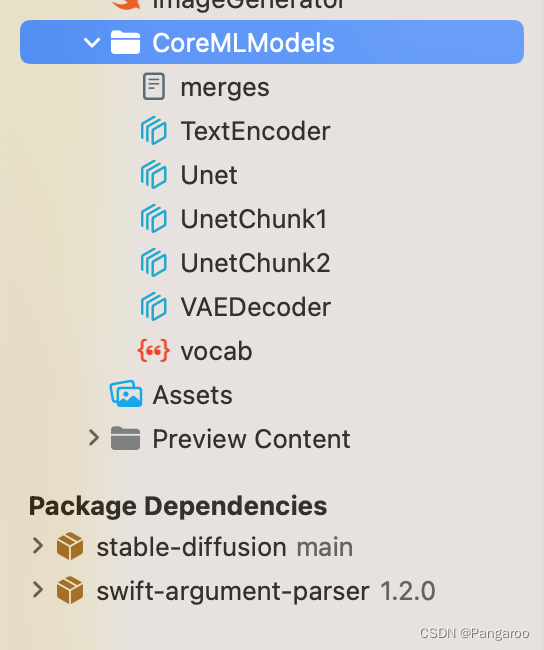
74 guard let path = Bundle.main.path(forResource: "CoreMLModels", ofType: nil, inDirectory: nil) else {
75 fatalError("Fatal error: failed to find the CoreML models.")
76 }
77 let resourceURL = URL(fileURLWithPath: path)
78 let config = MLModelConfiguration()
79 config.computeUnits = .cpuAndNeuralEngine
80 pipeline = try StableDiffusionPipeline(resourcesAt: resourceURL, configuration: config,reduceMemory: true)
81 try pipeline?.loadResources()
82 print("initialized pipeline")
83 } catch let error {
84 print("error initializing pipeline")
85 print(error.localizedDescription)
86 }
87 booting = false
88 }
89 }
90 }
91 }
92
93 struct ContentView_Previews: PreviewProvider {
94 static var previews: some View {
95 ContentView()
96 }
97 }

三、Windows部署
下载库:去github网址下载 - > https://github.com/CompVis/stable-diffusion
git clone https://github.com/CompVis/stable-diffusion.git
配置环境和文件
简单的操作,在下载后的文件夹下直接输下面两个:
conda env create -f environment.yaml
conda activate ldm
pip install transformers==4.19.2 diffusers invisible-watermark
pip install -e .
pip install OmegaConf einops taming-transformers pytorch-lighnting clip kornia
问题
第一个问题官网是有说明的,但就是这个下载地址藏得很深不好找。

找了一会才找到https://huggingface.co/CompVis/stable-diffusion-v-1-4-original,把这个sd-v1-4.ckpt文件下载下来,随便哪个都行,大概四个G。

下载模型文件放置到这个文件夹下,就是上面官方说明的那个位置,命名成model.ckpt。

运行下面的代码,不出意外会报错。
python scripts/txt2img.py --prompt "a photograph of an astronaut riding a horse" --plms

问题好像是原作者修改了这个库,将你的quantize.py(报错的信息里包含文件所在的绝对路径)文件替换成这个网址的文件
https://github.com/CompVis/taming-transformers/blob/master/taming/modules/vqvae/quantize.py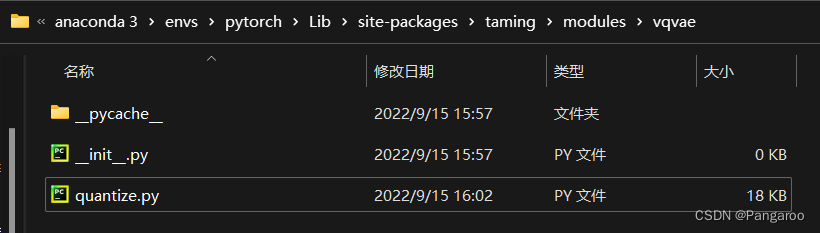
再运行一次又报错
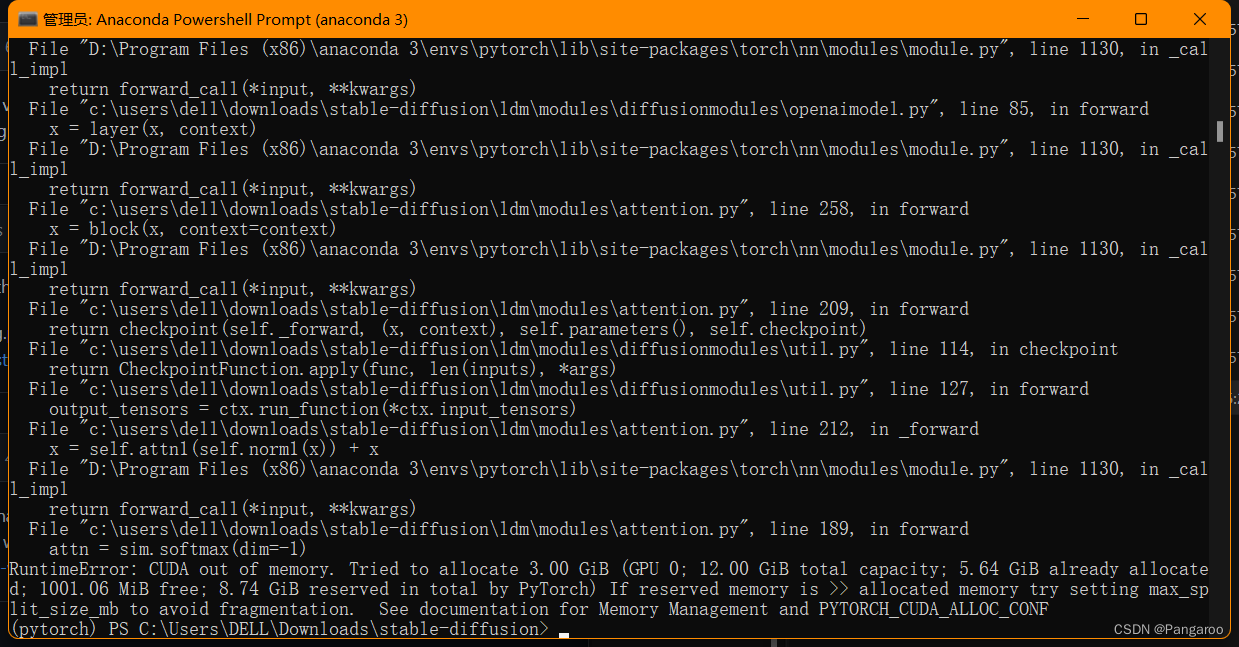 现在有一个简单的办法了,感谢数学系之耻的建议,直接降精度就可以释放显存了。如下修改txt2img.py文件第244行

效果图:

或者接下去看比较复杂的方法!
不知道需要多大的内存才可以,网上找到方法是用优化的库。网上还有一种办法说注释掉什么安全检查的我试了没有变化。
https://github.com/basujindal/stable-diffusion
下载完后在新的库上也是需要安装一些环境,在新的文件夹下运行下面的安装代码
pip install -e .
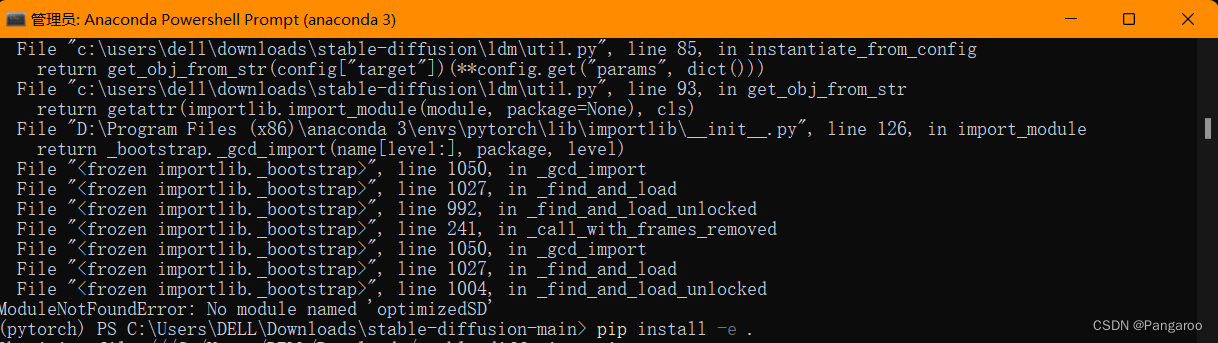
优化的库代码放在optimizedSD文件夹下,也保留了之前的源代码,不要搞错了。
重新安装一下这个优化库的环境,将ckpt放到对应的位置。
python optimizedSD/optimized_txt2img.py --prompt "Cyberpunk style image of a Tesla car reflection in rain" --H 512 --W 512 --seed 27 --n_iter 2 --n_samples 5 --ddim_steps 50
运行后报这个错。查了一下,好像是最近优化的作者也换了一个库https://github.com/basujindal/stable-diffusion/issues/175 用下面的办法就能解决了。

pip install git+https://github.com/crowsonkb/k-diffusion.git
然后打开编辑optimizedSD/ddpm.py文件,将from samplers…改成上面图片的三个from k_diffusion…然后贫穷的显卡的电脑也就可以跑了,不说了要努力搬砖买24g的显卡了。
