[CentOS] Samba的安装与配置
参考链接:
CentOS7中Samba文件共享搭建
链接中为Win7系统,本文补充了Win10的映射步骤。
安装Samba
yum install -y samba
关闭selinux和防火墙
setenforce 0
systemctl stop firewalld
systemctl disable firewalld
配置Samba配置文件
cp /etc/samba/smb.conf /etc/samba/smb.conf.bak
vim /etc/samba/smb.conf
显示如下内容:
[global]
        workgroup = SAMBA
        security = user

        passdb backend = tdbsam

        printing = cups
        printcap name = cups
        load printers = yes
        cups options = raw

[homes]
        comment = Home Directories
        valid users = %S, %D%w%S
        browseable = No
        read only = No
        inherit acls = Yes

[printers]
        comment = All Printers
        path = /var/tmp
        printable = Yes
        create mask = 0600
        browseable = No

[print$]
        comment = Printer Drivers
        path = /var/lib/samba/drivers
        write list = @printadmin root
        force group = @printadmin
        create mask = 0664
        directory mask = 0775
将下面一节内容复制粘贴到conf文件末尾:
[smbshare]     # 共享文件夹标识,表示登录samba打开时显示的文件夹名称
       comment = hello, smbshare!   # 对该共享的描述
       path= /home/smbshare         # 共享路径
       writable = yes               # 是否可写入
       public = no                  # 是否公开
添加smbshare账号
设置为不允许登入系统,且用户的家目录为 /home/smbshare(相当于虚拟账号)的smbshare账号(此处用户名和家目录名称可任意指定)
useradd -d /home/smbshare -s /sbin/nologin smbshare
用pdbedit命令添加samba账户
pdbedit -a -u smbshare
提示设置密码,设置即可。
启动Samba服务
[root@jiaxu home]# systemctl start smb
[root@jiaxu home]# systemctl enable smb
Created symlink from /etc/systemd/system/multi-user.target.wants/smb.service to /usr/lib/systemd/system/smb.service.
[root@jiaxu home]# systemctl restart smb
[root@jiaxu home]# systemctl status smb
测试
[root@jiaxu /]# cd /home/bhg
[root@jiaxu bhg]# touch test{1..10}.txt
[root@jiaxu bhg]# mkdir test
[root@jiaxu bhg]# ls
test  test10.txt  test1.txt  test2.txt  test3.txt  test4.txt  test5.txt
将samba共享目录挂载到windows上
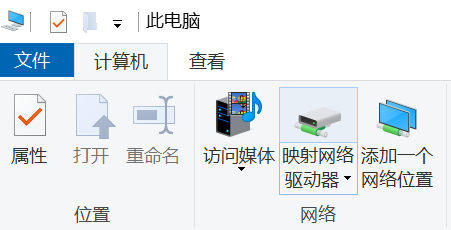
Win10:此电脑 - 计算机 - 映射网络驱动器:
文件夹为\\<ip地址>,其中ip地址可在安装samba的主机上通过ifconfig查看:
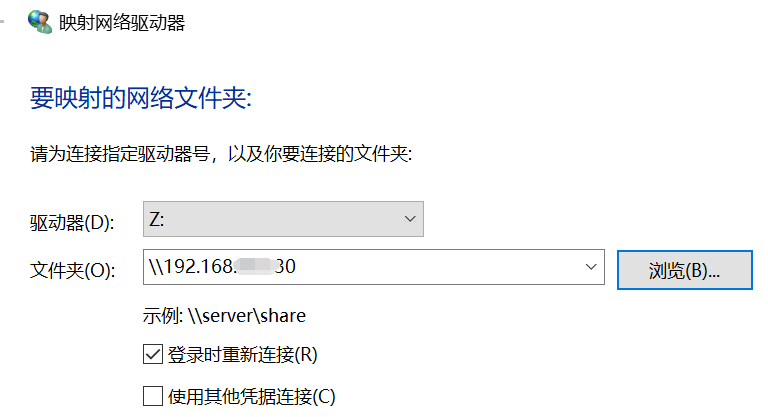
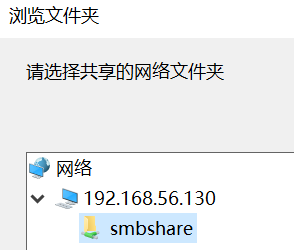
此时不要直接点击“完成”,而是点击“浏览”,展开目标ip的网络文件夹,会提示登录,注意使用之前创建的用户名smbshare和密码登录。完成之后,将可以看到共享文件夹:
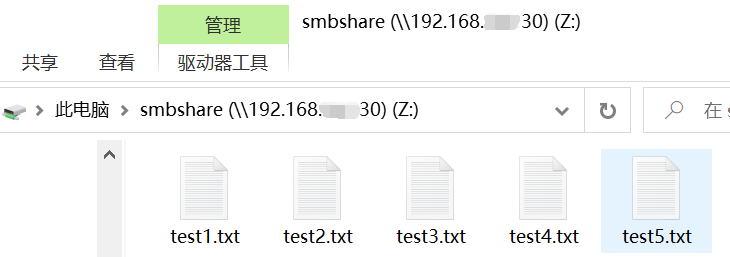
配置完成,可以看到Linux主机中的文件: