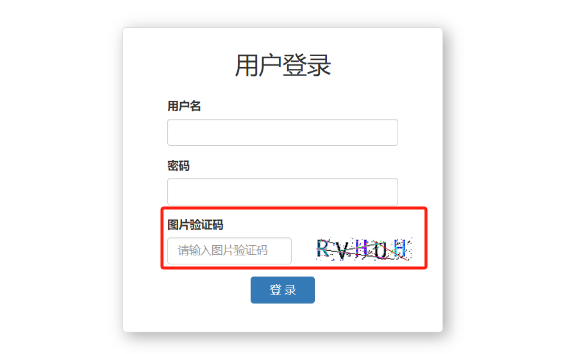
登陆界面实现图片验证码功能
开始吧!!!
如何生成图片呢
安装pillow模块
pip install pillow

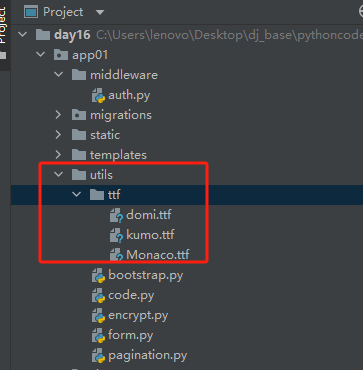
新建myproject/app01/utils/ttf目录,将字体放在其下
新建myproject/app01/utils/code.py,编辑验证码生成函数
from PIL import Image, ImageDraw, ImageFilter, ImageFont
import random


def check_code(width=120, height=30, char_length=5, font_file='app01/utils/ttf/Monaco.ttf', font_size=28):
    code = []
    img = Image.new(mode='RGB', size=(width, height), color=(255, 255, 255))
    draw = ImageDraw.Draw(img, mode='RGB')

    def rndChar():
        """
        生成随机字母
        :return:
        """
        return chr(random.randint(65, 90))

    def rndColor():
        """
        生成随机颜色
        :return:
        """
        return (random.randint(0, 255), random.randint(10, 255), random.randint(64, 255))

    # 写文字
    font = ImageFont.truetype(font_file, font_size)
    for i in range(char_length):
        char = rndChar()
        code.append(char)
        h = random.randint(0, 4)
        draw.text([i * width / char_length, h], char, font=font, fill=rndColor())

    # 写干扰点
    for i in range(40):
        draw.point([random.randint(0, width), random.randint(0, height)], fill=rndColor())

    # 写干扰圆圈
    for i in range(40):
        draw.point([random.randint(0, width), random.randint(0, height)], fill=rndColor())
        x = random.randint(0, width)
        y = random.randint(0, height)
        draw.arc((x, y, x + 4, y + 4), 0, 90, fill=rndColor())

    # 画干扰线
    for i in range(5):
        x1 = random.randint(0, width)
        y1 = random.randint(0, height)
        x2 = random.randint(0, width)
        y2 = random.randint(0, height)

        draw.line((x1, y1, x2, y2), fill=rndColor())

    img = img.filter(ImageFilter.EDGE_ENHANCE_MORE)
    return img, ''.join(code)
修改myproject/myproject/urls.py
path('image/code/', account.image_code),
还需要将该函数的URL加入访问白名单,使验证码链接可用
编辑myproject/app01/middleware/auth.py
        #排除那些不需要登录就能访问的页面
        # request.path_info  获取当前用户请求的URL
        if request.path_info in ["/login/", "/image/code/"]:
            return
修改myproject/app01/views/account.py,引入调用刚刚写的验证码生成函数
from app01.utils.code import check_code
from django.shortcuts import HttpResponse
from io import BytesIO
def image_code(request):
    """生成图片验证码"""
    # 调用pillow函数,生成图片
    img, code_string = check_code()

    # 将图片保存到内存
    stream = BytesIO()
    img.save(stream, 'png')
    return HttpResponse(stream.getvalue())
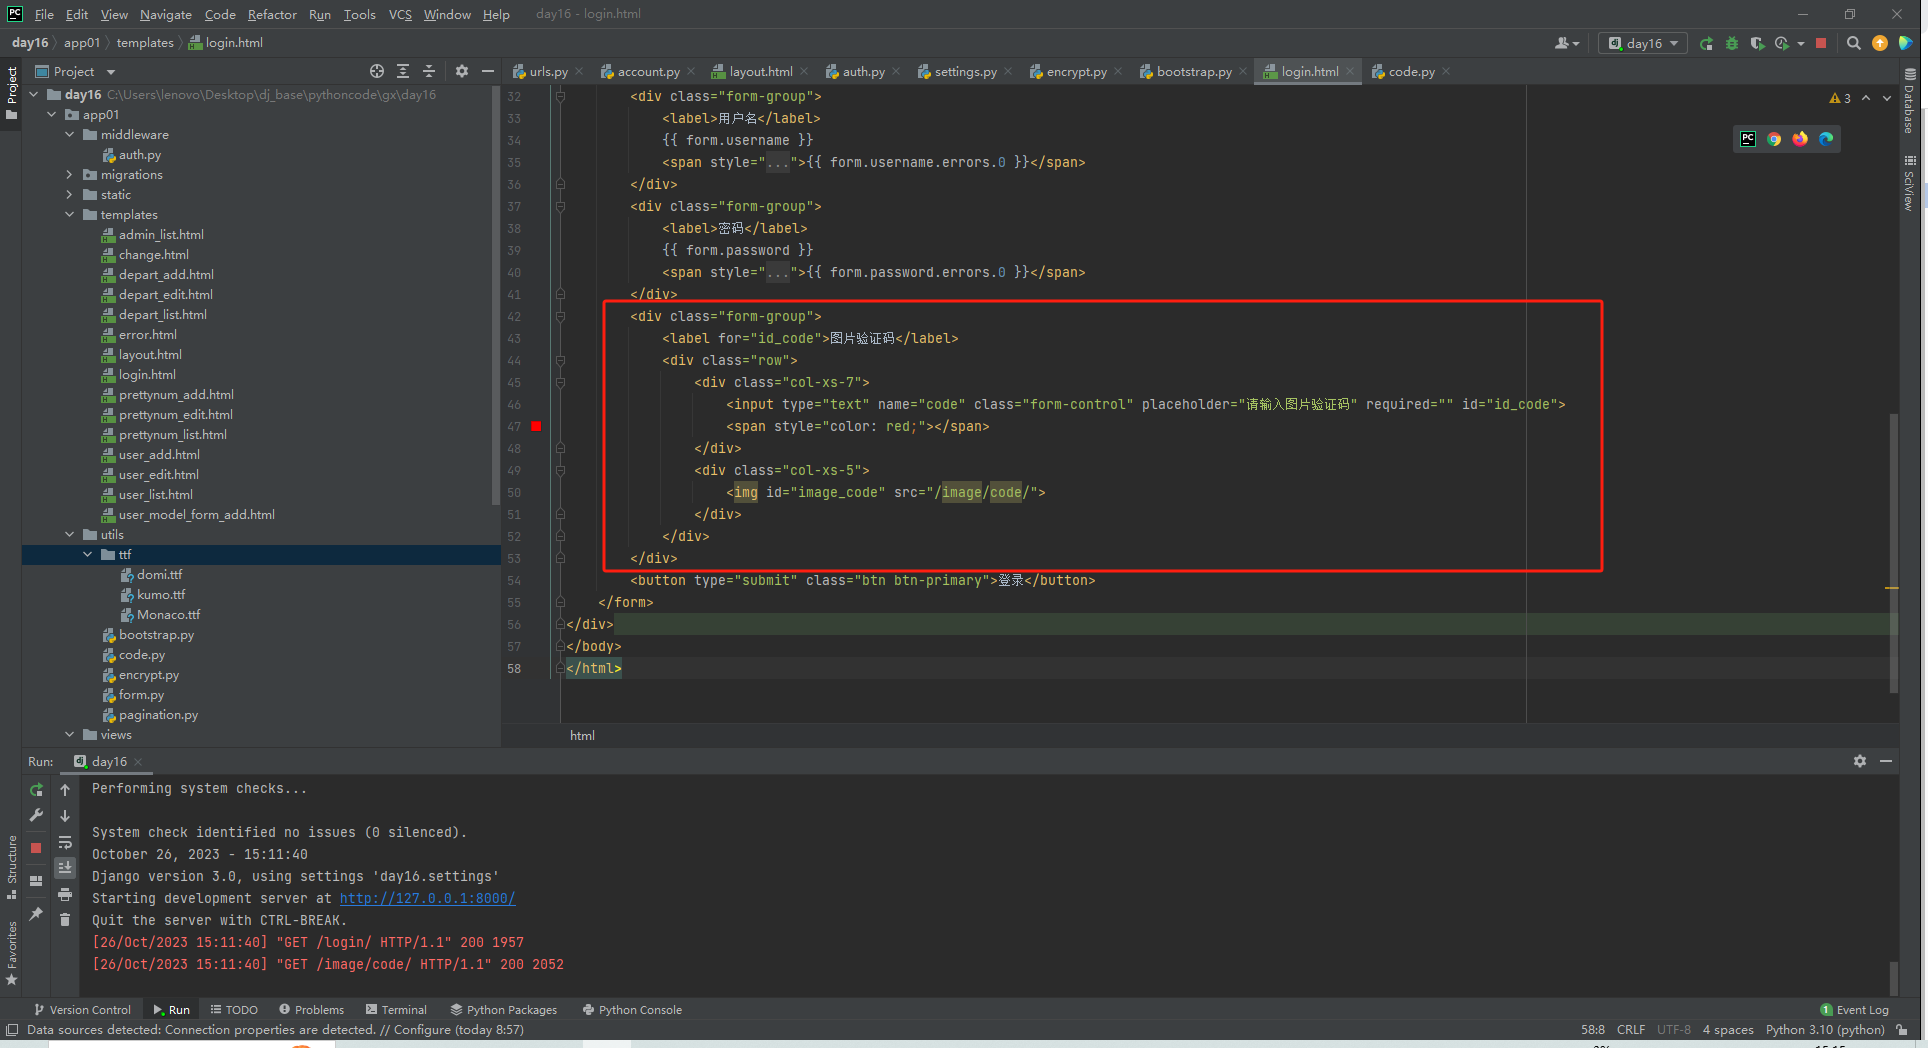
修改myproject/app01t/templates/login.html
{% load static %}
<!DOCTYPE html>
<html lang="en">
<head>
    <meta charset="UTF-8">
    <title>Title</title>
    <link rel="stylesheet" href="{% static 'plugins/bootstrap-3.4.1/css/bootstrap.min.css' %}">
    <style>
        .account {
            width: 400px;
            border: 1px solid #dddddd;
            border-radius: 5px;
            box-shadow: 5px 5px 20px #aaa;

            margin-top: 100px;
            margin-left: auto;
            margin-right: auto;
            padding: 20px 40px;
        }

        .account h2 {
            margin-top: 10px;
            text-align: center;
        }
    </style>
</head>
<body>
<div class="account">
    <h2>用户登录</h2>
    <form method="post" novalidate>
        {% csrf_token %}
        <div class="form-group">
            <label>用户名</label>
            {{ form.username }}
            <span style="color: red">{{ form.username.errors.0 }}</span>
        </div>
        <div class="form-group">
            <label>密码</label>
            {{ form.password }}
            <span style="color: red">{{ form.password.errors.0 }}</span>
        </div>
        <div class="form-group">
            <label for="id_code">图片验证码</label>
            <div class="row">
                <div class="col-xs-7">
                    <input type="text" name="code" class="form-control" placeholder="请输入图片验证码" required="" id="id_code">
                    <span style="color: red;"></span>
                </div>
                <div class="col-xs-5">
                    <img id="image_code" src="/image/code/">
                </div>
            </div>
        </div>
        <button type="submit" class="btn btn-primary">登录</button>
    </form>
</div>
</body>
</html>
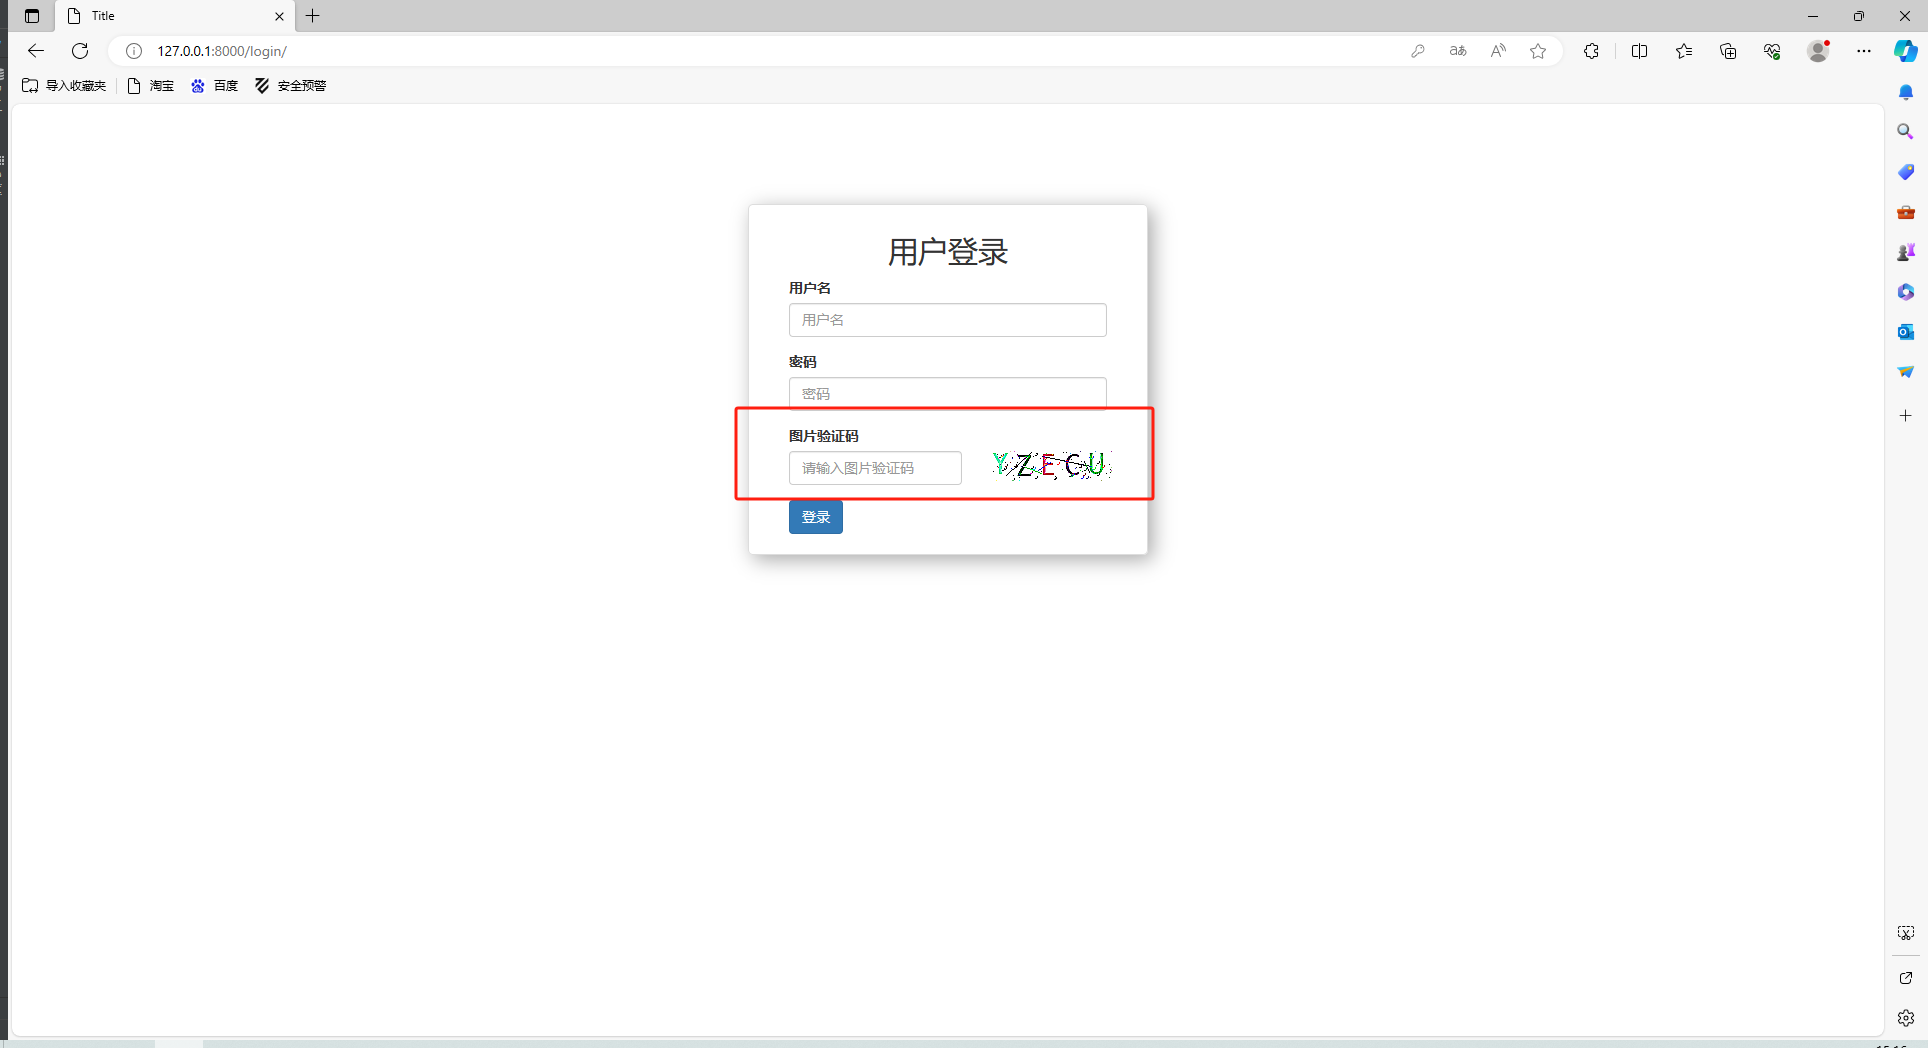
看下效果吧
验证码的校验
接下来需要验证用户输入的验证码与生成的验证码是否一致
参照: https://www.cnblogs.com/wupeiqi/articles/5812291.html