1、环境准备
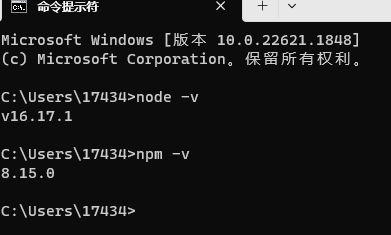
(1) 首先你得需要安装node和npm
2、环境初始化
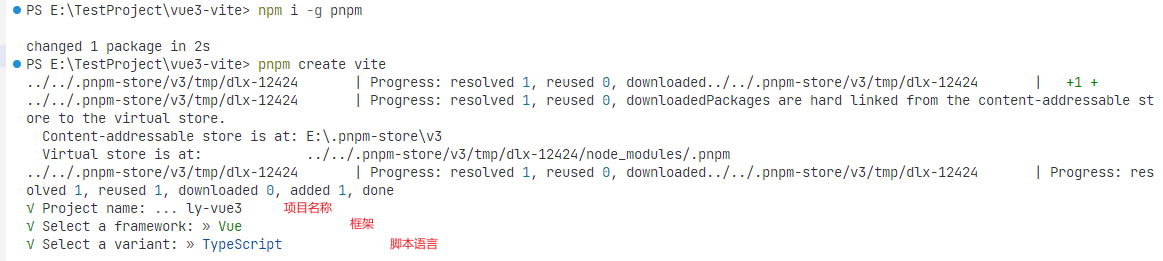
(1) 先随意找个文件夹,初始化vite
# 安装pnpm
npm i -g pnpm

# 初始化vite
pnpm create vite
# 安装依赖
pnpm install
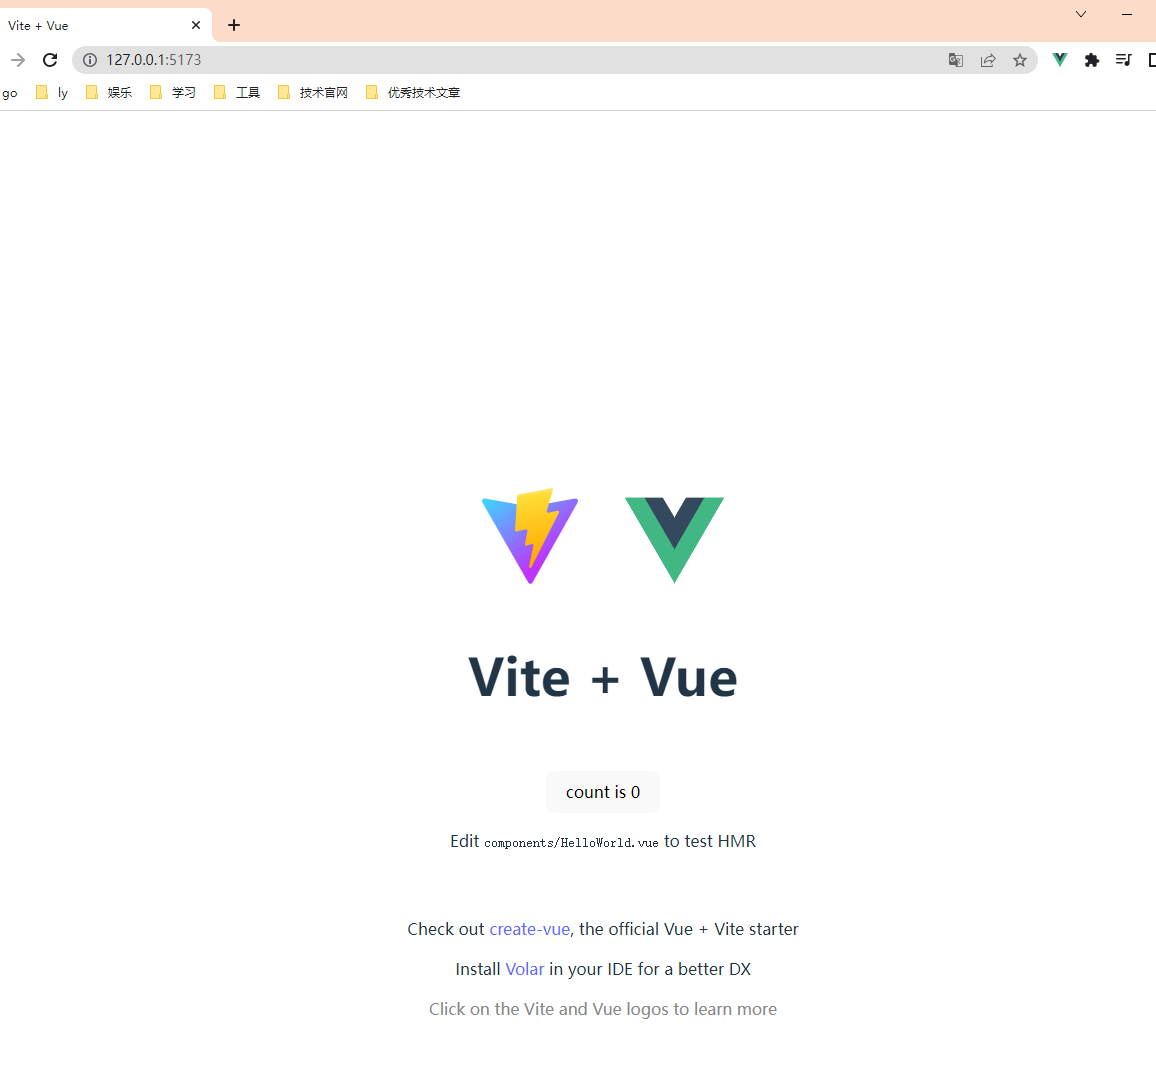
(2) 最后我们执行pnpm run dev
3、安装插件
(1) Eslint校验代码工具
安装eslint
# 安装eslint
pnpm i eslint -D

# 初始化eslint配置项

√ How would you like to use ESLint? 		 	problems
√ What type of modules does your project use? 	 	esm
√ Which framework does your project use? 	 	vue
√ Does your project use TypeScript?			Yes
√ Where does your code run? 			 	browser
√ What format do you want your config file to be in? 	JavaScript
√ Which package manager do you want to use? 		pnpm

安装eslint指令
pnpm install -D eslint-plugin-import eslint-plugin-vue eslint-plugin-node eslint-plugin-prettier eslint-config-prettier eslint-plugin-node @babel/eslint-parser
修改.eslintrc.cjs文件
// @see https://eslint.bootcss.com/docs/rules/

module.exports = {
    env: {
      browser: true,
      es2021: true,
      node: true,
      jest: true,
    },
    /* 指定如何解析语法 */
    parser: 'vue-eslint-parser',
    /** 优先级低于 parse 的语法解析配置 */
    parserOptions: {
      ecmaVersion: 'latest',
      sourceType: 'module',
      parser: '@typescript-eslint/parser',
      jsxPragma: 'React',
      ecmaFeatures: {
        jsx: true,
      },
    },
    /* 继承已有的规则 */
    extends: [
      'eslint:recommended',
      'plugin:vue/vue3-essential',
      'plugin:@typescript-eslint/recommended',
      'plugin:prettier/recommended',
    ],
    plugins: ['vue', '@typescript-eslint'],
    /*
     * "off" 或 0    ==>  关闭规则
     * "warn" 或 1   ==>  打开的规则作为警告(不影响代码执行)
     * "error" 或 2  ==>  规则作为一个错误(代码不能执行,界面报错)
     */
    rules: {
      // eslint(https://eslint.bootcss.com/docs/rules/)
      'no-var': 'error', // 要求使用 let 或 const 而不是 var
      'no-multiple-empty-lines': ['warn', { max: 1 }], // 不允许多个空行
      'no-console': process.env.NODE_ENV === 'production' ? 'error' : 'off',
      'no-debugger': process.env.NODE_ENV === 'production' ? 'error' : 'off',
      'no-unexpected-multiline': 'error', // 禁止空余的多行
      'no-useless-escape': 'off', // 禁止不必要的转义字符

      // typeScript (https://typescript-eslint.io/rules)
      '@typescript-eslint/no-unused-vars': 'error', // 禁止定义未使用的变量
      '@typescript-eslint/prefer-ts-expect-error': 'error', // 禁止使用 @ts-ignore
      '@typescript-eslint/no-explicit-any': 'off', // 禁止使用 any 类型
      '@typescript-eslint/no-non-null-assertion': 'off',
      '@typescript-eslint/no-namespace': 'off', // 禁止使用自定义 TypeScript 模块和命名空间。
      '@typescript-eslint/semi': 'off',

      // eslint-plugin-vue (https://eslint.vuejs.org/rules/)
      'vue/multi-word-component-names': 'off', // 要求组件名称始终为 “-” 链接的单词
      'vue/script-setup-uses-vars': 'error', // 防止<script setup>使用的变量<template>被标记为未使用
      'vue/no-mutating-props': 'off', // 不允许组件 prop的改变
      'vue/attribute-hyphenation': 'off', // 对模板中的自定义组件强制执行属性命名样式
    },
  }
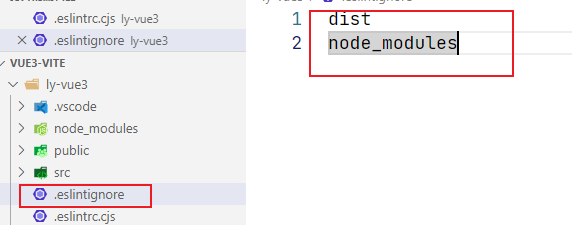
.eslintignore忽略文件
dist
node_modules
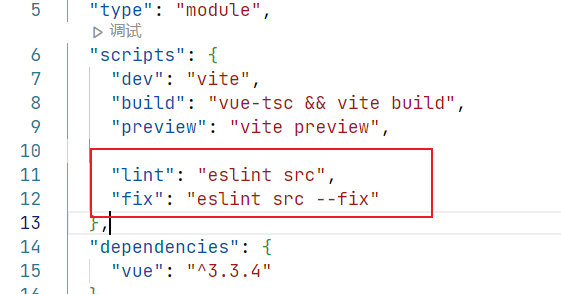
package.json新增两个运行脚本
"scripts": {
.....省略
    "lint": "eslint src",
    "fix": "eslint src --fix"
}
(2) prettier格式化代码工具
安装prettier
pnpm install -D eslint-plugin-prettier prettier eslint-config-prettier
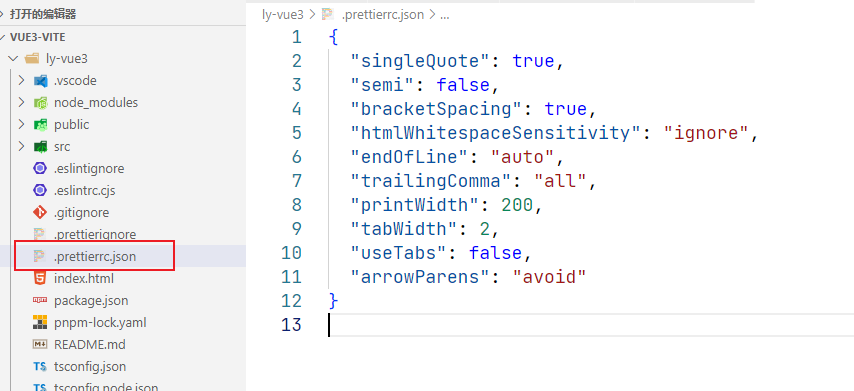
.prettierrc.json添加规则
{
  "singleQuote": true,
  "semi": false,
  "bracketSpacing": true,
  "htmlWhitespaceSensitivity": "ignore",
  "endOfLine": "auto",
  "trailingComma": "all",
  "printWidth": 200,
  "tabWidth": 2,
  "useTabs": false,
  "arrowParens": "avoid"
}
.prettierignore忽略文件
/dist/*
/html/*
.local
/node_modules/**
**/*.svg
**/*.sh
/public/*
通过pnpm run lint去检测语法,如果出现不规范格式,通过pnpm run fix 修改
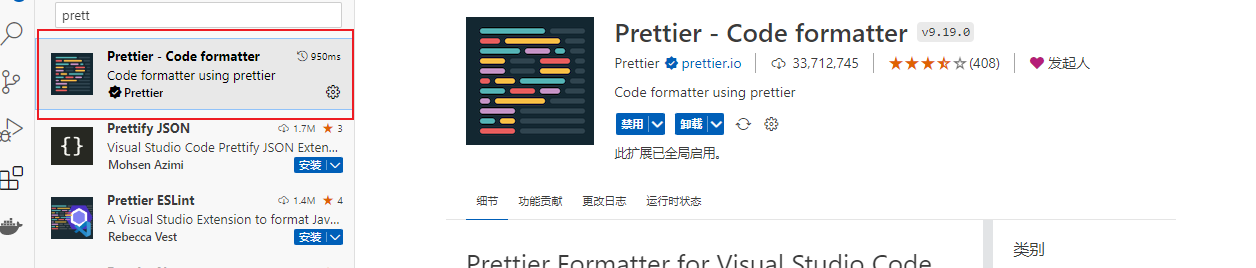
先在vscode插件市场找一下Prettier - Code formatter
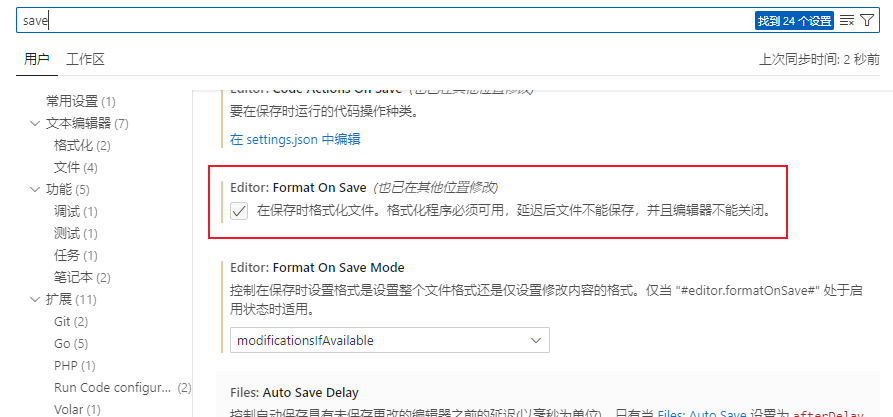
在vscode左下角设置中勾选Format On Save
任意文件右键使用...格式化文档
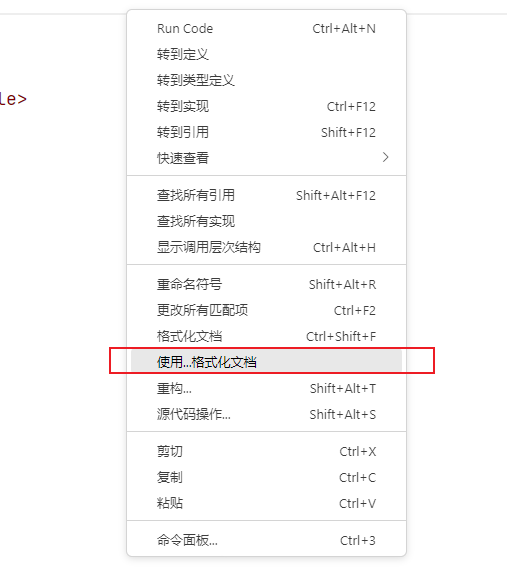
选择prettier

(3) stylelint校验css
安装stylelint
pnpm add sass sass-loader stylelint postcss postcss-scss postcss-html stylelint-config-prettier stylelint-config-recess-order stylelint-config-recommended-scss stylelint-config-standard stylelint-config-standard-vue stylelint-scss stylelint-order stylelint-config-standard-scss -D
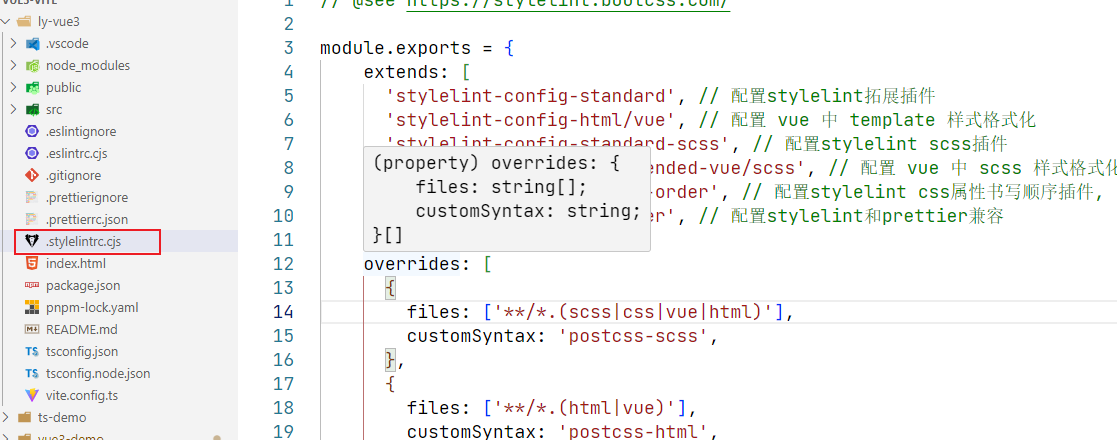
.stylelintrc.cjs配置文件
// @see https://stylelint.bootcss.com/

module.exports = {
  extends: [
    'stylelint-config-standard', // 配置stylelint拓展插件
    'stylelint-config-html/vue', // 配置 vue 中 template 样式格式化
    'stylelint-config-standard-scss', // 配置stylelint scss插件
    'stylelint-config-recommended-vue/scss', // 配置 vue 中 scss 样式格式化
    'stylelint-config-recess-order', // 配置stylelint css属性书写顺序插件,
    'stylelint-config-prettier', // 配置stylelint和prettier兼容
  ],
  overrides: [
    {
      files: ['**/*.(scss|css|vue|html)'],
      customSyntax: 'postcss-scss',
    },
    {
      files: ['**/*.(html|vue)'],
      customSyntax: 'postcss-html',
    },
  ],
  ignoreFiles: [
    '**/*.js',
    '**/*.jsx',
    '**/*.tsx',
    '**/*.ts',
    '**/*.json',
    '**/*.md',
    '**/*.yaml',
  ],
  /**
   * null  => 关闭该规则
   * always => 必须
   */
  rules: {
    'value-keyword-case': null, // 在 css 中使用 v-bind,不报错
    'no-descending-specificity': null, // 禁止在具有较高优先级的选择器后出现被其覆盖的较低优先级的选择器
    'function-url-quotes': 'always', // 要求或禁止 URL 的引号 "always(必须加上引号)"|"never(没有引号)"
    'no-empty-source': null, // 关闭禁止空源码
    'selector-class-pattern': null, // 关闭强制选择器类名的格式
    'property-no-unknown': null, // 禁止未知的属性(true 为不允许)
    'block-opening-brace-space-before': 'always', //大括号之前必须有一个空格或不能有空白符
    'value-no-vendor-prefix': null, // 关闭 属性值前缀 --webkit-box
    'property-no-vendor-prefix': null, // 关闭 属性前缀 -webkit-mask
    'selector-pseudo-class-no-unknown': [
      // 不允许未知的选择器
      true,
      {
        ignorePseudoClasses: ['global', 'v-deep', 'deep'], // 忽略属性,修改element默认样式的时候能使用到
      },
    ],
  },
}
.stylelintignore忽略文件
/node_modules/*
/dist/*
/html/*
/public/*
配置运行脚本
"scripts": {
"dev": "vite",
"build": "vue-tsc && vite build",
"preview": "vite preview",
"lint": "eslint src",
"fix": "eslint src --fix",
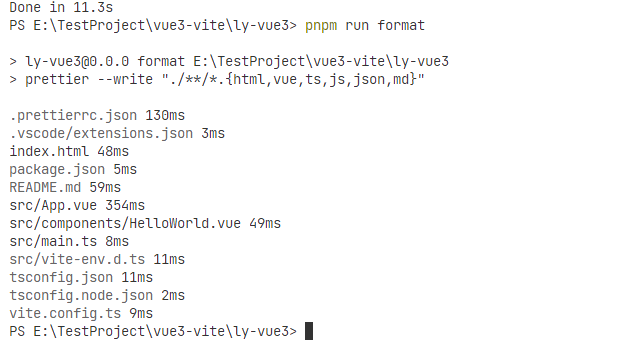
"format": "prettier --write \"./**/*.{html,vue,ts,js,json,md}\"",
"lint:eslint": "eslint src/**/*.{ts,vue} --cache --fix",
"lint:style": "stylelint src/**/*.{css,scss,vue} --cache --fix"
},
当我们运行pnpm run format的时候,会把代码直接格式化
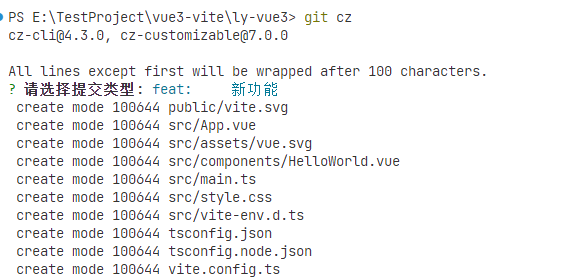
(4) git代码提交规范校验工具
安装commitizen和cz-customizable
pnpm install -g commitizen@latest
pnpm i cz-customizable@latest --save-dev
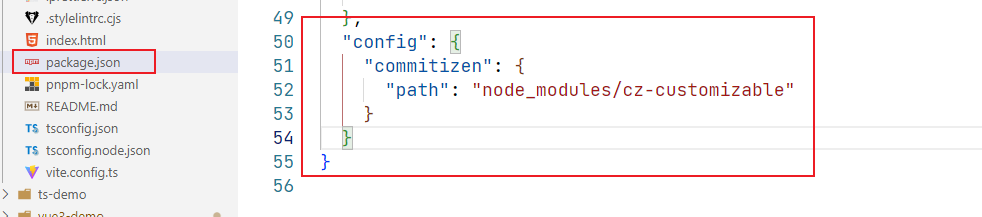
在package.json中进行新增
"config": {
  "commitizen": {
    "path": "node_modules/cz-customizable"
  }
}
在根目录下新建.cz-config.js
如果出现下面的错误
require() of ES Module E:\TestProject\vue3-vite\ly-vue3\.cz-config.js from E:\TestProject\vue3-vite\ly-vue3\node_modules\.pnpm\registry.npmmirror.com+find-config@1.0.0\node_modules\find-config\src\find-config.js not supported.
.cz-config.js is treated as an ES module file as it is a .js file whose nearest parent package.json contains "type": "module" which declares all .js files in that package scope as ES modules.
Instead rename .cz-config.js to end in .cjs, change the requiring code to use dynamic import() which is available in all CommonJS modules, or change "type": "module" to "type": "commonjs" in E:\TestProject\vue3-vite\ly-vue3\package.json to treat all .js files as CommonJS (using .mjs for all ES modules instead).
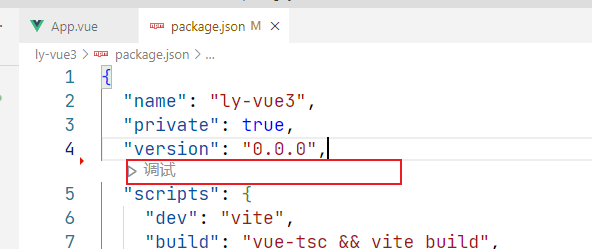
解决办法:按照提示删除type:module类型即可
(5) husky进行强制git代码提交规范
安装husky
pnpm install --save-dev @commitlint/config-conventional@12.1.4 @commitlint/cli@12.1.4

pnpm install husky@7.0.1 --save-dev

pnpx husky install
导入commitlint.config.js配置文件
module.exports = {
  // 继承的规则
  extends: ['@commitlint/config-conventional'],
  // 定义规则类型
  rules: {
    // type 类型定义,表示 git 提交的 type 必须在以下类型范围内
    'type-enum': [
      2,
      'always',
      [
        'feat', // 新功能 feature
        'fix', // 修复 bug
        'docs', // 文档注释
        'style', // 代码格式(不影响代码运行的变动)
        'refactor', // 重构(既不增加新功能,也不是修复bug)
        'perf', // 性能优化
        'test', // 增加测试
        'chore', // 构建过程或辅助工具的变动
        'revert', // 回退
        'build' // 打包
      ]
    ],
    // subject 大小写不做校验
    'subject-case': [0]
  }
}
在package.json中配置执行脚本
"prepare": "husky install"

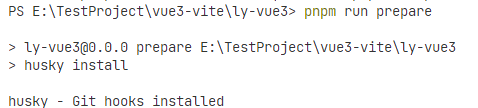
新增husky配置文件
npx husky add .husky/commit-msg

(6) 强制使用pnpm包管理器工具
在根目录创建scritps/preinstall.js文件,加入一下配置
if (!/pnpm/.test(process.env.npm_execpath || '')) {
  console.warn(
    `\u001b[33mThis repository must using pnpm as the package manager ` +
    ` for scripts to work properly.\u001b[39m\n`,
  )
  process.exit(1)
}
在package.json中配置脚本命令
"scripts": {
	...略
	"preinstall": "node ./scripts/preinstall.js"
}

安装好后,就强制我们使用pnpm进行安装依赖了
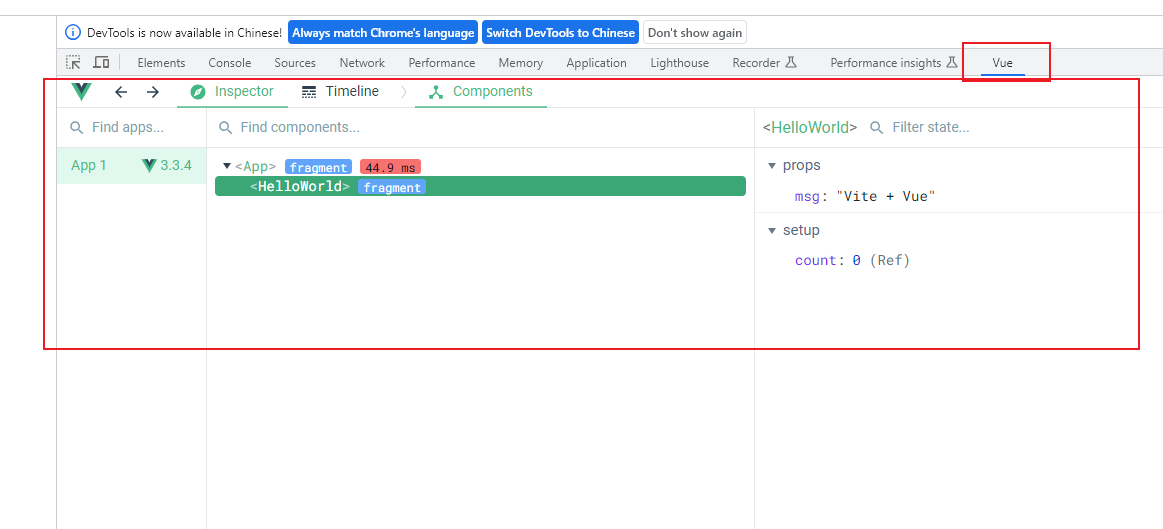
(7) 推荐安装一个浏览器插件:devtools
安装后的效果如下
4、修改vite.config.ts配置文件 (可选的操作)
(1) 我们可以修改端口、修改监听的主机等等;具体的参考官方文档:开发服务器选项
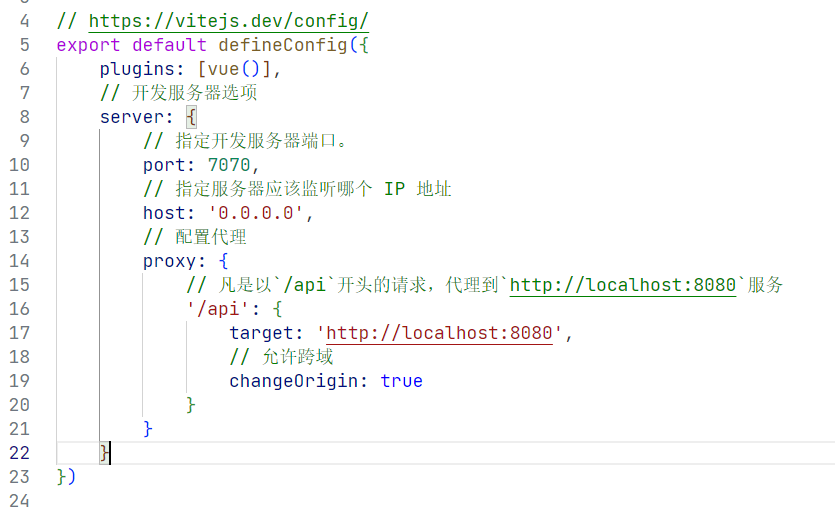
(2) 修改之后效果如下
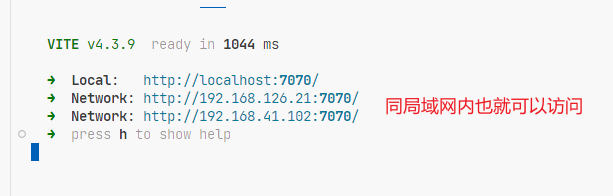
注意:修改了配置文件记得重启; 'ctrl + c' :停止服务
5、项目结构
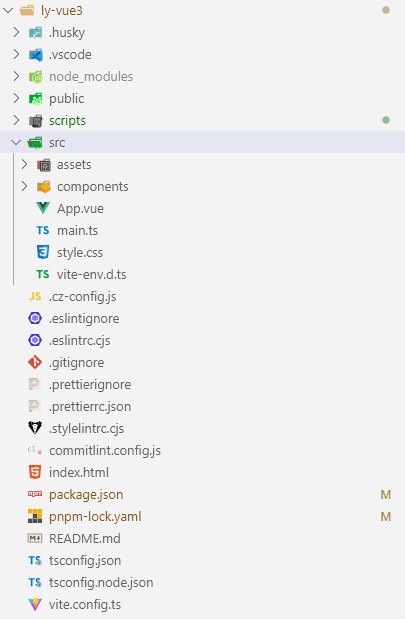
上面有一些model、router等目录是没有的,这个没关系,后期慢慢的会加上的
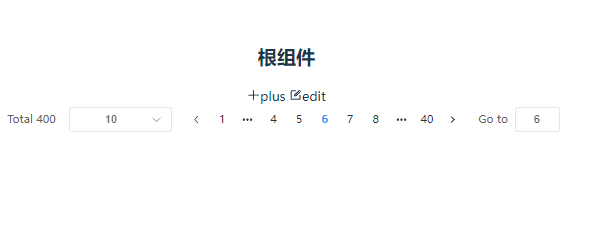
6、整合ElementPlus,具体的参考ElementUI官方文档
(1) 安装
pnpm install element-plus
(2) 完全引入
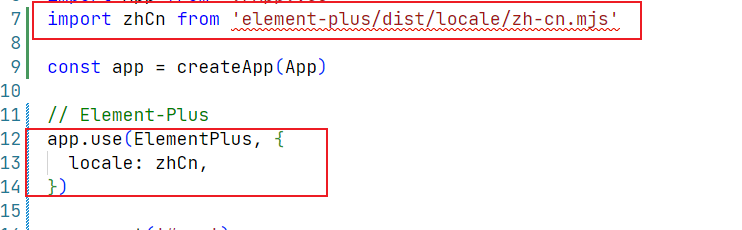
import { createApp } from 'vue'
// 引入Element-Plus组件和样式
import ElementPlus from 'element-plus'
import 'element-plus/dist/index.css'
import './style.css'
import App from './App.vue'

const app = createApp(App)

// Element-Plus
app.use(ElementPlus)

app.mount('#app')
(3) 安装Element-Icons图标组件
pnpm install element-plus @element-plus/icons-vue
(4) 配置Element-Plus国际化
7、src文件夹别名配置
配置vite.config.ts
import path from 'path'
export default defineConfig({
    ...略
    resolve: {
        alias: {
            "@": path.resolve("./src") // 相对路径别名配置,使用 @ 代替 src
        }
    }
})
配置tsconfig.json
"baseUrl": "./", // 解析非相对模块的基地址,默认是当前目录
    "paths": {
      //路径映射,相对于baseUrl
      "@/*": ["src/*"]
    },
8、整合SVG图标
(1) 安装SVG依赖
pnpm install vite-plugin-svg-icons -D
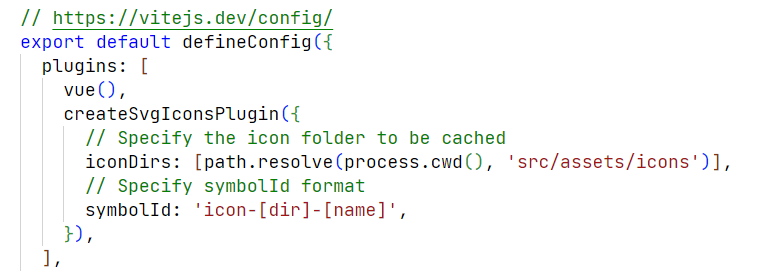
(2) 在vite.config.ts中配置插件
import { createSvgIconsPlugin } from 'vite-plugin-svg-icons'
export default () => {
  return {
    plugins: [
	// ...略
      createSvgIconsPlugin({
        // Specify the icon folder to be cached
        iconDirs: [path.resolve(process.cwd(), 'src/assets/icons')],
        // Specify symbolId format
        symbolId: 'icon-[dir]-[name]',
      }),
    ],
  }
}
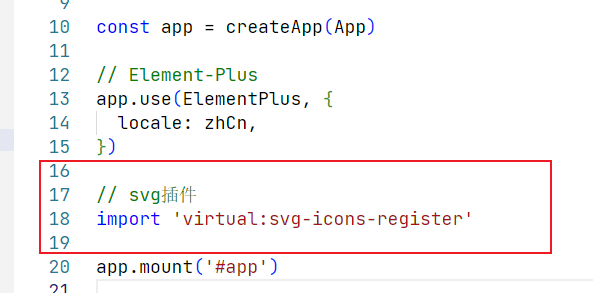
(3) 在main.ts中导入
// svg插件
import 'virtual:svg-icons-register'
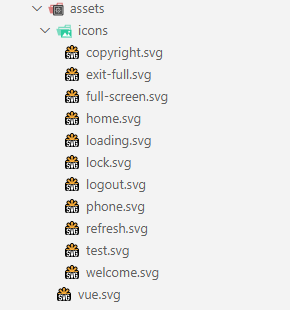
(4) 将svg封装为全局组件
① 在assets创建icons目录,导入相关的svg图标
② 在components下定义SvgIcon组件
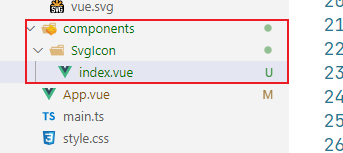
③ 定义组件内容
<template>
  <div id="container"></div>
  <!-- svg图标外层容器 -->
  <svg :style="{ width, height }">
    <use :xlink:href="prefix + name" :fill="color"></use>
  </svg>
</template>

<script setup lang="ts">
defineProps({
  // 属性前缀
  prefix: {
    type: String,
    default: '#icon-',
  },
  // 图标名称
  name: String,
  // 接收父组件传递颜色
  color: {
    type: String,
    default: '',
  },
  // 接收父组件传递过来的图标宽度
  width: {
    type: String,
    default: '16px',
  },
  // 接收父组件传递过来的图标高度
  height: {
    type: String,
    default: '16px',
  },
})
</script>
<style scoped></style>
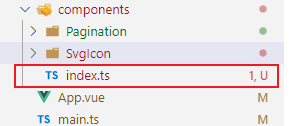
④ 把项目中的所有组件定义为全局组件
在components下创建index.ts文件,注册我们的全局组件
import SvgIcon from './SvgIcon/index.vue'
import Pagination from './Pagination/index.vue'

// 定义全局对象
const allGloableComponent = { SvgIcon, Pagination }

// 对外暴露插件对象
export default {
  install(app: any) {
    // 注册全部的组件为全局组件
    Object.keys(allGloableComponent).forEach(key => {
      app.component(key, allGloableComponent[key])
    })
  },
}
⑤ 在main.ts中安装我们的全局组件
// 引入自定义插件对象:注册整个项目全局组件
import GloableComponent from '@/components/index.ts'

// 安装自定义插件
app.use(GloableComponent)
9、整合Mock
(1) 安装
pnpm install -D vite-plugin-mock mockjs
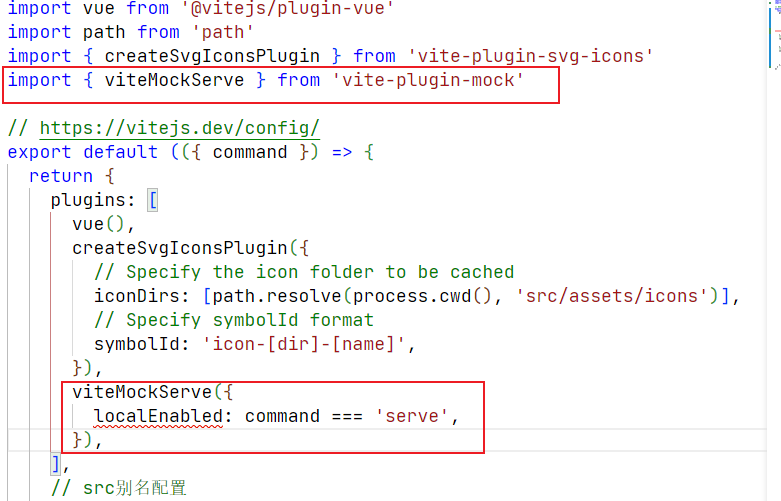
(2) 在 vite.config.ts 配置文件启用插件
import { viteMockServe } from 'vite-plugin-mock'
export default ({ command })=> {
  return {
    plugins: [
      // ...略
      viteMockServe({
        localEnabled: command === 'serve',
      }),
    ],
  }
}
10、安装axios
使用axios向后端发送请求
npm install axios
自定义工具类request.ts
// 封装axios

import axios from 'axios'
import { ElMessage } from 'element-plus'

const _axios = axios.create({
  // 基础路径
  baseURL: import.meta.env.VITE_APP_BASE_API,
  // 超时时间
  timeout: 5000,
})

// 请求拦截器
_axios.interceptors.request.use(
  config => {
    // 配置请求头
    return config
  },
  err => {
    return Promise.reject(err)
  },
)

// 响应拦截器
_axios.interceptors.response.use(
  // 成功回调
  response => {
    return response.data
  },
  // 失败回调
  err => {
    let message = ''
    // http状态码
    let status = err.response.status
    switch (status) {
      case 401:
        message = 'TOKEN已过期'
        break
      case 403:
        message = '无权访问'
        break
      case 404:
        message = '资源不存在'
        break
      case 500:
        message = '服务器出现异常了,请联系管理员'
        break
      default:
        message = '网络异常'
        break
    }
    // 提示错误信息
    ElMessage({
      type: 'error',
      message,
    })
  },
)
export default _axios
剩下的就是写页面调接口了
- Element-Plus TypeScript Vue-Router Vue 框架element-plus typescript vue-router vue vue3-element-admin element-plus typescript后台 element-plus typescript后台 管理系统 element-plus语法typescript el-table vue-router element-plus语法typescript element vue-router router vue quot vue-router location xxxxxxx router-view vue-router router view typescript element-plus组件 模块