官方文档: https://doc.xiaominfo.com/docs/quick-start
环境
SpringBoot 版本2.7.2
JDK版本 1.8
1.引入依赖
        <!-- https://doc.xiaominfo.com/knife4j/documentation/get_start.html-->
        <dependency>
            <groupId>com.github.xiaoymin</groupId>
            <artifactId>knife4j-spring-boot-starter</artifactId>
            <version>3.0.3</version>
        </dependency>
2.在application.yml中配置
spring:
    mvc:
        pathmatch:
            # 配置策略
            matching-strategy: ant-path-matcher
3.添加配置类
注:bassPackage需要填写下controller的路径
千万注意:线上环境不要把接口暴露出去!!!可以通过在 SwaggerConfig 配置文件开头加上 @Profile({"dev", "test"}) 限定配置仅在部分环境开启
@Configuration
@EnableSwagger2
@Profile({"dev", "test"})
public class Knife4jConfig {
@Bean
public Docket defaultApi2() {
return new Docket(DocumentationType.SWAGGER_2)
.apiInfo(new ApiInfoBuilder()
.title("接口文档")
.description("yskapi-backend")
.version("1.0")
.build())
.select()
// 指定 Controller 扫描包路径
.apis(RequestHandlerSelectors.basePackage("com.ysk.controller"))
.paths(PathSelectors.any())
.build();
}
}4.在controller中写好接口相应的信息
@Api(tags = "首页模块")
@RestController
public class IndexController {
@ApiImplicitParam(name = "name",value = "姓名",required = true)
@ApiOperation(value = "向客人问好")
@GetMapping("/sayHi")
public ResponseEntity<String> sayHi(@RequestParam(value = "name")String name){
return ResponseEntity.ok("Hi:"+name);
}
}5.访问地址
端口对应,正常访问http://localhost:8080/doc.html
如果配置类当中有配置路径,则需要加上
server:
  address: 0.0.0.0
  port: 8080
  servlet:
context-path: /api则访问:http://localhost:8080/api/doc.html
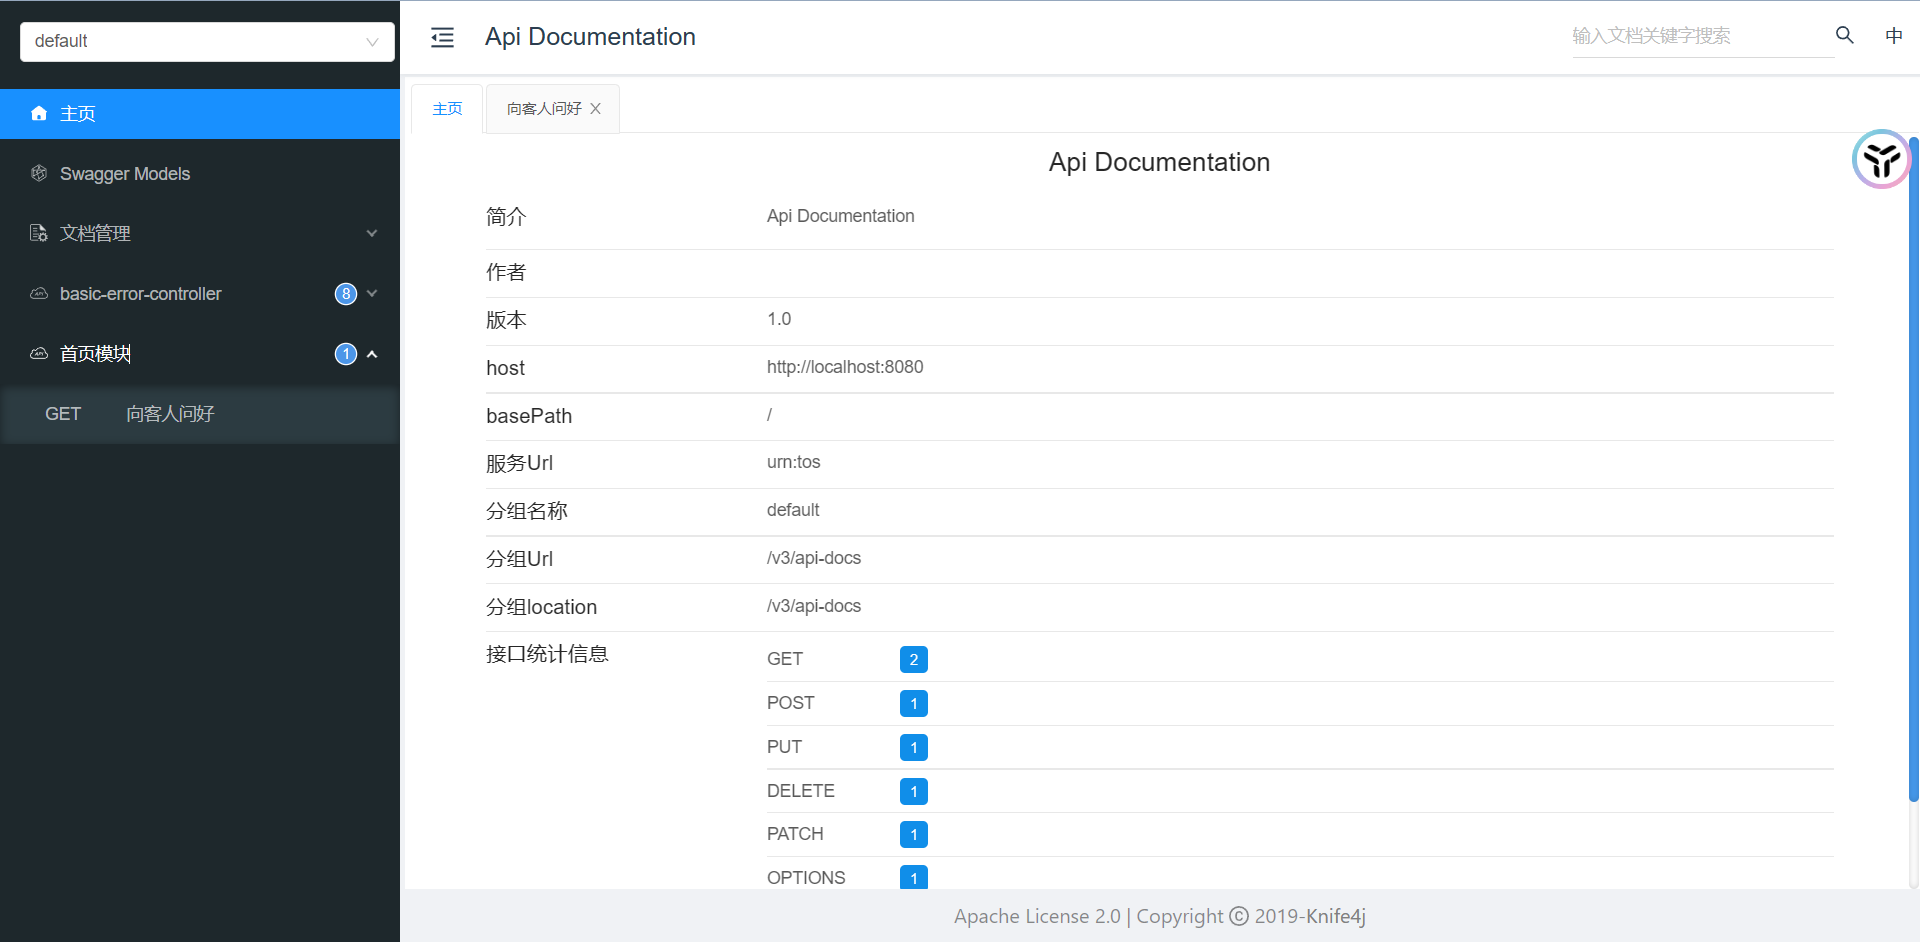
6.最终效果