今天主要是来介绍vue3中的el-table控件使用。
一、检测开发环境是否OK
1. 在cmd窗口创建一个vue3项目【vue create demo1】
2. cmd窗口运行项目【npm run serve】
3. 浏览器访问项目【http://localhost:8080/】
4. 访问成功界面

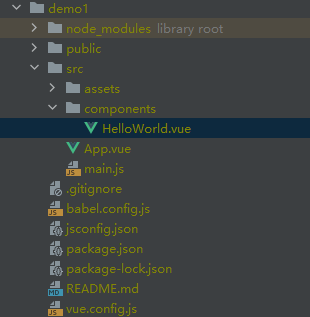
5. 项目目录
二、改写HelloWorld.vue页面新建el-table
1. 想要使用el-table,需要导入element-plus库,因此在package.json文件中添加element-plus版本信息
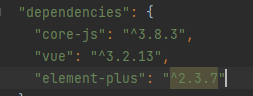
可以看到那个地方是灰色,将鼠标悬浮到^2.3.7上面会有提示run npm install,点击安装就行。
2. 将element-plus在main.js中加入app
import { createApp } from 'vue'
import App from './App.vue'
import ElementPlus from 'element-plus'
const app = createApp(App)
app.use(ElementPlus)
app.mount('#app')
3. 将App.vue到HelloWorld.vue的链接改下
4. HelloWorld.vue中新建el-table


<template>
  <el-card>
    <el-table
        :data="tablelist"
        :header-cell-style="{background:'yellow'}"
        style="width: 50%;"
        height="800px"
    >
      <el-table-column label="#"  type="index" min-width="10%"/>
      <el-table-column label="Col1" prop="col1" min-width="10%" />
      <el-table-column label="Col2" prop="col2" min-width="10%" />
      <el-table-column label="Col3" prop="col3" min-width="10%" />
      <el-table-column label="Col4" prop="col4" min-width="10%" />
      <el-table-column label="Col5" prop="col5" min-width="10%" />
      <el-table-column label="Col6" prop="col6" min-width="10%" />
      <el-table-column label="Col7" prop="col7" min-width="10%" />
      <el-table-column label="Col8" prop="col8" min-width="10%" />
      <el-table-column label="Col9" prop="col9" min-width="10%" />
    </el-table>
  </el-card>
</template>

<script>
export default {
  name: 'HelloWorld',
  data(){
    return {
      tablelist: [
          {
            col1: 0,
            col2: 0,
            col3: 0,
            col4: 0,
            col5: 0,
            col6: 0,
            col7: 0,
            col8: 0,
            col9: 0,
          },
        {
          col1: 0,
          col2: 0,
          col3: 0,
          col4: 0,
          col5: 0,
          col6: 0,
          col7: 0,
          col8: 0,
          col9: 0,
        },
        {
          col1: 0,
          col2: 0,
          col3: 0,
          col4: 0,
          col5: 0,
          col6: 0,
          col7: 0,
          col8: 0,
          col9: 0,
        },
        {
          col1: 0,
          col2: 0,
          col3: 0,
          col4: 0,
          col5: 0,
          col6: 0,
          col7: 0,
          col8: 0,
          col9: 0,
        },
        {
          col1: 0,
          col2: 0,
          col3: 0,
          col4: 0,
          col5: 0,
          col6: 0,
          col7: 0,
          col8: 0,
          col9: 0,
        },
      ]
    }
  }
}
</script>

<style>

</style>
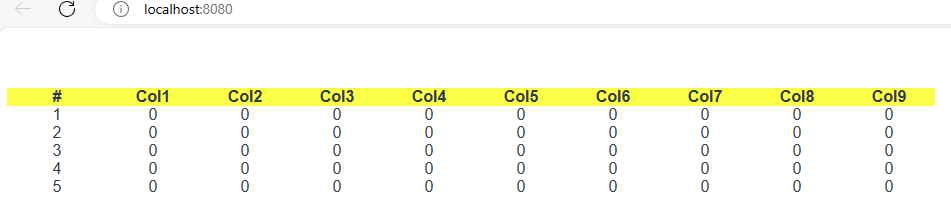
5. 看下运行后效果图
6. 代码参数解析
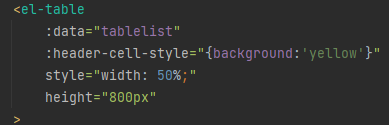
a. 首先第一个参数【:data】对应的是tablelist变量,意思是将tablelist变量与表绑定,给表赋值的。
tablelist是一个列表[{第一行},{第二行},{第三行}],第几个{}代表第几行。{col1: 0, col2:1}意思是prop为col1的那一列的值是0,prop为col2列的值为1。所以[{col1: 0, col2: 1},{col1:2}]代表第0行的col1列的值为0,col2列的值为1,第1行的col1列的值为2。(注意字典中的key值要和prop的值对应)
b. 第二个参数【:headder-cell-style】是表头的样式,{background:'yellow'}是将表头背景色设置为黄色
c. 第三个参数【style】是表的样式,width:50%是将当前表的宽度设置为页面的一半
d. 第四个参数【height】是表格的高度,设置为800px
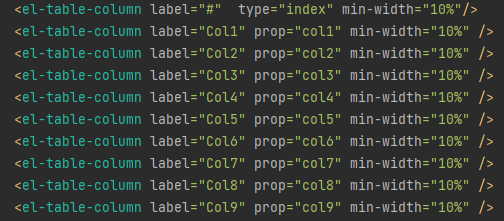
一个el-table-column代表一列,label表示表头要显示的值,prop是列表绑定的变量,和列表的key对应,min-width设置的是每一列的比例,图中是每一列各占10%。
三、el-table的样式设置
1. 间隔行变色