1. 准备环境
新建一个目录,并且在命令行中进入该目录

初始化一个Rasa项目,使用以下命令:
rasa init
2. 修改Rasa的配置
在Rasa项目目录中,找到credentials.yml文件,添加以下内容:
socketio:
  user_message_evt: user_uttered
  bot_message_evt: bot_uttered
  session_persistence: true/false
3. 安装并配置Nginx
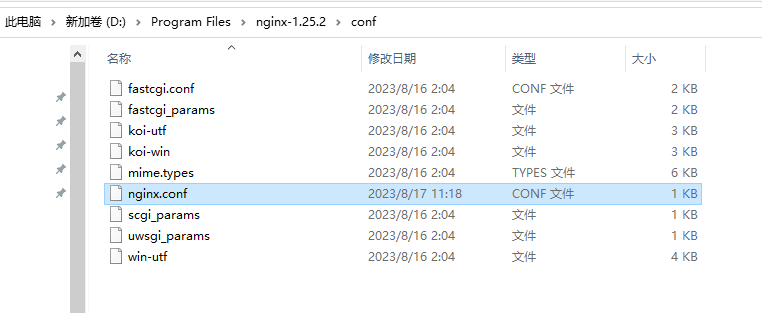
windows中安装Nginx:
编辑nginx.conf或在sites-enabled中的站点配置文件,添加以下内容:

    server {
        listen       8800;
        server_name  localhost;


        location / {
            root   html;
            index  index.html index.htm;
        }
        error_page   500 502 503 504  /50x.html;
        location = /50x.html {
            root   html;
        }
		location /socket.io {
			proxy_pass http://localhost:5005/socket.io;
			proxy_http_version 1.1;
			proxy_set_header Upgrade $http_upgrade;
			proxy_set_header Connection "upgrade";
			proxy_set_header Host $host;
			add_header 'Access-Control-Allow-Origin' '*';
		}
    }
然后重启Nginx:
nginx -s reload
4. 创建一个简单的HTML页面

<!DOCTYPE html>
<html lang="zh-CN">
  <head>
    <meta charset="utf-8" />
    <meta name="viewport" content="width=device-width, initial-scale=1" />
    <title>Rasa Web Chatbot</title>
  </head>
  <body>
    <h1>Rasa Web Chatbot</h1>
    <div id="rasa-chat-widget" data-websocket-url="http://localhost:8800/socket.io" data-default-open="true" data-initial-payload="hi"></div>
    <script src="https://unpkg.com/@rasahq/rasa-chat" type="application/javascript"></script>
  </body>
</html>
5. 运行Rasa
启动Rasa项目:
rasa run --enable-api --cors "*"
6. 打开浏览器
现在,在你的浏览器中访问http://localhost:8800/。你应该能看到一个简单的Rasa Web Chatbot,并可以与其互动。

注意:
如果你在浏览器中遇到CORS问题:检查以下步骤:
data-websocket-url="http://localhost:8800/socket.io"
这个端口和nginx.conf里面的监听端口一致listen 8800;
启动rasa注意不要忘了加上 cors 参数(rasa run --enable-api --cors "*"),否则会报错:
blocked by CORS policy: No 'Access-Control-Allow-Origin' header is present on the requested resource