详细:
1. Repository 模式作用和实现原理;
理论
MVC 分层缺点
MVC 作为一种传统的分层模型已经服务过很多 WEB 应用,非常成熟。Controller 需要直接调用对应的 Model 来完成数据交互,这样不可避免的造成了强耦合,也造成了 Controller 和 Model 的臃肿
一般控制器每个方法的代码不会超过 20 行,而且最好不直接引用 Model 的实例。而 Model 的功能应该是非常单一的,应该是单纯定义与数据库有关的业务关系,而不是大量书写逻辑业务代码,保持它们的纯粹对于项目来说是非常重要的。
Repository 模式
如果以 MVC 的模式实现,就是 Controller 与 Model 之间的直接交互,这样强耦合是不可避免的。
以公司的部门来举例,可以不让 Controller 部门直接与 Model 部门打交道,而是成立一个新的中间部门来统一调配,这个部门就是 Repository。也就是说,Controller 和 Model 不用纠结代码应该写在哪里,它们都不用做这个事情,让 Repository 来专职做这件事情。M 和 C 只要做好各自的基本业务就行了。Controller 就负责请求的逻辑调用,Model 只负责数据库的交互。
Repository 擅长根据请求来决定如何调用数据,而且只做这件事情。
Laravel 框架中 Repository 模式的实现原理
接口绑定
依赖注入
代码实例
新建 app/Repositories/StudentRepository.php
<?php

namespace App\Repositories;

interface StudentRepository{

    public function findAll();

    public function delete($sid);

}
新建 app/Repositories/StudentRepositoryEntity.php,实现一个实体类
<?php

namespace App\Repositories;
use App\Student;

class StudentRepositoryEntity implements StudentRepository{

    public function findAll(){
        return Student::all();
    }

    public function delete($sid){
        $student = Student::find($sid);
        return $student->delete();
    }
}
修改 app/Providers/AppServiceProvider.php
可以自定义一个服务提供者(provider),也可以在已有的服务提供者(provider)里, 将实体类和 interface 类绑定即可
注意:如果是自定义的provider,需要将 provider 类放到 config/app.php 配置文件中的 providers 选项中。
<?php

// use App\Repositories\StudentRepository;
// use App\Repositories\StudentRepositoryEntity;

/**
* Register any application services.
 *
 * @return void
 */
public function register()
{
    //$this->app->bind(StudentRepository::class, StudentRepositoryEntity::class);
    $this->app->bind('App\Repositories\StudentRepository', 'App\Repositories\StudentRepositoryEntity');
}
修改 routes/web.php,新建路由,依赖注入
Route::any('repository', function (\App\Repositories\StudentRepository $studentRepository){
    dd($studentRepository->findAll());
});
访问 http://192.168.1.214:2000/repository,返回数据,成功
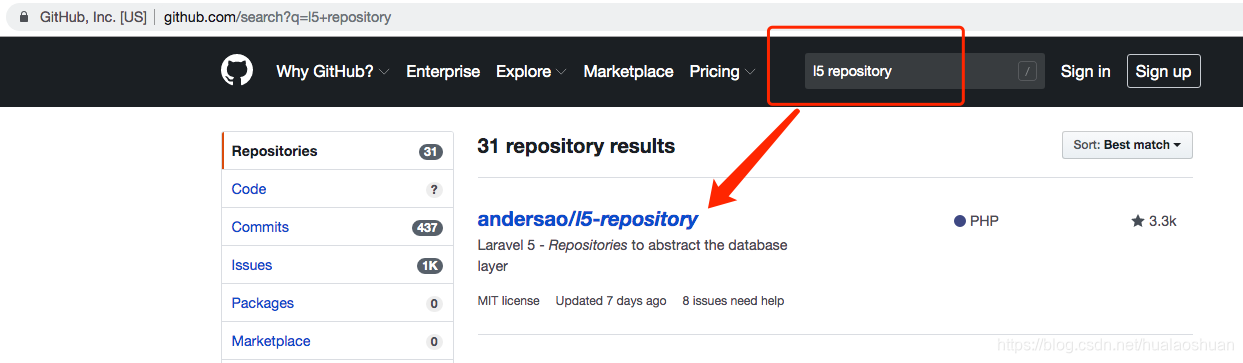
2. Laravel Repository 扩展包的配置和使用;
访问网址:https://github.com/andersao/l5-repository

# 进入项目目录
cd /data/project/test/laravel1

# 安装 l5-repository
composer require prettus/l5-repository

# 安装 fractal
composer require league/fractal

# 安装完成后配置
修改 config/app.php:
/*
 * Package Service Providers...
 */
// Repository
\Prettus\Repository\Providers\RepositoryServiceProvider::class,
控制台生成配置文件
php artisan vendor:publish
修改新生成的配置文件 config/repository.php:
// 约定了一些目录结构
// models 的目录改成 Models(个人喜好)
/*
|--------------------------------------------------------------------------
 | Generator Config
 |--------------------------------------------------------------------------
 |
 */
 'generator'  => [
     'basePath'      => app()->path(),
     'rootNamespace' => 'App\\',
     'stubsOverridePath' => app()->path(),
     'paths'         => [
         'models'       => 'Models',
         'repositories' => 'Repositories',
         'interfaces'   => 'Repositories',
         'transformers' => 'Transformers',
         'presenters'   => 'Presenters',
         'validators'   => 'Validators',
         'controllers'  => 'Http/Controllers',
         'provider'     => 'RepositoryServiceProvider',
         'criteria'     => 'Criteria'
     ]
 ]
控制台操作
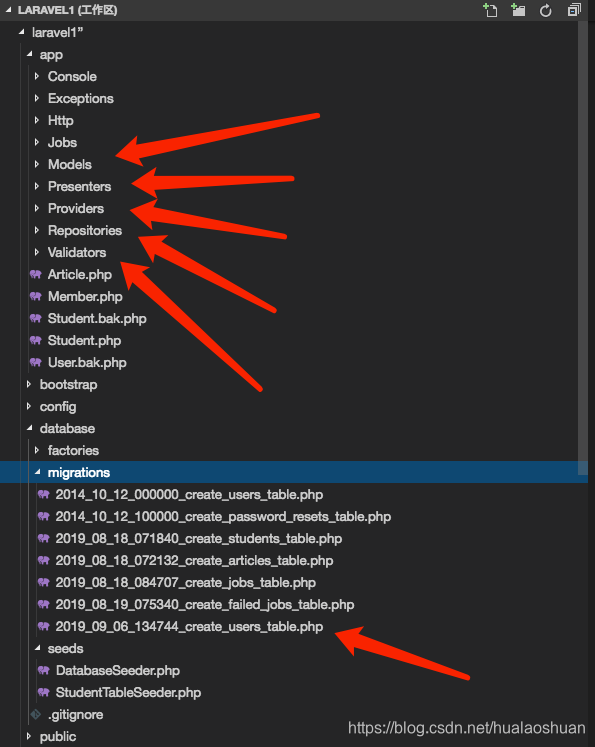
php artisan make:entity User

# 会出现一系列的提问,全部设置 y
Would you like to create a Presenter? [y|N] (yes/no) [no]:
 > y

App\Transformers\UserTransformerPresenter created successfully.

 Would you like to create a Transformer? [y|N] (yes/no) [no]:
 > y

Transformer created successfully.

 Would you like to create a Validator? [y|N] (yes/no) [no]:
 > y

Validator created successfully.

 Would you like to create a Controller? [y|N] (yes/no) [no]:
 > y

Request created successfully.
Request created successfully.
Controller created successfully.
Repository created successfully.
Provider created successfully.
Bindings created successfully.

# 新生成了如下图的目录和文件
# 在 app/Http/Controllers/ 生成了一个 UsersController.php
# 里面的代码是一个典型的 RESTful 风格
# 已经把基本的代码结构都生成好了

# 在 app/Http/Providers/ 生成了一个 RepositoryServiceProvider.php
# boot() 方法自动绑定了接口的实例

# 在 config/app.php 中,在 Application Service Providers... 添加一下内容
App\Providers\RepositoryServiceProvider::class,

# 总结:Laravel5 的 Repository 框架可以自动生成一个 RepositoryServiceProvider
# 然后自动去绑定一些接口和实体类
# 这样就可以很方便的去搭建一个 Repository 模式
新生成的目录和文件
来源:http://www.shanhubei.com/archives/2785.html