0. 安装前提
mac 系统已安装 brew, 本人测试环境为 ventura 13.4 , cpu 为 apple m2
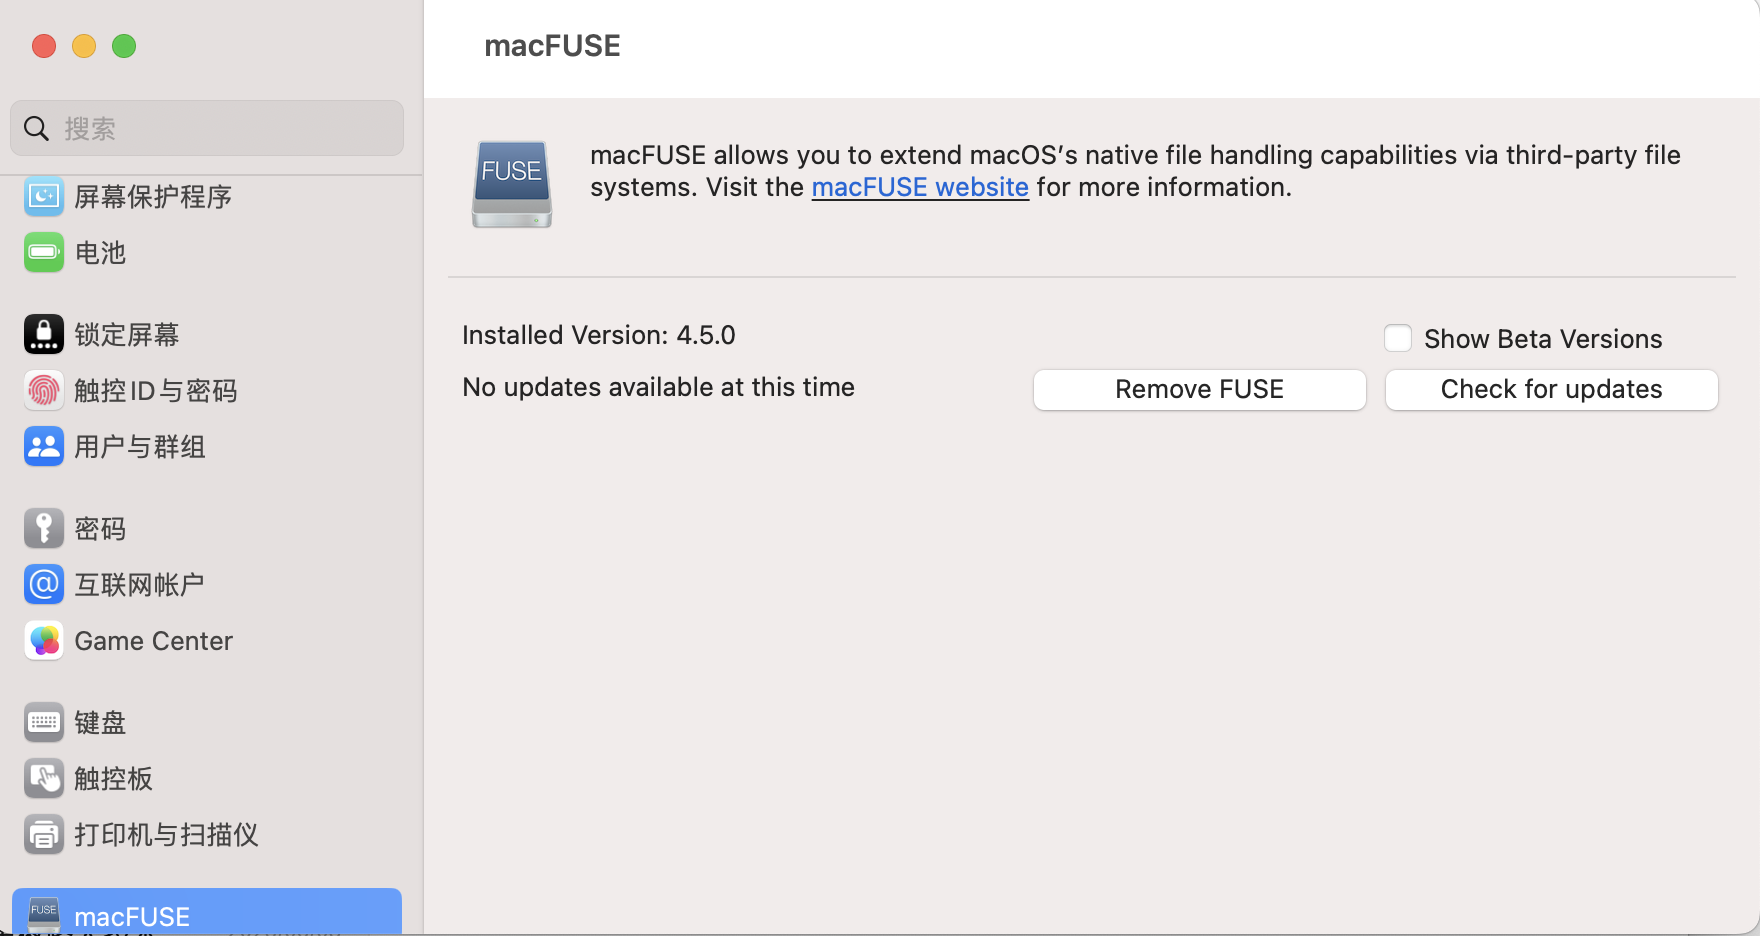
1.安装macfuse
osxfuse 官网 https://osxfuse.github.io/
这里通过 brew 安装
# 安装之前确认是否打开了允许任何来源,没打开的先执行下面的命令
sudo spctl --master-disable
# 然后在用命令安装
brew install --cask macfuse
2.安装ntfs-3g 驱动
ntfs-3g 为 tuxera 维护的开源软件, 可实现 linux/free bsd /osx 等系统中支持 NTFS 读写支持
# 网上很多说安装ntfs-3g的,我安装时提示这个包只支持Linux没有Mac版本的
brew tap gromgit/homebrew-fuse
brew install ntfs-3g-mac
3.修改安全等级
参考官方说明: https://support.apple.com/zh-cn/guide/mac-help/mchl768f7291/mac?ivk_sa=1024320u
进入安全模式后, 在菜单栏 实用工具>启动安全性实用工具, 降低安全性, 选择允许用户管理来自被认可的开发者的内核拓展 后重启
重启系统后, 开启扩展

4.加载磁盘分区
系统默认会自动加载ntfs分区, 但是只读, 要重新挂载分区支持读写
#!/bin/bash
# 与texura 不同时使用, 有一个挂载即可
# macfuse + ntfs-3g 支持ntfs
echo "load microsoft ntfs disk"
newDev=$(mount | grep ntfs | awk -F ' ' '{print $1}')
for i in $newDev;
do
	# ntfs://disk4s1/inbox
    # 截取/* 左边的, 如 disk4s1
	onceCutVal=${i%/*}
	# 载取 // 右的字符串, 如 disk4s1
	twiceCutVal=${onceCutVal#*//}
	# 截取 右边的, 如 inbox
	thriceCutVal=${i##*/}
	echo "新设备: "${thriceCutVal}
	## echo '---------\n'
	sudo umount $i
	sudo -S $(which ntfs-3g) /dev/${twiceCutVal} /Volumes/${thriceCutVal} -o local -o allow_other -o auto_xattr -o volname=${thriceCutVal}
	echo "新设备: ${thriceCutVal},已可读写!"
	# echo '---------\n'
	echo '---------'
	echo " "
done
给上面的脚本文件授与执行权限,如chmod + x ntfs.sh,然后插上移动硬盘,执行一下脚本即可
参考:
https://www.cnblogs.com/98record/p/mac-zhi-chi-ntfs.html#5156557
https://github.com/tuxera/ntfs-3g
https://github.com/tuxera/ntfs-3g/wiki