Apache
一.了解apache
Apache(或httpd)是Internet上使用最多的Web服务器技术之一,使用的传输协议是http(Hypertext Transfer Protocol),超文本传输协议,这是一个基于超文本的协议,用于通过网络连接来发送和接受对象。【还有一个是httpds(http的加密版本)】
-
http使用80/tcp端口
-
https使用443/tcp端口
搭建httpd服务
1.有用镜像yum源(大多数linux镜像自带httpd软件包)
2.安装httpd服务
3.关闭防火墙
4.开启httpd服务且设置开机自启
5.访问httpd默认访问界面(测试服务)
实操:
1.配置yum仓库
[root@server ~]# vim /etc/yum.repos.d/local.repo

[local]
name=redhat
baseurl=file:///media
enabled=1
gpgcheck=0
2.安装httpd服务
[root@server ~]# yum install -y httpd
Loaded plugins: langpacks, product-id, search-disabled-repos, subscription-manager
This system is not registered to Red Hat Subscription Management. You can use subscription-manager to register.
Repodata is over 2 weeks old. Install yum-cron? Or run: yum makecache fast
local                                                      | 4.1 kB  00:00:00
Resolving Dependencies
--> Running transaction check
---> Package httpd.x86_64 0:2.4.6-45.el7 will be installed
--> Processing Dependency: httpd-tools = 2.4.6-45.el7 for package: httpd-2.4.6-45.el7.x86_64
--> Processing Dependency: /etc/mime.types for package: httpd-2.4.6-45.el7.x86_64
--> Running transaction check
---> Package httpd-tools.x86_64 0:2.4.6-45.el7 will be installed
---> Package mailcap.noarch 0:2.1.41-2.el7 will be installed
--> Finished Dependency Resolution

Dependencies Resolved

==================================================================================
 Package              Arch            Version                Repository      Size
==================================================================================
Installing:
 httpd                x86_64          2.4.6-45.el7           local          1.2 M
Installing for dependencies:
 httpd-tools          x86_64          2.4.6-45.el7           local           84 k
 mailcap              noarch          2.1.41-2.el7           local           31 k

......

Complete!
3.关闭防火墙
[root@server ~]# systemctl  stop firewalld.service
或者
firewall-cmd --permanent --add-service=http
4.开启服务且设置开机自启
[root@server conf]# systemctl start httpd

[root@server conf]# systemctl enable httpd
Created symlink from /etc/systemd/system/multi-user.target.wants/httpd.service to /usr/lib/systemd/system/httpd.service.
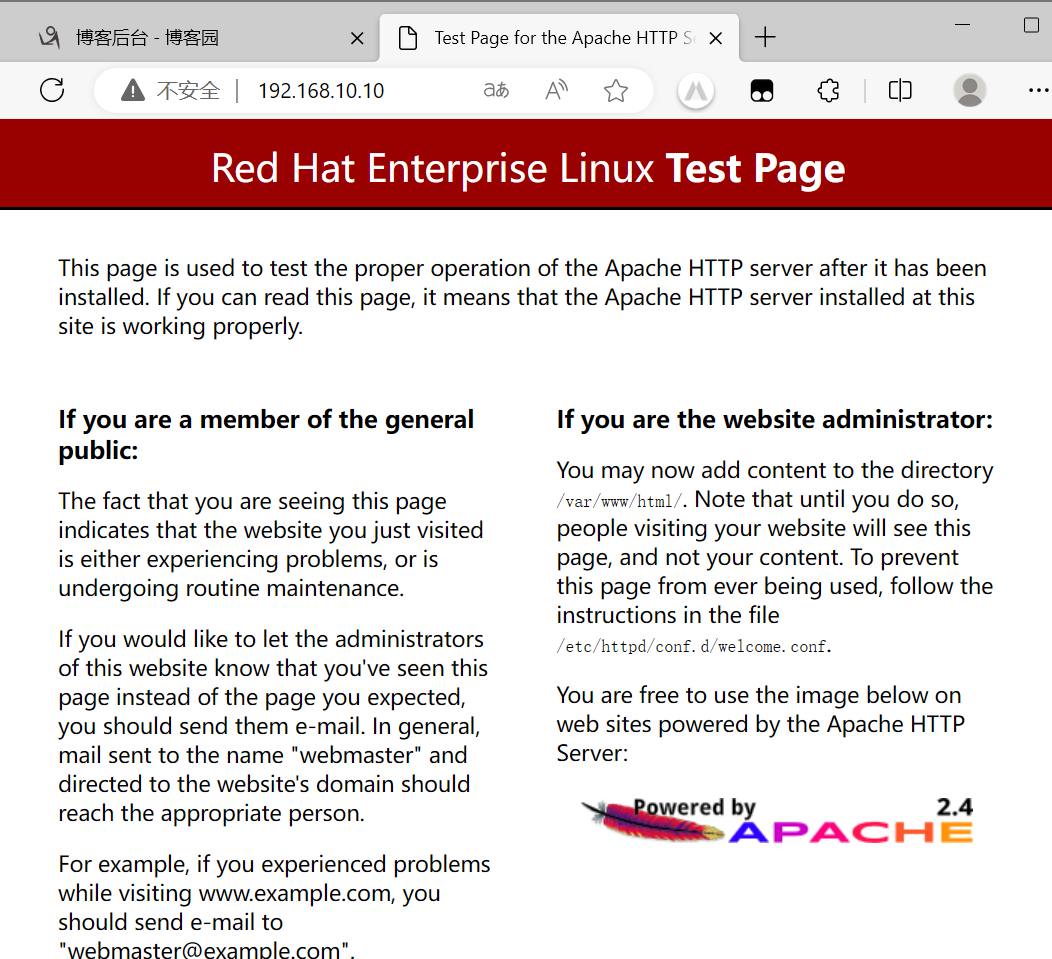
5.访问默认网站
在客户端访问
windows:
打开浏览器输入http://192.168.10.10(配有apache服务的主机ip)
linux:
curl http://192.168.10.10(或者使用火狐浏览器同windows)
搭建个人网站
1.新建用户
2.修改用户的配置文件
3.为用户编写一个网页文件
4.修改网页文件的访问权限
5.重启apache服务
6.客户端访问测试
1.新建用户
[root@server ~]# useradd  sum
[root@server ~]# passwd sum
Changing password for user sum.
New password:
BAD PASSWORD: The password is a palindrome
Retype new password:
passwd: all authentication tokens updated successfully.
2.修改用户的配置文件
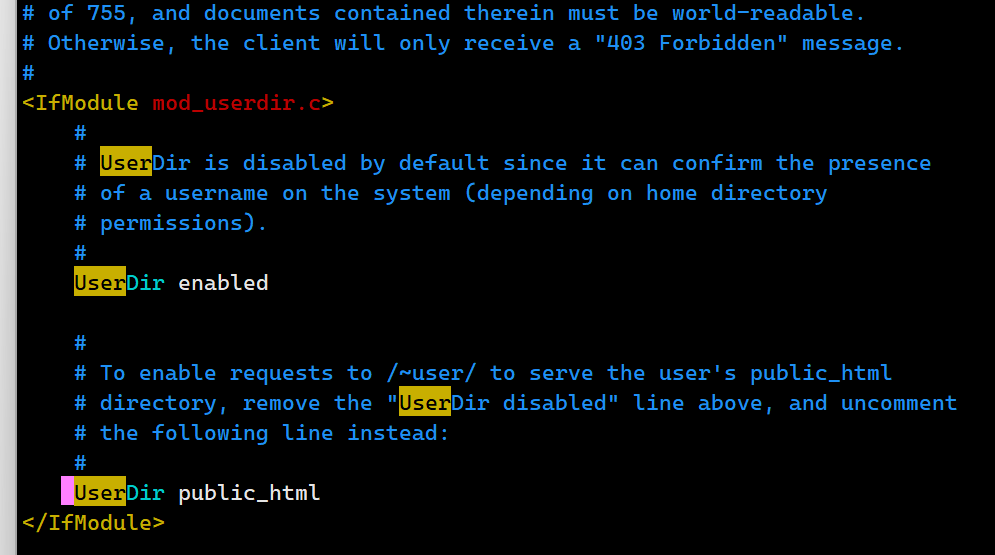
UserDir enabled (改disabled为enabled) 开启
UserDir public_html (去#注释)
3.为用户编写一个网页文件
[root@server conf.d]# cd /home/sum/
[root@server sum]# ls
[root@server sum]# vim index.html
[root@server sum]# ls
[root@server sum]# echo "hello,this's my first web" >> index.html
[root@server sum]# ls
index.html
4.修改网页文件的访问权限
[root@server sum]# chmod o+x /home/sum/
(修改其他人的访问权写)
5.重启apache服务
[root@server sum]# systemctl restart httpd.service
6.客户端访问测试