# IDEA MyBatisCodeHelper Pro插件
原文地址:http://ytxy.xyz/pages/mchp_new/
# 前言
3.2.4以后更新了策略。(截图新老混用,懒得截了,意思能明白就行) 文章的图片使用的是GitHub做的图床,如果图片加载不出来,挂梯即可。
# 版本说明
- 系统:macOS(Windows同理)
- IDE:IntelliJ IDEA 2023.2.5
- MyBatisCodeHelper Pro 3.2.7
-
3.2.7懒人替换包:https://www.aliyundrive.com/s/MXgBrtyW4S1 (opens new window)
(需要配合此文章最后一步激活使用)
-
3.2.5懒人替换包:https://www.aliyundrive.com/s/uJYnGF1ffi1 (opens new window)
(需要配合此文章最后一步激活使用)
-
3.2.4懒人替换包:https://www.aliyundrive.com/s/3xCstYyevQf (opens new window)
(需要配合此文章最后一步激活使用)
# 环境准备
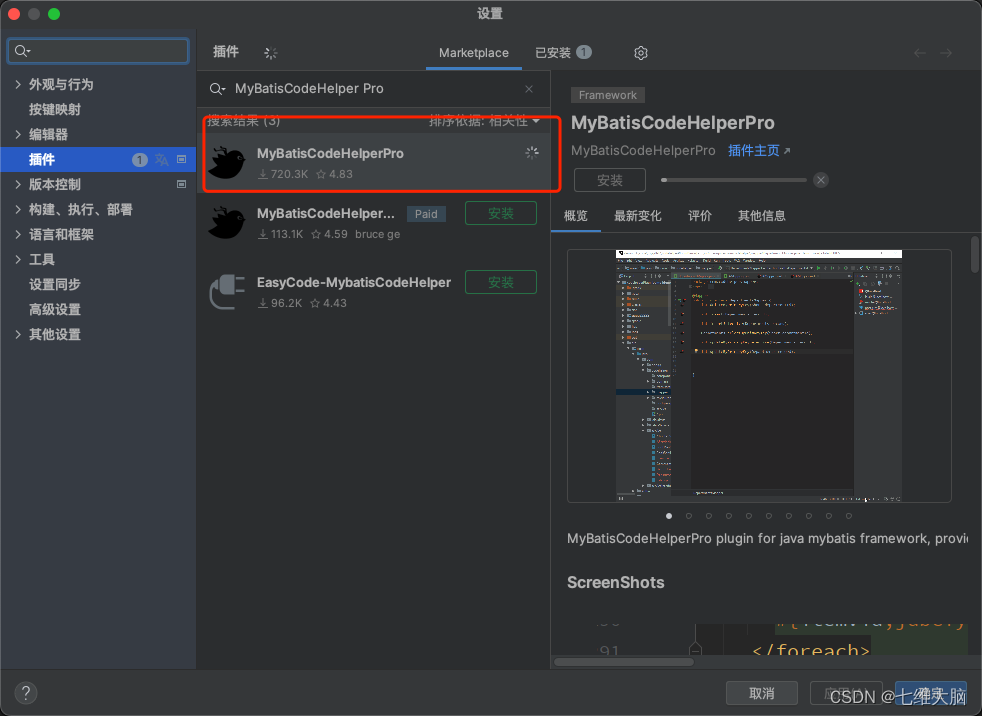
-
从插件市场下载MyBatisCodeHelper Pro
-
下载cfr的jar包
下载地址:https://www.aliyundrive.com/s/KmR2Y75V5sh (opens new window)
# 找到MyBatisCodeHelper Pro的jar包
- Windows:在地址栏输入
%appdata%\JetBrains\找到idea安装目录,里面有个plugins文件夹,然后里面有个文件夹MyBatisCodeHelper-Pro - MacOS:
/Users/用户名/Library/Application Support/JetBrains/IntelliJIdea2023.1/plugins/MyBatisCodeHelper-Pro
MacOS的有一点特殊,注意用户名目录和你的idea版本号
然后进入到lib文件夹,找到MyBatisCodeHelper-Pro-obfuss.jar。
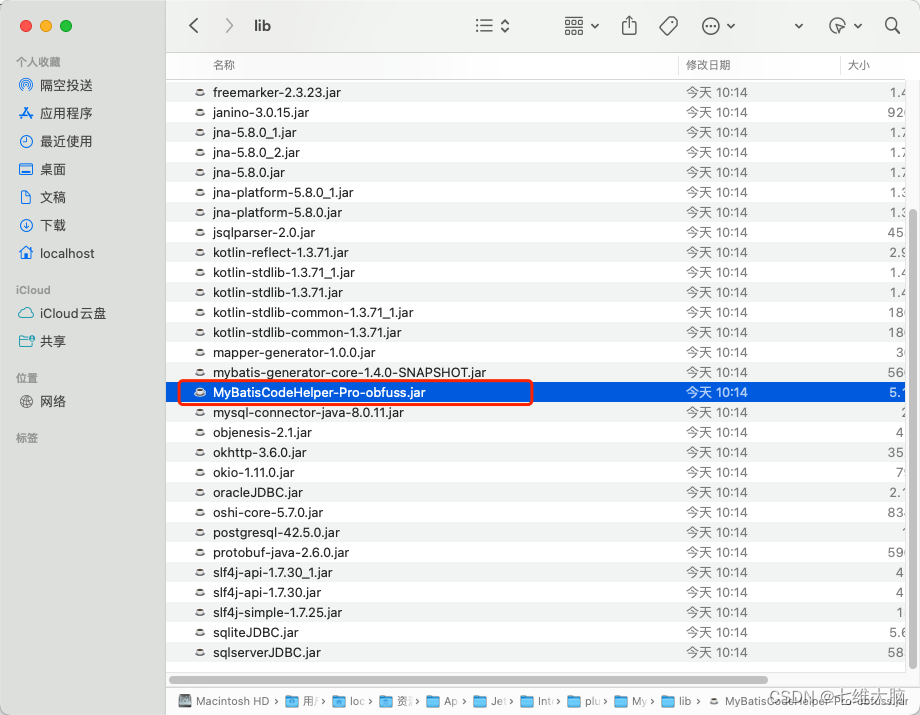
将它和刚刚下载的cfr的jar包拷贝到另一个地方,比如桌面,方便修改。
# 反编译jar包
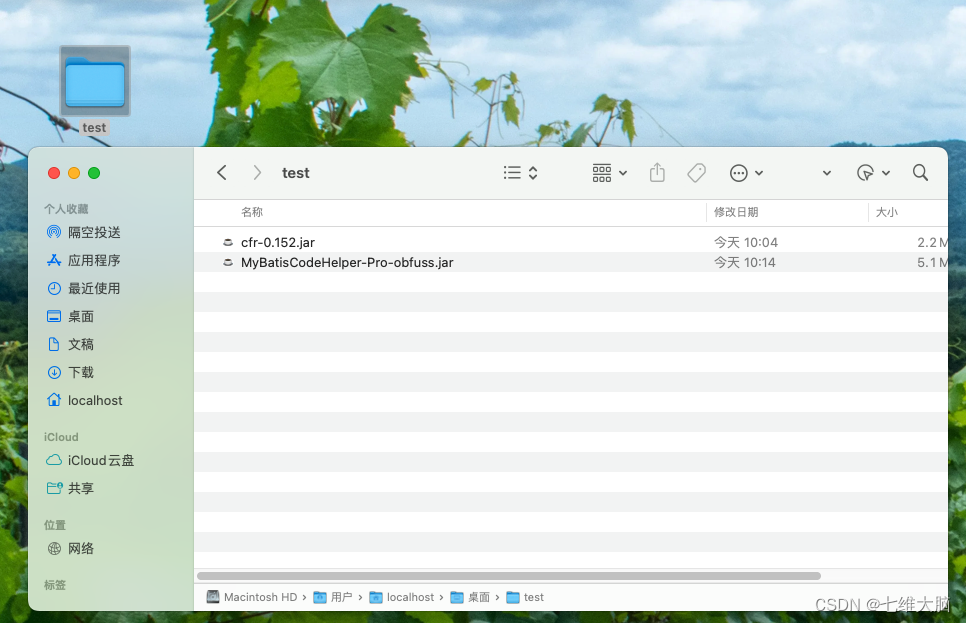
-
将MyBatisCodeHelper-Pro-obfuss.jar拷贝出来和cfr-0.152.jar放在同一个目录下。
-
执行命令:
java -jar cfr-0.152.jar MyBatisCodeHelper-Pro-obfuss.jar --renamedupmembers true --hideutf false >> result.txt -
修改主要类:
以前的版本是在result.txt中搜索validTo,找到有paidKey,valid,validTo的类,分析,然后修改该类即可。
```java
/*
 * Decompiled with CFR 0.152.
 *
 * Could not load the following classes:
 *  com.google.gson.annotations.SerializedName
 *  kotlin.TypeCastException
 */
package com.ccnode.codegenerator.Y.e;

import com.ccnode.codegenerator.myconfigurable.DomainObject;
import com.google.gson.annotations.SerializedName;
import kotlin.TypeCastException;

public class e {
    @SerializedName(value="paidKey")
    private String d;
    @SerializedName(value="valid")
    private Boolean c;
    @SerializedName(value="userMac")
    private String e;
    @SerializedName(value="validTo")
    private Long a;
    private static DomainObject[] b;
    private static final String[] bb;
    private static final String[] cb;
新版版本的方法是:
- 在result.txt中搜索
private static Gson,找到类似于如下类的包:
/*
 * Decompiled with CFR 0.152.
 *
 * Could not load the following classes:
 *  com.google.gson.Gson
 *  kotlin.text.Charsets
 */
package com.ccnode.codegenerator.Y.f;

import com.ccnode.codegenerator.Y.f.c;
import com.ccnode.codegenerator.Y.f.d;
import com.ccnode.codegenerator.Y.f.e;
import com.google.gson.Gson;
import java.io.UnsupportedEncodingException;
import java.util.Base64;
import kotlin.text.Charsets;

public class a {
    private static Gson a;
    private static final String[] bb;
    private static final String[] cb;

    public static com.ccnode.codegenerator.Y.e.e a(String string) {
        String string2;
        byte[] byArray = null;
        try {
            byArray = c.b(c.b(new String(Base64.getDecoder().decode(com.ccnode.codegenerator.Y.f.a.b(7930, -26290)), Charsets.UTF_8)), Base64.getDecoder().decode(string));
        }
        catch (d d2) {
            byArray = c.b(new e(), Base64.getDecoder().decode(string));
        }
        com.ccnode.codegenerator.Y.e.e e2 = null;
        try {
            string2 = new String(byArray, com.ccnode.codegenerator.Y.f.a.b(7931, -7519));
        }
        catch (UnsupportedEncodingException unsupportedEncodingException) {
            throw new RuntimeException(unsupportedEncodingException);
        }
        try {
            e2 = (com.ccnode.codegenerator.Y.e.e)a.fromJson(string2, com.ccnode.codegenerator.Y.e.e.class);
        }
        catch (Exception exception) {
            throw new RuntimeException(com.ccnode.codegenerator.Y.f.a.b(7929, 19276) + string2, exception);
        }
        return e2;
    }
就是这个类解析转换为指定信息,然后给了com.ccnode.codegenerator.Y.e.e类,然后com.ccnode.codegenerator.Y.e.e类就可以判断是否有效了。 而这个类的作用是进行了base64解析,然后使用gson转换。 所以修改这个类即可。
-
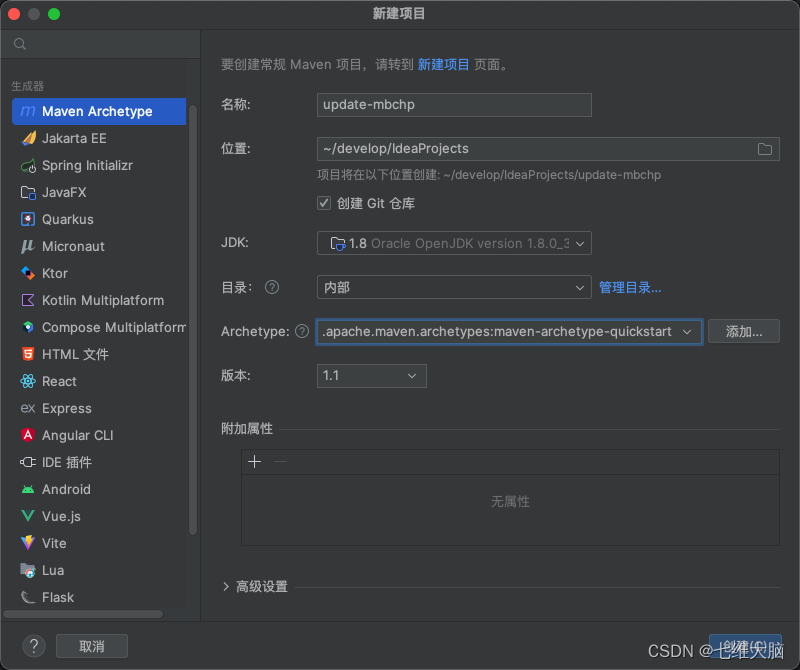
使用IDEA创建一个Maven项目
-
导入Javassist依赖
<!-- javassist --> <dependency> <groupId>org.javassist</groupId> <artifactId>javassist</artifactId> <version>3.28.0-GA</version> </dependency> -
导入gson依赖
<!-- gson --> <dependency> <groupId>com.google.code.gson</groupId> <artifactId>gson</artifactId> <version>2.10.1</version> </dependency> -
修改com.ccnode.codegenerator.Y.f.a类中的a方法
修改类MyBatisCodeHelperProPJNew.java,代码中的路径需要修改为你自己的路径,类名也需要修改为你自己的类名。
import javassist.*;

import java.io.IOException;

/**
 * @author zhzhanwei@163.com
 */
public class MyBatisCodeHelperProPJNew {
    public static void main(String[] args) throws NotFoundException, CannotCompileException, IOException {
        // 加载类
        ClassPool classPool = ClassPool.getDefault();
        // 直接使用 jar 路径
        classPool.appendClassPath("/Users/localhost/Downloads/pj/MyBatisCodeHelper-Pro-obfuss.jar");

        // 获取指定类
        CtClass ctClass = classPool.get("com.ccnode.codegenerator.Y.f.a");

        CtMethod parseLicenseMethod = ctClass.getDeclaredMethod("a", new CtClass[] { classPool.get("java.lang.String") });
        StringBuffer bodyBuff = new StringBuffer();
        bodyBuff.append("{")
                .append("  com.google.gson.Gson gson = new com.google.gson.Gson();")
                .append("  com.ccnode.codegenerator.Y.e.e e = (com.ccnode.codegenerator.Y.e.e)gson.fromJson($1,com.ccnode.codegenerator.Y.e.e.class);")
                .append("  return e;")
                .append("}");
        parseLicenseMethod.setBody(bodyBuff.toString());

        // 对修改的文件,写出到一个新文件
        ctClass.writeFile("/Users/localhost/Downloads/pj");
    }

}
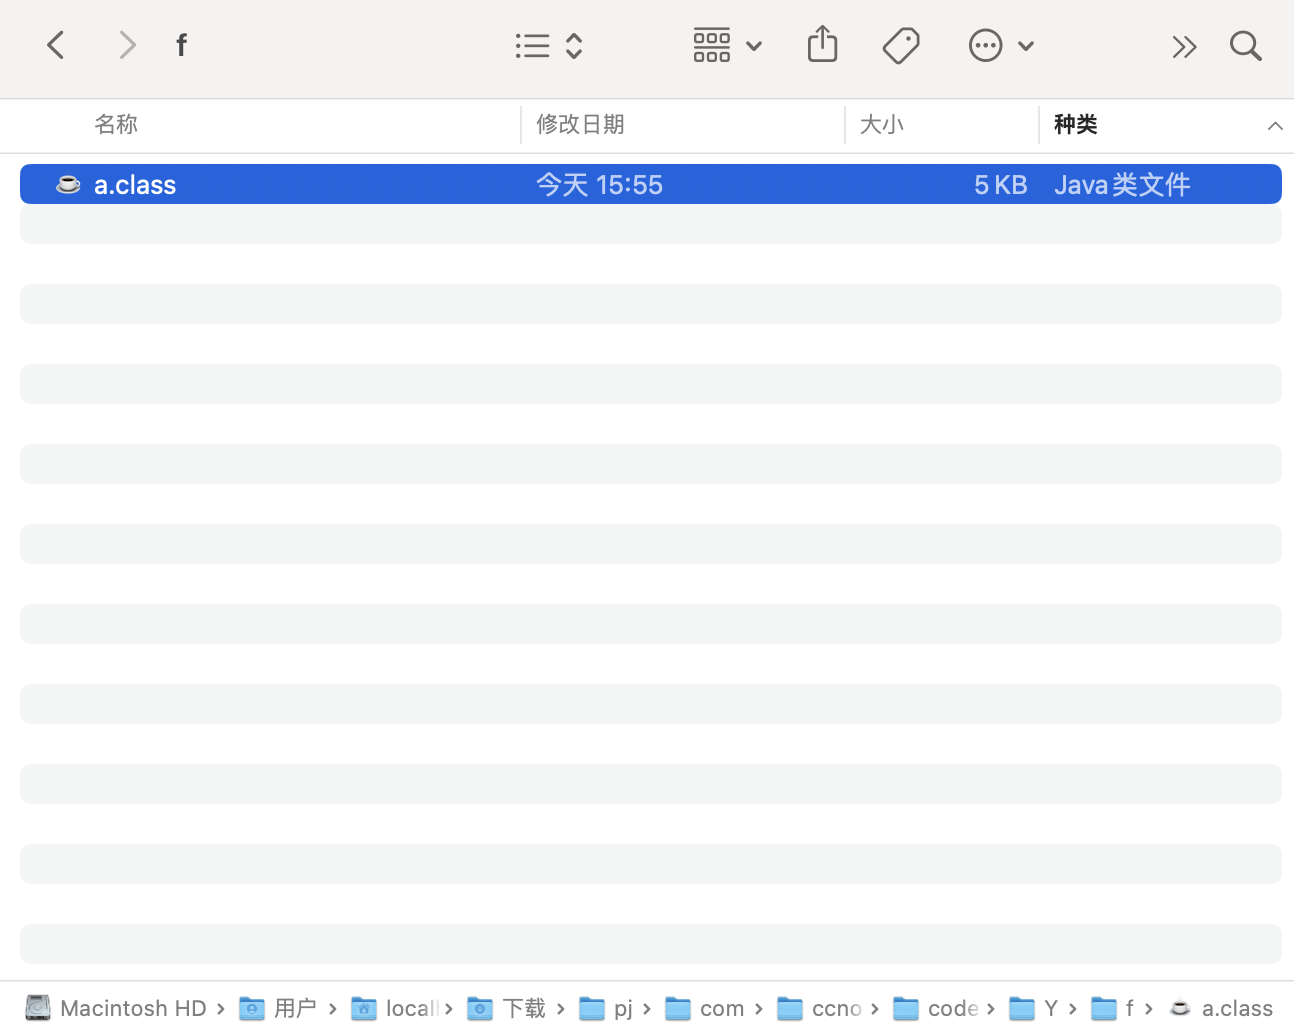
运行完成后,会将修改的 class 文件生成到指定目录下。
# 替换Class文件
原来的版本使用压缩工具打开后直接替换即可。 新版本的需要使用Java命令替换,命令如下:
jar uvf MyBatisCodeHelper-Pro-obfuss.jar com/ccnode/codegenerator/Y/f/a.class
1
- MyBatisCodeHelper-Pro-obfuss.jar 文件和 com文件夹 是同级目录
- com/ccnode/codegenerator/Y/f/a.class 需要更改为你自己的路径(用正斜杠还是反斜杠根据系统不同而定)
输出结果如下图: 
# 最后一步
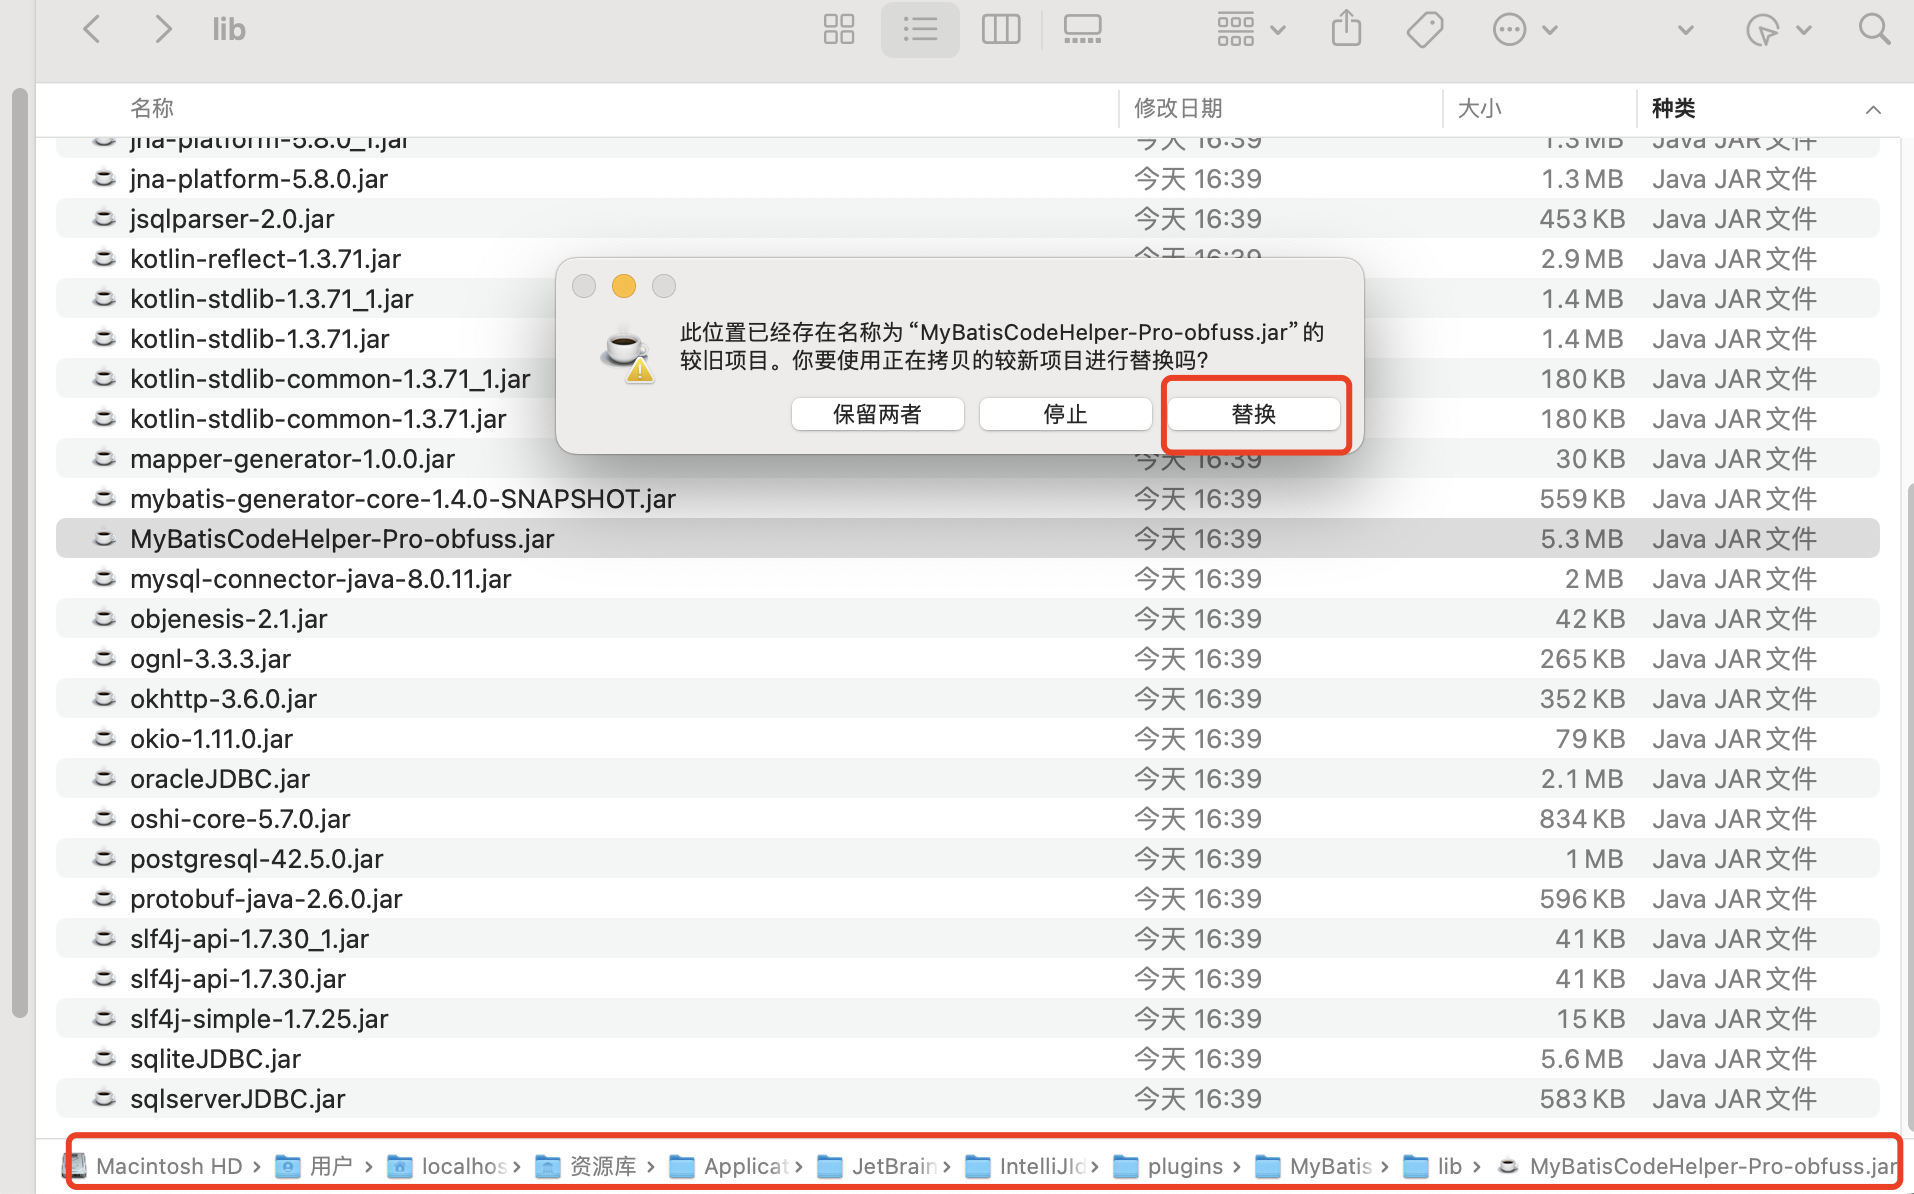
- 将修改后的jar包放回MyBatisCodeHelper-Pro/lib目录下
- 重启IDEA
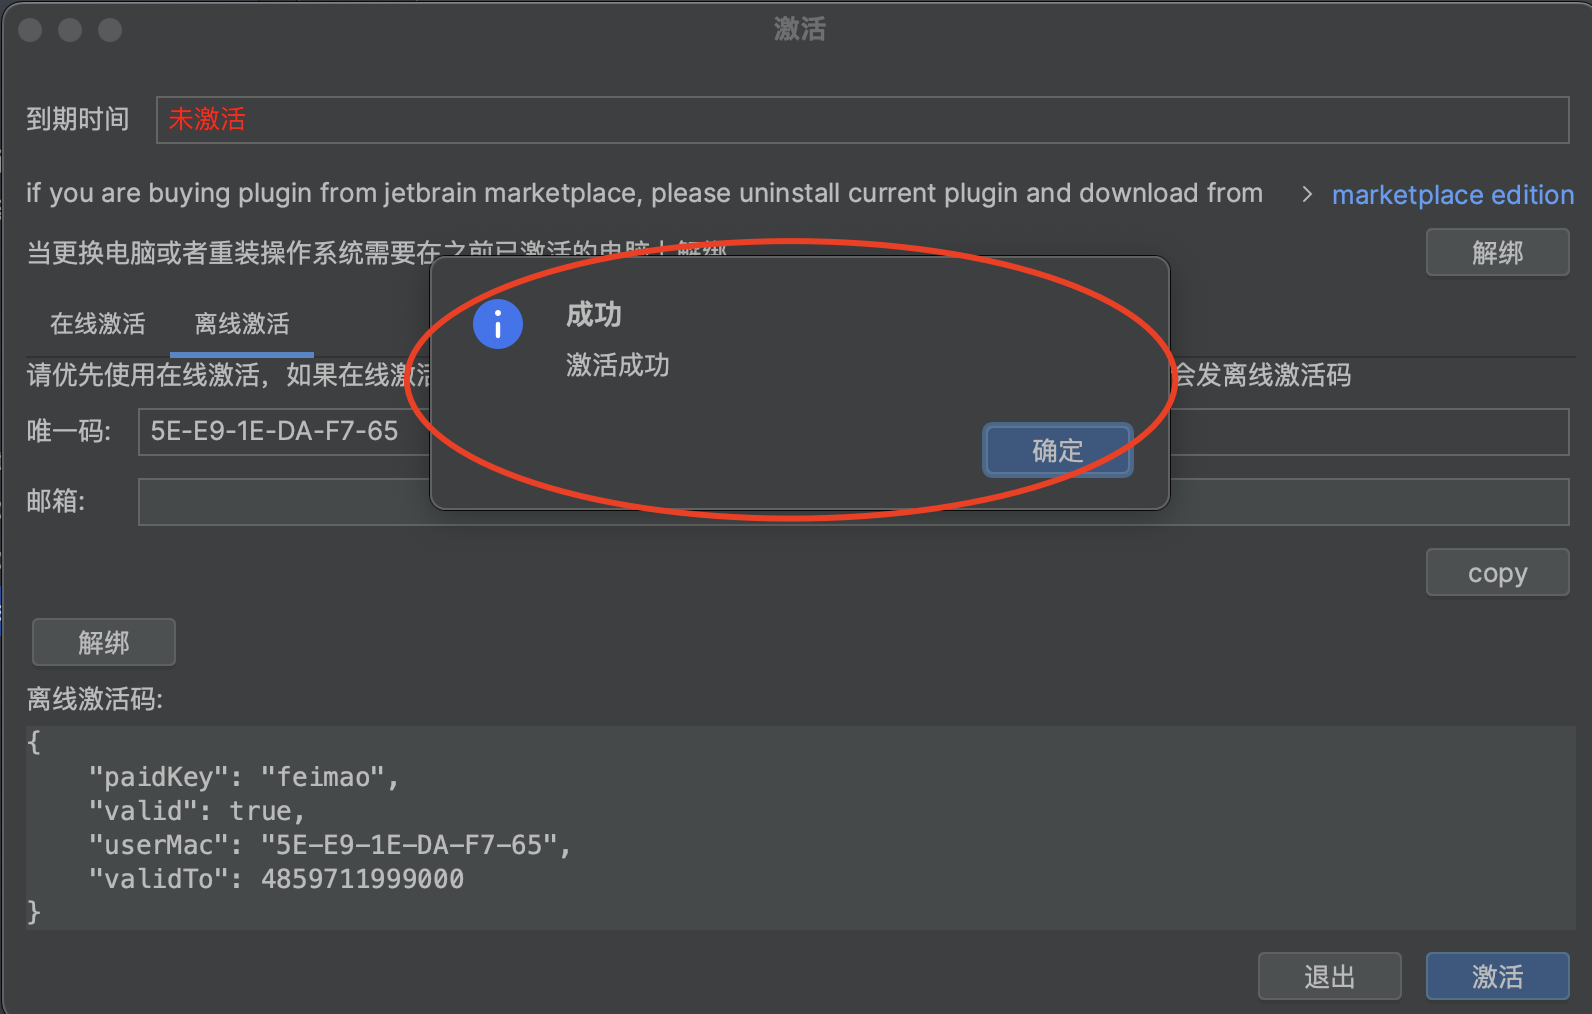
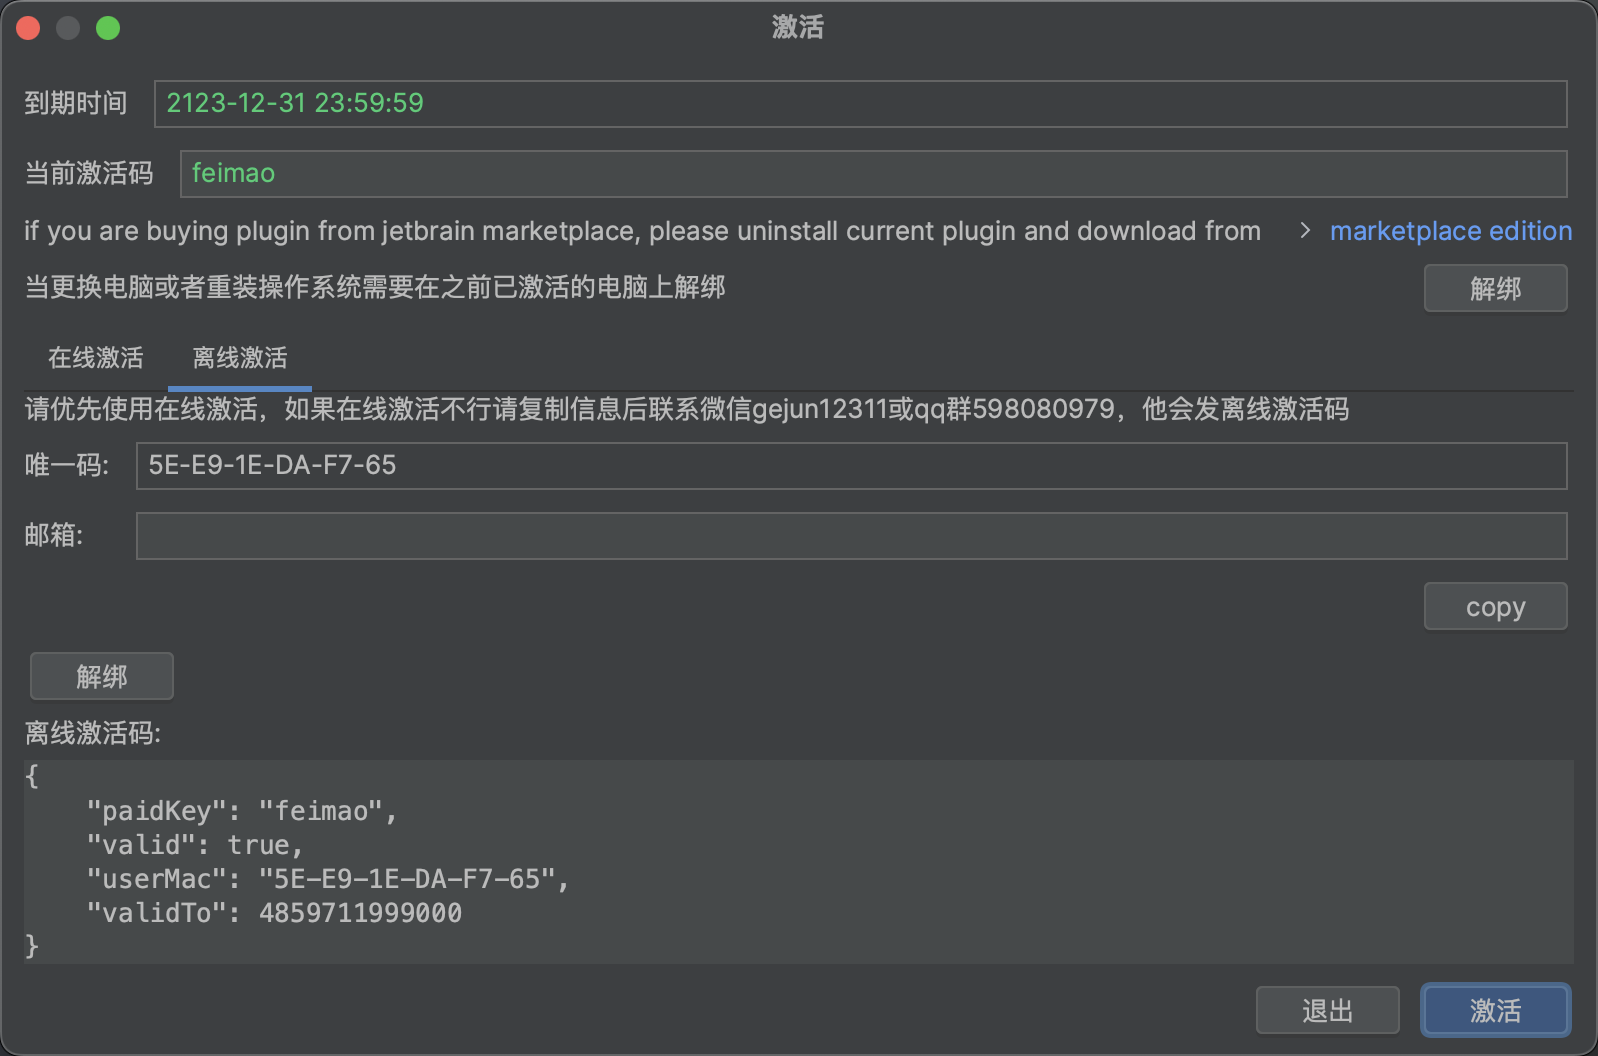
- IDEA中打开设置——其他设置——MyBatisCodeHelperPro——翻到最后,点激活
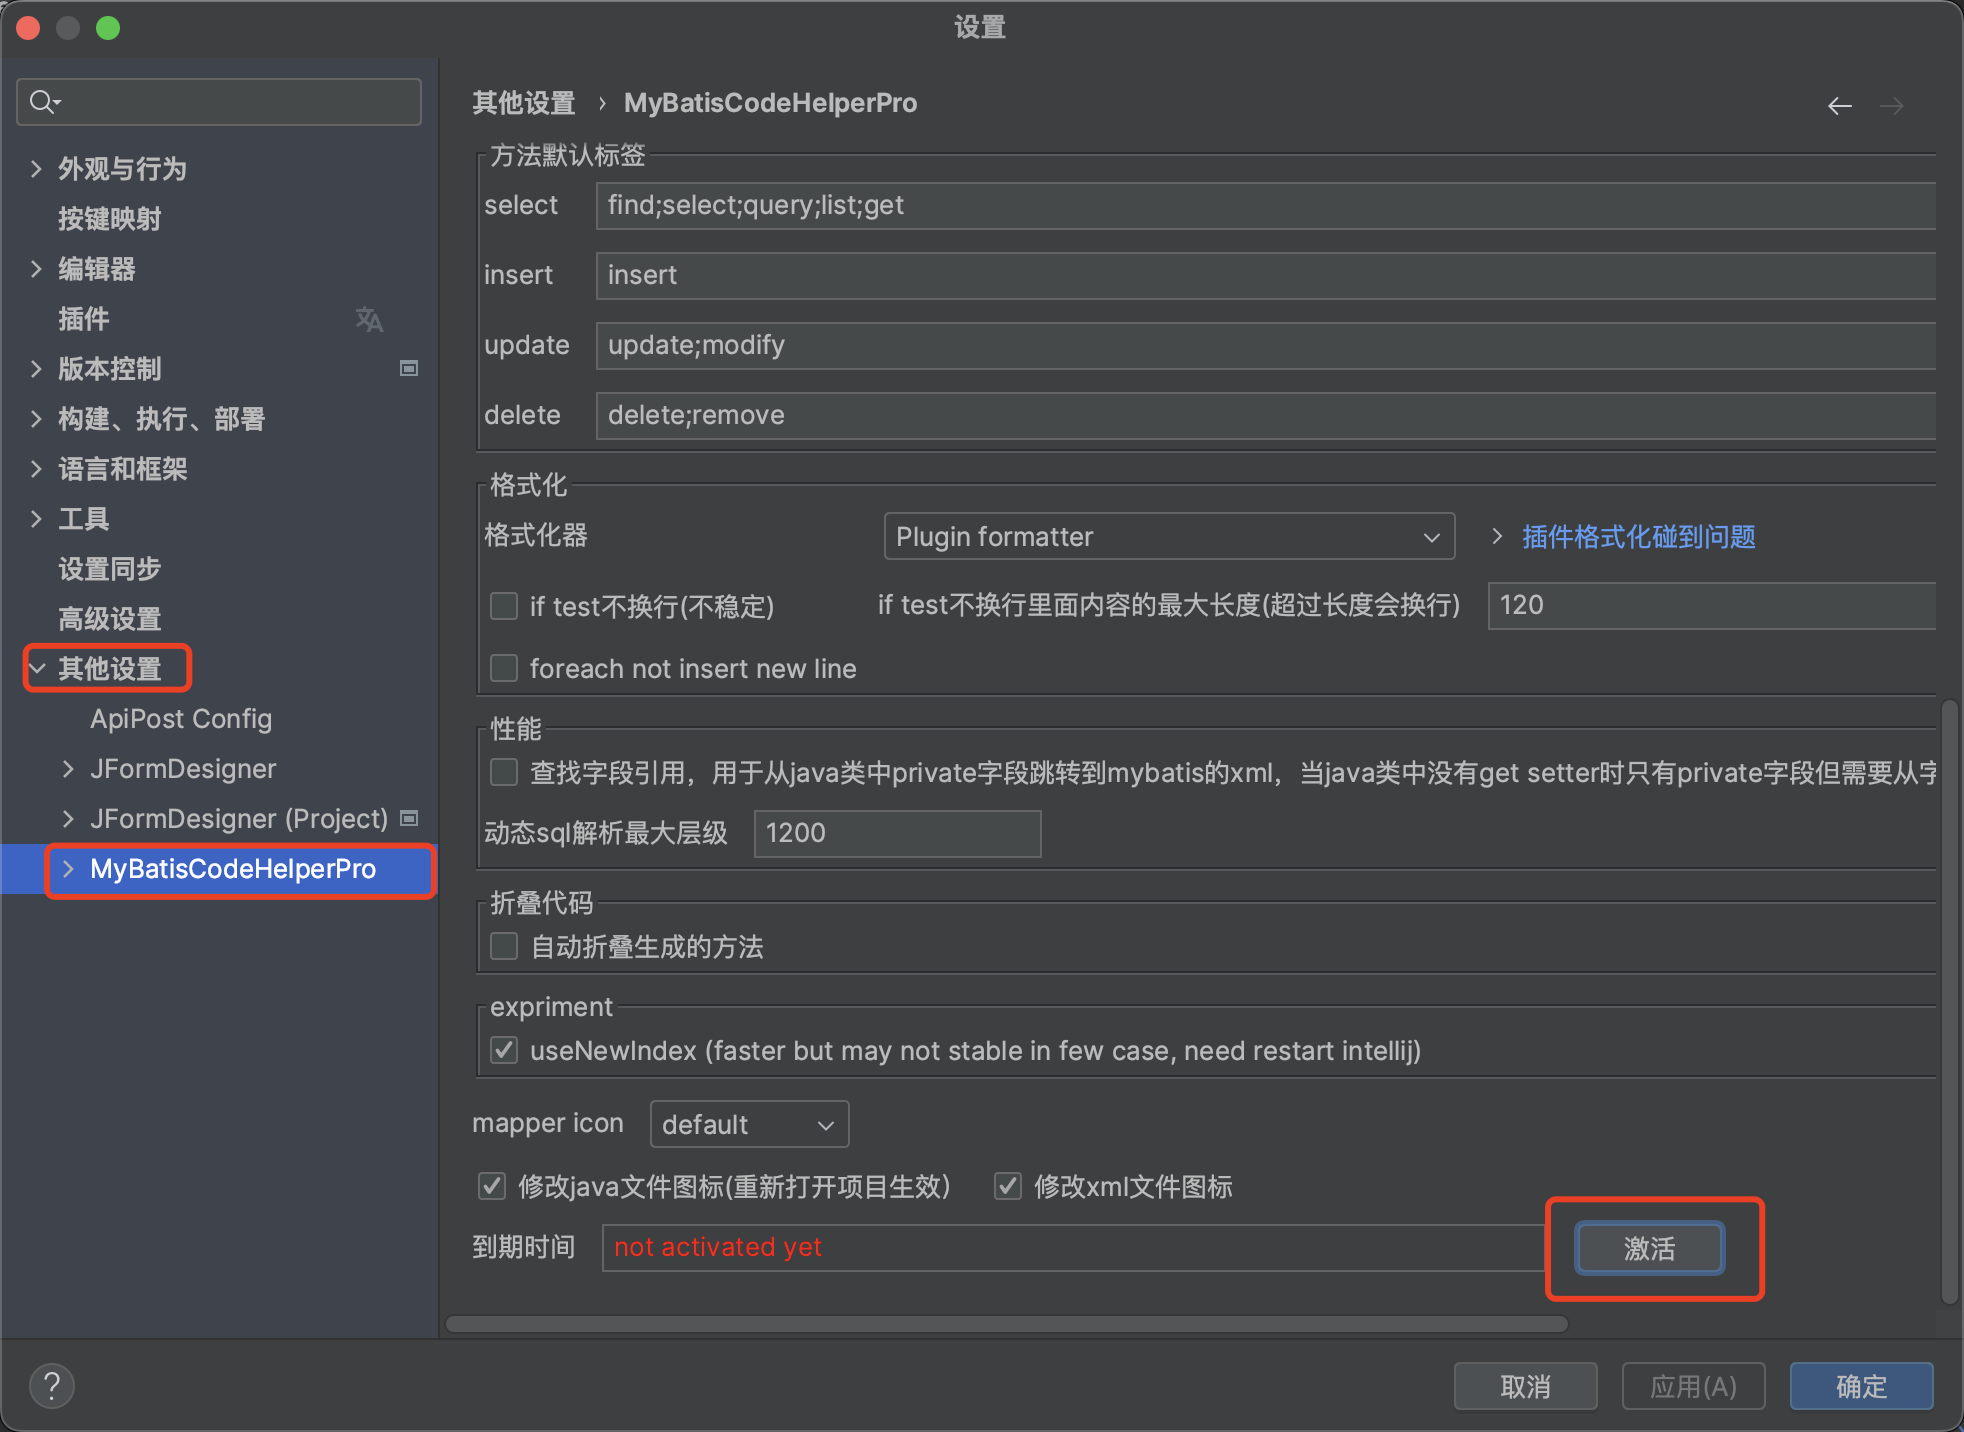
- 选择离线激活——输入下方代码——点击激活,即可免费使用。
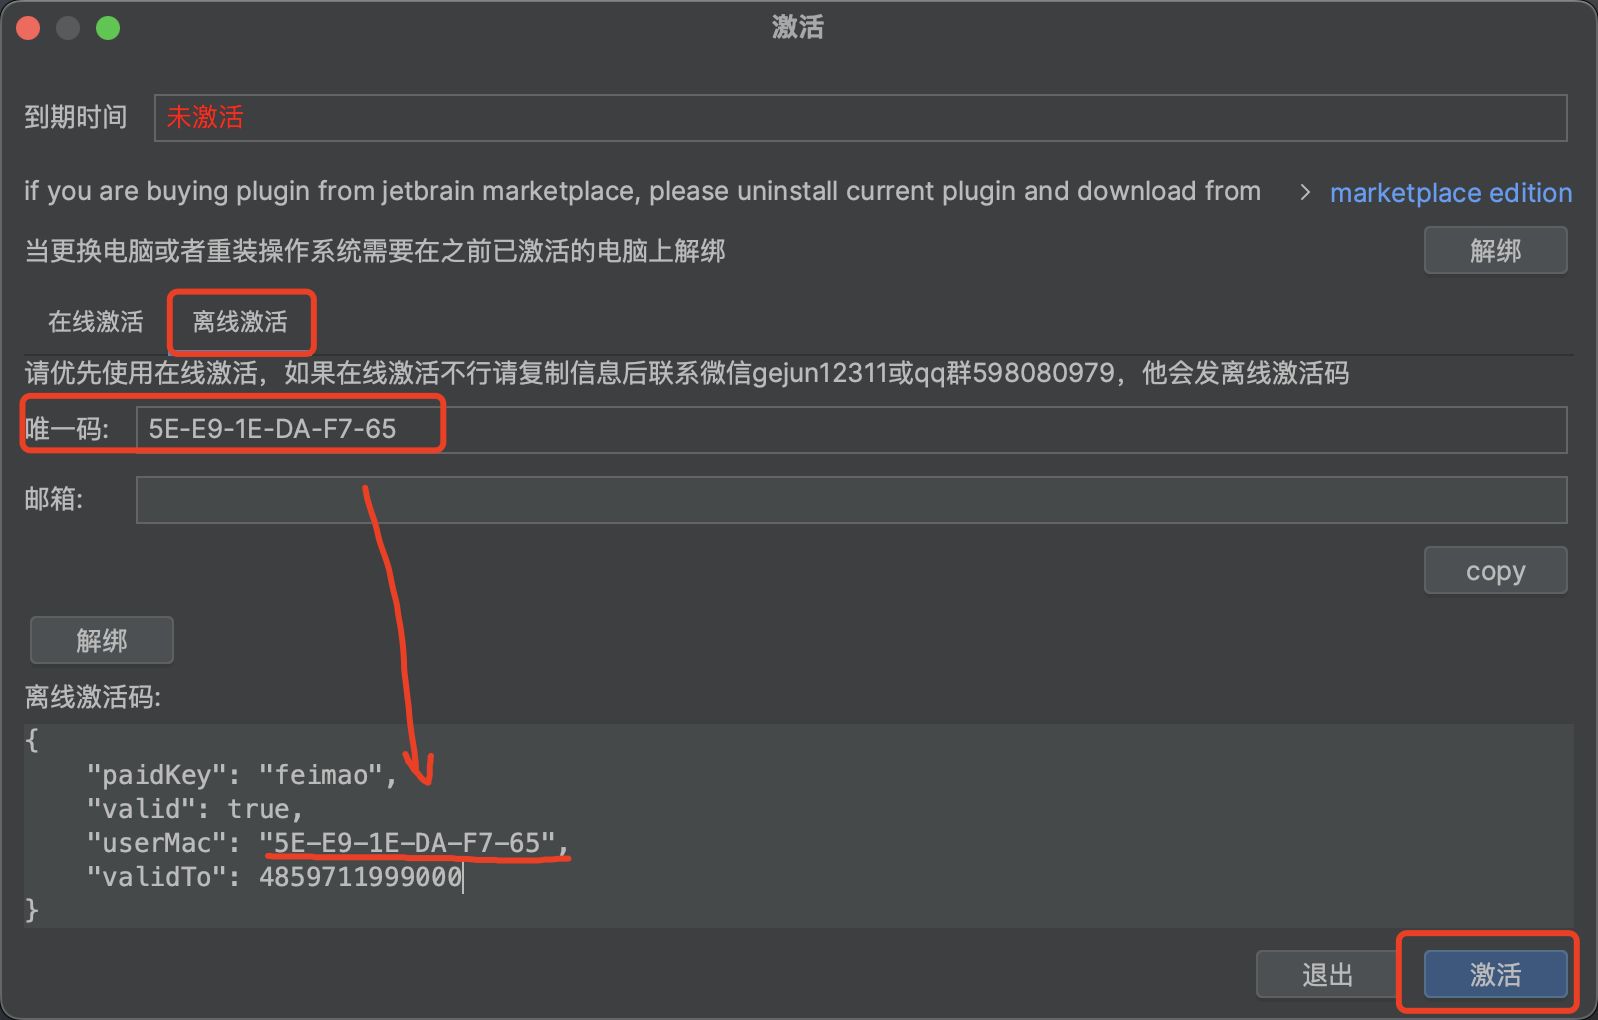
- paidKey:激活码,随便填
- valid:是否有效,填true
- userMac:激活窗口的唯一码(不要无脑复制我的)
- validTo:有效期,时间戳,填一个很大的值即可
{
    "paidKey": "feimao",
    "valid": true,
    "userMac": "5E-E9-1E-DA-F7-65",
    "validTo": 4859711999000
}