综合设计——多源异构数据采集与融合应用综合实践
[码云地址](多源异构数据采集与融合应用综合实践: Call of Silence数据采集与融合综合实验 (gitee.com))
| 这个项目属于哪个课程 | 2023数据采集与融合技术 |
|---|---|
| 组名、项目简介 | 组名:Call of Silence 项目需求:设计出一个交互友好的多源异构数据的采集与融合的小应用 项目目标:通过在web端输入文本、图片、视频等多源数据进行内容提取并对其进行概括 技术路线:前端3件套(html、css、js)、flask、 |
| 团队成员学号 | 052103117、102102142、102102148、102102149、102102150、102102154、102102155、172109005 |
| 这个项目目标 | 对获取的多模态信息进行分析概括 |
| 其他参考文献 | [1]梁永侦.基于深度学习的图像风格迁移方法研究[J].计算机时代,2023,(08):107-112.DOI:10.16644/j.cnki.cn33-1094/tp.2023.08.024 [2]熊文楷.基于深度学习的中国画风格迁移[J].科技与创新,2023,(13):176-178.DOI:10.15913/j.cnki.kjycx.2023.13.054 [3]郑卓.基于深度学习的风格迁移技术研究[D].浙江工商大学,2023.DOI:10.27462/d.cnki.ghzhc.2023.001362 |
项目整体介绍
1、项目名称:多模态内容概括
2、项目背景:在当今社会,随着数字化时代的来临,信息呈现爆炸式增长,而这些信息涵盖了多种形态,本项目主要功能就是对获取的多模态信息进行分析概括,帮助用户从信息中快速获取主要内容。
3、项目意义:面对互联网时代的信息过载,用户更需要一种智能化的工具来过滤、提炼信息,以便更快速地获取关键信息。多模态信息分析程序的功能满足了这一需求,帮助用户从海量信息中快速获取主要内容。
-
数据采集
- 采用selenium框架对bilibili中视频、封面、音频等数据进行爬取
-
前端开发:
- 使用HTML、CSS和JavaScript进行界面设计,实现用户与系统的交互。
- 用于上传文本、图片和视频等文件。
-
后端开发:
- 利用flask框架进行后端搭建。
- 用于接收前端发送的请求,对收到的数据进行保存和处理,最后返回文本结果。
-
数据处理与分析:
- 文本分析:采用星火的接口对输入的文本内容进行分析概括。
- 图片分析:
- 采用星火的接口对输入的图片进行概括,将概括后的文本进行分析概括返回图片概括后的结果。
- 视频分析:对于视频分析,没有找到合适的模型和接口进行概括,因此我们采用提取视频中的音频,对音频内容进行概括。
- 采用百度的接口对输入的视频提取主要内容并返回给用户。
-
风格迁移:
- 输入俩张图片,一张作为被学习的风格图片,一张作为学习的融合图片,通过VGG19神经网络进行训练,得到的模型,可以将任意俩张图片进行风格迁移s
5、项目部分功能展示
①项目页面展示

②our team展示
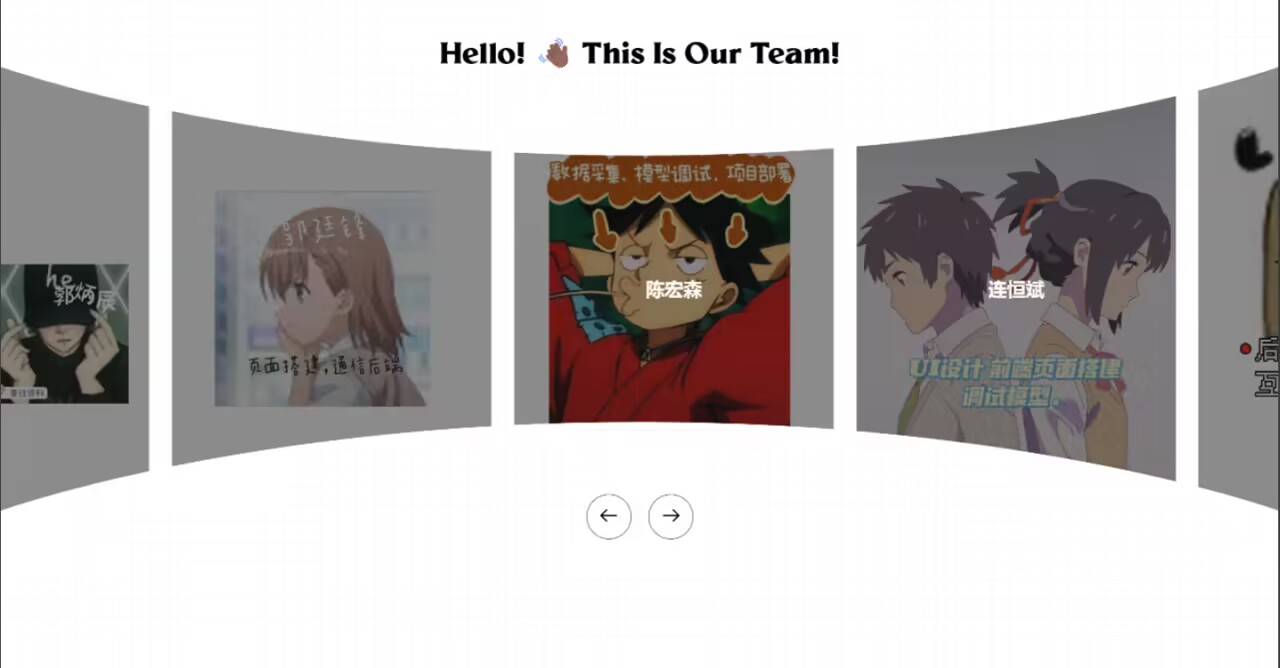
个人任务
前端主页搭建
完成了项目功能展示界面搭建以及UI,包括our team的index.html,项目主页index.html,这次完成这个项目可以说肝个好几天,前端完全由html,css,js完成
代码量超过2000行,前端工程师的苦算是吃到了
这里贴一下前端设计组件部分代码
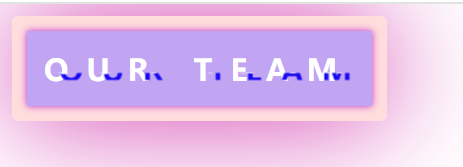
1.霓虹灯闪效果
.a{
    position: relative;
    top: 0px;
    width: 230px;
    height: 50px;
    border: solid 1px #fff;
    box-shadow: 0 0 70px rgb(190,40,210);
    display: flex;
    justify-content: center;
    align-items: center;
    /* 设置鼠标移上去时变成小手形状 */
    cursor: pointer;
    border-radius: 5px;
}
.a::after{
    content: '';
    position: absolute;
    width: 230px;
    height: 50px;
    box-shadow: 0 0 5px rgba(190,40,210);
    background-color: rgba(100,30,225,.4);
}
.a:hover{
    animation: a 1.5s;
}
@keyframes a{
    0%,34%,68%,100%{
        border: solid 10px #fff;
        box-shadow: 0 0 70px rgb(190,40,210);
    }
    17%,51%,85%{
        border: solid 10px rgba(255,0,0,.5);
        box-shadow: 0 0 90px rgba(255,0,0,.8);
    }
}
.b,.b::before{
    z-index: 999;
    color: #fff;
    position: absolute;
    font-size: 20px;
    font-weight: 900;
    /* 设置字体间距 */
    letter-spacing: 12px;
}
.b::before{
    content: 'OUR TEAM';
    text-shadow: -5px -5px 0px rgb(211,250,9),5px 5px 0px rgb(25,10,240);
    /* 使用缩放的方式创建可见显示取余,括号里的四个值分别是top,right,bottom,left */
    clip-path: inset(100% 0px 0px 0px);

}
.a:hover .b::before{
    /* steps设置逐帧动画,值越小越卡顿 */
    animation: move 1.25s steps(2);
}
/* 这是制造混乱的位置和高宽,可以自行改变,随机的 */
@keyframes move{
    0%{
        clip-path:inset(80% 0px 0px 0px);
        transform:translate(-20px,-10px)
    }
    10%{
        clip-path:inset(10% 0px 85% 0px);
        transform:translate(10px,10px)
    }
    20%{
        clip-path:inset(80% 0px 0px 0px);
        transform:translate(-10px,10px)
    }
    30%{
        clip-path:inset(10% 0px 85% 0px);
        transform:translate(0px,5px)
    }
    40%{
        clip-path:inset(50% 0px 30% 0px);
        transform:translate(-5px,0px)
    }
    50%{
        clip-path:inset(10% 0px 30% 0px);
        transform:translate(5px,0px)
    }
    60%{
        clip-path:inset(40% 0px 30% 0px);
        transform:translate(5px,10px)
    }
    70%{
        clip-path:inset(50% 0px 30% 0px);
        transform:translate(-10px,10px)
    }
    80%{
        clip-path:inset(80% 0px 5% 0px);
        transform:translate(20px,-10px)
    }
    90%{
        clip-path:inset(80% 0px 0px 0px);
        transform:translate(-10px,0px)
    }
    100%{
        clip-path:inset(80% 0px 0px 0px);
        transform:translate(0px,0px)
    }
}
2.渐变背景
这个效果是由css,js以及一个background.jfif组成的

这里就贴一下js的部分
(function() {
  var ws = new WebSocket('ws://' + window.location.host +
             '/jb-server-page?reloadMode=RELOAD_ON_SAVE&'+
             'referrer=' + encodeURIComponent(window.location.pathname));
  ws.onmessage = function (msg) {
      if (msg.data === 'reload') {
          window.location.reload();
      }
      if (msg.data.startsWith('update-css ')) {
          var messageId = msg.data.substring(11);
          var links = document.getElementsByTagName('link');
          for (var i = 0; i < links.length; i++) {
              var link = links[i];
              if (link.rel !== 'stylesheet') continue;
              var clonedLink = link.cloneNode(true);
              var newHref = link.href.replace(/(&|\?)jbUpdateLinksId=\d+/, "$1jbUpdateLinksId=" + messageId);
              if (newHref !== link.href) {
                clonedLink.href = newHref;
              }
              else {
                var indexOfQuest = newHref.indexOf('?');
                if (indexOfQuest >= 0) {
                  // to support ?foo#hash
                  clonedLink.href = newHref.substring(0, indexOfQuest + 1) + 'jbUpdateLinksId=' + messageId + '&' +
                                    newHref.substring(indexOfQuest + 1);
                }
                else {
                  clonedLink.href += '?' + 'jbUpdateLinksId=' + messageId;
                }
              }
              link.replaceWith(clonedLink);
          }
      }
  };
})();
3.our team轮播图
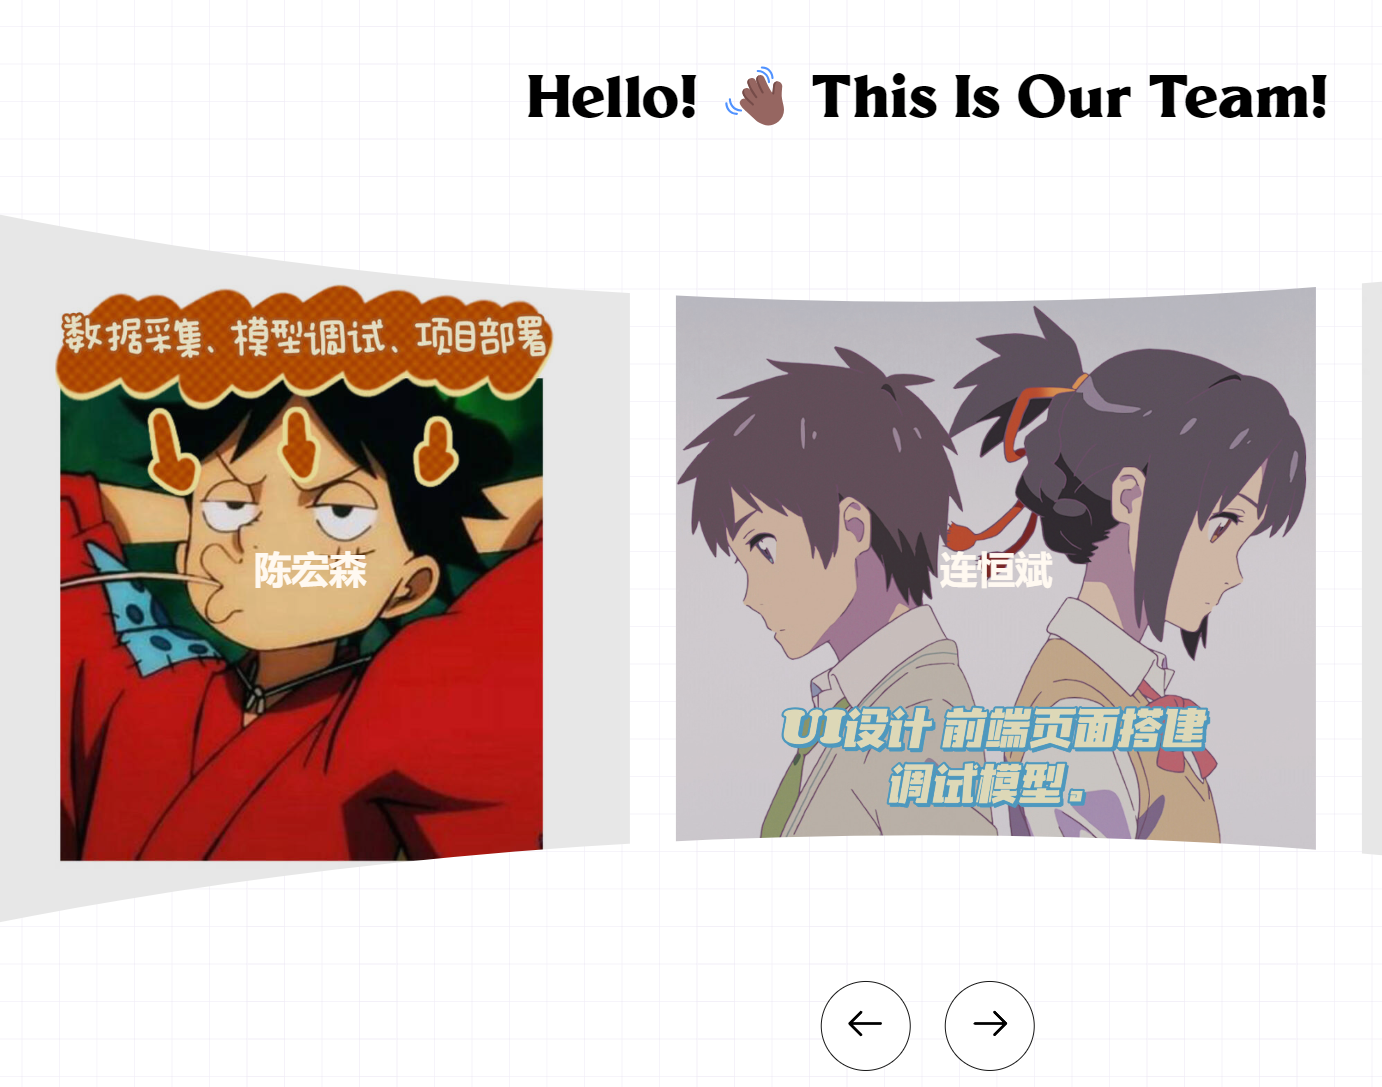
本来想用css动画实现,可是项目时间较赶,就硬上了js加了一点点css动画,利用手算了位移距离,这里也只贴下js和css动画部分
@-webkit-keyframes admission {
  0% {
    -webkit-transform: translate(140vw, 0);
            transform: translate(140vw, 0);
  }
  100% {
    -webkit-transform: translate(13.39vw, 0);
            transform: translate(13.39vw, 0);
  }
}

@keyframes admission {
  0% {
    -webkit-transform: translate(140vw, 0);
            transform: translate(140vw, 0);
  }
  100% {
    -webkit-transform: translate(13.39vw, 0);
            transform: translate(13.39vw, 0);
  }
}
js轮播
const imgListOne = document.querySelector('.img-list')
        // 获取图片类数组,并将其转化为数组
        let imgBoxList = Array.prototype.slice.call(document.querySelectorAll('.img-list .img-box'))
        const imgBoxCount = imgBoxList.length
        const root = document.documentElement;
        const btnGroup = document.querySelector('.btn-group')
        const lastBtn = document.querySelector('.last')
        const nextBtn = document.querySelector('.next')
        const lastImgBox = document.getElementById('last-img-box')

        // 获取--post-spacing和--post-size的值
        const postSpacing = Number(getComputedStyle(root).getPropertyValue('--post-spacing').replace("vw", ""));
        const postSize = Number(getComputedStyle(root).getPropertyValue('--post-size').replace("vw", ""));

        // 根据图片的数量动态获取img-list的宽度
        let imgListLength = (postSize + postSpacing) * imgBoxCount
        console.log(imgListLength);
        // 根据图片的数量动态获取img-box的宽度
        const imgBoxLength = postSize + postSpacing

        let index = 0
        let indexOne = 1
        let timer = null
        let animationTime = 0.5

        // 初始化数组中元素的的顺序,将最后一张图片放在第一位与html部分图片展示位置一致
        imgBoxList.unshift(imgBoxList.pop())
        // 设置imgListOne动画时间
        imgListOne.style.transition = animationTime + 's ease'
        // 设置按钮出现时间
        setTimeout(function () {
            btnGroup.style.opacity = '1'
            btnGroup.style.bottom = '5%'
        }, animationTime * 1000)
        // 点击事件
        function cilckFun(flag) {
            //下一张 next
            if (flag == 'next') {
                index--
                console.log(index);
                // 因为右边没有显示的图片比较多,所以可以直接先整体向左移动
                imgListOne.style.left = imgBoxLength * index + "vw";
                setTimeout(function () {
                    imgListOne.style.transition = 'none'
                    // 当点击下一个累计达到图片数量时,相当于要回到原点,则重置变量和位置
                    if (Math.abs(index) == imgBoxCount) {
                        index = 0
                        imgListOne.style.left = 0
                        imgBoxList.forEach(item => {
                            if (item.id == 'last-img-box') {
                                item.style.transform = `translateX(-160.68vw)`
                            } else {
                                item.style.transform = 'none'
                            }
                        });
                    } else {
                        // 当第一张图片为last-img-box时,说明已经跑完了一轮,则将其放在最后的位置,初始状态其为-160.68vw
                        if (imgBoxList[0].id == 'last-img-box') {
                            lastImgBox.style.transition = 'none'
                            lastImgBox.style.transform = 'translateX(0px)'
                        } else if (index >= 0) {
                            /*
                                这种情况是为了解决在点击完第last,再点击next时造成的bug问题,其实就是回退,再点击last之前
                                没有加transform属性,点击last以后则添加了transform属性,再次点击next按钮后应该不加transform
                            */
                            imgBoxList[0].style.transform = 'none'
                        } else {
                            // 正常情况下,点击next,则将最左侧的图片移到最后
                            imgBoxList[0].style.transform = 'translateX(160.68vw)'
                        }
                    }
                    // 模拟移动情况,将最左侧的图片(元素)移动到最后
                    imgBoxList.push(imgBoxList.shift())
                }, animationTime * 1000)
            } else {
                // 上一张 last
                index++
                console.log(index);
                // 模拟移动情况,把最右侧的图片(元素)移动到最前
                imgBoxList.unshift(imgBoxList.pop())
                // 因为左侧图片只会有一张,所以需要先移动图片到左侧,再进行imgListOne的移到
                if (imgBoxList[0].id == 'last-img-box' && index != 0) {
                    // 当第一张图片为last-img-box时,说明已经跑完了一轮,此时相对于一开始的位置为-321.36vw
                    imgBoxList[0].style.transform = 'translateX(-321.36vw)'
                } else if (index < 0) {
                    // 这种情况与点击next按钮出现的回退现象一致
                    imgBoxList[0].style.transform = 'none'
                } else {
                    // 正常情况下,点击last,则将最右侧的图片移到最前
                    imgBoxList[0].style.transform = 'translateX(-160.68vw)'
                }
                imgListOne.style.left = imgBoxLength * index + "vw";
                lastImgBox.style.transition = 'none'
                // 当点击下一个累计达到图片数量时,相当于要回到原点,则重置变量和位置
                if (Math.abs(index) == imgBoxCount) {
                    index = 0
                    setTimeout(function () {
                        imgListOne.style.transition = 'none'
                        imgListOne.style.left = 0
                        imgBoxList.forEach(item => {
                            if (item.id == 'last-img-box') {
                                item.style.transform = 'translateX(-160.68vw)'
                            } else {
                                item.style.transform = 'none'
                            }
                        });
                    }, animationTime * 1000)
                }
            }
            imgListOne.style.transition = animationTime + 's ease'
        }

        //节流函数
        function throttle(fn, delay) {
            return function () {
                if (timer) {
                    return
                }
                fn.apply(this, arguments)
                timer = setTimeout(() => {
                    timer = null
                }, delay)
            }
        }

        nextBtn.onclick = throttle(() => cilckFun('next'), animationTime * 1000);

        lastBtn.onclick = throttle(() => cilckFun('last'), animationTime * 1000);
还有个功能窗弹出动画,那个效果比较简单就不阐述了
模型调试
因为本地跑不动,就利用了百度的飞浆平台,第一次使用,感觉蛮快的,给的内存什么的也很足,最重要的是!关机也不扣内存费,简直是学生党救星了!
就讲讲主要调的一个吧visual-6b
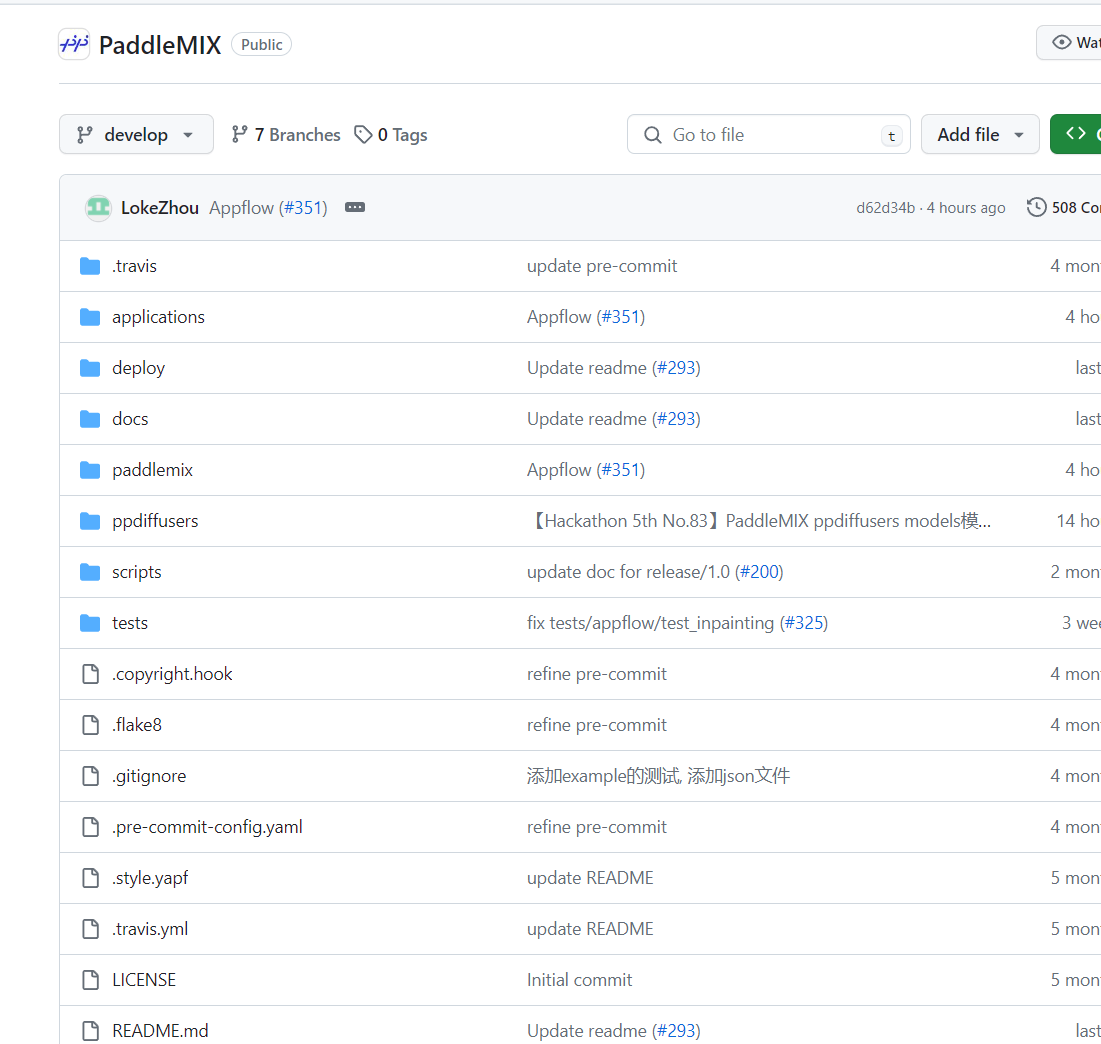
paddlemix的visual部分光是载下来就花了很大功夫
测试部分
import os
os.environ["CUDA_VISIBLE_DEVICES"] = "0"
os.environ["FLAGS_use_cuda_managed_memory"] = "true"

import requests
from PIL import Image
from paddlemix import VisualGLMForConditionalGeneration, VisualGLMProcessor

pretrained_name_or_path = "aistudio/visualglm-6b"
model = VisualGLMForConditionalGeneration.from_pretrained(pretrained_name_or_path, from_aistudio=True,dtype="float16")
model.eval()
processor = VisualGLMProcessor.from_pretrained(pretrained_name_or_path,from_aistudio=True)

url = "https://paddlenlp.bj.bcebos.com/data/images/mugs.png"
image = Image.open(requests.get(url, stream=True).raw)

generate_kwargs = {
        "max_length": 1024,
        "min_length": 10,
        "num_beams": 1,
        "top_p": 1.0,
        "top_k": 1,
        "repetition_penalty": 1.2,
        "temperature": 0.8,
        "decode_strategy": "sampling",
        "eos_token_id": processor.tokenizer.eos_token_id,
    }

# Epoch 1
query = "写诗描述一下这个场景"
history = []
inputs = processor(image, query)

generate_ids, _ = model.generate(**inputs, **generate_kwargs)
responses = processor.get_responses(generate_ids)
history.append([query, responses[0]])
print(responses)

# Epoch 2
query = "这部电影的导演是谁?"
inputs = processor(image, query, history=history)
generate_ids, _ = model.generate(**inputs, **generate_kwargs)
responses = processor.get_responses(generate_ids)
history.append([query, responses[0]])
print(responses)