1.使用 vue create projectName 新建一个项目
2.将src的文件夹名称改为example,便于我们调试代码
3.增加packages文件夹,其下面的index.js代码如下
import panel from './panel/index.vue'

const components = [
    panel
]

const install = function (Vue) {
    if (install.installed) return
    components.map(component => Vue.component(component.name, component))
}

if (typeof window !== 'undefined' && window.Vue) {
    install(window.Vue)
}

export default {
    install
}
4.修改vue.config.js,代码如下:
const { defineConfig } = require('@vue/cli-service')
const {resolve} = require('path')
module.exports = defineConfig({
  transpileDependencies: true,
  pages: {
    index: {
      entry: 'examples/main.js', // 因为我们改了src目录,所以对应的入口文件配置也要做修改
      template: 'public/index.html',
      filename: 'index.html'
    }
  },
  // 扩展 webpack 配置,使 packages 加入编译
  chainWebpack: config => {
    config.module
        .rule('js')
        .include.add(resolve(__dirname, 'packages')).end()
        .use('babel')
        .loader('babel-loader')
        .tap(options => {
          // 修改它的选项...
          return options
        })
  },
  css: { extract: false }
})
5.前面的准备好以后,需要在package.json中的script节点下添加一个命令:
"lib": "vue-cli-service build --target lib --name wjs packages/index.js"
网上有些写法是这样的,更加细化点:
"lib": "vue-cli-service build --target lib ./src/package/index.js --name drawing-box --dest drawing-box"
前面的lib可以根据自己喜好进行命名,后面的命令为:
- –target lib 路径 => 指定打包的目录
- –name 名称 => 打包后的文件名字
- –dest 名称 => 打包后的文件夹的名称
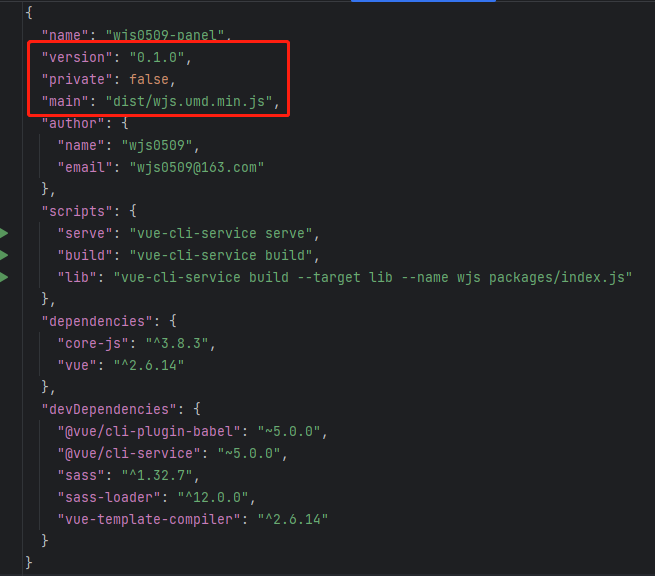
完整的package.json代码如下:
{
  "name": "wjs0509-panel",
  "version": "0.1.0",
  "private": false,
  "main": "dist/wjs.umd.min.js",
  "author": {
    "name": "wjs0509",
    "email": "wjs0509@163.com"
  },
  "scripts": {
    "serve": "vue-cli-service serve",
    "build": "vue-cli-service build",
    "lib": "vue-cli-service build --target lib --name wjs packages/index.js"
  },
  "dependencies": {
    "core-js": "^3.8.3",
    "vue": "^2.6.14"
  },
  "devDependencies": {
    "@vue/cli-plugin-babel": "~5.0.0",
    "@vue/cli-service": "~5.0.0",
    "sass": "^1.32.7",
    "sass-loader": "^12.0.0",
    "vue-template-compiler": "^2.6.14"
  }
}
打包命令:
npm run lib
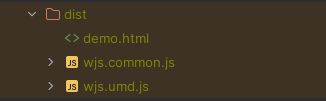
6.打包完成后后生成dist目录:
7.将组件库上传到npm:
7.1.修改如下几个参数
7.2.在项目的根目录下增加一个.npmignore文件
examples/
packages/
public/
node_nodules/
preview/
vue.config.js
postcss.config.js
babel.config.js
.gitignore
jsconfig.json
package-lock.json
*.map
.idea/
7.3.上传到npm
(1)npm config get registry // 检查npm源是不是: https:/lregistry.npmjs.orgl,大多数人都改成了淘宝镜像,需要改回来
(2)npm login // 登录npm,没有账号需要先注册
(3)npm publish // 发布到npm库
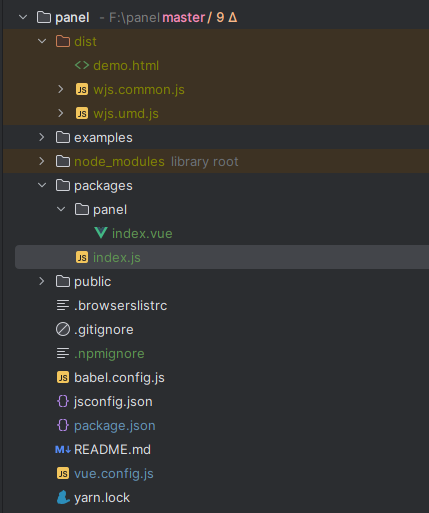
8.整个项目的结构