Springboot自定义sarter
这里通过自定义mybatis的starter来简单进行分析理解
步骤:
-
创建dmybatis-spring-boot-autoconfigure模块,提供自动配置功能,并定义配置文件META-INF/spring/xxx.imports
-
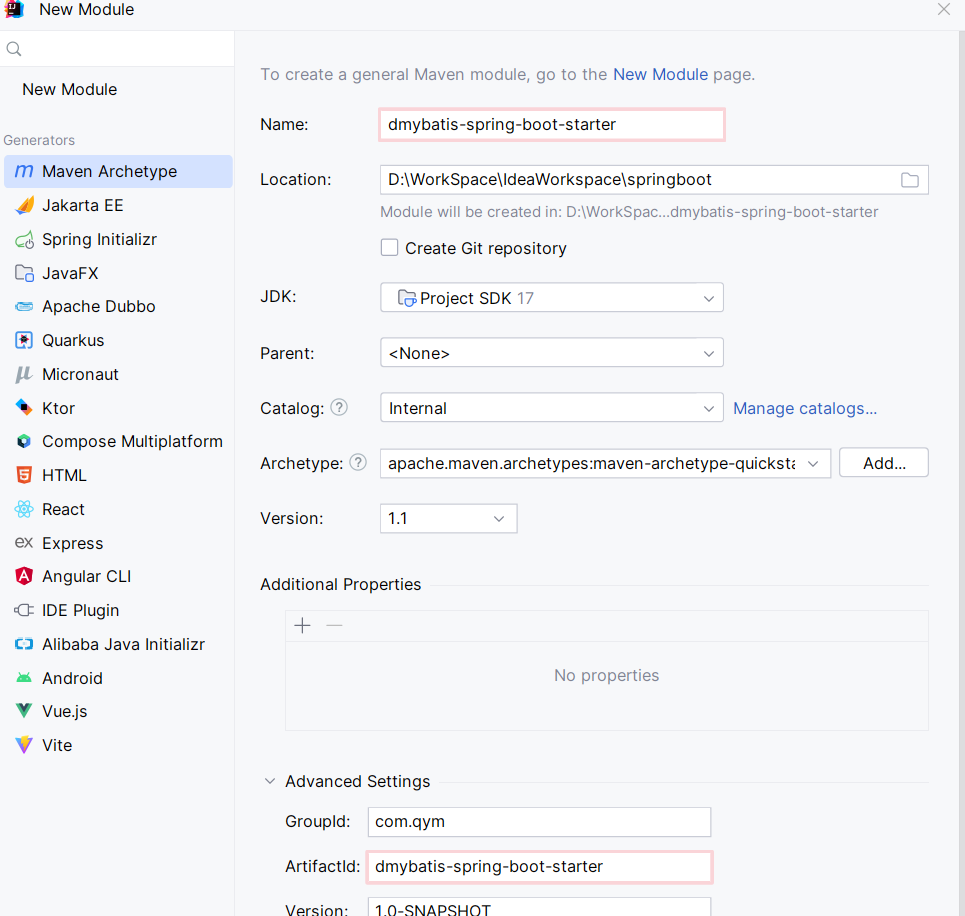
创建dmybatis-spring-boot-starter模块,在starter中引入自动配置模块
创建项目:
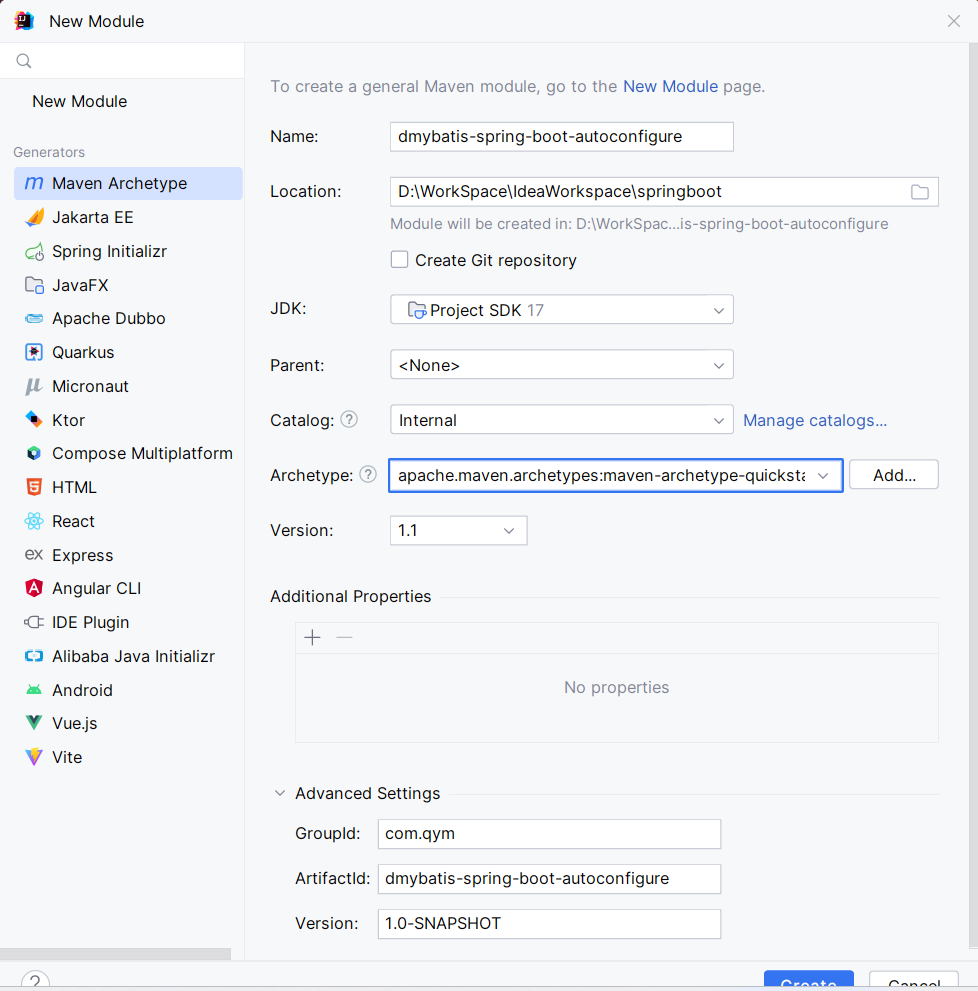
1.autoconfigure模块
在dmybatis-spring-boot-autoconfigure模块的pom.xml中引入对应的依赖坐标
        <dependency>
            <groupId>org.springframework.boot</groupId>
            <artifactId>spring-boot-starter</artifactId>
            <version>3.1.4</version>
        </dependency>

        <dependency>
            <groupId>org.springframework.boot</groupId>
            <artifactId>spring-boot-starter-jdbc</artifactId>
            <version>3.1.5</version>
        </dependency>

        <dependency>
            <groupId>org.mybatis</groupId>
            <artifactId>mybatis</artifactId>
            <version>3.5.13</version>
        </dependency>

        <dependency>
            <groupId>org.mybatis</groupId>
            <artifactId>mybatis-spring</artifactId>
            <version>3.0.2</version>
        </dependency>
在当前模块中创建config包,包内创建配置类MyBatisAutoConfig,包结构如下:
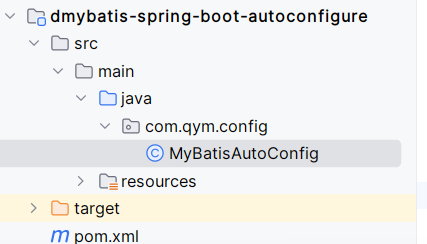
在类上方添加注解,同时注入SqlSessionFactoryBean和MapperScannerConfigure对象
具体代码如下:
@AutoConfiguration
public class MyBatisAutoConfig {

    //SqlSessionFactoryBean
    @Bean
    public SqlSessionFactoryBean sqlSessionFactoryBean(DataSource dataSource){
        SqlSessionFactoryBean sqlSessionFactoryBean = new SqlSessionFactoryBean();
        sqlSessionFactoryBean.setDataSource(dataSource);
        return sqlSessionFactoryBean;
    }

    //MapperScannerConfigure
    @Bean
    public MapperScannerConfigurer mapperScannerConfigurer(BeanFactory beanFactory){
        MapperScannerConfigurer mapperScannerConfigurer = new MapperScannerConfigurer();
        //扫描的包:启动类所在的包及其子包
        List<String> packages = AutoConfigurationPackages.get(beanFactory);
        String p = packages.get(0);
        mapperScannerConfigurer.setBasePackage(p);

        //扫描的注解
        mapperScannerConfigurer.setAnnotationClass(Mapper.class);
        return mapperScannerConfigurer;
    }


}
新建resources包,在包下新建.imports配置文件
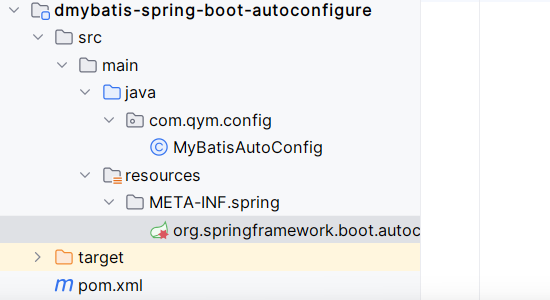
配置文件中配置:
com.qym.config.MyBatisAutoConfig
2.starter模块:
在sterter模块的pom.xml文件中引入依赖:
<dependency>
      <groupId>com.qym</groupId>
      <artifactId>dmybatis-spring-boot-autoconfigure</artifactId>
      <version>1.0-SNAPSHOT</version>
    </dependency>
同时为了在引入starter以来后,对相应的依赖进行排除等操作,为了更方便操作,所以将starter中的相应依赖引入(官方推荐做法)
        <dependency>
            <groupId>org.springframework.boot</groupId>
            <artifactId>spring-boot-starter</artifactId>
            <version>3.1.4</version>
        </dependency>

        <dependency>
            <groupId>org.springframework.boot</groupId>
            <artifactId>spring-boot-starter-jdbc</artifactId>
            <version>3.1.5</version>
        </dependency>

        <dependency>
            <groupId>org.mybatis</groupId>
            <artifactId>mybatis</artifactId>
            <version>3.5.13</version>
        </dependency>

        <dependency>
            <groupId>org.mybatis</groupId>
            <artifactId>mybatis-spring</artifactId>
            <version>3.0.2</version>
        </dependency>
将starter中的无关文件删除

3.测试自定义starter类:
新建测试模块并在pom.xml中引入自定义syarter依赖
        <dependency>
            <groupId>com.qym</groupId>
            <artifactId>dmybatis-spring-boot-starter</artifactId>
            <version>1.0-SNAPSHOT</version>
        </dependency>
编写简单的用户查找方法:
UserController.class
@RestController
public class UserController {

    @Autowired
    private UserService userService;

    @RequestMapping("/getById")
    public User getById(Integer id) {
        return userService.getById(id);
    }

}
UserService接口
public interface UserService {

    public User getById(Integer id);
}
UserServiceImpl实现类
@Service
public class UserServiceImpl implements UserService {

    @Autowired
    private UserMapper userMapper;

    @Override
    public User getById(Integer id) {
        return userMapper.getById(id);
    }
}
UserMapper接口
@Mapper
public interface UserMapper {

    @Select("select * from user where id = #{id};")
    public User getById(Integer id);

}
user实体类
@Data
@NoArgsConstructor
@AllArgsConstructor
public class User {

    private Integer id;
    private String username;
    private String password;
    private String phone;
    private String info;
    private Integer status;
    private Integer balance;
    private LocalDateTime createTime;
    private LocalDateTime updateTime;

}
启动类Springboot3QuickstartApplication
@SpringBootApplication
public class Springboot3QuickstartApplication {

    public static void main(String[] args) {
        SpringApplication.run(Springboot3QuickstartApplication.class, args);
    }

}
运行结果:

由于没有开启驼峰命名,所以创建时间和更新时间查询出来时null。
通过测试案例可以发现所配置的mybatis的starter启动没有问题
- Springboot starterspringboot starter springboot-parent-starter springboot-starter springboot-starter springboot starter springboot原理starter springboot对象starter springboot-parent-starter springboot starter starter spring-boot-starter springboot常见 springboot3 springboot starter问题 starter进阶教程spring-boot-starter springboot