Ocelot supports claims based authorization which is run post authentication. This means if ou have a route you want to authorize you can add the following to you Route configuration.
 "RouteClaimsRequirement": {
        "client_role": "admin"
      }
Add the Authorization middlware to request pipeline.
app.UseOcelot().Wait();
app.UseAuthentication();
app.UseAuthorization();
if the request access token with the claim type: 'client_role' and value is 'admin', the user will be authorized.
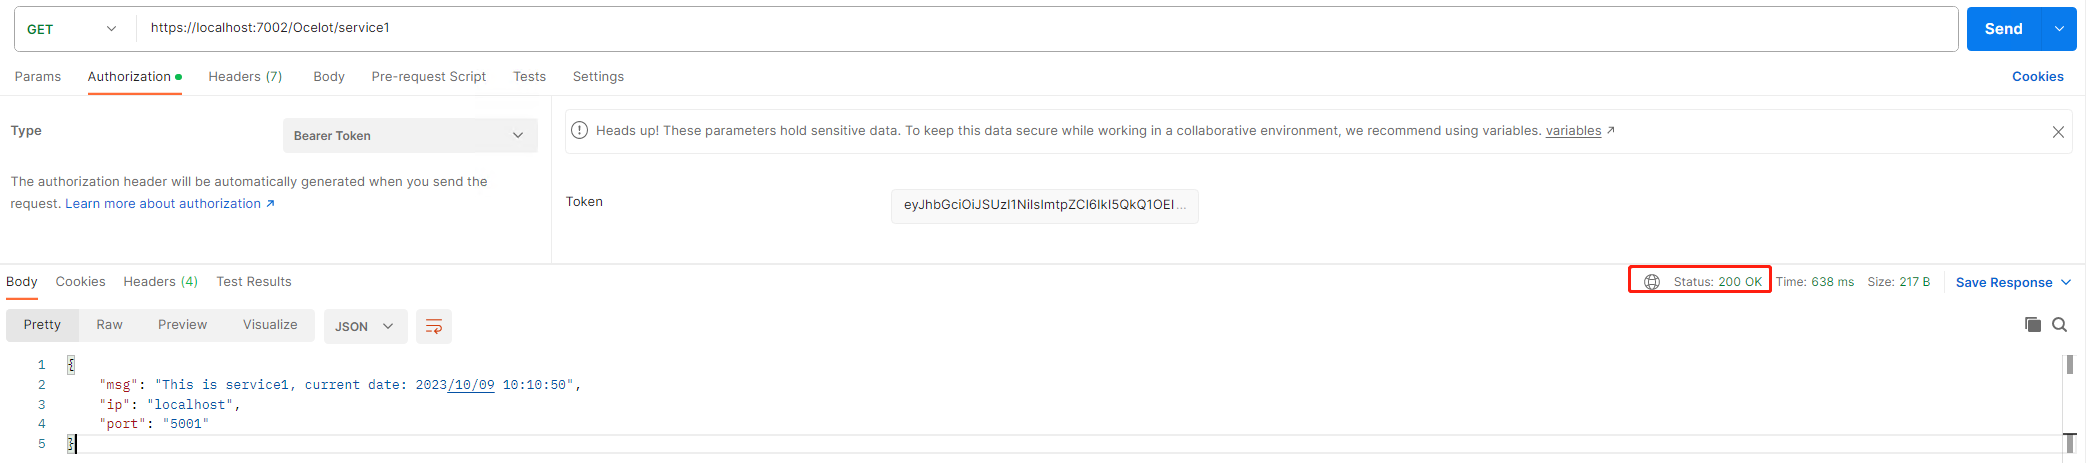
The access token is bellow
{
  "nbf": 1696813802,
  "exp": 1696817402,
  "iss": "https://localhost:9000",
  "aud": [
    "APIResource1",
    "APIResource2"
  ],
  "client_id": "clientId",
  "client_role": "admin",
  "client_nickname": "tom",
  "client_Emai": "tom@163.com",
  "jti": "EB792F9B19537B4ACC28B76FD5588804",
  "iat": 1696813802,
  "scope": [
    "apiscope1",
    "apiscope2"
  ]
}
IdentityServer4 ClientClaim configuration
Claims = new List<ClientClaim>
{
       new ClientClaim(IdentityModel.JwtClaimTypes.Role,"admin"),
       new ClientClaim(IdentityModel.JwtClaimTypes.NickName,"tom"),
       new ClientClaim("Emai","tom@163.com")
}
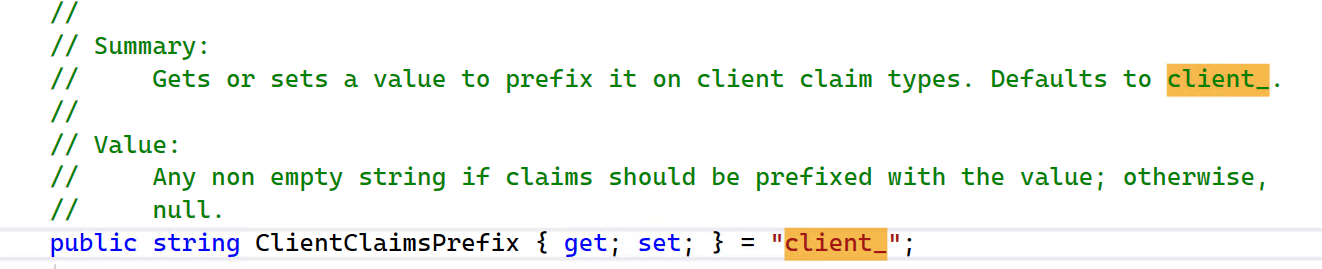
And why the generated claim type with the client_ prefix, it's the default value configured in IdentityServer4.Model.Client, you can change and override the default prefix or set to empty.
OK, that's all the Authorization process, so easy.