1. 引言
Cesium是一款三维地球和地图可视化开源JavaScript库,使用WebGL来进行硬件加速图形,使用时不需要任何插件支持,基于Apache2.0许可的开源程序,可以免费用于商业和非商业用途
Cesium官网:Cesium: The Platform for 3D Geospatial
Cesium GitHub站点:CesiumGS/cesium: An open-source JavaScript library for world-class 3D globes and maps (github.com)
API文档:Index - Cesium Documentation
通过阅读源码,理清代码逻辑,有助于扩展与开发,笔者主要参考了以下两个系列的文章
渲染是前端可视化的核心,本文描述Cesium渲染模块的VAO
2. WebGL中的VAO
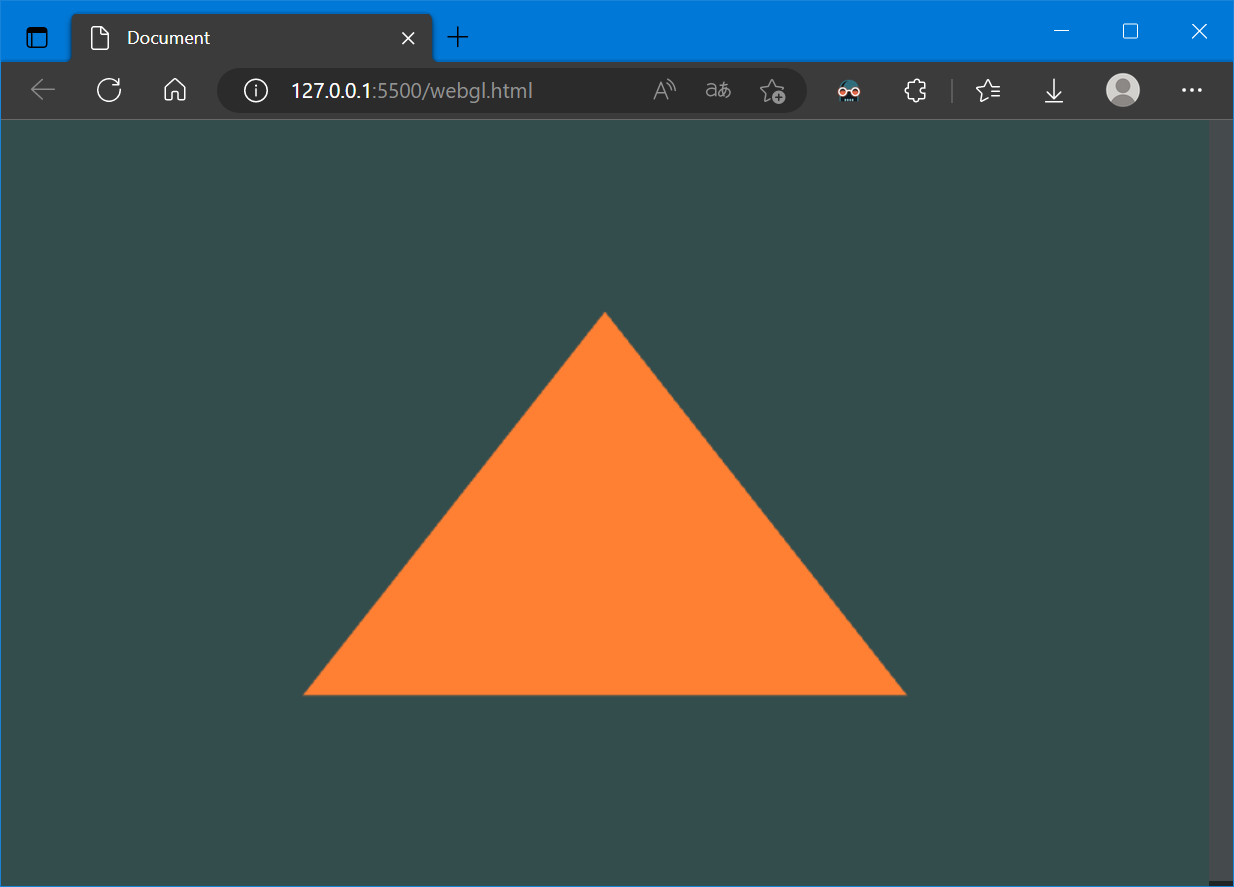
以下大致是一个最简的WebGL绘制代码:
<canvas id="canvas"></canvas>
<script>
    const vertexSource = `
                attribute vec3 aPos;

                void main()
                {
                    gl_Position = vec4(aPos.x, aPos.y, aPos.z, 1.0);
                }
              `
    const fragmentSource = `
                void main()
                {
                    gl_FragColor = vec4(1.0, 0.5, 0.2, 1.0);
                }
              `
    const canvas = document.getElementById('canvas');
    canvas.width = canvas.clientWidth;
    canvas.height = canvas.clientHeight;
    const gl = canvas.getContext('webgl2');
    if (!gl) {
        alert('WebGL not supported');
    }

    const vertices = new Float32Array([
        -0.5, -0.5, 0.0,
        0.5, -0.5, 0.0,
        0.0, 0.5, 0.0,
    ]);
    const vbo = gl.createBuffer();
    gl.bindBuffer(gl.ARRAY_BUFFER, vbo);
    gl.bufferData(gl.ARRAY_BUFFER, vertices, gl.STATIC_DRAW);

    const vao = gl.createVertexArray();
    gl.bindVertexArray(vao);
    gl.vertexAttribPointer(0, 3, gl.FLOAT, false, 0, 0);
    gl.enableVertexAttribArray(0)

    const vertexShader = gl.createShader(gl.VERTEX_SHADER);
    gl.shaderSource(vertexShader, vertexSource);
    gl.compileShader(vertexShader);

    const fragmentShader = gl.createShader(gl.FRAGMENT_SHADER);
    gl.shaderSource(fragmentShader, fragmentSource);
    gl.compileShader(fragmentShader);

    const shaderProgram = gl.createProgram();
    gl.attachShader(shaderProgram, vertexShader);
    gl.attachShader(shaderProgram, fragmentShader);
    gl.linkProgram(shaderProgram);

    gl.clearColor(0.2, 0.3, 0.3, 1.0);
    gl.clear(gl.COLOR_BUFFER_BIT);

    gl.useProgram(shaderProgram);
    gl.drawArrays(gl.TRIANGLES, 0, 3);

</script>
其中,vao是顶点数组对象(Vertex Array Object, VAO),主要用来保存属性信息:
const vao = gl.createVertexArray();
gl.bindVertexArray(vao);
gl.vertexAttribPointer(0, 3, gl.FLOAT, false, 0, 0);
gl.enableVertexAttribArray(0)
WebGLVertexArrayObject接口是WebGL 2 API的一部分,顶点数组对象 (VAOs) 指向顶点数组数据,并提供不同顶点数据集合的名称
当使用WebGLVertexArrayObject对象时,这些方法会很有用:
示例代码中:
createVertexArray()方法创建并初始化(creates and initializes)一个 WebGLVertexArrayObject 的对象 (object) ,它代表一个指向顶点数组数据的顶点数组对象(vertex array object (VAO) ),并为不同的顶点数据集提供名称
bindVertexArray(target) 方法将给定的VAO绑定(后续对VBO的操作将会记录在绑定的这个VAO上),参数:
-
vertexArray
要绑定的
WebGLVertexArrayObject(VAO) 对象
vertexAttribPointer(index, size, type, normalized, stride, offset) 方法绑定当前绑定的Buffer到到当前顶点的通用顶点属性缓冲区对象(VAO)并指定其布局(告诉显卡从当前绑定的缓冲区(bindBuffer() 指定的缓冲区)中怎么读取顶点数据),参数:
-
index
GLuint(en-US) 指定要修改的顶点属性的索引 -
size
GLint(en-US) 指定每个顶点属性的组成数量,必须是 1,2,3 或 4 -
type
GLenum(en-US) 指定数组中每个元素的数据类型可能是:-
gl.BYTE: 有符号的 8 位整数,范围 [-128, 127] -
gl.SHORT: 有符号的 16 位整数,范围 [-32768, 32767] -
gl.UNSIGNED_BYTE: 无符号的 8 位整数,范围 [0, 255] -
gl.UNSIGNED_SHORT: u 无符号的 16 位整数,范围 [0, 65535] -
gl.FLOAT: 32 位 IEEE 标准的浮点数使用 WebGL2 版本的还可以使用以下值:
gl.HALF_FLOAT: 16-bit IEEE floating point number 16 位 IEEE 标准的浮点数
-
-
normalized
GLboolean(en-US) 当转换为浮点数时是否应该将整数数值归一化到特定的范围
对于类型gl.BYTE和gl.SHORT,如果是 true 则将值归一化为 [-1, 1]
对于类型gl.UNSIGNED_BYTE和gl.UNSIGNED_SHORT,如果是 true 则将值归一化为 [0, 1]
对于类型gl.FLOAT和gl.HALF_FLOAT,此参数无效
-
stride
一个
GLsizei(en-US),以字节为单位指定连续顶点属性开始之间的偏移量 (即数组中一行长度)。不能大于 255。如果 stride 为 0,则假定该属性是紧密打包的,即不交错属性,每个属性在一个单独的块中,下一个顶点的属性紧跟当前顶点之后 -
offset
GLintptr(en-US)指定顶点属性数组中第一部分的字节偏移量,必须是类型的字节长度的倍数
以上大致就是WebGL中vertex array object (VAO)的用法,需要注意,VAO对象在webgl2中才支持,在webgl1中是扩展的
3. Cesium中的VAO
Cesium中,对WebGL的VAO进行了封装:
function VertexArray(options) {
    // ...
    const context = options.context;
    const gl = context._gl;
    const attributes = options.attributes;
    const indexBuffer = options.indexBuffer;

    let vao;
    vao = context.glCreateVertexArray();
    context.glBindVertexArray(vao);
    bind(gl, vaAttributes, indexBuffer);
    context.glBindVertexArray(null);
}
创建一个VAO和VBO的例子:
// Example 1. Create a vertex array with vertices made up of three floating point
// values, e.g., a position, from a single vertex buffer.  No index buffer is used.
const positionBuffer = Buffer.createVertexBuffer({
    context : context,
    sizeInBytes : 12,
    usage : BufferUsage.STATIC_DRAW
});
const attributes = [
    {
        index                  : 0,
        enabled                : true,
        vertexBuffer           : positionBuffer,
        componentsPerAttribute : 3,
        componentDatatype      : ComponentDatatype.FLOAT,
        normalize              : false,
        offsetInBytes          : 0,
        strideInBytes          : 0 // tightly packed
        instanceDivisor        : 0 // not instanced
    }
];
const va = new VertexArray({
    context : context,
    attributes : attributes
});
创建一个VAO和两个VBO的例子:
// Example 2. Create a vertex array with vertices from two different vertex buffers.
// Each vertex has a three-component position and three-component normal.
const positionBuffer = Buffer.createVertexBuffer({
    context : context,
    sizeInBytes : 12,
    usage : BufferUsage.STATIC_DRAW
});
const normalBuffer = Buffer.createVertexBuffer({
    context : context,
    sizeInBytes : 12,
    usage : BufferUsage.STATIC_DRAW
});
const attributes = [
    {
        index                  : 0,
        vertexBuffer           : positionBuffer,
        componentsPerAttribute : 3,
        componentDatatype      : ComponentDatatype.FLOAT
    },
    {
        index                  : 1,
        vertexBuffer           : normalBuffer,
        componentsPerAttribute : 3,
        componentDatatype      : ComponentDatatype.FLOAT
    }
];
const va = new VertexArray({
    context : context,
    attributes : attributes
});
创建一个VAO与合并的两个VBO的例子:
// Example 3. Creates the same vertex layout as Example 2 using a single
// vertex buffer, instead of two.
const buffer = Buffer.createVertexBuffer({
    context : context,
    sizeInBytes : 24,
    usage : BufferUsage.STATIC_DRAW
});
const attributes = [
    {
        vertexBuffer           : buffer,
        componentsPerAttribute : 3,
        componentDatatype      : ComponentDatatype.FLOAT,
        offsetInBytes          : 0,
        strideInBytes          : 24
    },
    {
        vertexBuffer           : buffer,
        componentsPerAttribute : 3,
        componentDatatype      : ComponentDatatype.FLOAT,
        normalize              : true,
        offsetInBytes          : 12,
        strideInBytes          : 24
    }
];
const va = new VertexArray({
    context : context,
    attributes : attributes
});
Cesium中的VAO还支持从Geometry创建:
// ...
// Create geometry with a position attribute and indexed lines.
const positions = new Float64Array([
  0.0, 0.0, 0.0,
  7500000.0, 0.0, 0.0,
  0.0, 7500000.0, 0.0
]);

const geometry = new Cesium.Geometry({
  attributes : {
    position : new Cesium.GeometryAttribute({
      componentDatatype : Cesium.ComponentDatatype.DOUBLE,
      componentsPerAttribute : 3,
      values : positions
    })
  },
  indices : new Uint16Array([0, 1, 1, 2, 2, 0]),
  primitiveType : Cesium.PrimitiveType.LINES,
  boundingSphere : Cesium.BoundingSphere.fromVertices(positions)
});
// ...

// Example 1. Creates a vertex array for rendering a box.  The default dynamic draw
// usage is used for the created vertex and index buffer.  The attributes are not
// interleaved by default.
const geometry = new BoxGeometry();
const va = VertexArray.fromGeometry({
    context            : context,
    geometry           : geometry,
    attributeLocations : GeometryPipeline.createAttributeLocations(geometry),
});

// Example 2. Creates a vertex array with interleaved attributes in a
// single vertex buffer.  The vertex and index buffer have static draw usage.
const va = VertexArray.fromGeometry({
    context            : context,
    geometry           : geometry,
    attributeLocations : GeometryPipeline.createAttributeLocations(geometry),
    bufferUsage        : BufferUsage.STATIC_DRAW,
    interleave         : true
});
在Cesium源码中创建VAO大多是直接使用构造函数,例如PolylineCollection.js:
const va = new VertexArray({
          context: context,
          attributes: attributes,
          indexBuffer: indexBuffer,
        });
此外,VertexArray封装的函数有:
function addAttribute(attributes, attribute, index, context)
function interleaveAttributes(attributes)
function setVertexAttribDivisor(vertexArray)
function setConstantAttributes(vertexArray, gl)
VertexArray.prototype._bind = function ()
VertexArray.prototype._unBind = function ()
VertexArray.prototype.isDestroyed = function ()
VertexArray.prototype.destroy = function ()
4. 参考资料
[1]WebGL2RenderingContext - Web API 接口参考 | MDN (mozilla.org)
[2]Cesium DrawCommand 不谈地球 画个三角形 - 四季留歌 - 博客园 (cnblogs.com)
[3]Cesium原理篇:6 Render模块(5: VAO&RenderState&Command) - fu*k - 博客园 (cnblogs.com)