今日内容
-
爬虫介绍
-
request模块介绍
-
request发送get请求
-
request携带参数
-
url编码解码
-
携带请求头
-
发送post请求,携带数据
-
自动登录,携带cookie的两种方式
-
requests.session的使用
-
补充post请求携带数据编码格式
-
响应Response对象
-
编码问题
-
下载图片,视频
1 爬虫介绍
# 爬虫是什么
  爬虫就是程序---》从互联网中,各个网站上,爬取数据[你能浏览的页面才能爬],做数据清洗,入库

# 爬虫的本质
  模拟方式http请求,获取数据---》入库
    -网站
    -app:抓包

# 补充:百度其实就是一个大爬虫
  百度爬虫一刻不停的在互联网中爬取各个页面---》爬取完之后---》存到自己的数据库中
  你在百度搜索框中搜索---》百度自己的数据库查询关键字---》返回回来
  点击某个页面---》跳转到真正的地址上
  -seo:
  -sem:充钱的

# 咱们学习的
  -模拟发送http请求
       requests模块
       selenium
       反爬:封ip:ip代理,封帐号:cookie池
  -解析数据:bs4
  -入库:mysql,redis,文件中

  -爬虫框架:scrapy
2 request模块介绍
# 使用python如何发送http请求

# 模块:requests模块,封装了python内置模块urllib
    使用requests可以模拟浏览器的请求(http),比起之前用到的urllib,requests模块的api更加便捷(本质就是封装了urllib3)

# 安装
pip3 install requests
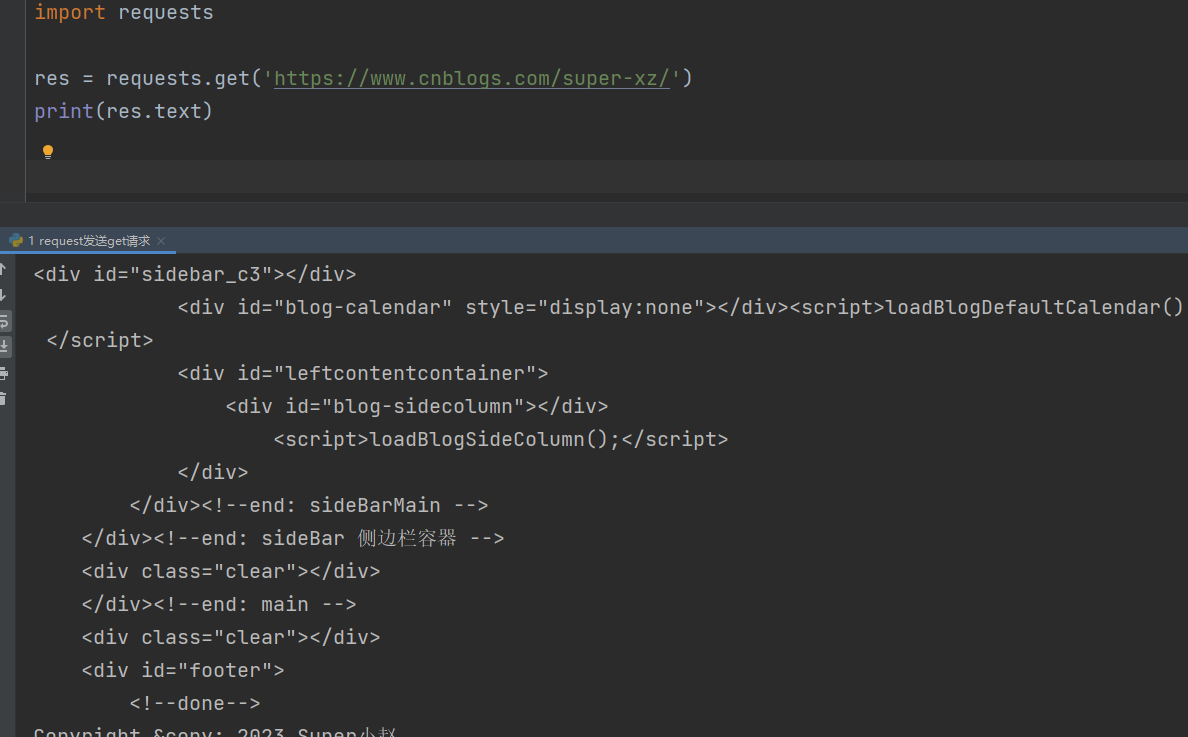
3 request发送get请求
import requests

res = requests.get('https://www.cnblogs.com/super-xz/')
print(res.text)
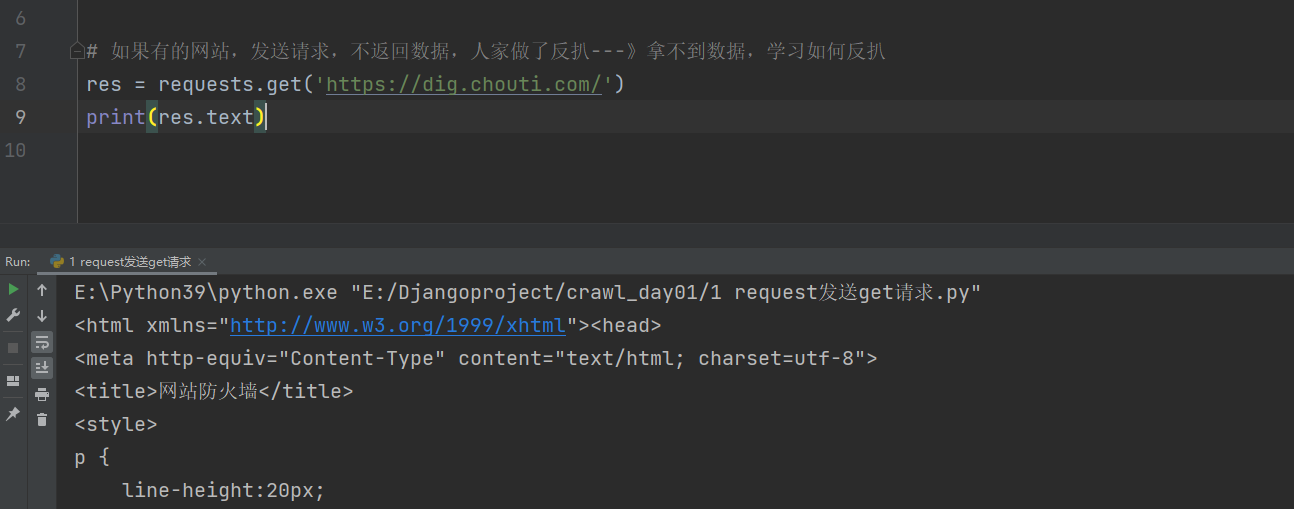
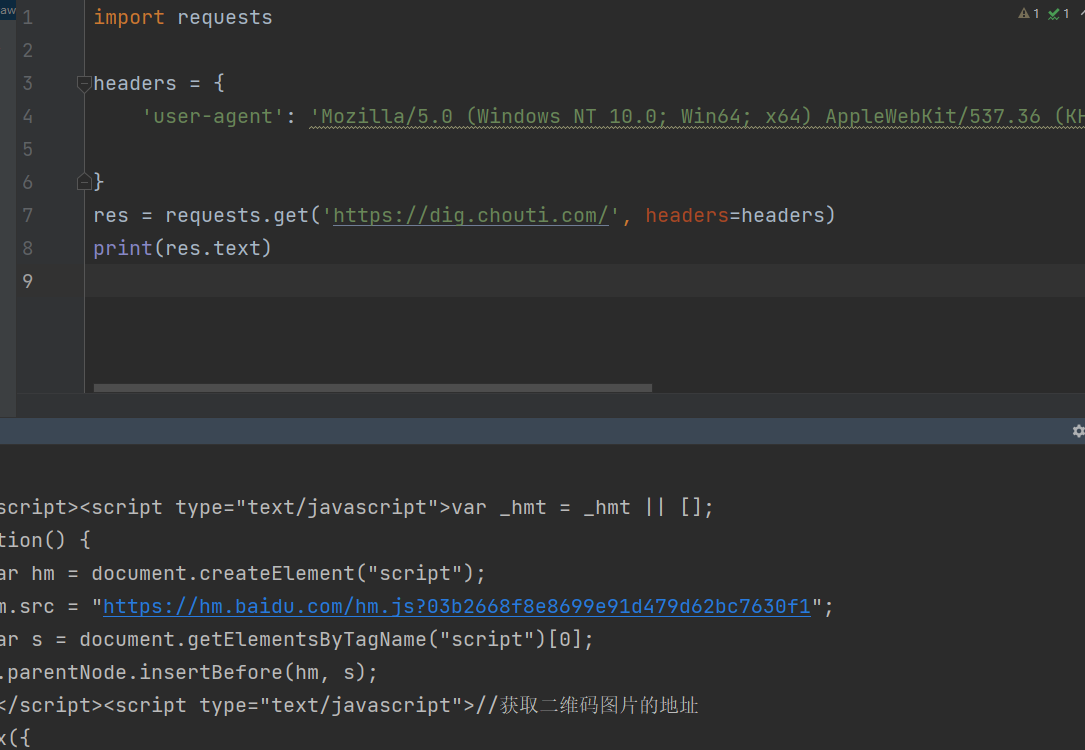
# 如果有的网站,发送请求,不返回数据,人家做了反扒---》拿不到数据,学习如何反扒
res = requests.get('https://dig.chouti.com/')
print(res.text)
4 request携带参数
4.1 方式一:直接拼接到路径中
import requests

# 方式一:直接拼接到路径中
res = requests.get('https://www.cnblogs.com/super-xz/?name=xz&age=18')
print(res.text)
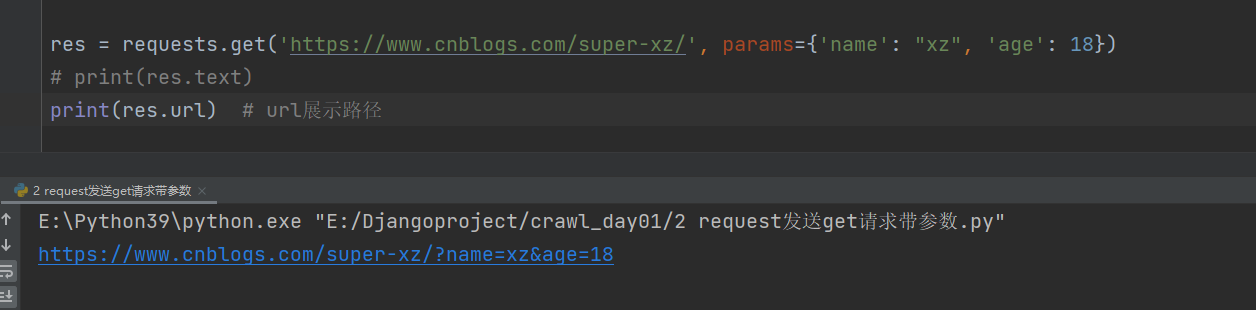
4.2 方式二:使用params参数
res = requests.get('https://www.cnblogs.com/super-xz/',params={'name':"xz",'age':18})
# print(res.text)
print(res.url)
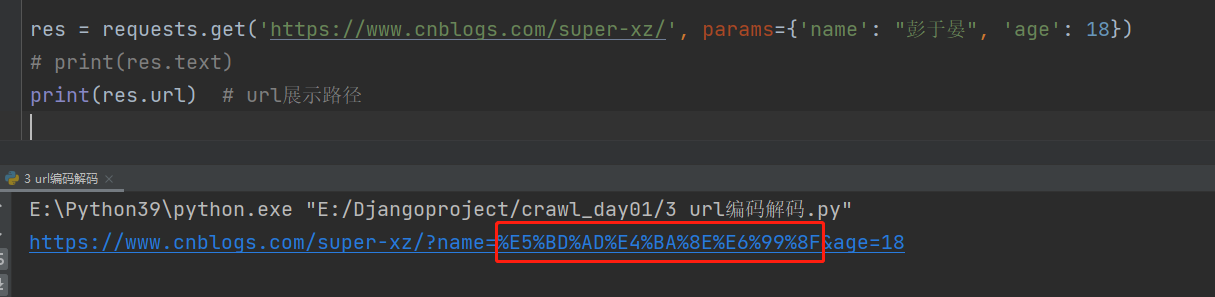
5 url编码解码
res = requests.get('https://www.cnblogs.com/super-xz/', params={'name': "彭于晏", 'age': 18})
# print(res.text)
print(res.url)  # url展示路径

# 如果是中文,在地址栏中会做url的编码:彭于晏:%E5%BD%AD%E4%BA%8E%E6%99%8F
编码模块
from urllib.parse import quote
解码模块
from urllib.parse import unquote

# 编码:
# res=quote('彭于晏')
# print(res)

# 解码
res=unquote('%E5%BD%AD%E4%BA%8E%E6%99%8F')
print(res)
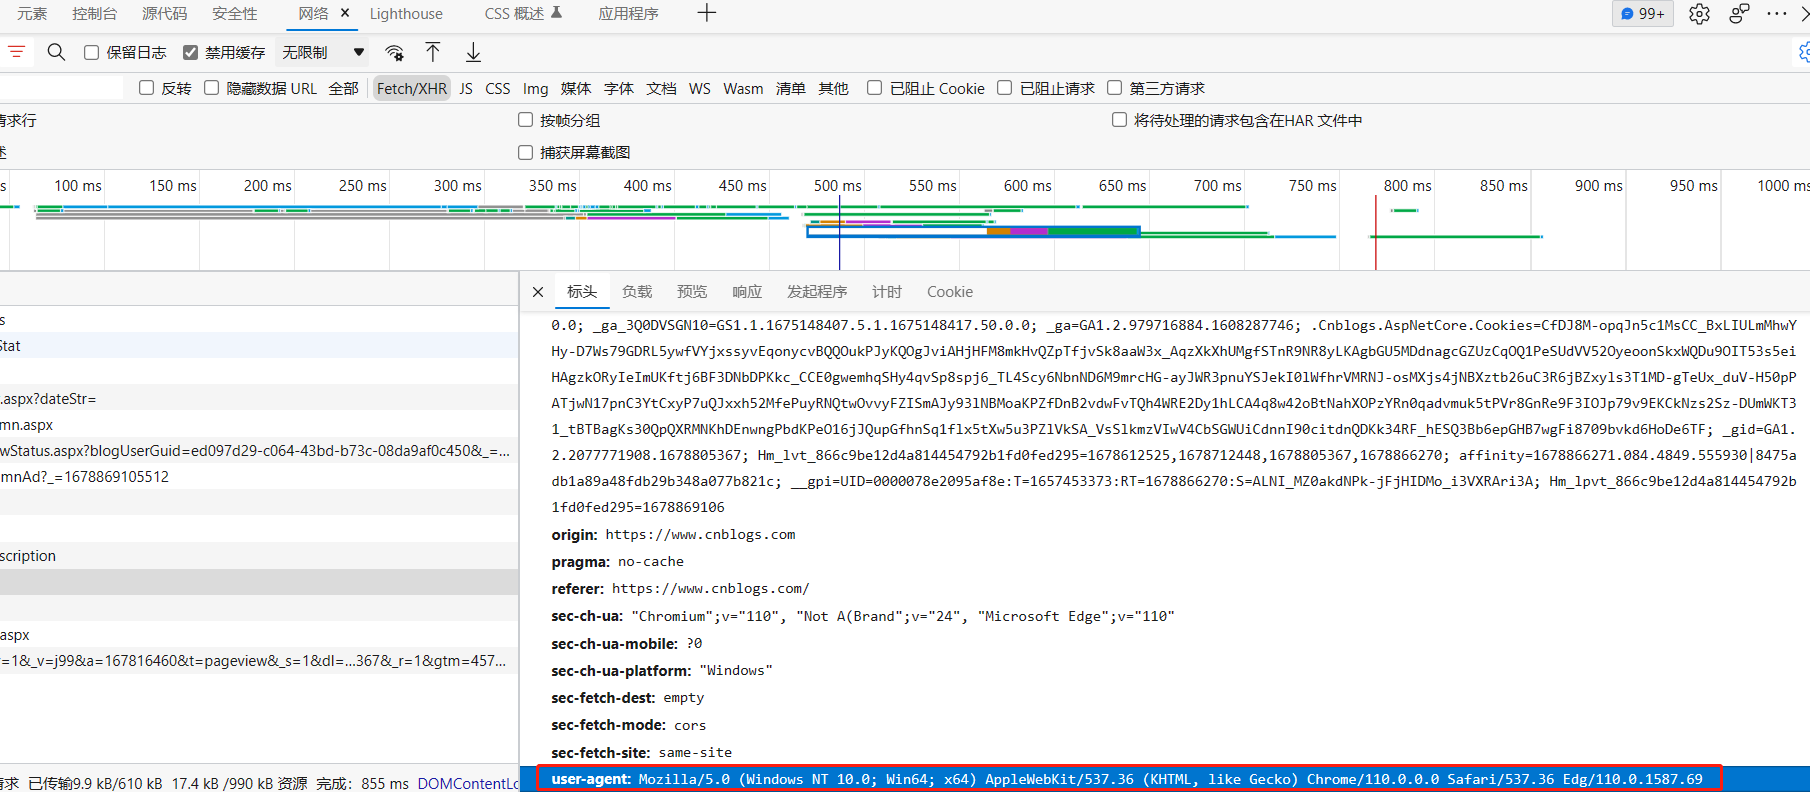
6 携带请求头
# 反扒措施之一,就是请求头

# http请求中,请求头中有一个很重要的参数 User-Agent
  表明了客户端类型是什么:
  Mozilla/5.0 (Windows NT 10.0; Win64; x64) AppleWebKit/537.36 (KHTML, like Gecko) Chrome/110.0.0.0 Safari/537.36 Edg/110.0.1587.69
  -如果没有带这个请求头,后端就禁止
  -request发送请求,没有携带该参数,所以有的网站就禁止了
import requests

headers = {
    'user-agent': 'Mozilla/5.0 (Windows NT 10.0; Win64; x64) AppleWebKit/537.36 (KHTML, like Gecko) Chrome/110.0.0.0 Safari/537.36 Edg/110.0.1587.69'

}
res = requests.get('https://dig.chouti.com/', headers=headers)
print(res.text)

# 带上User-Agent,就顺利扒出来了
http请求头:User-Agent,cookie,Connection

http协议版本间的区别
Connection: keep-alive
http协议有版本:主流1.1   0.9   2.x
http 基于TCP 如果建立一个http链接---》底层创建一个tcp链接
1.1比之前多了keep-alive
.x比1.x多了 多路复用
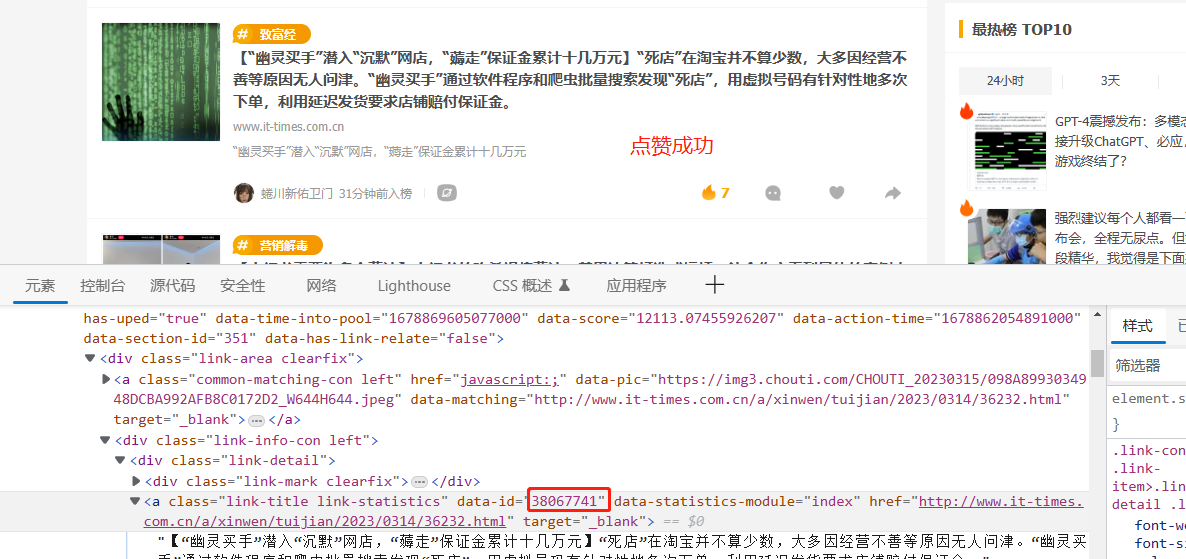
7 发送post请求,携带数据
import requests
# 携带登录信息,携带cookie第一种方式
headers = {
'User-Agent': 'Mozilla/5.0 (Windows NT 10.0; Win64; x64) AppleWebKit/537.36 (KHTML, like Gecko) Chrome/105.0.0.0 Safari/537.36',
'Cookie': ''
}
# post请求,携带参数
data = {
'linkId': '38067741'
}
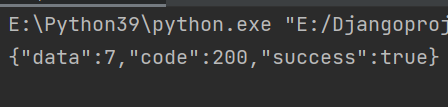
res = requests.post('https://dig.chouti.com/link/vote', headers=headers, data=data)
print(res.text)
# 双token认证
8 自动登录,携带cookie的两种方式
# 登录功能,一般都是post

import requests

data = {
    'username': '',
    'password': '',
    'captcha': '3456',
    'remember': 1,
    'ref': 'http://www.aa7a.cn/',
    'act': 'act_login'
}

res = requests.post('http://www.aa7a.cn/user.php',data=data)
print(res.text)
# 响应中会有登录成功的的cookie,
print(res.cookies)  # RequestsCookieJar 跟字典一样
# 拿着这个cookie,发请求,就是登录状态


# 访问首页,get请求,携带cookie,首页返回的数据一定会有 我的账号
# 携带cookie的两种方式  方式一是字符串,方式二是字典或CookieJar对象

# 方式二:放到cookie参数中
res1=requests.get('http://www.aa7a.cn/',cookies=res.cookies)

print('username' in res1.text)
9 requests.session的使用
# 为了保持cookie ,以后不需要携带cookie


import requests

data = {
    'username': '',
    'password': '',
    'captcha': '3456',
    'remember': 1,
    'ref': 'http://www.aa7a.cn/',
    'act': 'act_login'
}

session = requests.session()
res = session.post('http://www.aa7a.cn/user.php', data=data)
print(res.text)
res1 = session.get('http://www.aa7a.cn/')  # 自动保持登录状态,自动携带cookie

print('616564099@qq.com' in res1.text)
10 补充post请求携带数据编码格式
import requests

# data对应字典,这样写,编码方式是urlencoded
requests.post(url='xxxxxxxx',data={'xxx':'yyy'})
# json对应字典,这样写,编码方式是json格式
requests.post(url='xxxxxxxx',json={'xxx':'yyy'})
# 终极方案,编码就是json格式
requests.post(url='',
              data={'':1,},
              headers={
                  'content-type':'application/json'
              })
11 响应Response对象
# Response相应对象的属性和方法
import requests
headers = {
    'User-Agent': 'Mozilla/5.0 (Windows NT 10.0; Win64; x64) AppleWebKit/537.36 (KHTML, like Gecko) Chrome/105.0.0.0 Safari/537.36'
}

respone=requests.get('http://www.jianshu.com',headers=headers)
# respone属性
print(respone.text)  # 响应体转成字符串

print(respone.content)  # 响应体的二进制内容

print(respone.status_code)  # 响应状态码

print(respone.headers)  # 响应头

print(respone.cookies)  # cookie是在响应头,cookie很重要,它单独做成一个属性

print(respone.cookies.get_dict())  # cookieJar对象---》转成字段

print(respone.cookies.items())  # cookie的键值对

print(respone.url)  # 请求地址

print(respone.history)  # 历史记录 不用关注

print(respone.encoding)  # 相应编码格式
12 编码格式
# 有的网站,打印
res.text --->发现乱码--->请求回来的二进制--->转成了字符串--->默认用utf8转--->
response.encoding='gbk'
再打印res.text它就用gbk转码
13 下载图片,视频
import requests
# 下载图片
res = requests.get('https://img2.baidu.com/it/u=1906732828,3160455141&fm=253&fmt=auto&app=138&f=JPEG?w=500&h=666')
print(res.content)
with open('美女.jpg', 'wb') as f:
f.write(res.content)
# 下载视频
res = requests.get('https://vd7.bdstatic.com/mda-nfj8p0wsgmsjmh5f/sc/cae_h264/1655717576819231930/mda-nfj8p0wsgmsjmh5f.mp4?v_from_s=hkapp-haokan-nanjing&auth_key=1678879717-0-0-1c5835c528e0773916137cb2106b1605&bcevod_channel=searchbox_feed&pd=1&cd=0&pt=3&logid=3517026631&vid=8256922473628294562&abtest=107354_2-107353_1×tamp=1678877919655&klogid=3517026631&sdk_xcdn=1')
with open('美女合集.mp4', 'wb') as f:
for line in res.iter_content():
f.write(line)