Games101 HomeWork7
导航
多线程
这次的作业,我想先教大家实现多线程,再进行操作。多线程多我的吸引力实在是太大了。废话不多说,我们直接开始:
多线程主要是在Render中进行的
void Renderer::Render(const Scene& scene)
{
    std::vector<Vector3f> framebuffer(scene.width * scene.height);
    bool IsUseMultiThread=true;
    int spp = 1;
    if(!IsUseMultiThread)
    {
        float scale = tan(deg2rad(scene.fov * 0.5));
        float imageAspectRatio = scene.width / (float)scene.height;
        Vector3f eye_pos(278, 273, -800);
        int m = 0;
        // change the spp value to change sample ammount
        std::cout << "SPP: " << spp << "\n";
        for (uint32_t j = 0; j < scene.height; ++j) {
            for (uint32_t i = 0; i < scene.width; ++i) {
                // generate primary ray direction
                float x = (2 * (i + 0.5) / (float)scene.width - 1) *
                        imageAspectRatio * scale;
                float y = (1 - 2 * (j + 0.5) / (float)scene.height) * scale;

                Vector3f dir = normalize(Vector3f(-x, y, 1));
                for (int k = 0; k < spp; k++){
                    framebuffer[m] += scene.castRay(Ray(eye_pos, dir), 0) / spp;
                }
                m++;
            }
            UpdateProgress(j / (float)scene.height);
        }
        UpdateProgress(1.f);
                // save framebuffer to file
        string filename ="binaryWithoutMultiThread";
        filename +=std::to_string(std::chrono::duration_cast<std::chrono::seconds>(std::chrono::system_clock::now()-start).count())+".ppm";
        FILE* fp = fopen(filename.c_str() , "wb");
        (void)fprintf(fp, "P6\n%d %d\n255\n", scene.width, scene.height);
        for (auto i = 0; i < scene.height * scene.width; ++i) {
            static unsigned char color[3];
            color[0] = (unsigned char)(255 * std::pow(clamp(0, 1, framebuffer[i].x), 0.6f));
            color[1] = (unsigned char)(255 * std::pow(clamp(0, 1, framebuffer[i].y), 0.6f));
            color[2] = (unsigned char)(255 * std::pow(clamp(0, 1, framebuffer[i].z), 0.6f));
            fwrite(color, 1, 3, fp);
        }
        fclose(fp);
}
这是Render的原代码,我需要加速的地方是对每一个像素着色的地方,也就是这个for循环。首先我们把for循环改成单层的:
			for (uint32_t p = 0; p < hxw; ++p)
            {
                int i = p % scene.height;
                int j = p / scene.height;
                // generate primary ray direction
                float x = (2 * (i + 0.5) / (float)scene.width - 1) *
                          imageAspectRatio * scale;
                float y = (1 - 2 * (j + 0.5) / (float)scene.height) * scale;

                Vector3f dir = normalize(Vector3f(-x, y, 1));
                for (int k = 0; k < spp; k++)
                {
                    framebuffer[p] += scene.castRay(Ray(eye_pos, dir), 0) / spp;
                }
                pocess++;
                    UpdateProgress(pocess / (float)(scene.height * scene.width));
            }
然后加入这几个头文件:
#include <thread>
#include <pthread.h>
#include <omp.h>
//linux library for getting cpu num
#include "unistd.h"
并在CMakeLists.txt中加上这句话:
//这是修改后的CmakeList.txt
cmake_minimum_required(VERSION 3.10)
project(RayTracing)

// DIY
FIND_PACKAGE( OpenMP REQUIRED)
if(OPENMP_FOUND)
    message("OPENMP FOUND")
    set(CMAKE_C_FLAGS "${CMAKE_C_FLAGS} ${OpenMP_C_FLAGS}")
    set(CMAKE_CXX_FLAGS "${CMAKE_CXX_FLAGS} ${OpenMP_CXX_FLAGS}")
endif()
//DIY
set(CMAKE_CXX_STANDARD 17)

add_executable(${PROJECT_NAME} main.cpp Object.hpp Vector.cpp Vector.hpp Sphere.hpp global.hpp Triangle.hpp Scene.cpp
        Scene.hpp Light.hpp AreaLight.hpp BVH.cpp BVH.hpp Bounds3.hpp Ray.hpp Material.hpp Intersection.hpp
        Renderer.cpp Renderer.hpp)
然后在Render中使用int cpuNum= sysconf(_SC_NPROCESSORS_CONF);获取你电脑的CPU数量,并保存起来,然后使用omp_set_num_threads(cpuNum);设置你的线程数量为你的CPU数量。
然后便是最精彩的部分了,首先我们直接使用
#pragma omp parallel for
来多线程启动这句命令下的一个for循环。像这样:
        #pragma omp parallel for shared(pocess)
            for (uint32_t p = 0; p < hxw; ++p)
            {
                int i = p % scene.height;
                int j = p / scene.height;
                // generate primary ray direction
                float x = (2 * (i + 0.5) / (float)scene.width - 1) *
                          imageAspectRatio * scale;
                float y = (1 - 2 * (j + 0.5) / (float)scene.height) * scale;

                Vector3f dir = normalize(Vector3f(-x, y, 1));
                for (int k = 0; k < spp; k++)
                {
                    framebuffer[p] += scene.castRay(Ray(eye_pos, dir), 0) / spp;
                }
                pocess++;
                    UpdateProgress(pocess / (float)(scene.height * scene.width));
            }
但是我们得到的进度条非常的抽象,接下来我们使用进程锁?来防止这种情况。
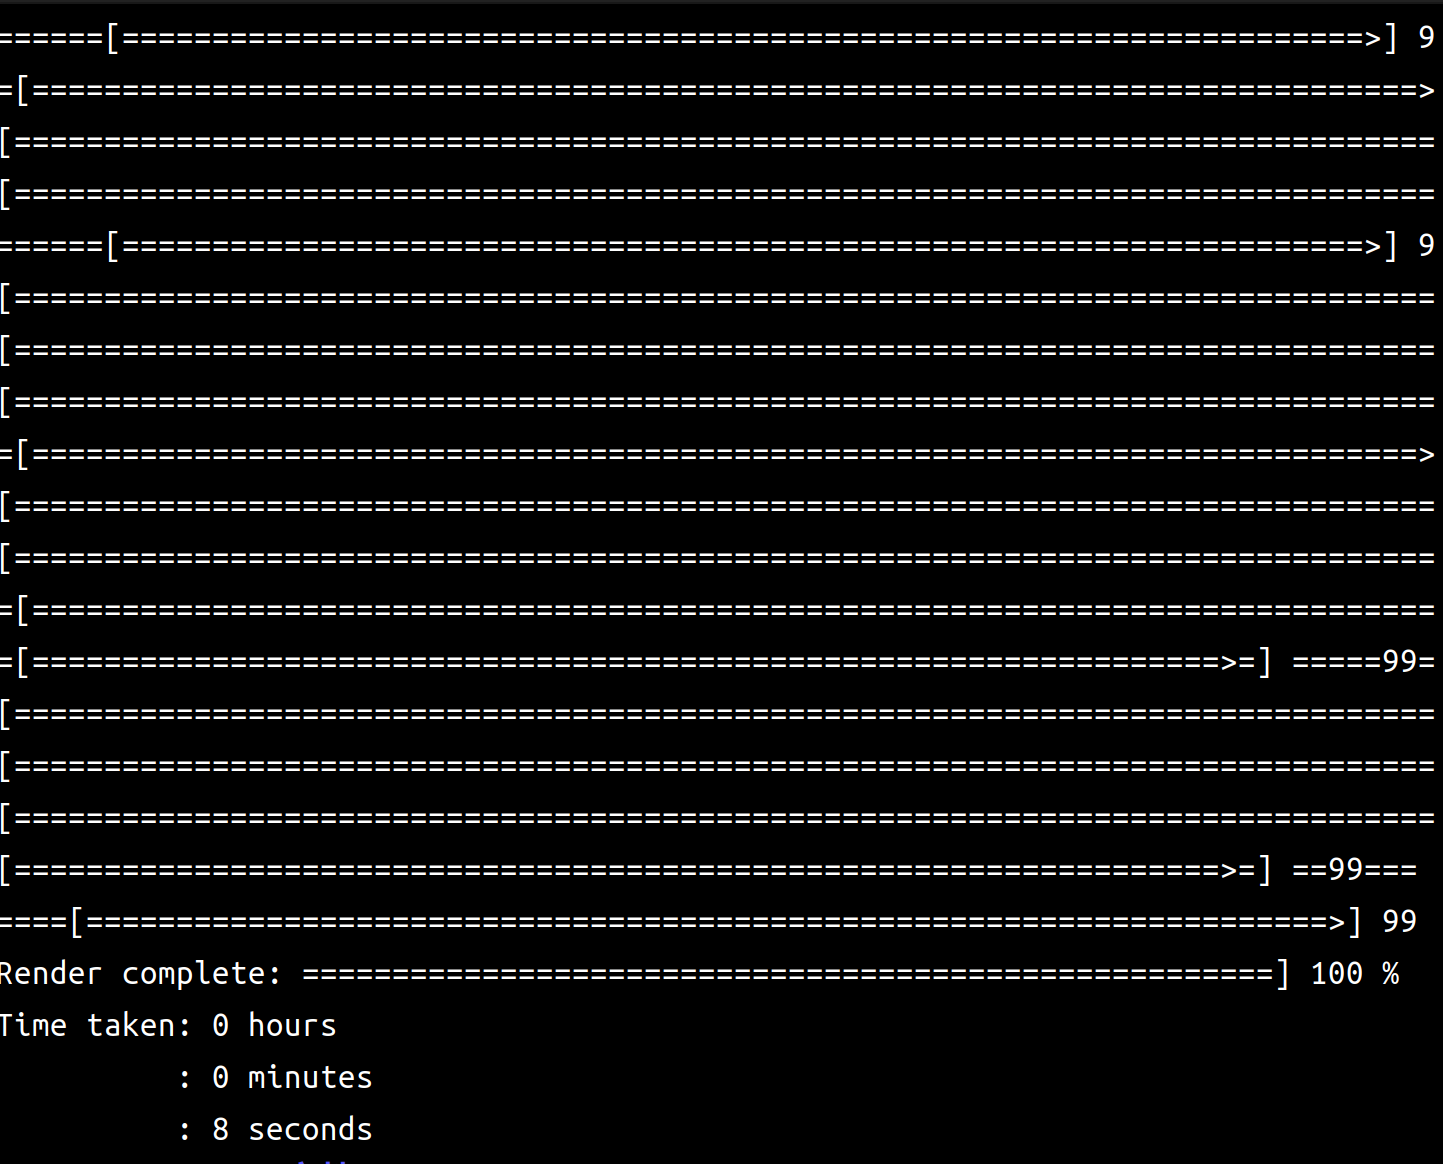
critical指令用于保证其相关联的代码只在一个线程中执行。我们在UpdateProgress之前加上这一句话: #pragma omp critical这样就得到了正确的进度条。
这一步很重要,请确保你完成了这一步,再进行下面的操作。不然你没次的运行时间可能达到3-5mins。这里是修改后的Render函数:
void Renderer::Render(const Scene &scene)
{
std::vector<Vector3f> framebuffer(scene.width * scene.height);
float scale = tan(deg2rad(scene.fov * 0.5));
float imageAspectRatio = scene.width / (float)scene.height;
Vector3f eye_pos(278, 273, -800);
bool IsUseMultiThread = true;
string filename = "binary";
int spp = 1;//把spp改为1,不然会跑的很慢!!!!!!!!!!
if (!IsUseMultiThread)
{
int m = 0;
// change the spp value to change sample ammount
std::cout << "SPP: " << spp << "\n";
for (uint32_t j = 0; j < scene.height; ++j)
{
for (uint32_t i = 0; i < scene.width; ++i)
{
// generate primary ray direction
float x = (2 * (i + 0.5) / (float)scene.width - 1) *
imageAspectRatio * scale;
float y = (1 - 2 * (j + 0.5) / (float)scene.height) * scale;
Vector3f dir = normalize(Vector3f(-x, y, 1));
for (int k = 0; k < spp; k++)
{
framebuffer[m] += scene.castRay(Ray(eye_pos, dir), 0) / spp;
}
m++;
}
UpdateProgress(j / (float)scene.height);
}
UpdateProgress(1.f);
filename += "_WithOut_" + std::to_string(std::chrono::duration_cast<std::chrono::seconds>(std::chrono::system_clock::now() - start).count());
}
else
{
int m = 0;
// change the spp value to change sample ammount
std::cout << "SPP: " << spp << "\n";
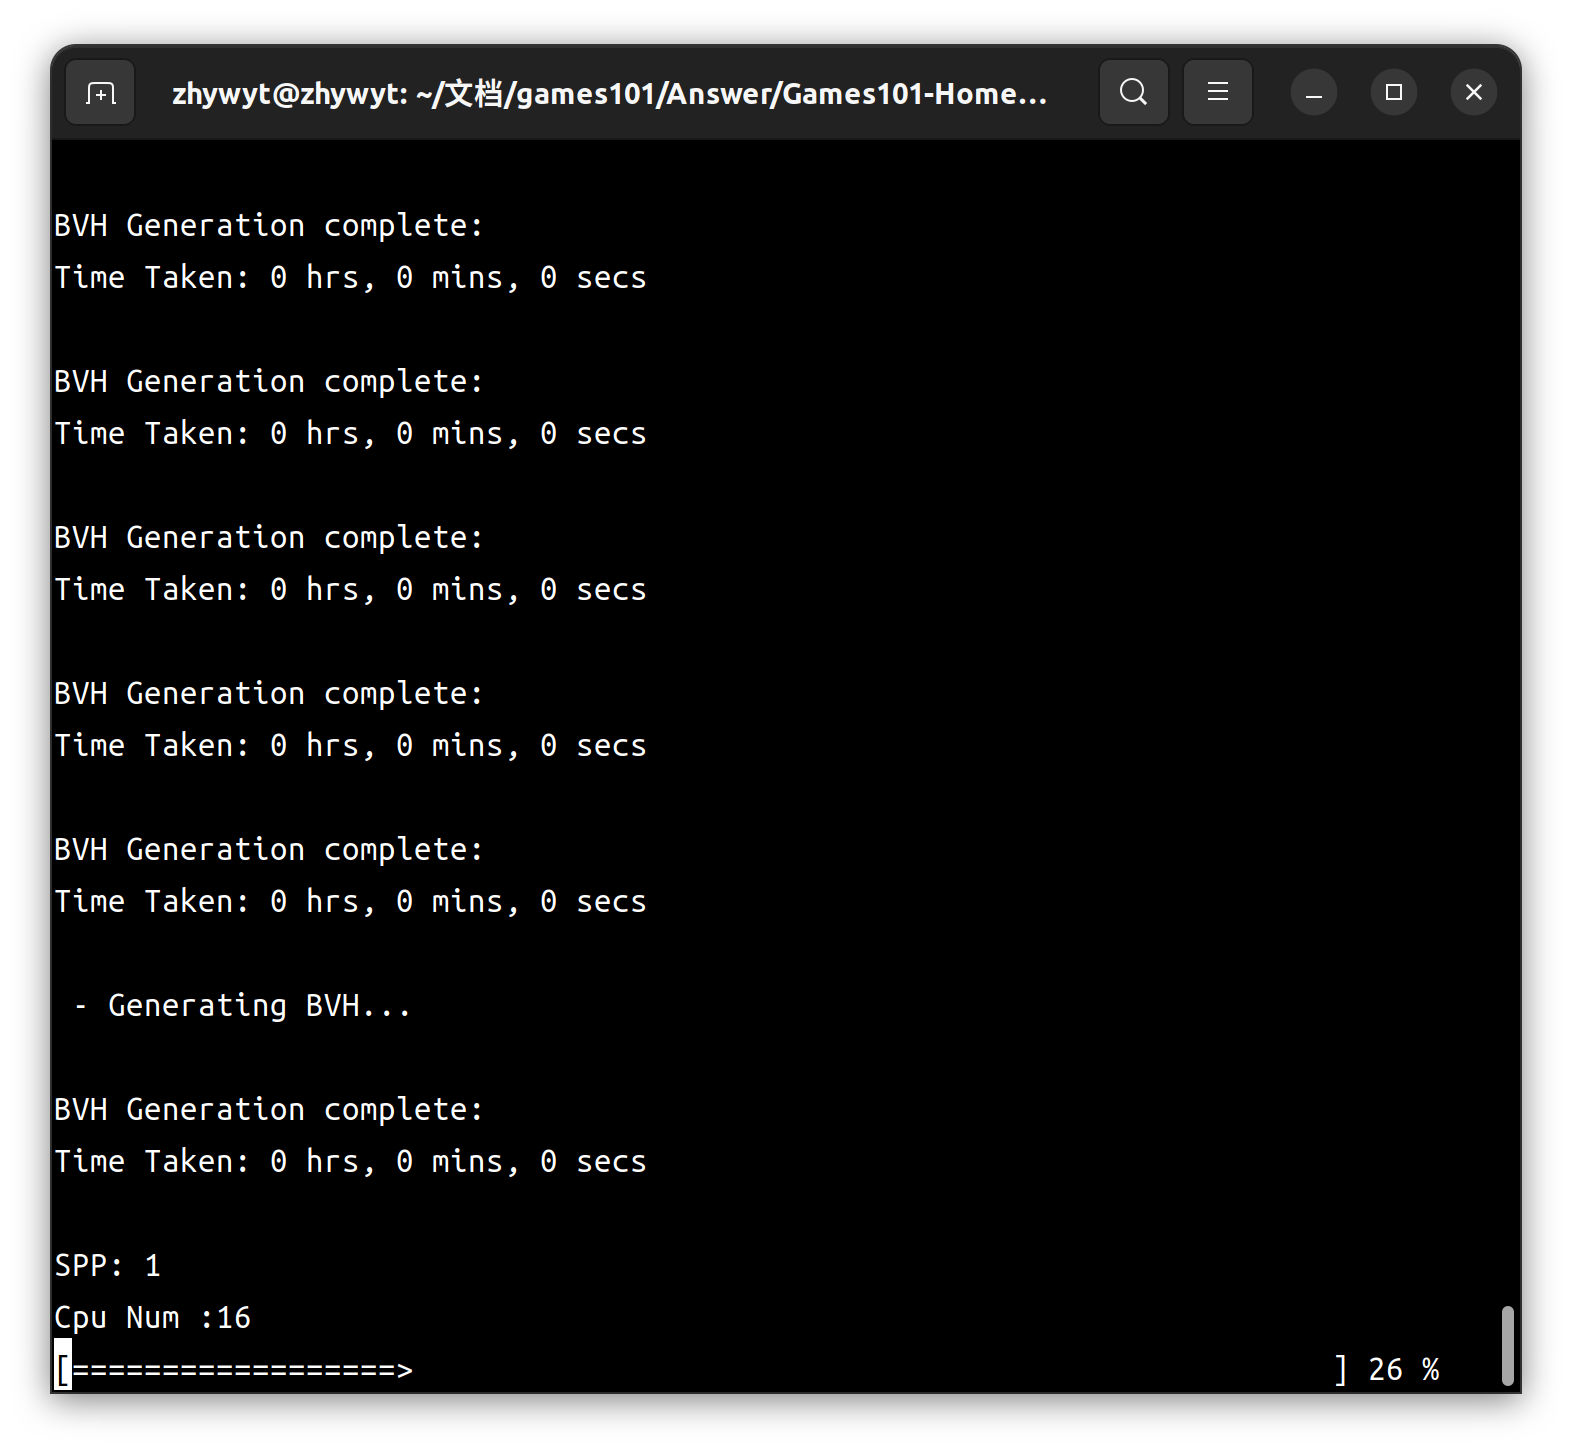
int cpuNum = sysconf(_SC_NPROCESSORS_CONF);
std::cout << "Cpu Num :" << cpuNum << std::endl;
omp_set_num_threads(cpuNum);
// int handle[cpuNum];
float minY = 0.0f, maxY = 0.0f;
int hxw = scene.width * scene.height;
long long pocess =0;
#pragma omp parallel for shared(pocess)
for (uint32_t p = 0; p < hxw; ++p)
{
int i = p % scene.height;
int j = p / scene.height;
// generate primary ray direction
float x = (2 * (i + 0.5) / (float)scene.width - 1) *
imageAspectRatio * scale;
float y = (1 - 2 * (j + 0.5) / (float)scene.height) * scale;
Vector3f dir = normalize(Vector3f(-x, y, 1));
for (int k = 0; k < spp; k++)
{
framebuffer[p] += scene.castRay(Ray(eye_pos, dir), 0) / spp;
}
pocess++;
#pragma omp critical
UpdateProgress(pocess / (float)(scene.height * scene.width));
}
minY = maxY + 1.0f;
UpdateProgress(1.f);
filename += "_With_" + std::to_string(std::chrono::duration_cast<std::chrono::seconds>(std::chrono::system_clock::now() - start).count());
}
filename += ".ppm";
// save framebuffer to file
FILE *fp = fopen(filename.c_str(), "wb");
(void)fprintf(fp, "P6\n%d %d\n255\n", scene.width, scene.height);
for (auto i = 0; i < scene.height * scene.width; ++i)
{
static unsigned char color[3];
color[0] = (unsigned char)(255 * std::pow(clamp(0, 1, framebuffer[i].x), 0.6f));
color[1] = (unsigned char)(255 * std::pow(clamp(0, 1, framebuffer[i].y), 0.6f));
color[2] = (unsigned char)(255 * std::pow(clamp(0, 1, framebuffer[i].z), 0.6f));
fwrite(color, 1, 3, fp);
}
fclose(fp);
}
注意:请不要直接复制我的代码,写入文件的部分我还做了一些修改
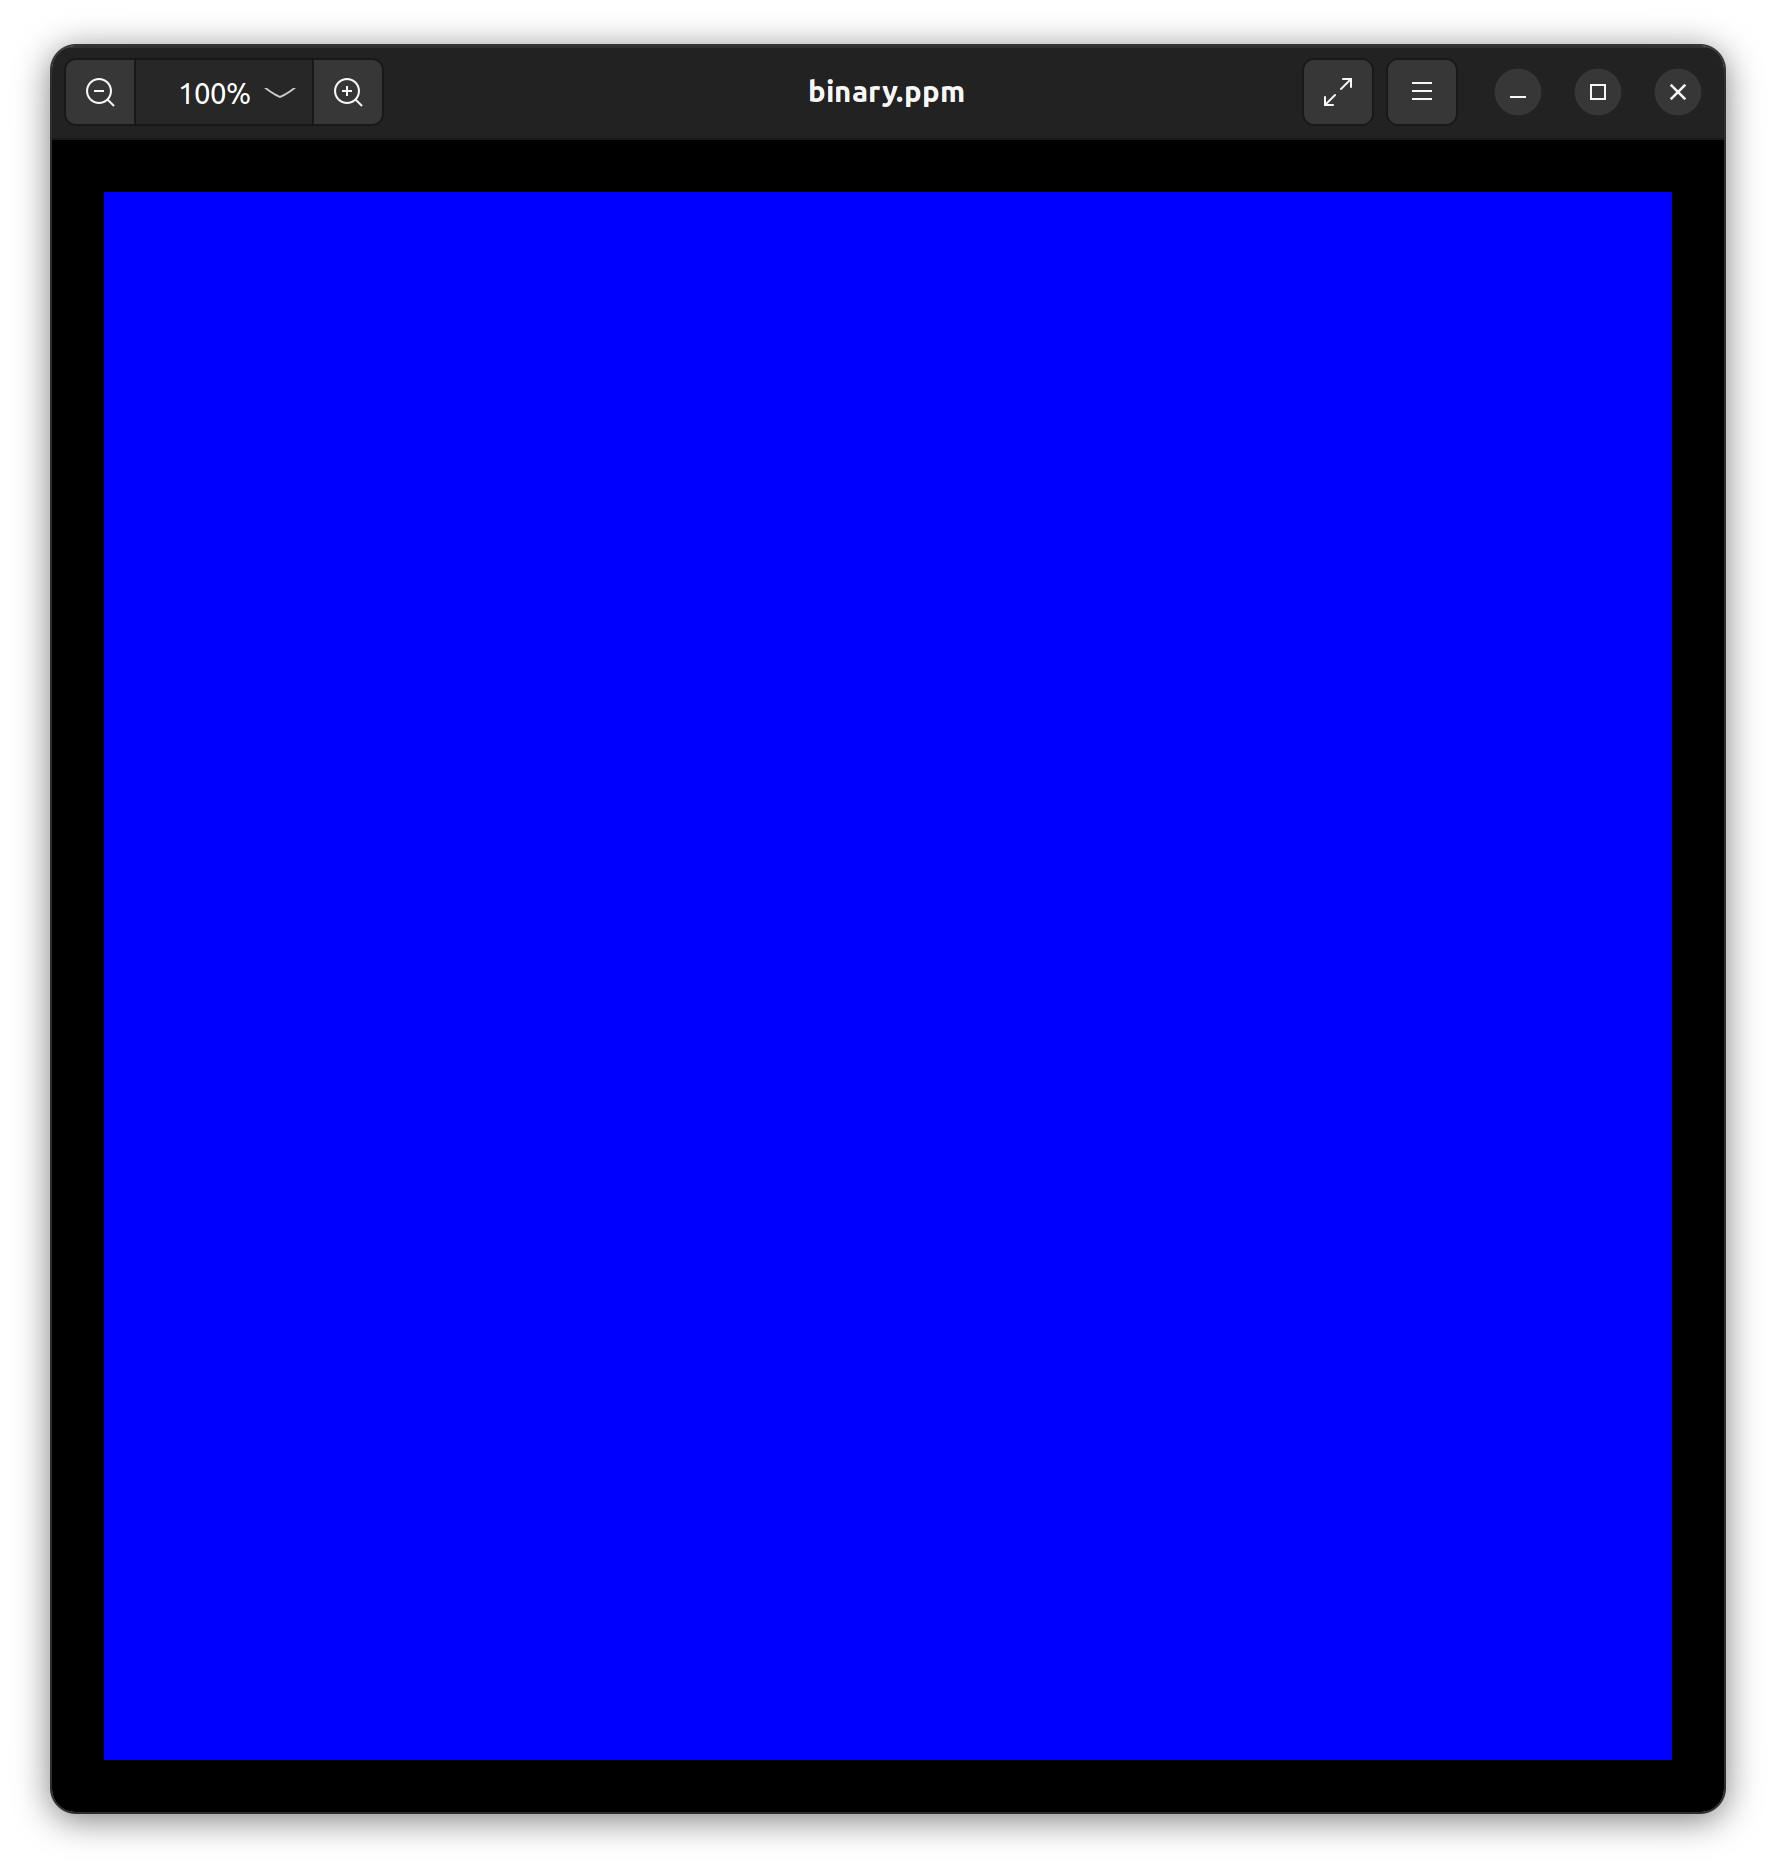
直接复制是跑不起来的,你应该自己写一遍多线程的流程。并将文件写入改回你自己想要的版本。
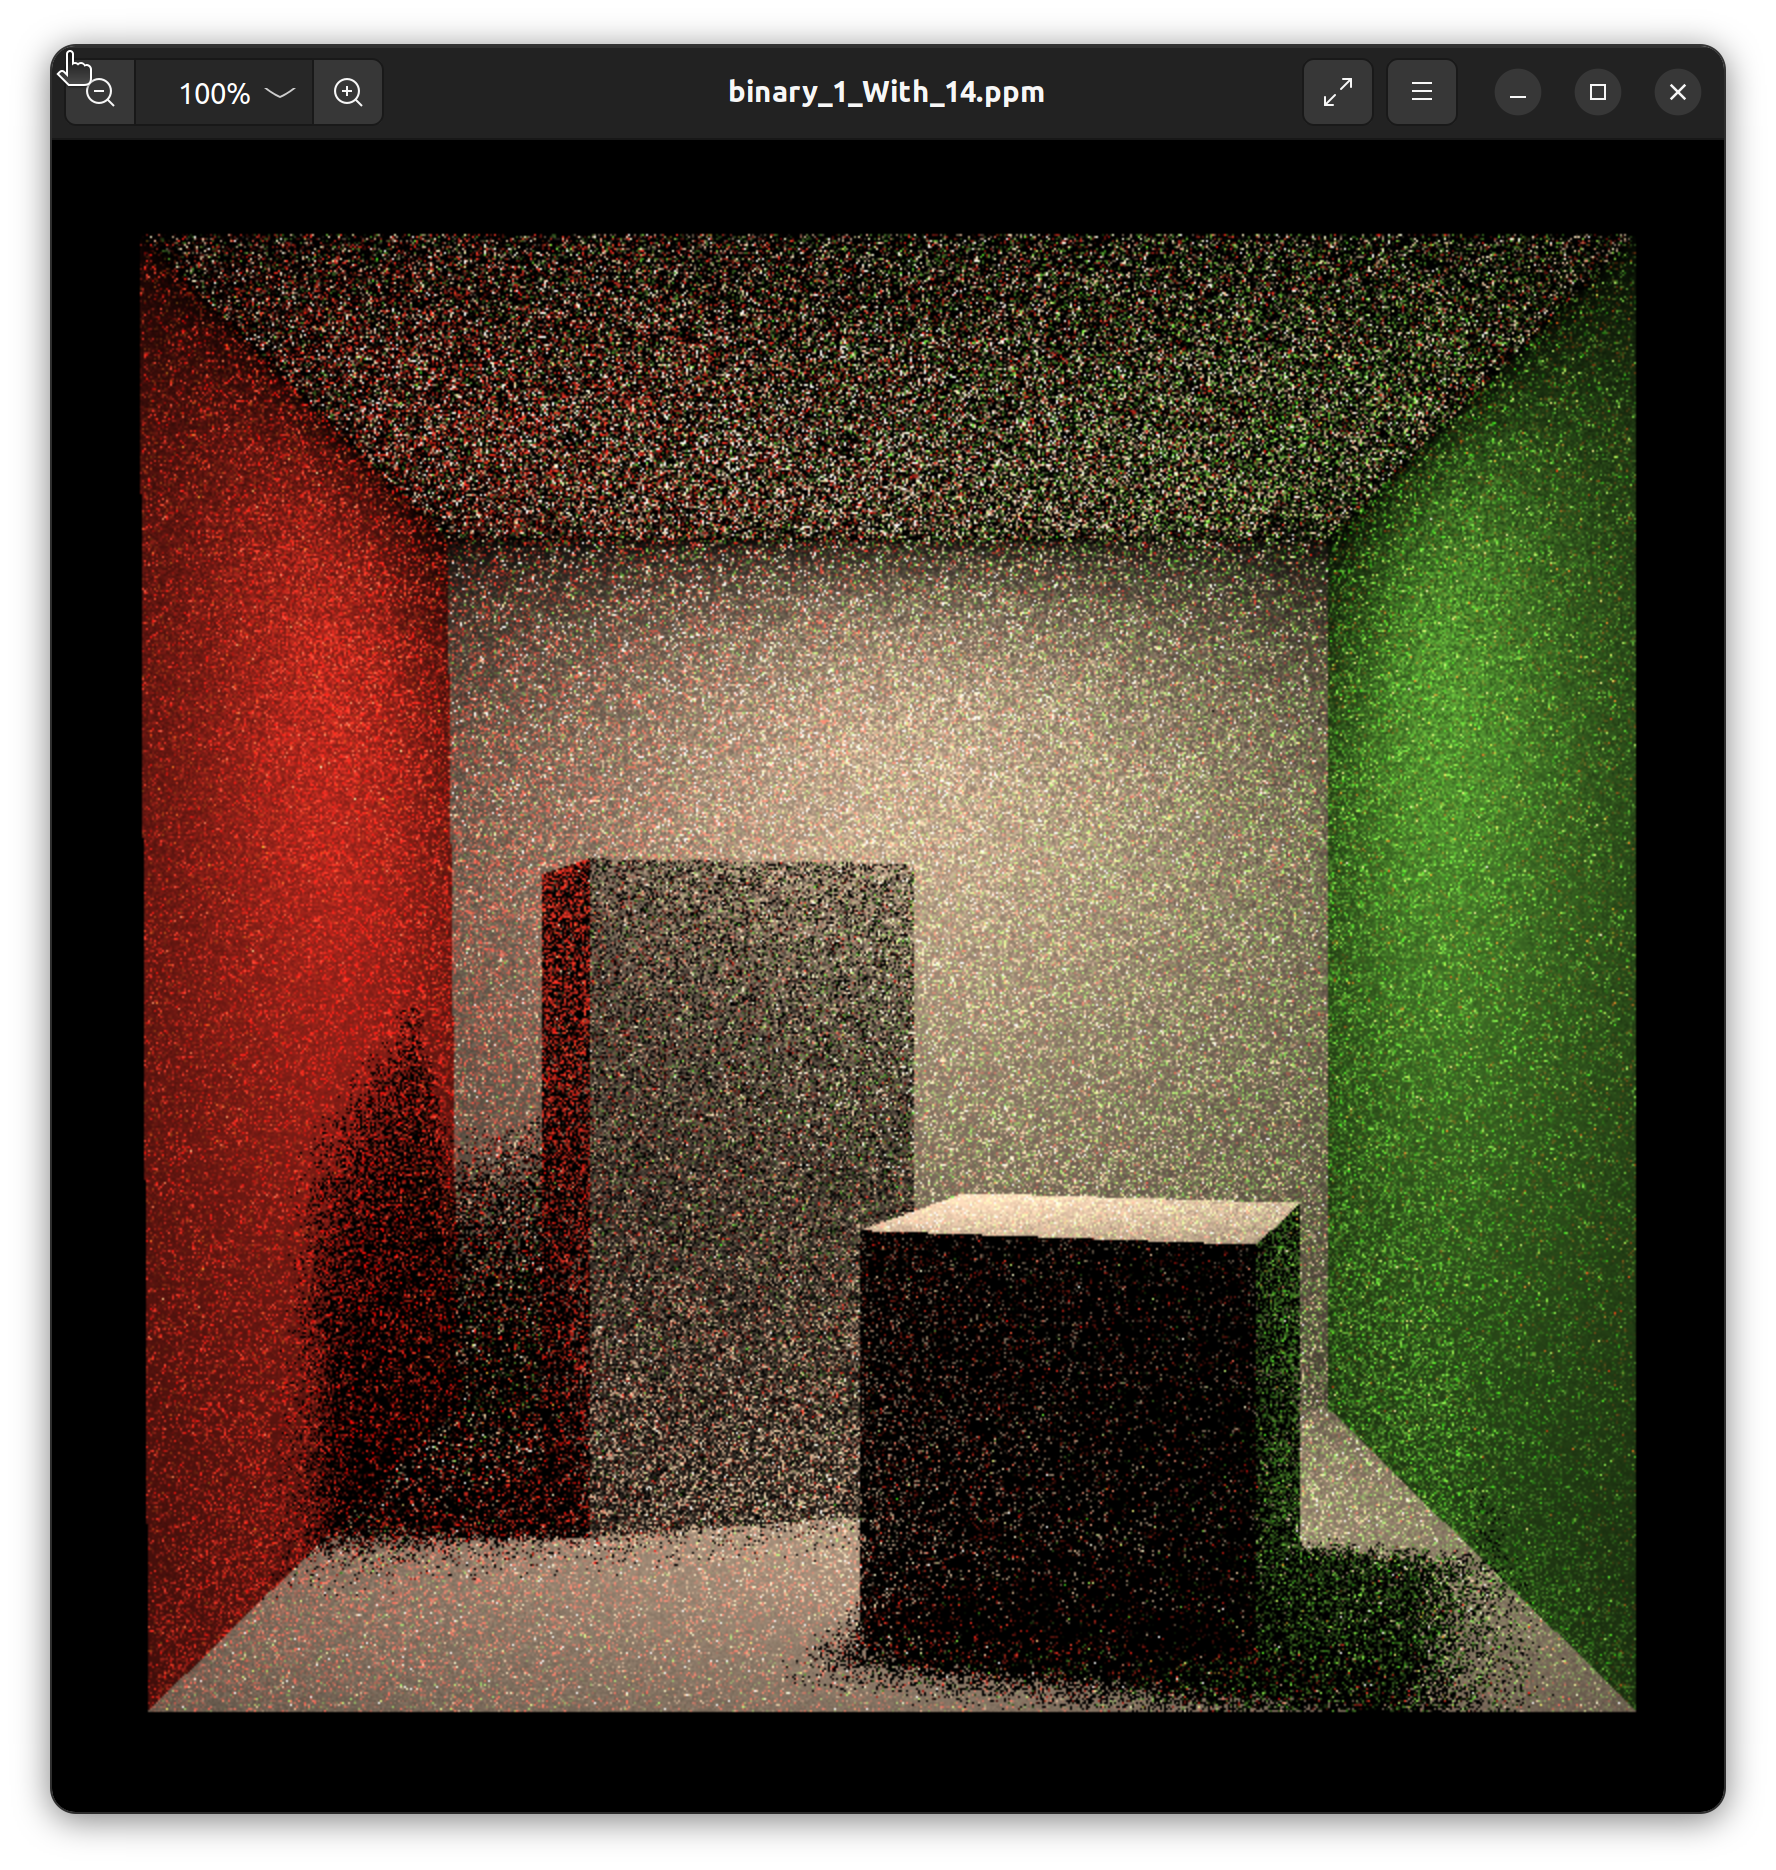
当然,由于你还没有写CastRay,和很多函数,所以你只能得到这样的图片:
前置任务
- Triangle::getIntersection in Triangle.hpp: 将你的光线-三角形相交函数粘贴到此处,请直接将上次实验中实现的内容粘贴在此。
- IntersectP(const Ray& ray, const Vector3f& invDir,const std::array<int, 3>& dirIsNeg) in the Bounds3.hpp: 这个函数的作用是判断包围盒BoundingBox 与光线是否相交,请直接将上次实验中实现的内容粘贴在此处,并且注意检查 t_enter = t_exit 的时候的判断是否正确。
- getIntersection ( BVHBuildNode node, const Ray ray)in BVH.cpp: BVH查找过程,请直接将上次实验中实现的内容粘贴在此处
//Triangle.hpp
inline Intersection Triangle::getIntersection(Ray ray)
{
    Intersection inter;

    if (dotProduct(ray.direction, normal) > 0)
        return inter;
    double u, v, t_tmp = 0;
    Vector3f pvec = crossProduct(ray.direction, e2);
    double det = dotProduct(e1, pvec);
    if (fabs(det) < EPSILON)
        return inter;

    double det_inv = 1. / det;
    Vector3f tvec = ray.origin - v0;
    u = dotProduct(tvec, pvec) * det_inv;
    if (u < 0 || u > 1)
        return inter;
    Vector3f qvec = crossProduct(tvec, e1);
    v = dotProduct(ray.direction, qvec) * det_inv;
    if (v < 0 || u + v > 1)
        return inter;
    t_tmp = dotProduct(e2, qvec) * det_inv;

    // TODO find ray triangle intersection
    if(t_tmp<0)
        return inter;
    inter.distance=t_tmp;
    inter.happened=true;
    inter.normal= this->normal;
    inter.coords=ray(t_tmp);
    inter.obj=this;
    inter.m=this->m;
    return inter;
}
//Bounds3.hpp
inline bool Bounds3::IntersectP(const Ray &ray, const Vector3f &invDir,
                                const std::array<int, 3> &dirIsNeg) const
{
    // invDir: ray direction(x,y,z), invDir=(1.0/x,1.0/y,1.0/z), use this because Multiply is faster that Division
    // dirIsNeg: ray direction(x,y,z), dirIsNeg=[int(x>0),int(y>0),int(z>0)], use this to simplify your logic
    // TODO test if ray bound intersects
    Vector3f t_minTemp = (pMin - ray.origin) * invDir;
    Vector3f t_maxTemp = (pMax - ray.origin) * invDir;
    Vector3f t_min = Vector3f::Min(t_minTemp, t_maxTemp);
    Vector3f t_max = Vector3f::Max(t_minTemp, t_maxTemp);

    float t_min_time = std::max(t_min.x, std::max(t_min.y, t_min.z));
    float t_max_time = std::min(t_max.x, std::min(t_max.y, t_max.z));
    return t_max_time >= -std::numeric_limits<float>::epsilon() && t_min_time <= t_max_time;
}
//BVH.cpp
Intersection BVHAccel::getIntersection(BVHBuildNode* node, const Ray& ray) const
{
    // TODO Traverse the BVH to find intersection
    Intersection intersect;
    Vector3f invdir(1./ray.direction.x,1./ray.direction.y,1./ray.direction.z);
    std::array<int, 3> dirIsNeg;
    dirIsNeg[0] = ray.direction.x>0;
    dirIsNeg[1] = ray.direction.y>0;
    dirIsNeg[2] = ray.direction.z>0;
    if(!node || !node->bounds.IntersectP(ray,ray.direction_inv,dirIsNeg))
    {
        return intersect;
    }

    if(!node->right && !node->left)
        return node->object->getIntersection(ray);

    Intersection isect2= getIntersection(node->left,ray);
    Intersection isect1= getIntersection(node->right,ray);
    return isect1.distance < isect2.distance ? isect1:isect2;
}
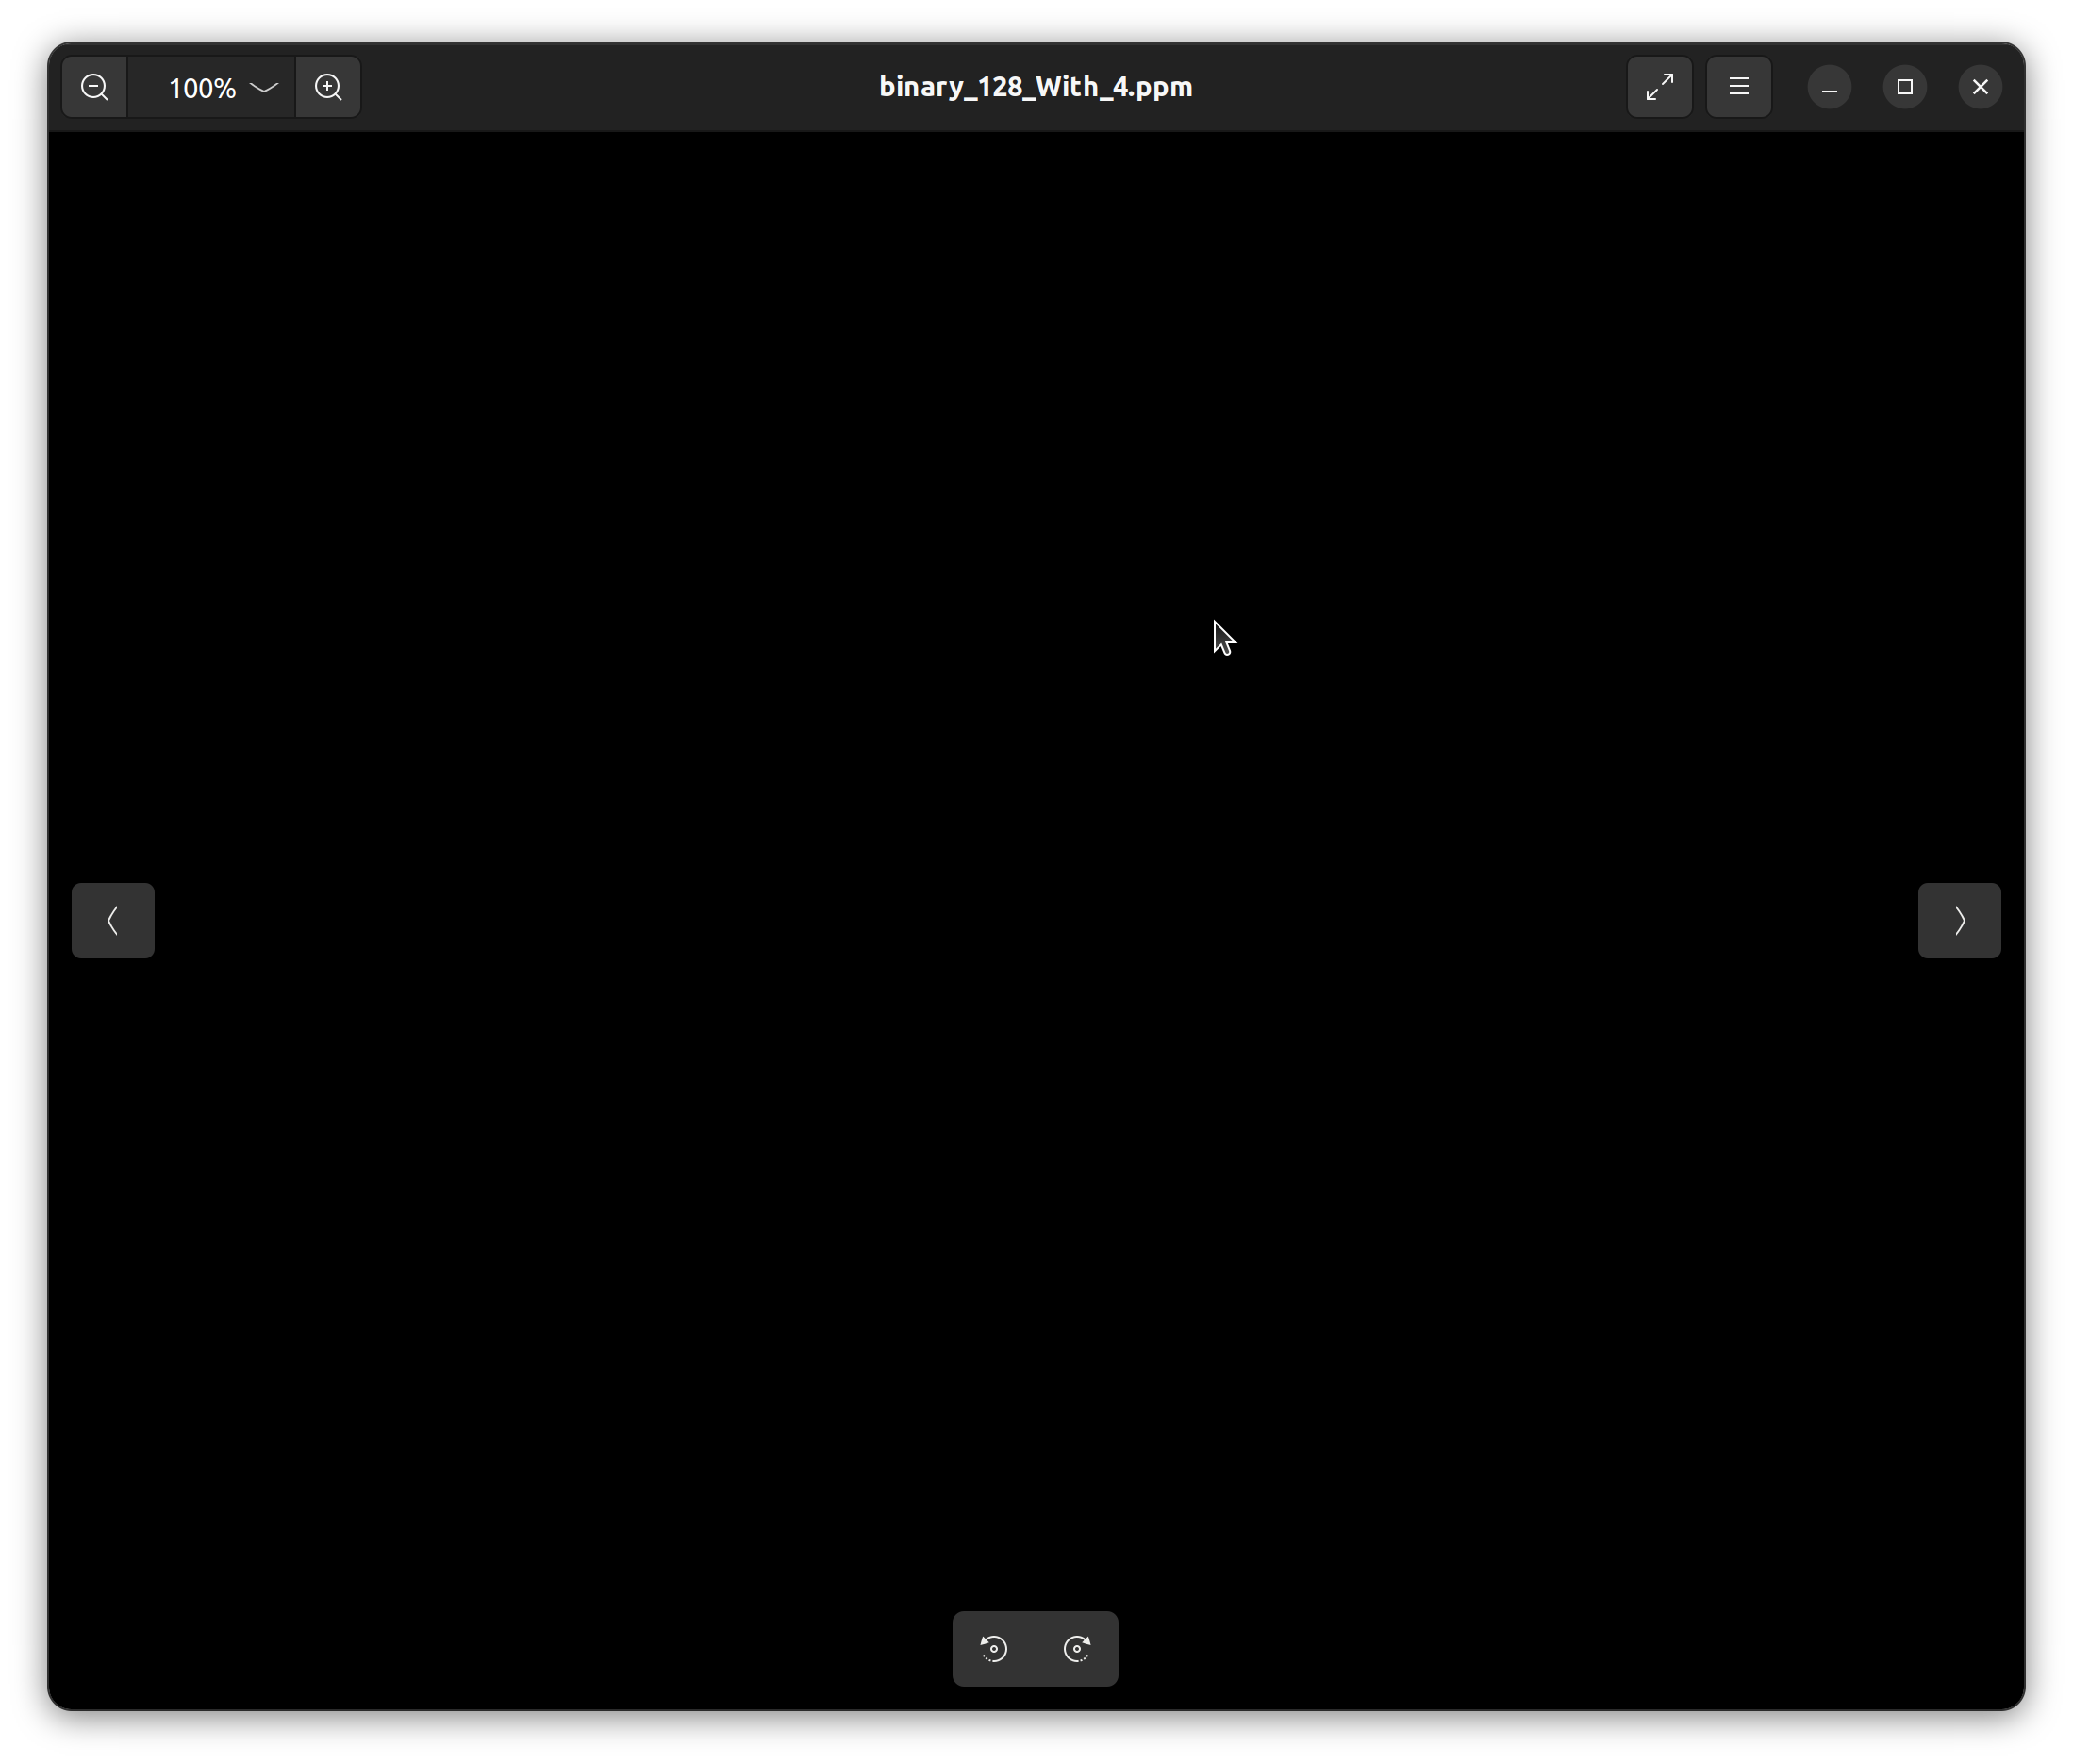
再次运行,你应该能得到黑色的图了:
任务
在本次实验中,你只需要修改这一个函数:
castRay(const Ray ray, int depth)in Scene.cpp: 在其中实现Path Trac-ing 算法
CastRay()
我不会按着原理来讲这个东西,闫令琪大神已经讲的够好了,我按照算法的顺序来重新讲一下这个事情:
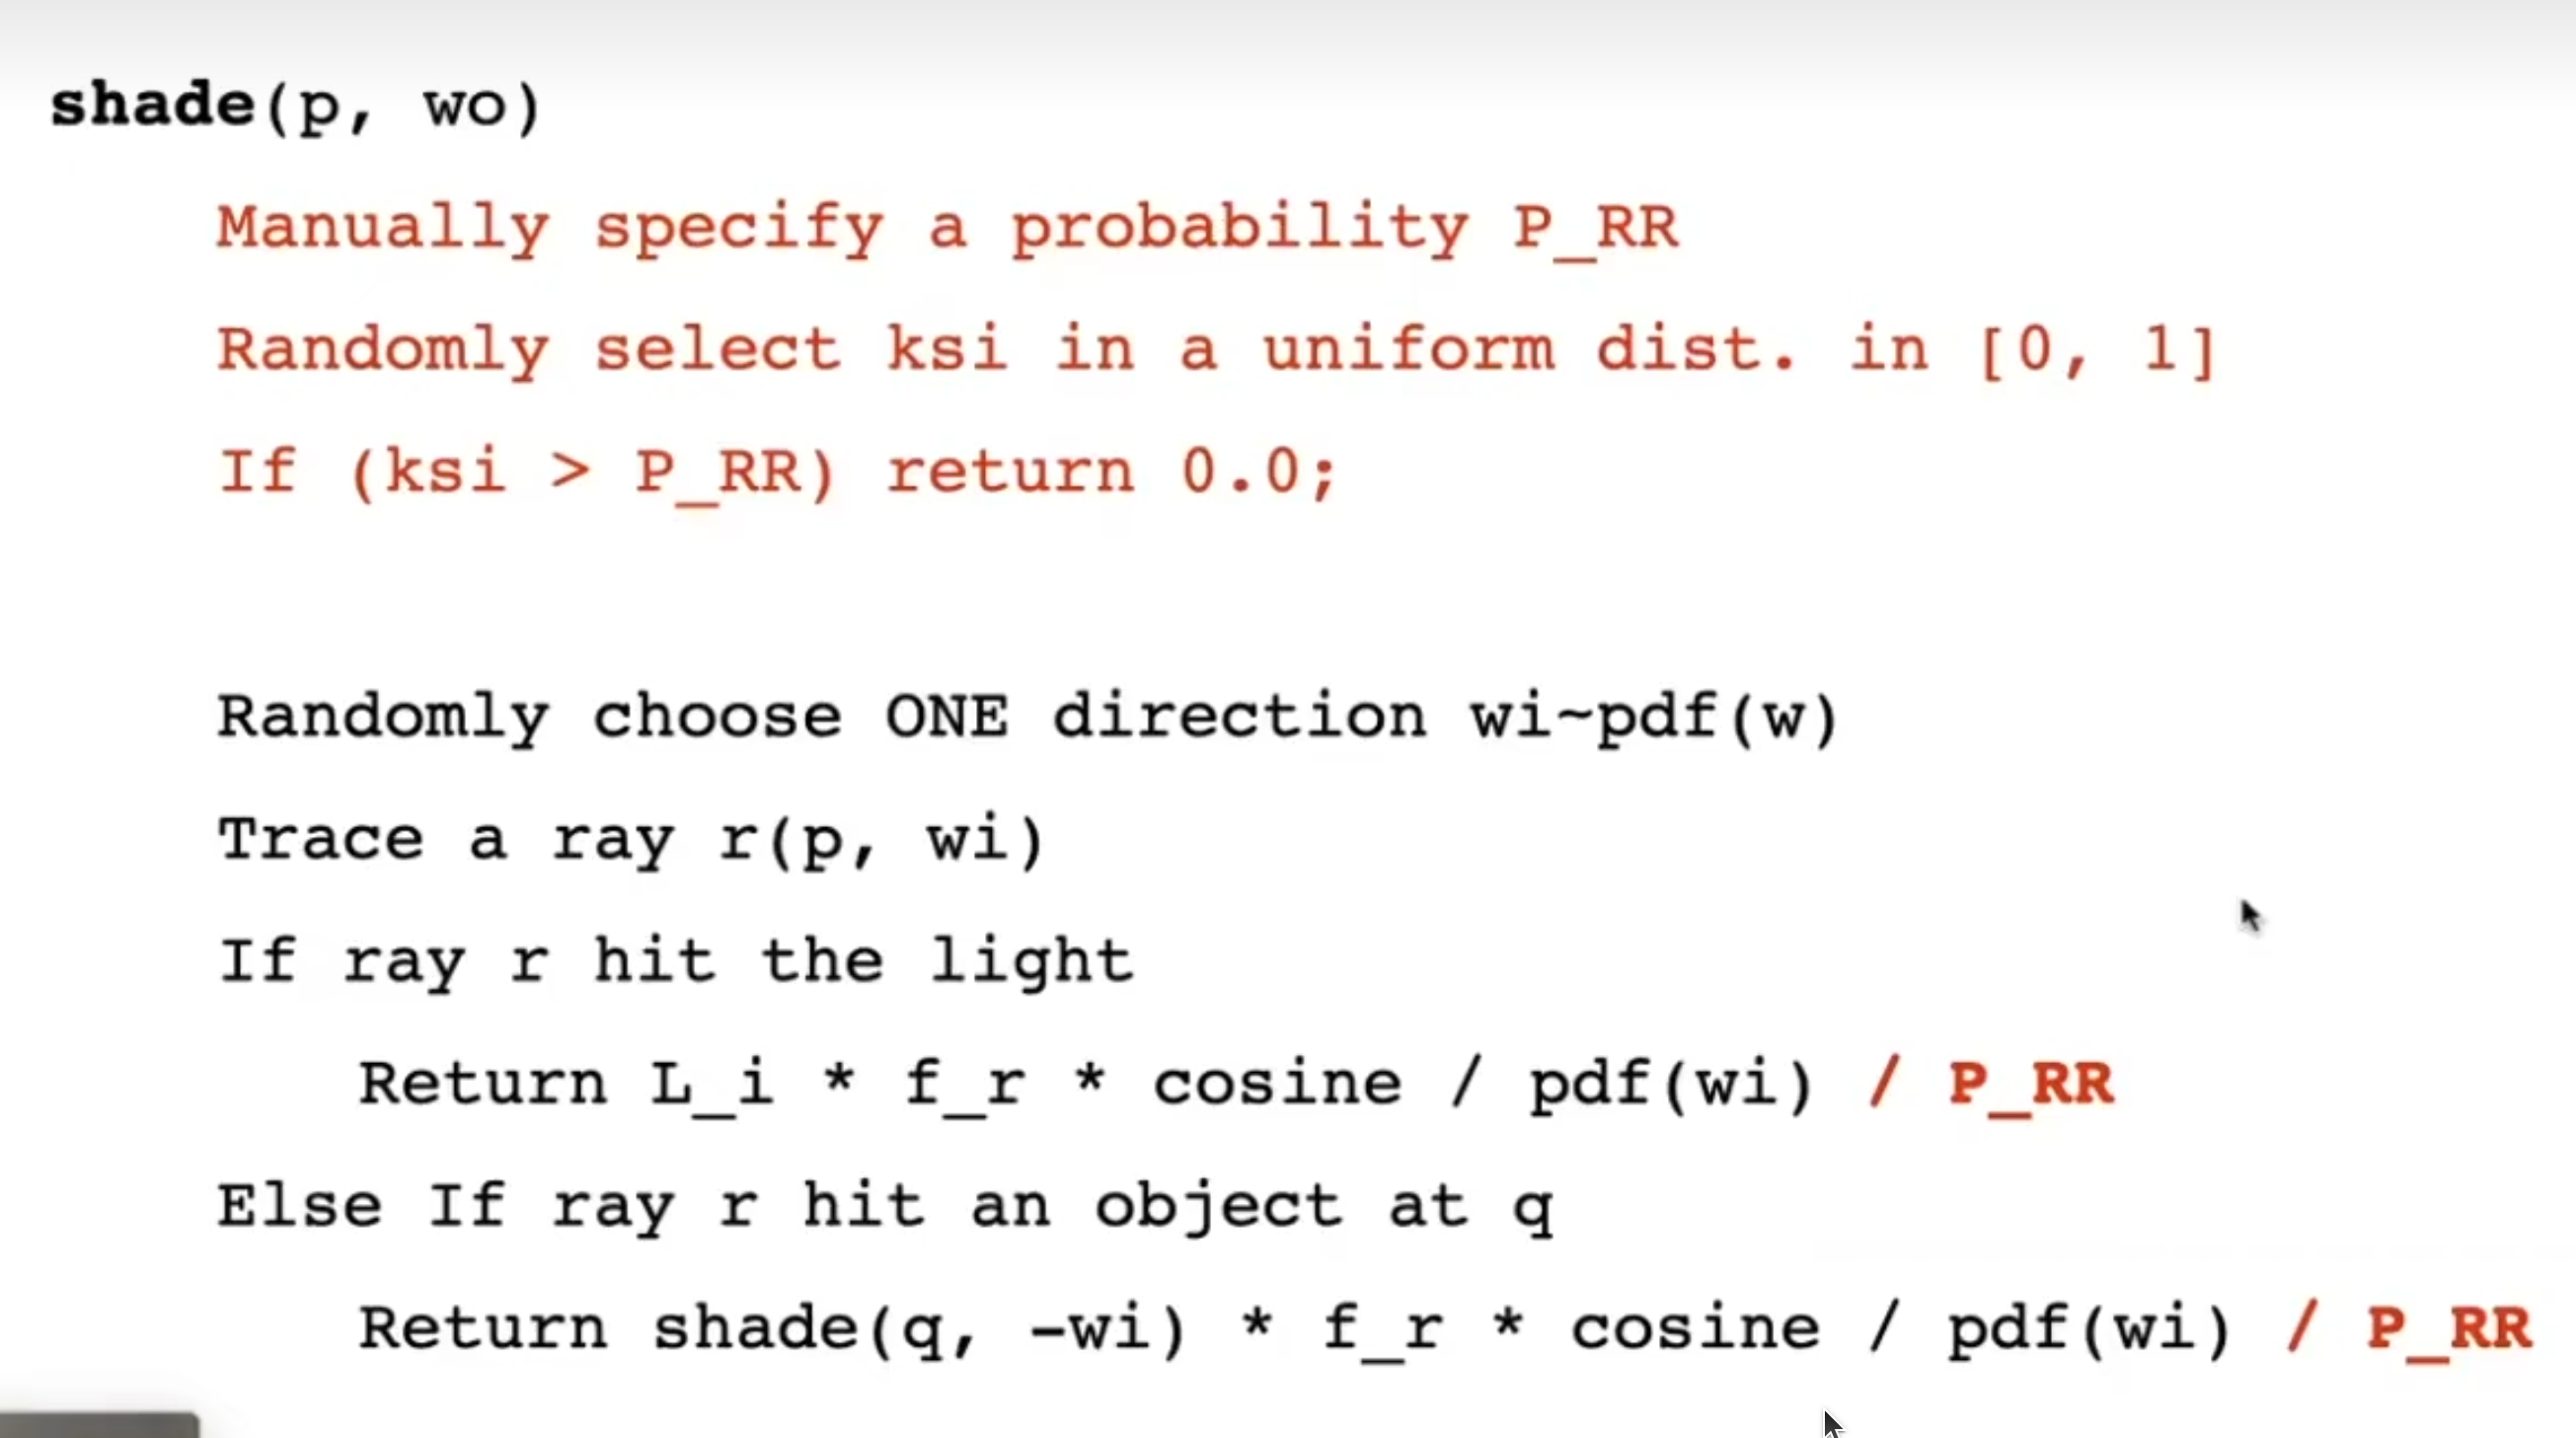
那么我们直奔主题,首先我们回忆一下我们的Path Tracing 在做的是一件什么样的事情:
我们要渲染一个点的颜色,要知道哪些光源的光线会反射到他身上,也要知道那些哪体的光线会反射到他身上。
首先判断光线(像素发出)是否会与物体相交:
    Intersection intersToScene = Scene::intersect(ray);//这是我们获取的碰撞体
    if (!intersToScene.happened)//如果返回的碰撞体没有发生碰撞,返回0
        return Vector3f();
这句之后的说明已经发生了碰撞
我们利用RR(俄罗斯轮盘赌)来保证期望真实的情况下,设立光线反射出口:
对应到代码是这样的:
//RR
if(get_random_float()>RussianRoulette)
        return Vector3f(0);
接着我们需要对光源进行采样,计算之后递归需要的一系列数值:
    Vector3f L_dir = {0, 0, 0}, L_indir = {0, 0, 0};
    // Calculate the Intersection from point to light in order to calculate direct Color
    Intersection LightPos;
    float lightpdf = 0.0f;
    sampleLight(LightPos, lightpdf);//引用传参,得到LightPos和lightpdf。得到光源采样结果
    Vector3f LightDir = LightPos.coords - intersToScene.coords;
    float dis = dotProduct(LightDir, LightDir);
    Vector3f LightDirNormal = LightDir.normalized();
    Ray rayToLight(intersToScene.coords, LightDirNormal);//用点的位置和方向创建对象
    Intersection interToLight = Scene::intersect(rayToLight);//计算得到的光线会和什么相交
    auto f_r = intersToScene.m->eval(ray.direction, LightDirNormal, intersToScene.normal);//计算BRDF
然后判断着色点到光源是否有阻碍
    if (interToLight.distance - LightDir.norm() > -0.005)//如果反射光线到第一个物体的距离比两点连线大(或者相等,处理浮点相等困难问题),说明中间没有阻碍
    {
        L_dir = LightPos.emit * f_r * dotProduct(LightDirNormal, intersToScene.normal) * dotProduct(-LightDirNormal, LightPos.normal) / dis / lightpdf / RussianRoulette;//照着公式抄
    }
接着计算其他物体的辐射,对着色点进行立体角采样,得到出射方向,并计算出射光线与其他物体的求交。
	Vector3f wi = intersToScene.m->sample(ray.direction, intersToScene.normal).normalized();
    // Ray indirRay = Ray(intersToScene.coords, wi);
    Ray indirRay(intersToScene.coords, wi);
    Intersection intersToPoint = Scene::intersect(indirRay);
如果相交了,而且这个点不是光源,计算后续能量。
	if (intersToPoint.happened && !intersToPoint.m->hasEmission())
    {
        float pdf = intersToScene.m->pdf(ray.direction, wi, intersToScene.normal);
        L_indir = castRay(indirRay, depth + 1) * intersToScene.m->eval(ray.direction, wi, intersToScene.normal) * dotProduct(wi, intersToScene.normal) / RussianRoulette / pdf;
    }
最后返回光源和物体反射颜色的和:
return L_dir + L_indir;
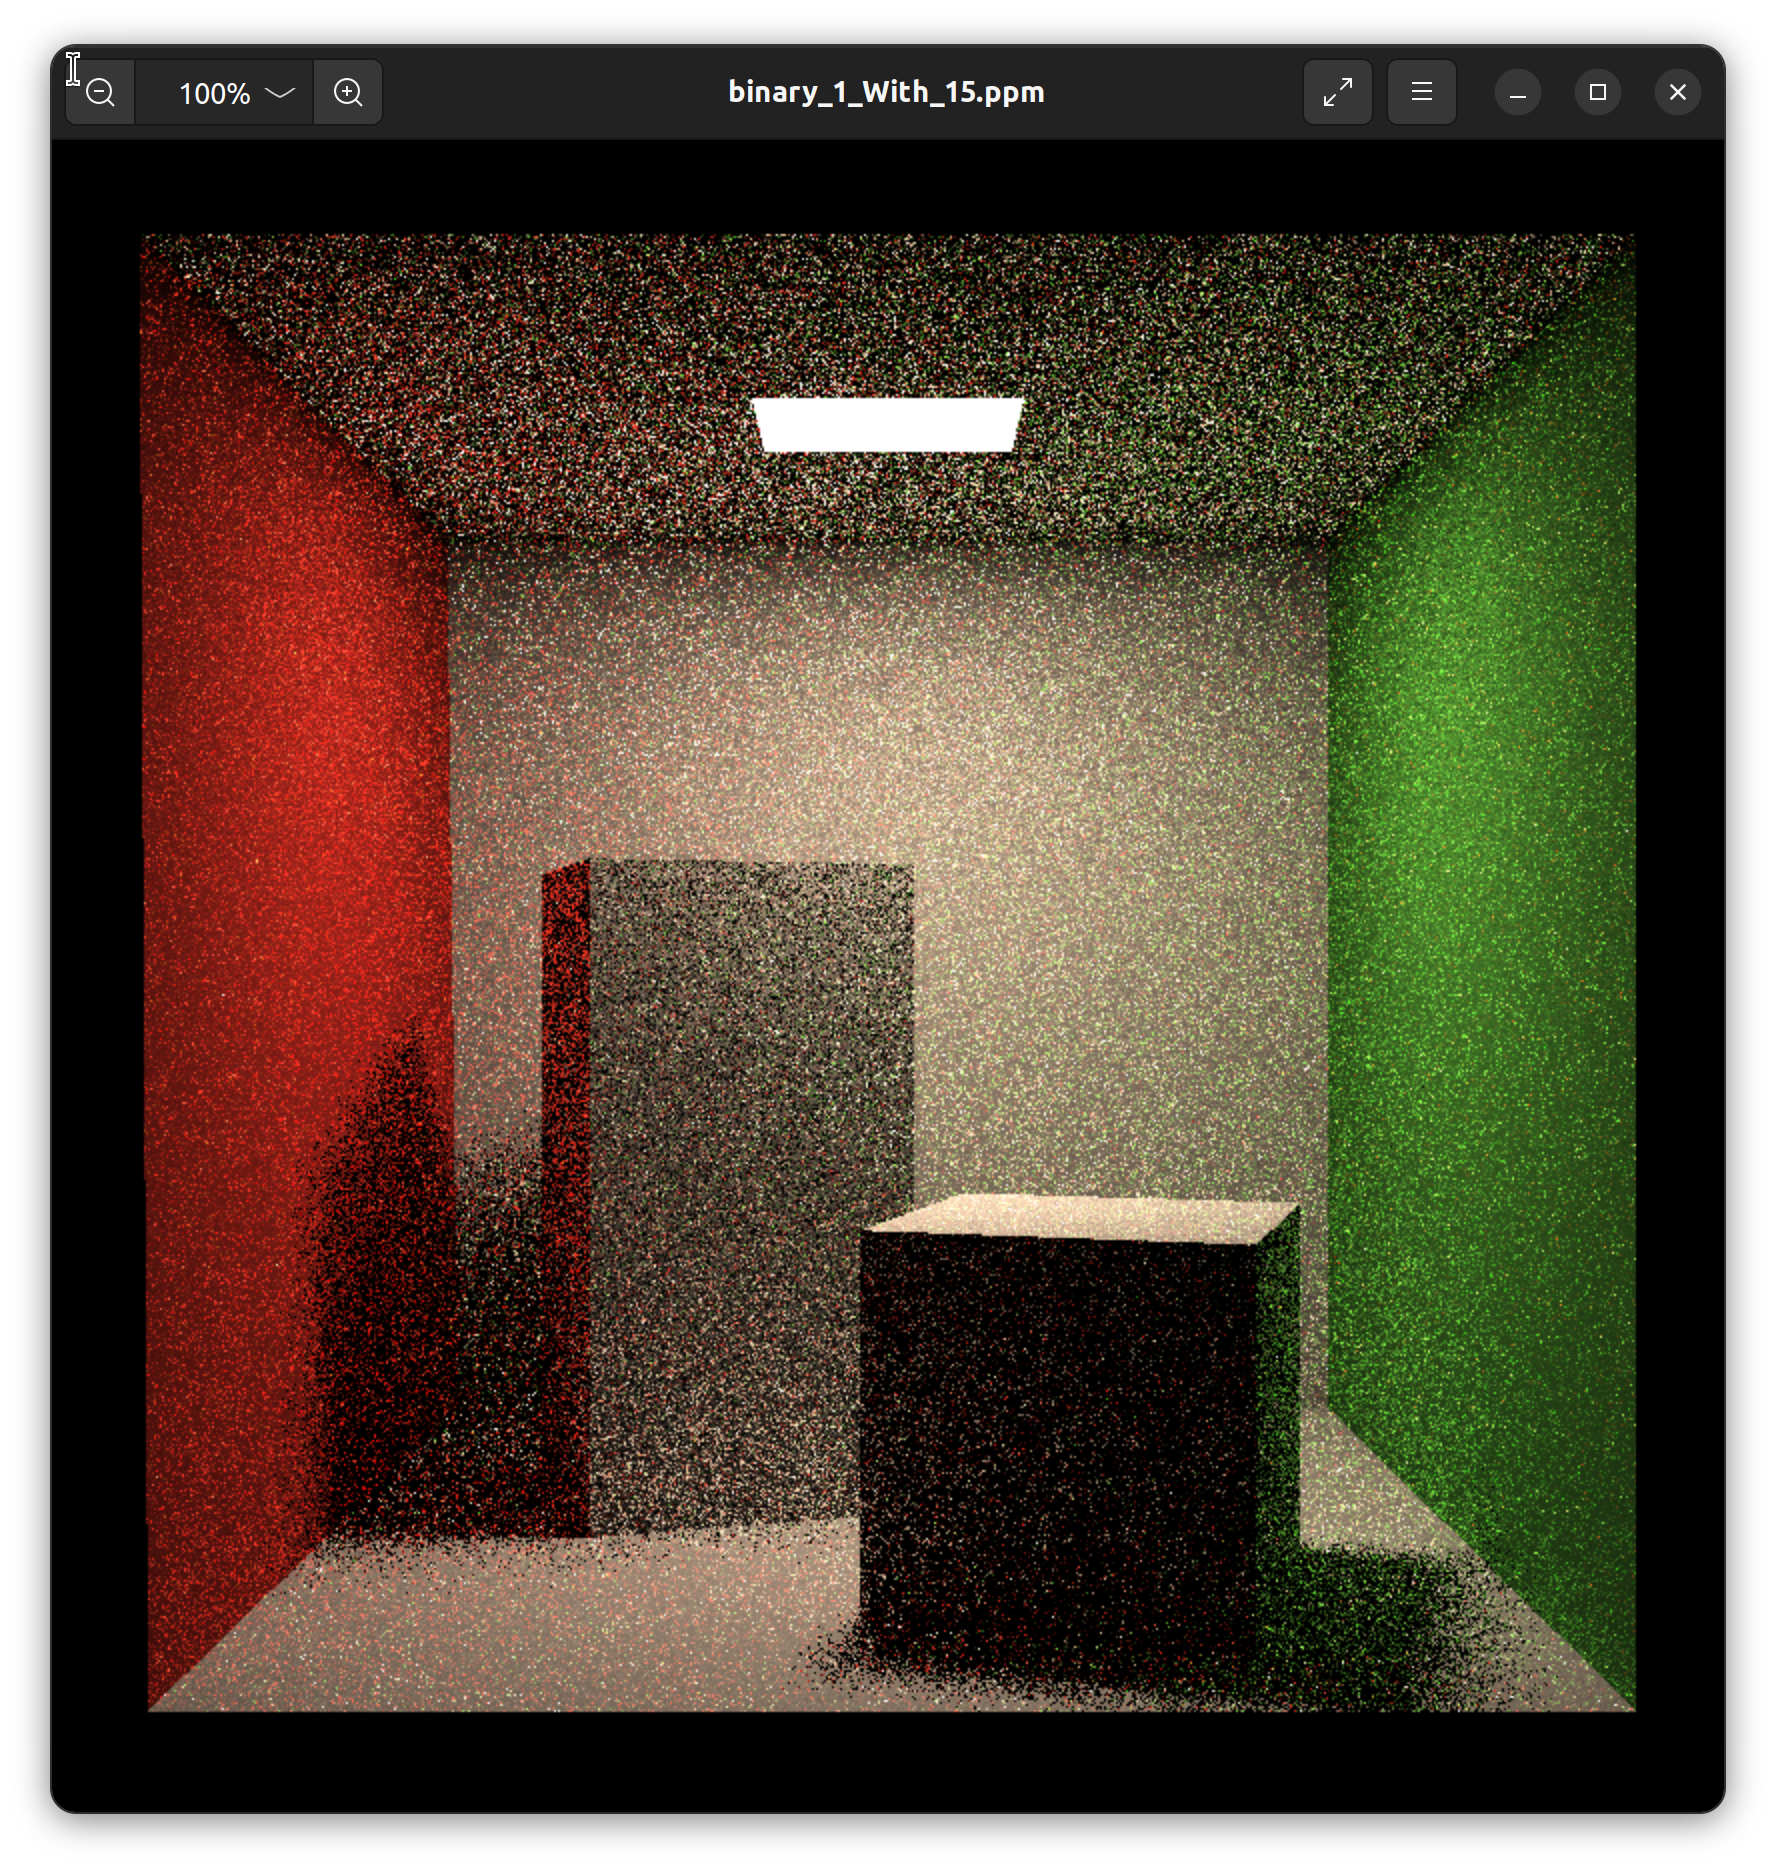
编译运行,你应当得到这样的图:
没有灯,这是为什么呢?当我们看向光源的时候,应该加上光源的颜色,稍微修改代码:
	Intersection intersToScene = Scene::intersect(ray);
	if (!intersToScene.happened)
	    return Vector3f();
	Vector3f L_dir = {0, 0, 0}, L_indir = {0, 0, 0};
	if (intersToScene.m->hasEmission())
	    L_dir+=intersToScene.m->getEmission();
	Intersection LightPos;
	float lightpdf = 0.0f;
	sampleLight(LightPos, lightpdf);
	Vector3f LightDir = LightPos.coords - intersToScene.coords;
	float dis = dotProduct(LightDir, LightDir);
	Vector3f LightDirNormal = LightDir.normalized();
	Ray rayToLight(intersToScene.coords, LightDirNormal);
	Intersection interToLight = Scene::intersect(rayToLight);
	auto f_r = intersToScene.m->eval(ray.direction, LightDirNormal, intersToScene.normal);
	if (interToLight.distance - LightDir.norm() > -0.005)
	{
	    L_dir += LightPos.emit * f_r * dotProduct(LightDirNormal, intersToScene.normal) * dotProduct(-LightDirNormal, LightPos.normal) / dis / lightpdf;
	}
	//后面代码不动
再次编译运行,得到结果:
对比一下吧~
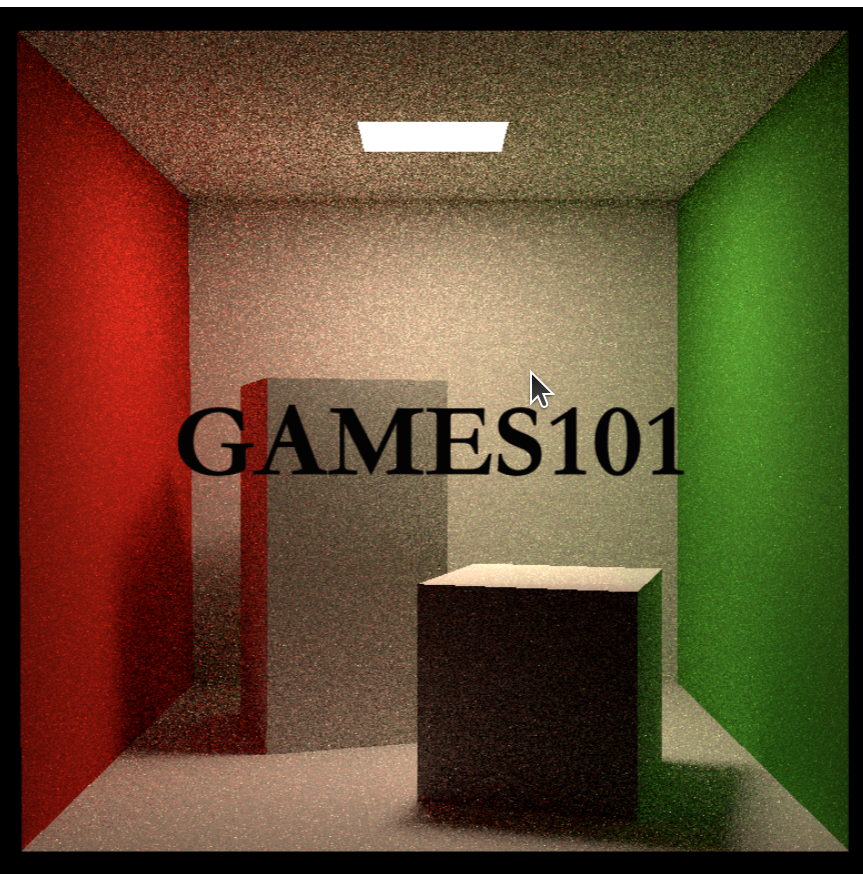
你会发现我们的噪点非常的多,修改SPP值,再运行几次吧~下面是我的电脑的运行时间和结果,你可以作为参考:
| SPP(无特殊标记为784$\times$784)分辨率 | time(min/ s)(分钟或者秒) | image |
|---|---|---|
| 1 | (0, 15) | 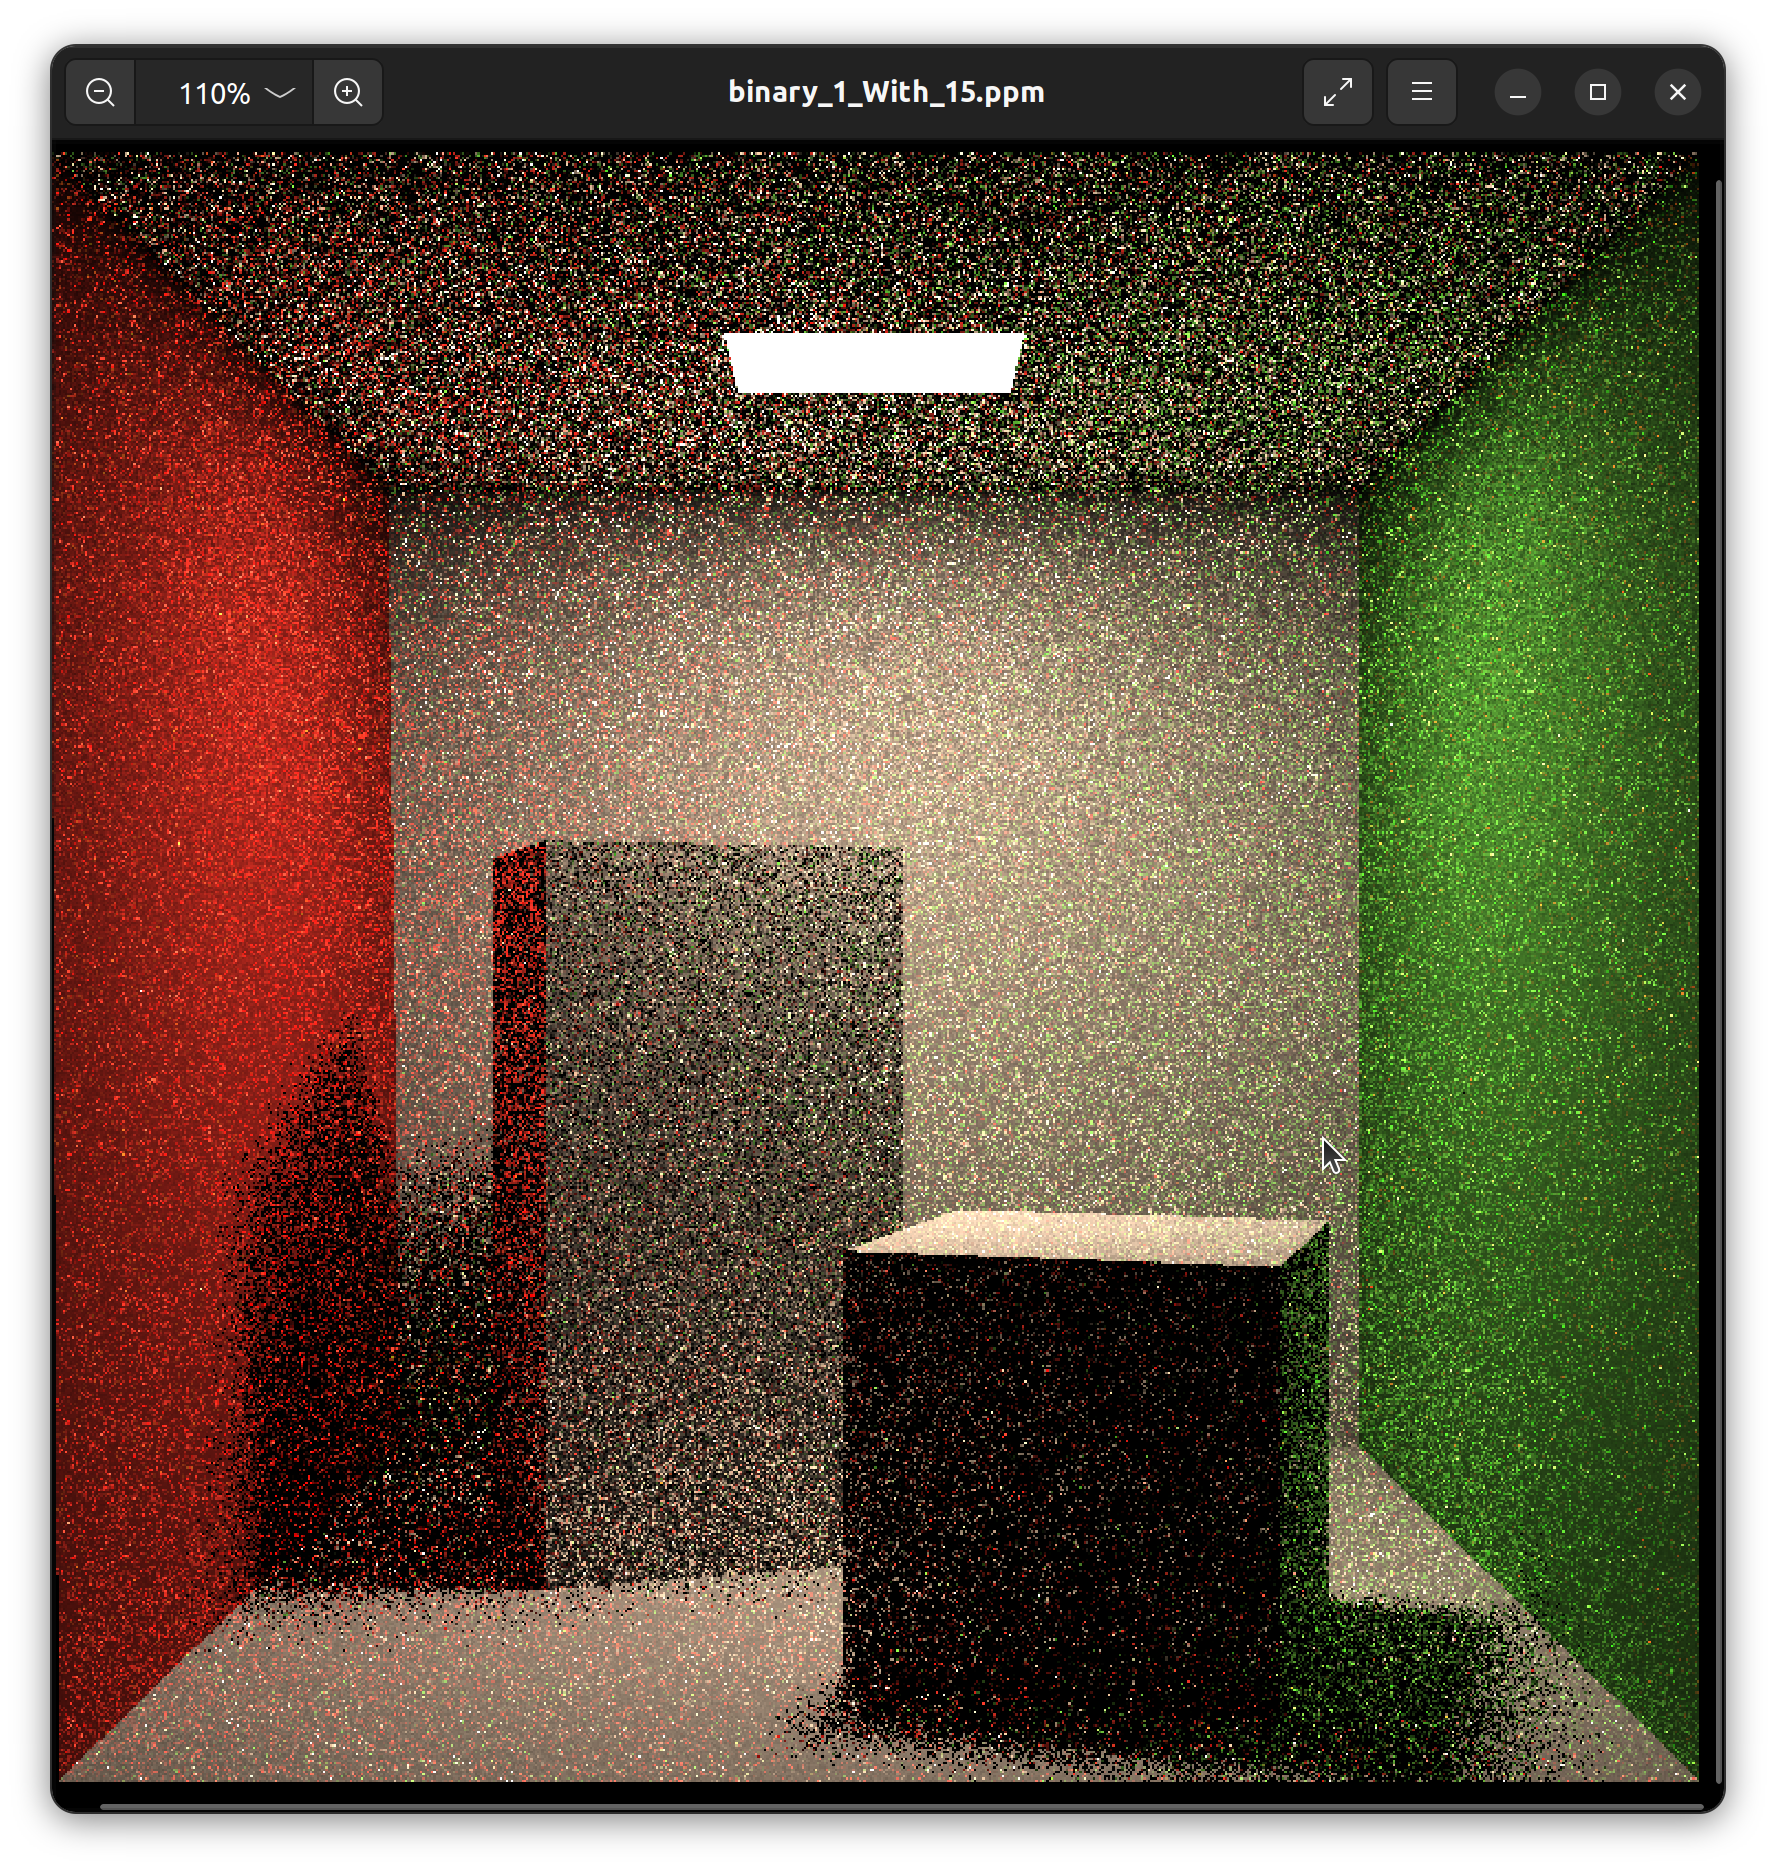 |
| 4 | (0, 56) | 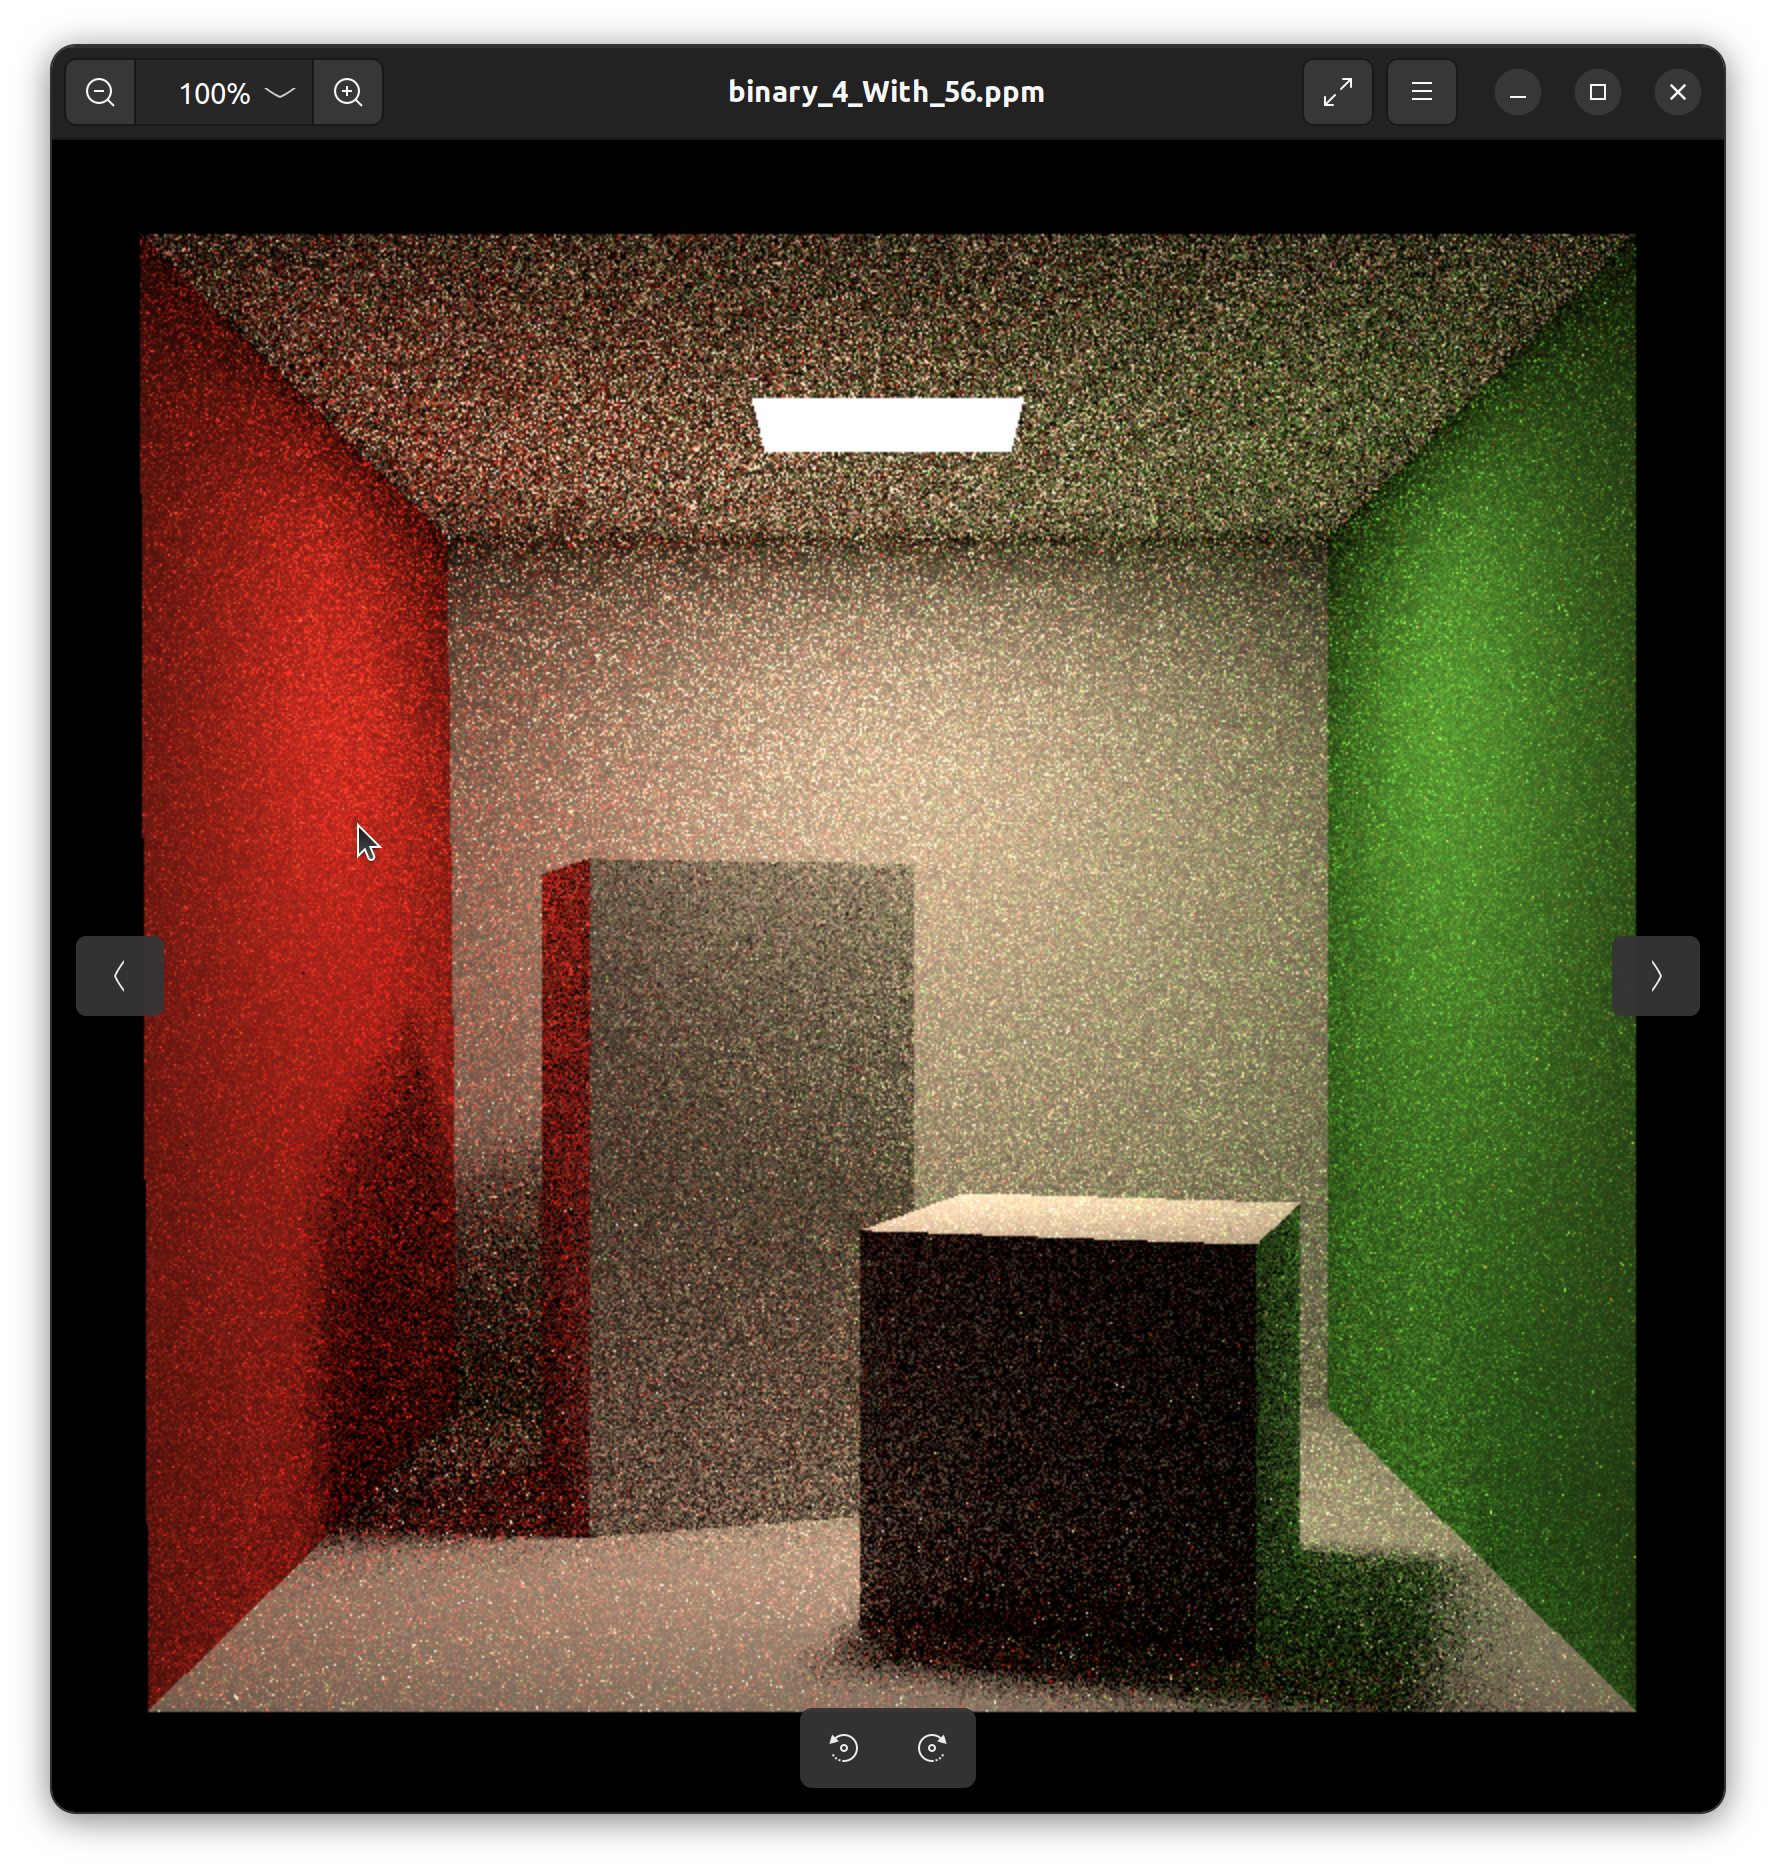 |
| 8 | (1, 114) |  |
| 16 | (3, 227) |  |
| 32 | (6, 409) |  |
| 128 | (26, 1604) |  |
| 128(1568$\times$1568) | 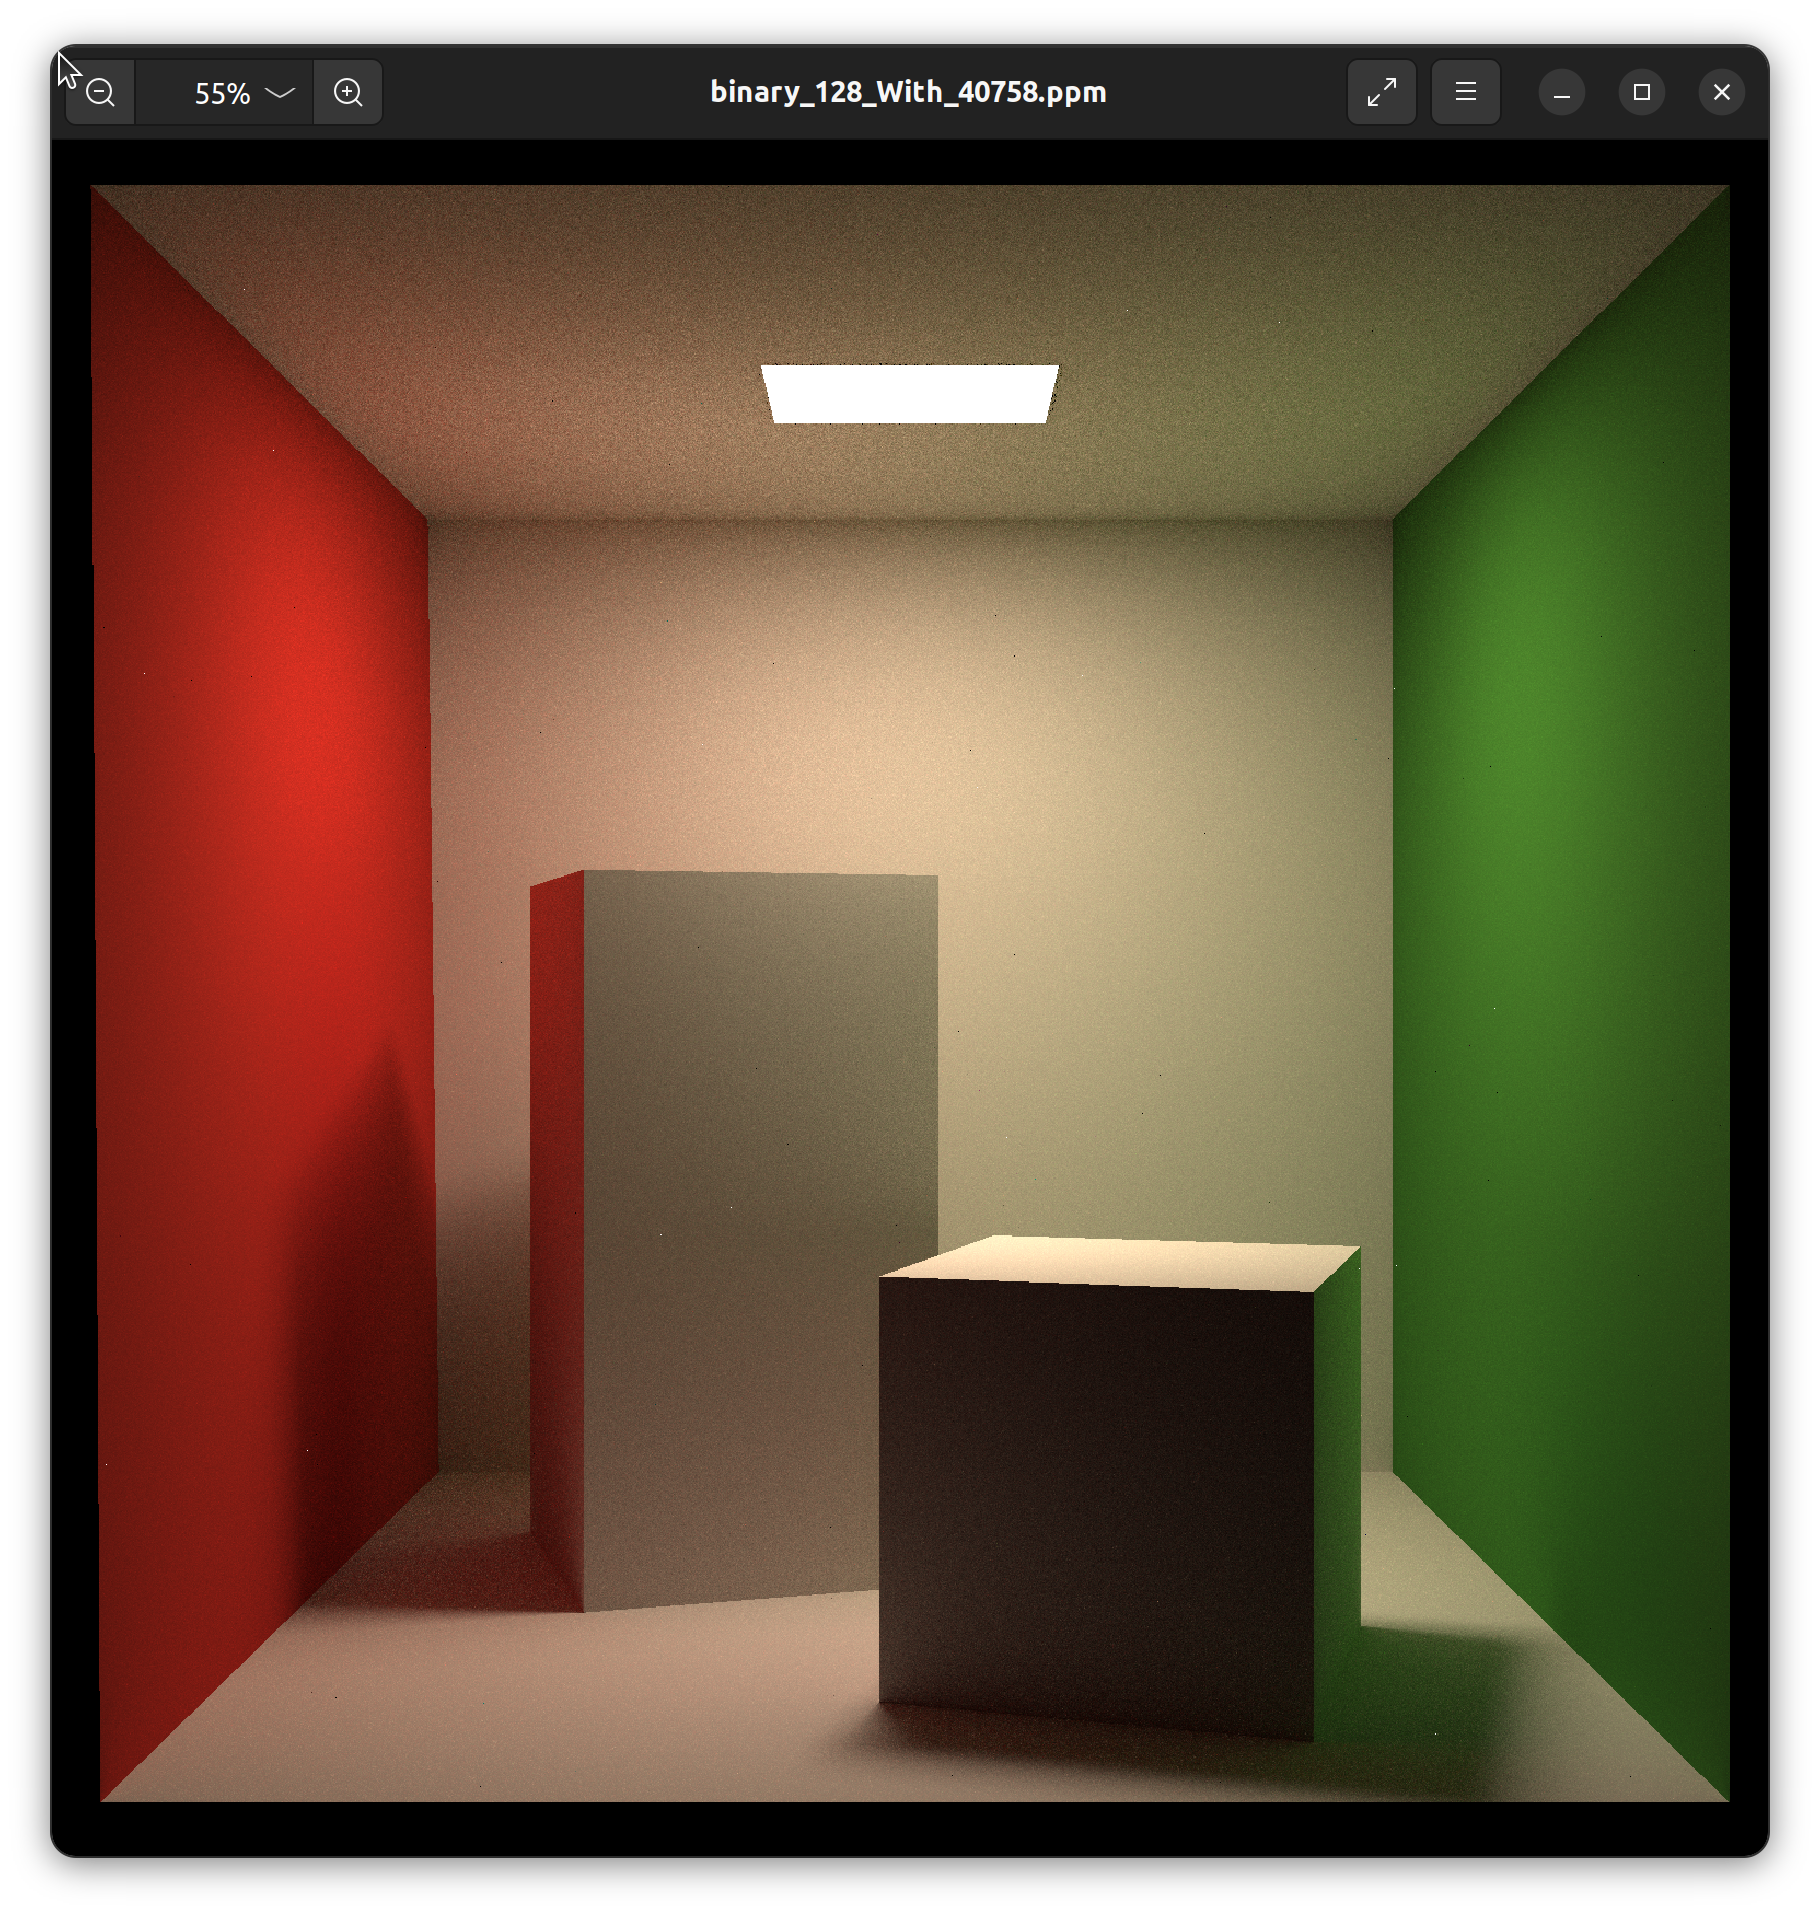 |
|
注:上面的图片都可以在代码合集里看到。 |
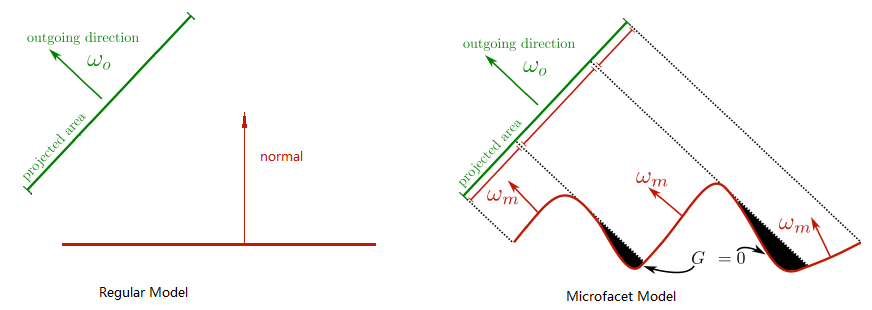
Microfacet材质
参考知乎文章基于物理着色(二)- Microfacet材质和多层材质,来自文刀秋二大神。
与普通的着色模型的区别在于,普通的着色模型假设着色的区域是一个平滑的表面,表面的方向可以用一个单一的法线向量来定义来定义。而Microfacet模型则认为 1)着色的区域是一个有无数比入射光线覆盖范围更小的微小表面组成的粗糙区域。2)所有这些微小表面都是光滑镜面反射的表面。因为这种模型认为着色区域的表面是由无数方向不同的小表面组成的,所以在Microfacet模型中,着色区域并不能用一个法线向量来表示表面的方向,只能用一个概率分布函数\(D\)来计算任意方向的微小表面在着色区域中存在的概率。
近年来有许多新的分布函数被发明出来例如Beckmann,GGX等,他们的能量分布都更接近用光学仪器测量的反射数据。Disney BRDF也使用了GGX分布。本文后面的所有渲染结果也使用了GGX。
提高题目鸽了,我跑出来效果不是很明显,先放着了。代码是写好了的,可以自己阅读代码学习。
下面这张图片就是spp=128,1568$\times$1568下花了三个多小时跑出来的结果。其中球和右边绿色的墙面使用了Microfacet材质。
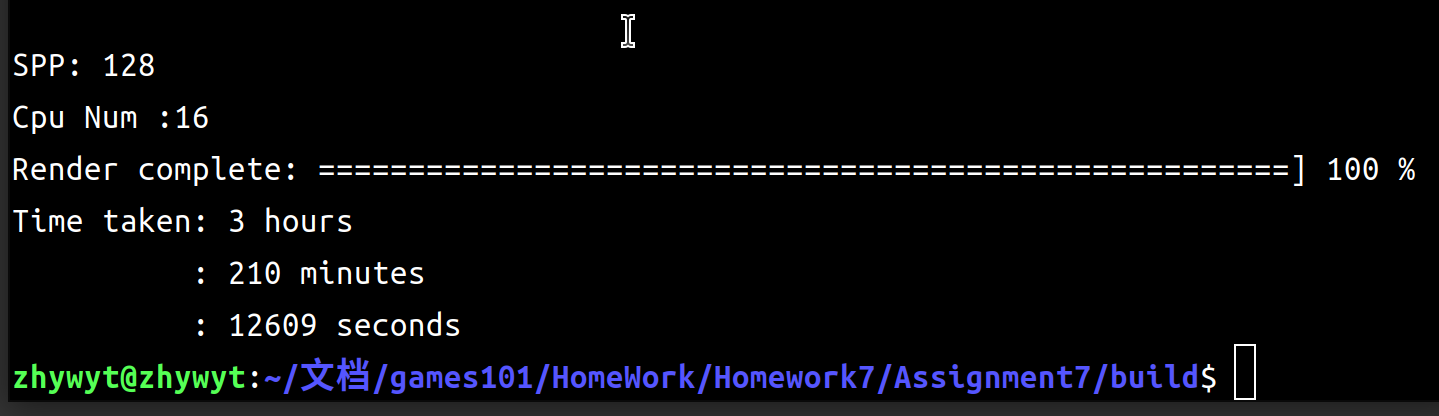
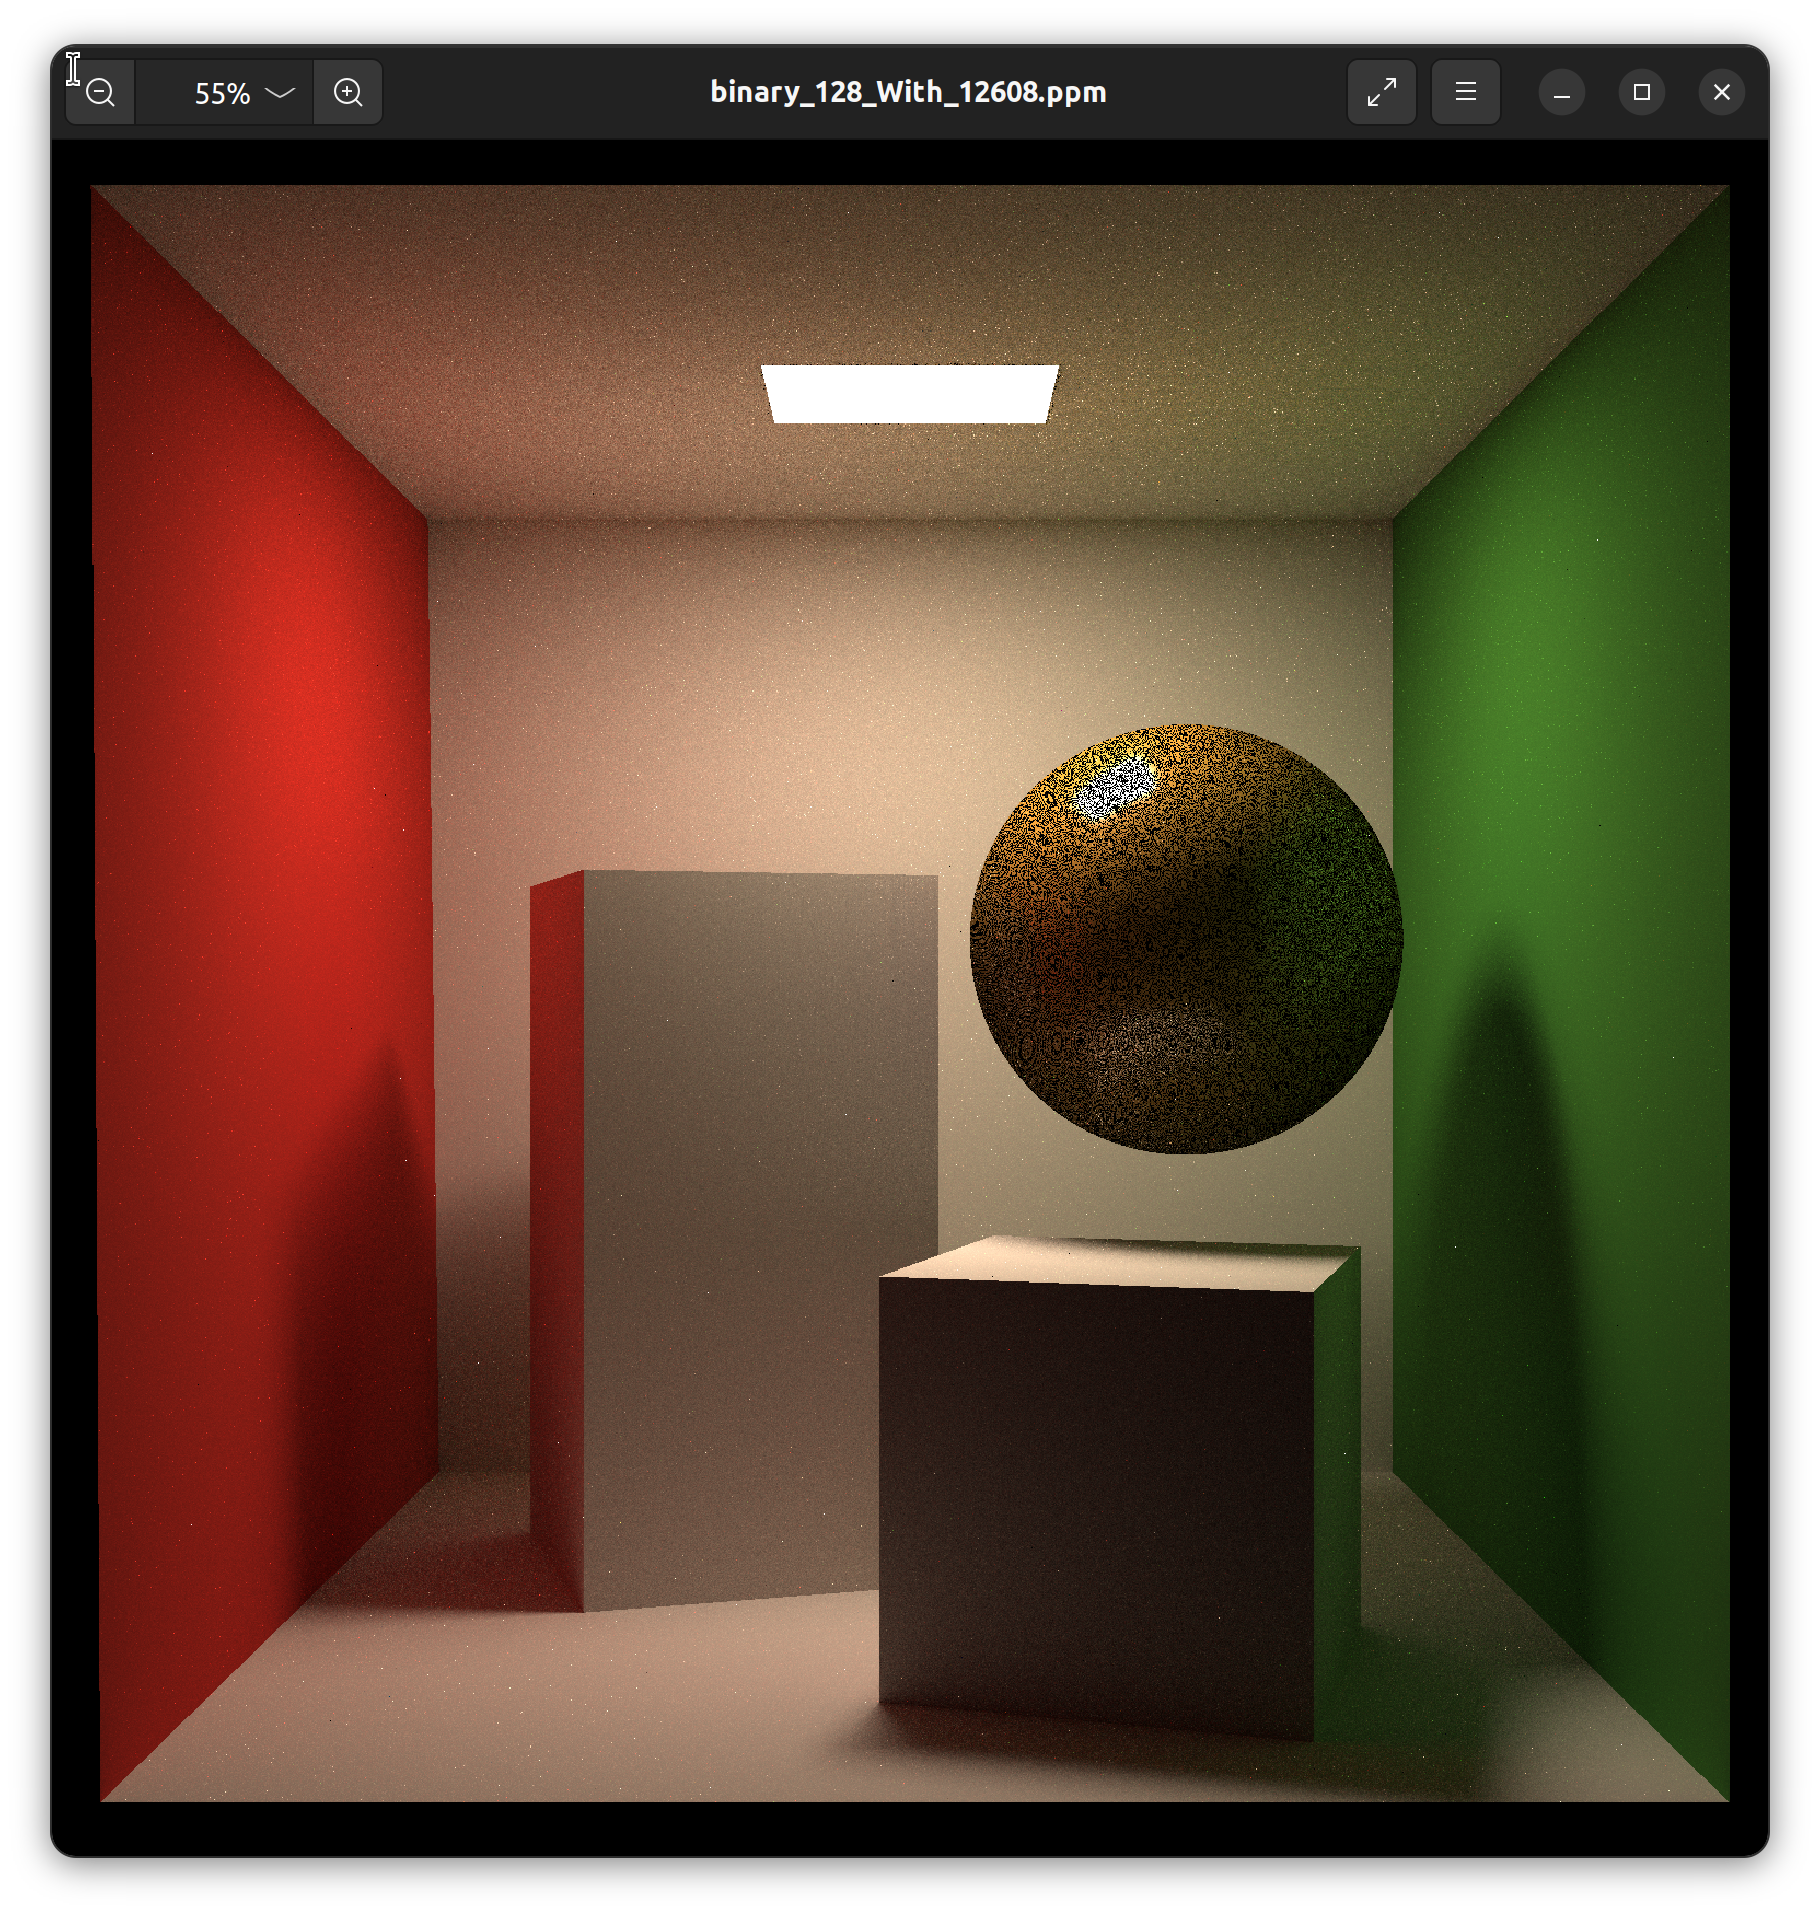
可能我实现的一般,尽管我用了128的spp还是会有那么多的黑色点出现,或者这就是Microfacet的效果?我不明白,但是我的Hw7无论如何都结束了,我花了太多的时间了。下一个作业,我们再见~