1 前言
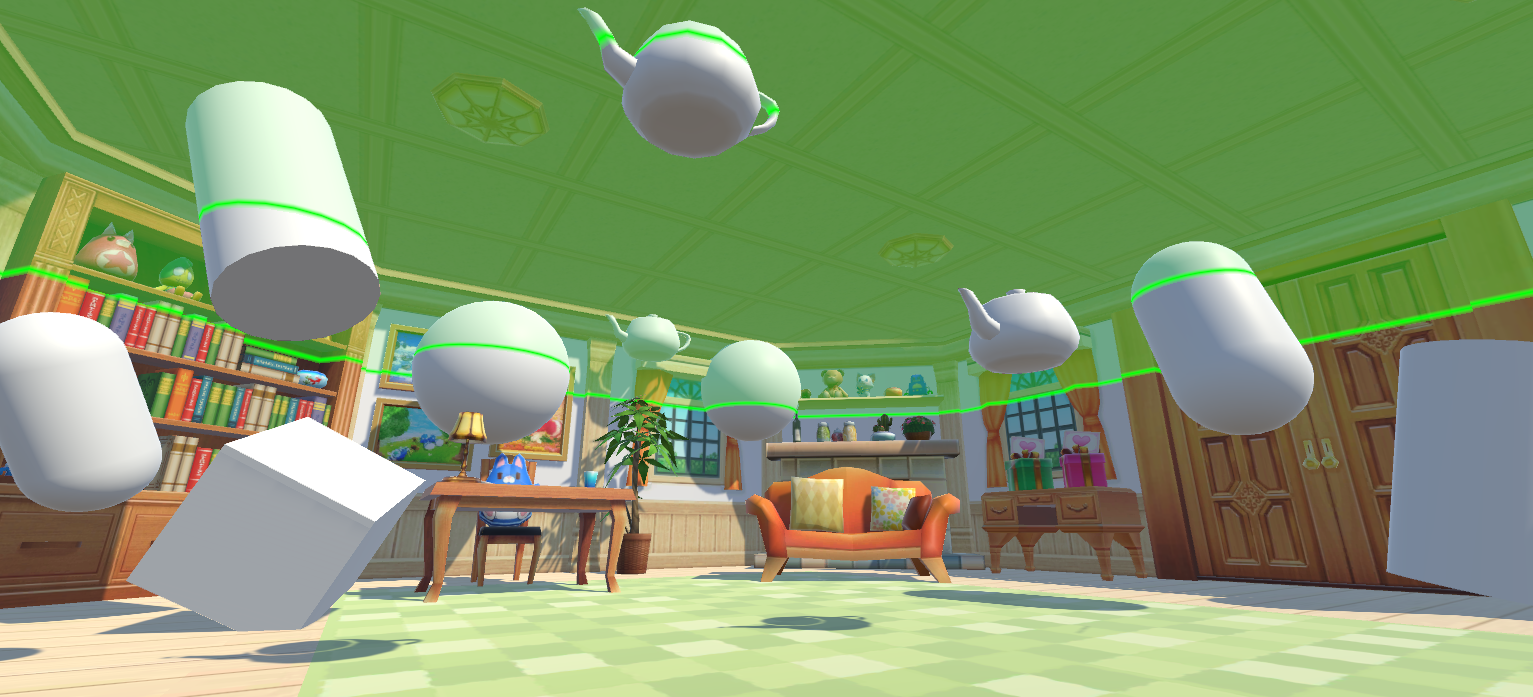
屏幕深度和法线纹理简介中对深度和法线纹理的来源、使用及推导过程进行了讲解,激光雷达特效中讲述了一种重构屏幕像素点世界坐标的方法,本文将沿用激光雷达特效中重构像素点世界坐标的方法,实现平面光罩特效。
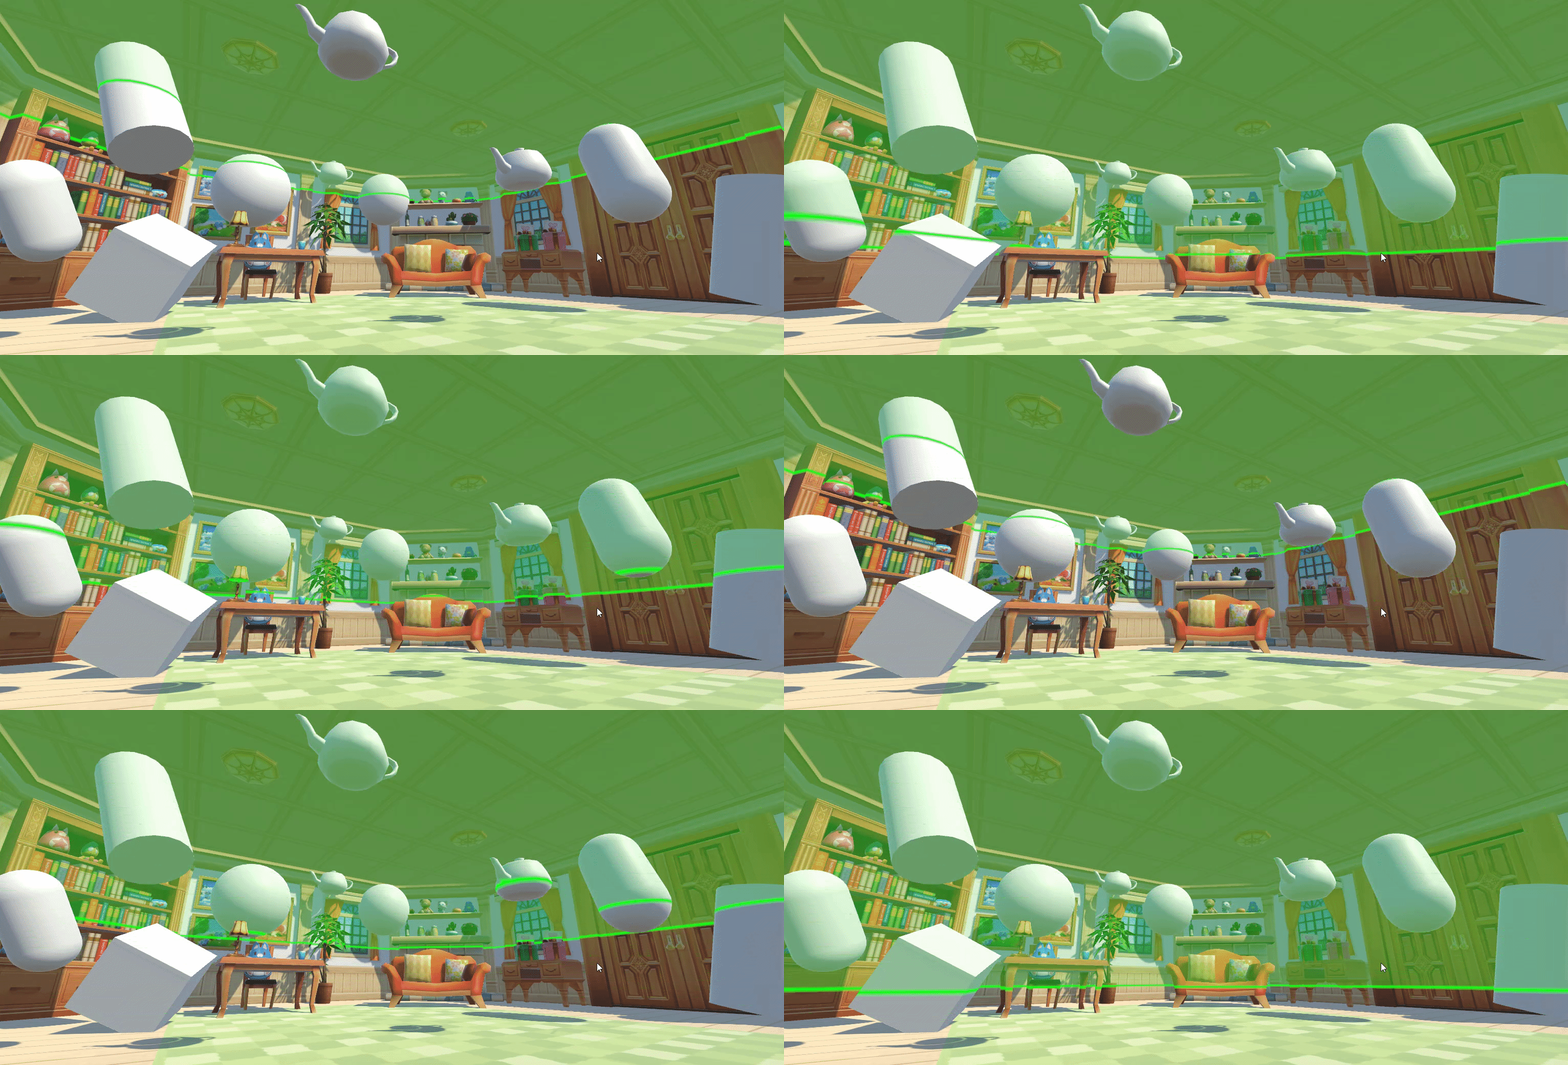
假设平面光罩的高度为 shieldHeight,高亮线的宽度为 lineWidth,待检测像素点对应的世界坐标的高度值为 height,则该点的着色分以下三种情况:
- height < shieldHeight - lineWidth:渲染背景颜色,即 tex2D(_MainTex, i.uv);
- height > shieldHeight + lineWidth:渲染遮罩与背景的混合颜色;
- abs(height - shieldHeight) <= lineWidth:渲染高亮线的颜色。

本文完整资源见→Unity3D平面光罩特效。
2 平面光罩实现
PlaneShield.cs
using UnityEngine;

[RequireComponent(typeof(Camera))] // 需要相机组件
public class PlaneShield : MonoBehaviour {
    public Color shieldColor = Color.green; // 平面光罩的颜色
    [Range(0.01f, 0.5f)]
    public float lineWidth = 0.05f; // 线条宽度(交叉线高光)
    [Range(0.01f, 1f)]
    public float minAlpha = 0.2f; // 平面光罩的最小alpha值
    [Range(0.01f, 5f)]
    public float speed = 1f; // 平面光罩的移动速度
    [Range(0, 1)]
    public float minHeight = 0; // 平面光罩的最小高度
    [Range(3, 4)]
    public float maxHeight = 4; // 平面光罩的最大高度

    private Camera cam; // 相机
    private Material material = null; // 材质

    private void Awake() {
        cam = GetComponent<Camera>();
        material = new Material(Shader.Find("MyShader/PlaneShield"));
        material.hideFlags = HideFlags.DontSave;
    }

    private void OnEnable() {
        cam.depthTextureMode |= DepthTextureMode.Depth;
    }

    private void OnRenderImage(RenderTexture src, RenderTexture dest) {
        if (material != null) {
            Matrix4x4 frustumCorners = GetFrustumCornersRay();
            material.SetMatrix("_FrustumCornersRay", frustumCorners);
            material.SetColor("_ShieldColor", shieldColor);
            material.SetFloat("_LineWidth", lineWidth);
            material.SetFloat("_MinAlpha", minAlpha);
            material.SetFloat("_Speed", speed);
            material.SetFloat("_MinHeight", minHeight);
            material.SetFloat("_MaxHeight", maxHeight);
            Graphics.Blit(src, dest, material);
        } else {
            Graphics.Blit(src, dest);
        }
    }

    private Matrix4x4 GetFrustumCornersRay() { // 获取插值射线向量(由相机指向近平面上四个角点的向量除以near后的坐标)
        Matrix4x4 frustumCorners = Matrix4x4.identity;
        float fov = cam.fieldOfView;
        float near = cam.nearClipPlane;
        float aspect = cam.aspect;
        float halfHeight = near * Mathf.Tan(fov * 0.5f * Mathf.Deg2Rad);
        Vector3 toRight = cam.transform.right * halfHeight * aspect; // 指向右方的向量
        Vector3 toTop = cam.transform.up * halfHeight; // 指向上方的向量
        Vector3 toForward = cam.transform.forward * near; // 指向前方的向量
        Vector3 bottomLeft = (toForward - toTop - toRight) / near; // 指向左下角的射线
        Vector3 bottomRight = (toForward + toRight - toTop) / near; // 指向右下角的射线
        Vector3 topRight = (toForward + toRight + toTop) / near; // 指向右上角的射线
        Vector3 topLeft = (toForward + toTop - toRight) / near; // 指向左上角的射线
        frustumCorners.SetRow(0, bottomLeft);
        frustumCorners.SetRow(1, bottomRight);
        frustumCorners.SetRow(2, topRight);
        frustumCorners.SetRow(3, topLeft);
        return frustumCorners;
    }
}
PlaneShield.shader
Shader "MyShader/PlaneShield" { // 平面罩特效
	Properties{
		_MainTex("MainTex", 2D) = "white" {} // 主纹理
		_ShieldColor("ShieldColor", Color) = (0, 1, 0, 1) // 平面光罩的颜色
		_LineWidth("LineWidth", Float) = 0.05 // 线条宽度(交叉线高光)
		_MinAlpha("MinAlpha", Float) = 0.2 // 平面光罩的最小alpha值
		_Speed("Speed", Float) = 1 // 平面罩的移动速度
		_MinHeight("MinHeight", Float) = 0.1 // 平面光罩的最小高度
		_MaxHeight("MaxHeight", Float) = 4 // 平面光罩的最大高度
	}

	SubShader{
		Pass {
			// 深度测试始终通过, 关闭深度写入
			ZTest Always ZWrite Off

			CGPROGRAM

			#include "UnityCG.cginc"

			#pragma vertex vert
			#pragma fragment frag

			sampler2D _MainTex; // 主纹理
			sampler2D _CameraDepthTexture; // 深度纹理
			float4x4 _FrustumCornersRay; // 视锥体四角射线向量(由相机指向近平面上四个角点的向量除以near后的坐标)
			float4 _ShieldColor; // 平面光罩的颜色
			float _LineWidth; // 线条光宽度(交叉线高光)
			float _MinAlpha; //平面光罩的最小alpha值
			float _Speed; // 平面光罩的移动速度
			float _MinHeight; // 平面光罩的最小高度
			float _MaxHeight; // 平面光罩的最大高度

			struct v2f {
				float4 pos : SV_POSITION; // 裁剪空间顶点坐标
				half2 uv : TEXCOORD0; // 纹理uv坐标,
				float4 interpolatedRay : TEXCOORD1; // 插值射线向量(由相机指向近平面上点的向量除以near后的坐标)
			};

			float4 getInterpolatedRay(half2 uv) { // 获取插值射线向量(由相机指向近平面上四个角点的向量除以near后的坐标)
				int index = 0;
				if (uv.x < 0.5 && uv.y < 0.5) {
					index = 0;
				} else if (uv.x > 0.5 && uv.y < 0.5) {
					index = 1;
				} else if (uv.x > 0.5 && uv.y > 0.5) {
					index = 2;
				} else {
					index = 3;
				}
				return _FrustumCornersRay[index];
			}

			v2f vert(appdata_img v) {
				v2f o;
				o.pos = UnityObjectToClipPos(v.vertex); // 计算裁剪坐标系中顶点坐标, 等价于: mul(unity_MatrixMVP, v.vertex)
				o.uv = v.texcoord;
				o.interpolatedRay = getInterpolatedRay(v.texcoord); // 获取插值射线向量(由相机指向近平面上四个角点的向量除以near后的坐标)
				return o;
			}

			fixed4 frag(v2f i) : SV_Target {
				float depth = SAMPLE_DEPTH_TEXTURE(_CameraDepthTexture, i.uv); // 非线性的深度, tex2D(_CameraDepthTexture, i.uv).r
				float linearDepth = LinearEyeDepth(depth); // 线性的深度
				//if (linearDepth > _ProjectionParams.z - 2) {
				//	return tex2D(_MainTex, i.uv); // 天空不参与平面光罩特效
				//}
				float3 worldPos = _WorldSpaceCameraPos + linearDepth * i.interpolatedRay.xyz; // 顶点世界坐标
				float range = _MaxHeight - _MinHeight; // 高度范围
				float shieldHeight = _MinHeight + abs(range - fmod(_Time.y * _Speed, range + range)); // 使平面光罩由上往下、再由下往上周期性运动
				if (worldPos.y < shieldHeight - _LineWidth) {
					return tex2D(_MainTex, i.uv);
				}
				float delta = abs(worldPos.y - shieldHeight);
				float factor = 1 - smoothstep(0, _LineWidth, delta) * (1 - _MinAlpha);
				fixed4 tex = tex2D(_MainTex, i.uv);
				fixed4 color = lerp(tex, _ShieldColor, factor);
				return color;
			}

			ENDCG
		}
	}

	FallBack off
}
3 平面光罩实现

声明:本文转自【Unity3D】平面光罩特效