Games101 HomeWork5
导航
任务
- Renderer.cpp 中的
Render():这里你需要为每个像素生成一条对应的光线,然后调用函数 castRay() 来得到颜色,最后将颜色存储在帧缓冲区的相应像素中。 - Triangle.hpp 中的
rayTriangleIntersect(): v0, v1, v2 是三角形的三个顶点,orig 是光线的起点,dir 是光线单位化的方向向量。tnear, u, v 是你需要使用我们课上推导的 Moller-Trumbore 算法来更新的参数。
rayTriangleIntersect()
我们首先来完成这个纯算法的东西:

忘记了也没关系,我正好想复习一下。首先我们可以用起点和光线的方向来表示光线上的每一个点,也就是\(\vec{O}+t\vec{D}\),接着,如果这个点经过三角形所在的平面,那么就可以由重心坐标所表示,也就是
\[\vec O+t\vec D =(1-b_1-b_2)\vec P_0+b_1\\vec P_1 +b_2\vec P_2
\]
使用克拉默法则可以解出\(t、b_1、b_2\)。再然后,如果重心坐标三个数值都大于零,说明交点在三角形内。
bool rayTriangleIntersect(const Vector3f& v0, const Vector3f& v1, const Vector3f& v2, const Vector3f& orig, const Vector3f& dir, float& tnear, float& u, float& v)
{
    // TODO: Implement this function that tests whether the triangle
    // that's specified bt v0, v1 and v2 intersects with the ray (whose
    // origin is *orig* and direction is *dir*)
    // Also don't forget to update tnear, u and v.
    auto e1 = v1 - v0, e2 = v2 - v0, s = orig - v0;
    auto s1 = crossProduct(dir, e2), s2 = crossProduct(s, e1);

    float t = dotProduct(s2, e2) / dotProduct(s1, e1);
    float b1 = dotProduct(s1, s) / dotProduct(s1, e1);
    float b2 = dotProduct(s2, dir) / dotProduct(s1, e1);

    if (t > 0.0 && b1 > 0.0 && b2 > 0.0 && (1 - b1 - b2) > 0.0)
    {
        tnear = t;
        u = b1;
        v = b2;
        return true;
    }
    return false;
}
Render()
这里存在着一系列较为复杂的坐标变换,我们一个个来看。首先在给出的框架中,我们是对屏幕像素进行了遍历,得到了\((i , j)\),但是我们需要的是观察空间下的坐标。
   for (int j = 0; j < scene.height; ++j)
    {
        for (int i = 0; i < scene.width; ++i)
        {
            float x;
            float y;
            Vector3f dir = normalize(Vector3f(x, y, -1)); // Don't forget to normalize this direction!
            framebuffer[m++] = castRay(eye_pos, dir, scene, 0);
        }
        UpdateProgress(j / (float)scene.height);
    }
关于这一段的解释,我翻了很久的博客,没有找到自己满意的,所以仔细研究了一下,才发现他们的解释方向不那么优。不应该把imageAspectRatio加在前面的坐标来解释,实际上也是这样的,这也是缩放因子的一部分才对。请看下面解释:


到这里了,其实\(x\)轴已经很简单了:

代码的实现也就不难了
//Render
    for (int j = 0; j < scene.height; ++j)
    {
        for (int i = 0; i < scene.width; ++i)
        {
            // generate primary ray direction
            float x;
            float y;
            // TODO: Find the x and y positions of the current pixel to get the direction
            // vector that passes through it.
            // Also, don't forget to multiply both of them with the variable *scale*, and
            // x (horizontal) variable with the *imageAspectRatio*
            x=(((i+0.5f)/static_cast<float>(scene.width-1)*2.0f)-1.0f)*scale*imageAspectRatio;
            y=(1.0f-(j+0.5f)/static_cast<float>(scene.height-1)*2.0f)*scale;
			//其实就是把"zNear"设置为了 1
            Vector3f dir = normalize(Vector3f(x, y, -1)); // Don't forget to normalize this direction!
            framebuffer[m++] = castRay(eye_pos, dir, scene, 0);
        }
        UpdateProgress(j / (float)scene.height);
    }
其中width和height\(-1\)的原因我也不是很懂,只知道不减好像会出现两个蓝点。
推导正确性实验
这次作业没有提高题,那么我们来测试一下上面的推导的正确性:
我稍微修改了Render函数,让他可以接受一个zNear的参数,方便我来实验,然后对输出也做了一些修改,这是修改后的Render函数:
void Renderer::Render(const Scene& scene,const int zNear)
{
    std::vector<Vector3f> framebuffer(scene.width * scene.height);
    float scale = std::tan(deg2rad(scene.fov * 0.5f));
    float imageAspectRatio = scene.width / (float)scene.height;
    // Use this variable as the eye position to start your rays.
    Vector3f eye_pos(0);
    int m = 0;
    for (int j = 0; j < scene.height; ++j)
    {
        for (int i = 0; i < scene.width; ++i)
        {
            float x;
            float y;
            x=(((i+0.5f)/static_cast<float>(scene.width-1)*2.0f)-1.0f)*scale*imageAspectRatio*zNear;
            y=(1.0f-(j+0.5f)/static_cast<float>(scene.height-1)*2.0f)*scale*zNear;
            Vector3f dir = normalize(Vector3f(x, y, -zNear));
            framebuffer[m++] = castRay(eye_pos, dir, scene, 0);
        }
        UpdateProgress(j / (float)scene.height);
    }
    // save framebuffer to file
    string filename="binary";
    filename+="_"+std::to_string(zNear)+".ppm";
    FILE* fp = fopen(filename.c_str(), "wb");
    (void)fprintf(fp, "P6\n%d %d\n255\n", scene.width, scene.height);
    for (auto i = 0; i < scene.height * scene.width; ++i) {
        static unsigned char color[3];
        color[0] = (char)(255 * clamp(0, 1, framebuffer[i].x));
        color[1] = (char)(255 * clamp(0, 1, framebuffer[i].y));
        color[2] = (char)(255 * clamp(0, 1, framebuffer[i].z));
        fwrite(color, 1, 3, fp);
    }
    fclose(fp);
}
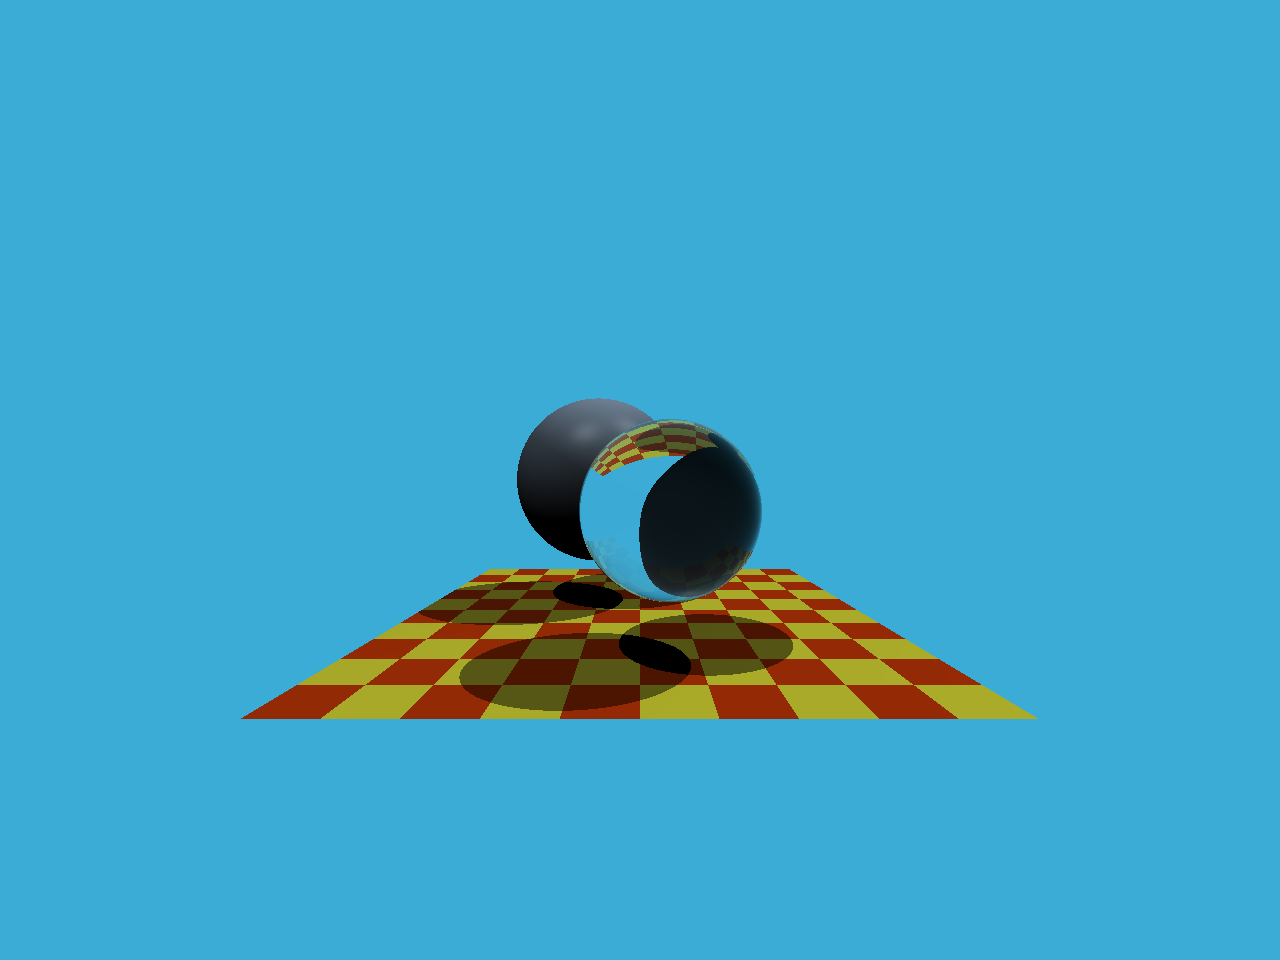
输出
./RayTracing

./RayTracing 2

./RayTracing 10

可以看到,输出结果完全一样,实际上也只是对一个单位化之前的向量做了数乘而以,对结果当然没有影响,但是对我们理解这个东西应该会有些作用。