前言
在实际的项目处理中,往往我们并不需要创建文件,仅仅用于中转而已。这个时候在系统中频繁的创建中转文件,删除中转文件,不仅浪费系统的资源,而且容易被破坏或者篡改,这个时候用临时文件反而更好。
而Python给我们提供了临时文件操作库:tempfile。本篇将详细介绍临时文件的应用与处理。
创建临时文件(TemporaryFile)
一般来说,我们通过tempfile.TemporaryFile()函数创建临时文件,具体的代码如下所示:
import tempfile

with tempfile.TemporaryFile(mode='w+t') as temp:
    temp.write("My name is Li Yuanjing")
    temp.seek(0)
    print(temp.read())
    print(temp.name)
运行之后,效果如下:
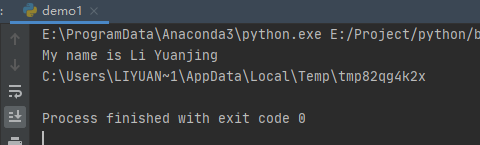
其中,mode表示以什么方式创建并打开临时文件,这里w+表示可以读写文件,t是以文本模式打开文件。默认写完内容后,文件句柄在末尾,要重新读取文件,需要使用seek回转重定位。
命名文件
当然,我们创建临时文件是需要使用的,也就是在程序中,我们需要给它一个名字,方便我们进行操作。我们将上面代码变更一下:
import tempfile
import pathlib

with tempfile.TemporaryFile(mode='w+t') as temp:
    temp.write("My name is Li Yuanjing")
    temp.seek(0)
    print(temp.read())
    f = pathlib.Path(temp.name)
print(f.name)
f.exists()
这里,我们用f变量标记了文件,后面操作的时候,可以使用f进行操作。当我们调用f.exists()函数时,默认临时文件会被删除。
临时目录(TemporaryDirectory)
在实际的项目中,我们可能并不仅仅只是创建一个临时文件,有时候也会创建一批量的临时文件,比如上传文件时。这个时候,我们就需要创建一个临时目录,在临时目录中创建文件进行操作。操作完成之后,只要关闭临时目录,就可以批量的关闭临时文件,比单个临时文件要方便许多。
下面,我们就来创建临时的目录,代码如下:
import tempfile
import pathlib
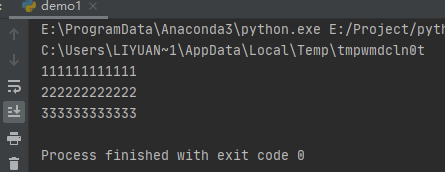
with tempfile.TemporaryDirectory() as temp:
f = pathlib.Path(temp)
print(f)
a_file = f / 'a.txt'
a_file.write_text("111111111111")
b_file = f / 'b.txt'
b_file.write_text("222222222222")
c_file = f / 'c.txt'
c_file.write_text("333333333333")
print(a_file.read_text())
print(b_file.read_text())
print(c_file.read_text())
f.exists()
运行之后,效果如下:
假脱机文件
如果我们处理的临时文件的数据较少,其实使用SpooledTemporaryFile可能更高效,因为它使用一个io.BytesIO或io.StringIO缓冲区在内存中保存内容,直到数据超过一定的大小,才写入磁盘,然后用TemporaryFile替代缓冲区。
具体使用方式如下:
import tempfile

with tempfile.SpooledTemporaryFile(max_size=1000, mode='w+t', encoding='utf-8') as temp:
    print(temp)
    temp.write('15648497987987987')
    temp.seek(0)
    print(temp.read())
运行之后,效果如下:
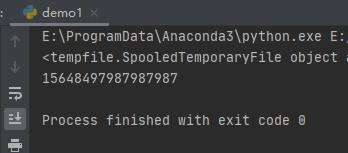
这里的max_size就是决定文件小于这个值写入缓冲区,大于这个值写入TemporaryFile临时文件。
当然,我们可以强制将缓冲区写入临时文件,可以调用rollover()或fileno()函数。具体代码如下所示:
import tempfile

with tempfile.SpooledTemporaryFile(max_size=1000, mode='w+t', encoding='utf-8') as temp:
    print(temp)
    temp.write('15648497987987987')
    temp.seek(0)
    temp.rollover()
    print(temp.read())
如上面代码所示,加一句temp.rollover()就行。
预测名(NamedTemporaryFile)
从上面的代码,我们可以看到,临时文件单独创建的方式,文件名是随机生成的,并不是由程序员指定的,但有时候还需要在名字中包含一些可预测的部分,以便查找和检查文件来进行调用。
这个时候,指定文件名往往更好。我们指定文件名规律用NamedTemporaryFile()函数,代码如下:
import tempfile
import pathlib

tmp_file = tempfile.NamedTemporaryFile(prefix='image_', suffix='_png')
print(tmp_file.name)
运行之后,效果如下:
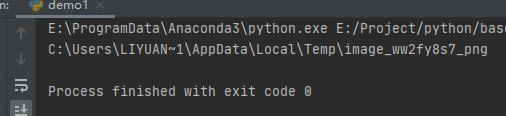
可以看出来,我们的文件名等于:prefix+random+suffix。当然,其实该函数还有一个dir参数,可以指定目录。完整的文件名等于:dir+prefix+random+suffix。
gettempdir()与gettempprefix()
在创建临时文件的时候,如果我们没有指定dir,那么该临时文件的路径会跟随平台和设置变化,也就是不确定的位置。这个时候,我们可能需要获取文件的路径以及其他参数,通过gettempdir()与gettempprefix()可以做到,具体代码如下:
import tempfile

print(tempfile.gettempdir())
print(tempfile.gettempdirb())
print(tempfile.gettempprefix())
print(tempfile.gettempprefixb())
运行之后,效果如下:

gettempdir:返回包含所有临时文件的默认目录
gettempprefix:返回新文件和目录名的字符串前缀。
而这个2个方法还有一个后缀b的方法,用于返回bytes类型的字符串对象。当然如果你想自己设置临时目录,并不跟随系统,可以直接使用tempfile.tempdir进行设置。
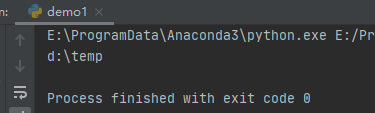
import tempfile

tempfile.tempdir=r'd:\temp'
print(tempfile.gettempdir())
运行之后,效果如下: